Carrots are not just a staple in kitchens worldwide; they are a symbol of gardening success and a delightful reward for your hard work. Whether you’re new to gardening or have years of experience, growing carrots in raised beds offers a unique set of benefits and challenges that can elevate your gardening skills and yield a bountiful harvest. Cultivating these vibrant root vegetables in raised beds allows for improved drainage and easy pest management, essential factors for achieving those picture-perfect, straight carrots we all dream of.
For both budding and seasoned gardeners alike, understanding the nuances of growing carrots can transform your gardening journey. This guide will walk you through the essentials of soil preparation, seed selection, and maintenance techniques that will help ensure your carrot crop thrives. From the moment you plant your seeds to the day you pull your first carrot from the soil, you’ll find that growing carrots in raised beds is a rewarding endeavor that connects you to the earth in a profound way.
As you embark on this carrot-growing adventure, you’ll discover tips and tricks to overcome common challenges, such as dealing with pests and ensuring consistent watering. The beauty of raised beds lies in their adaptability, and you’ll learn how to make the most of this gardening method to suit your unique needs. By the end of this article, you’ll not only have the knowledge to grow beautiful carrots but also the confidence to tackle other gardening projects with enthusiasm and expertise.
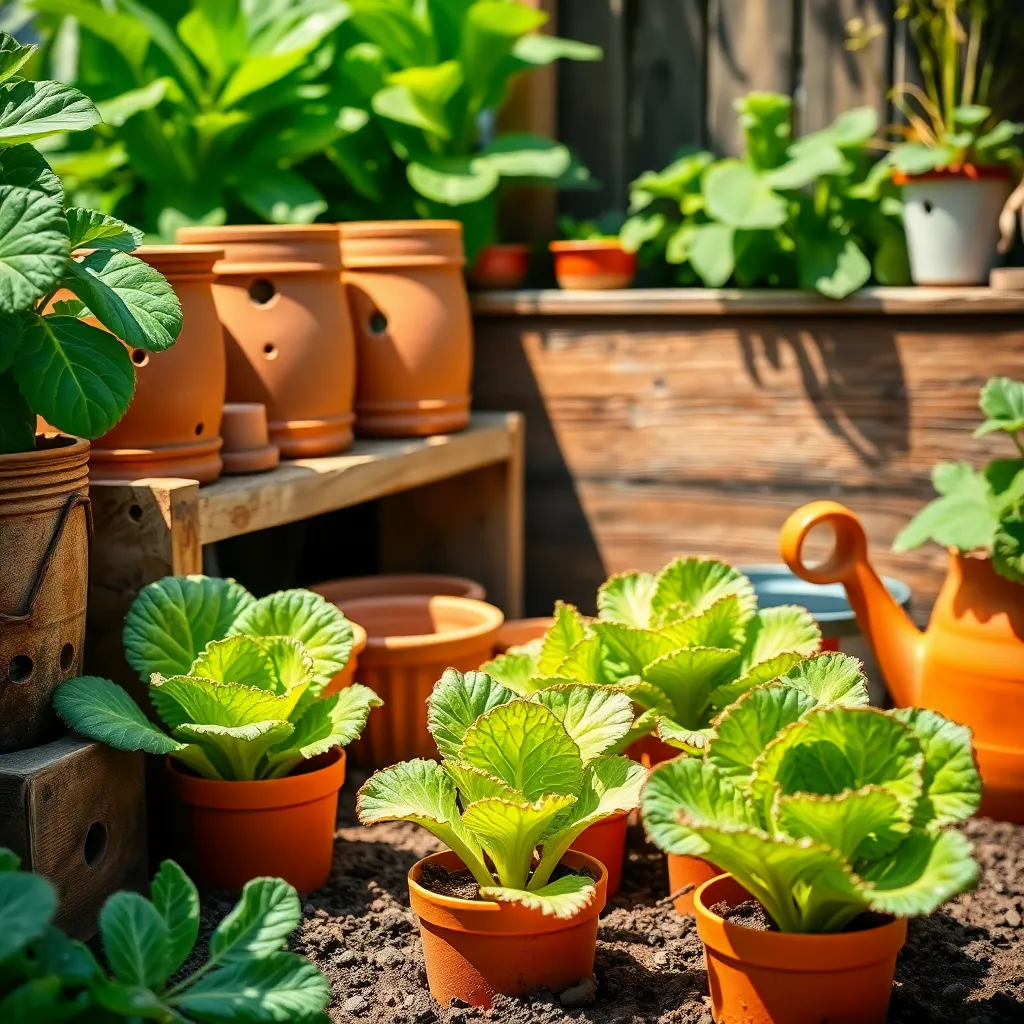
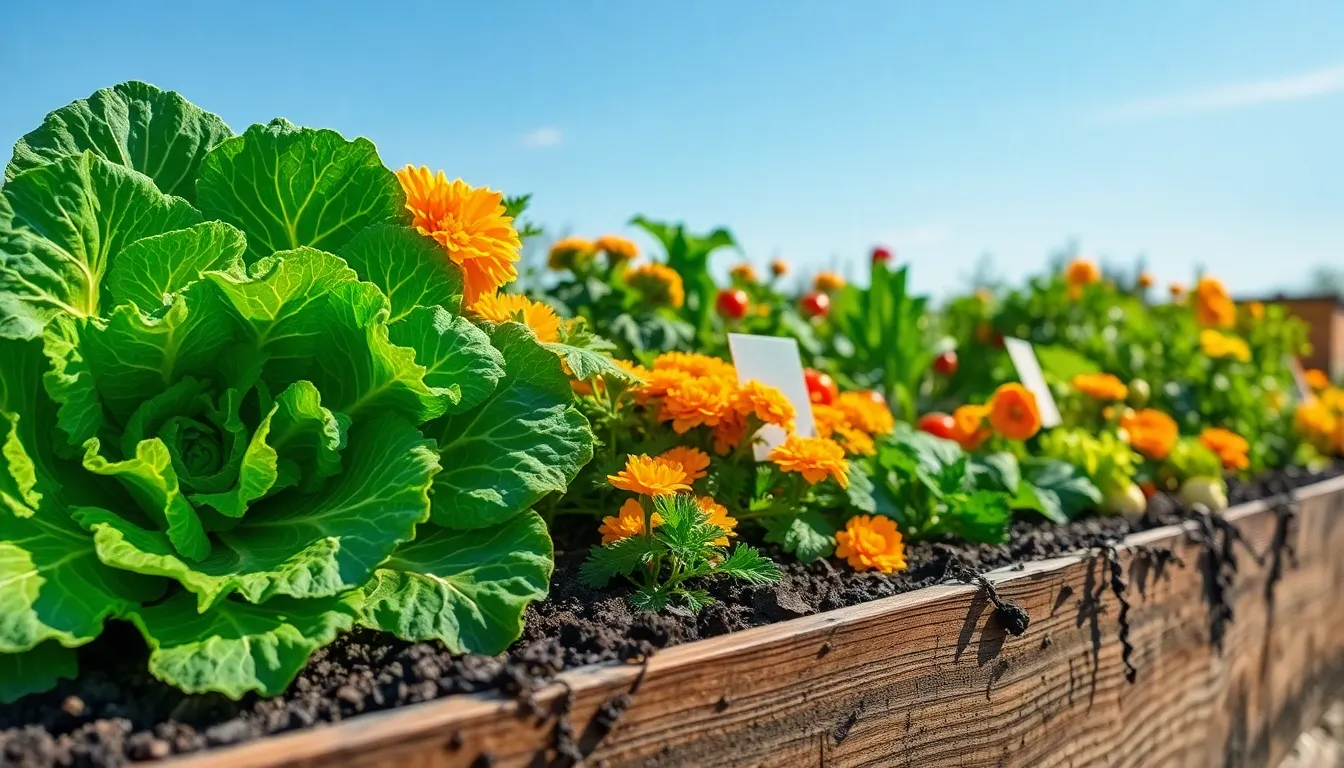
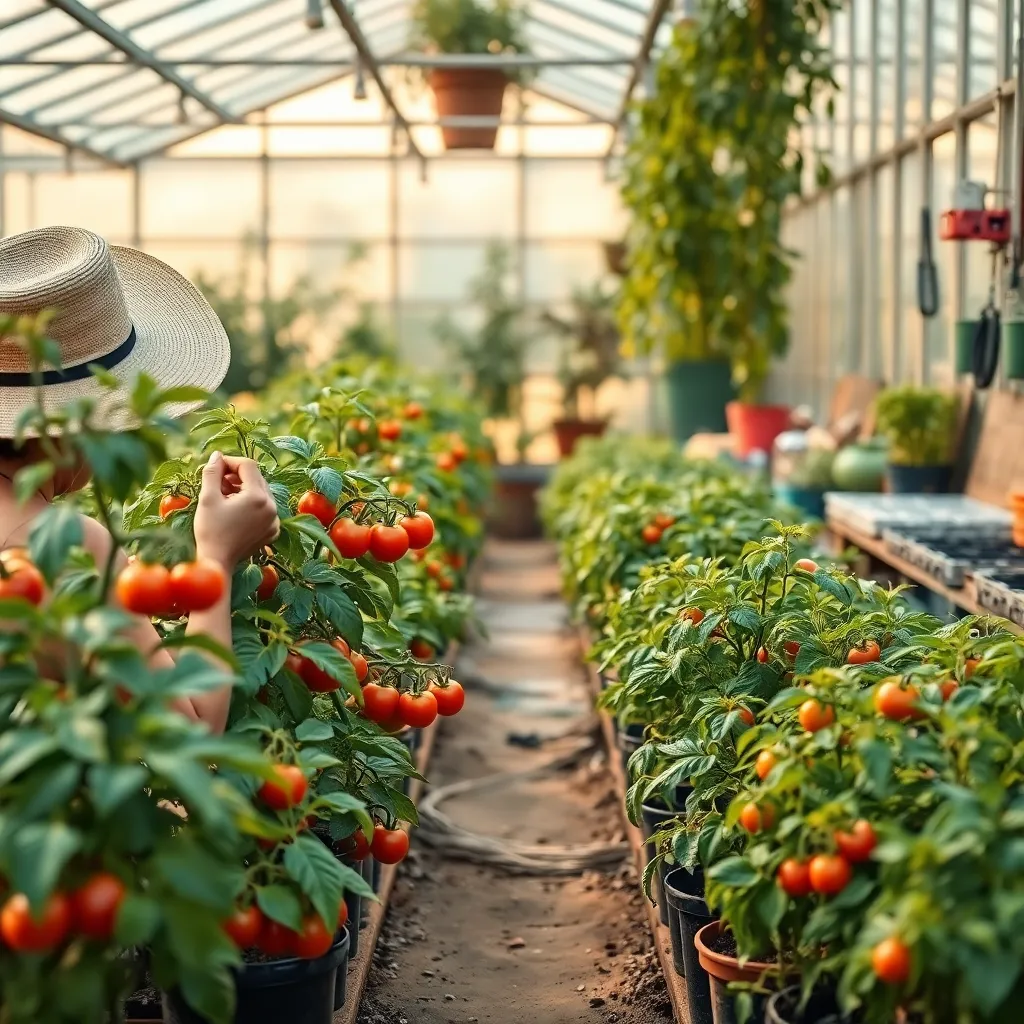
Select a Sunny Location
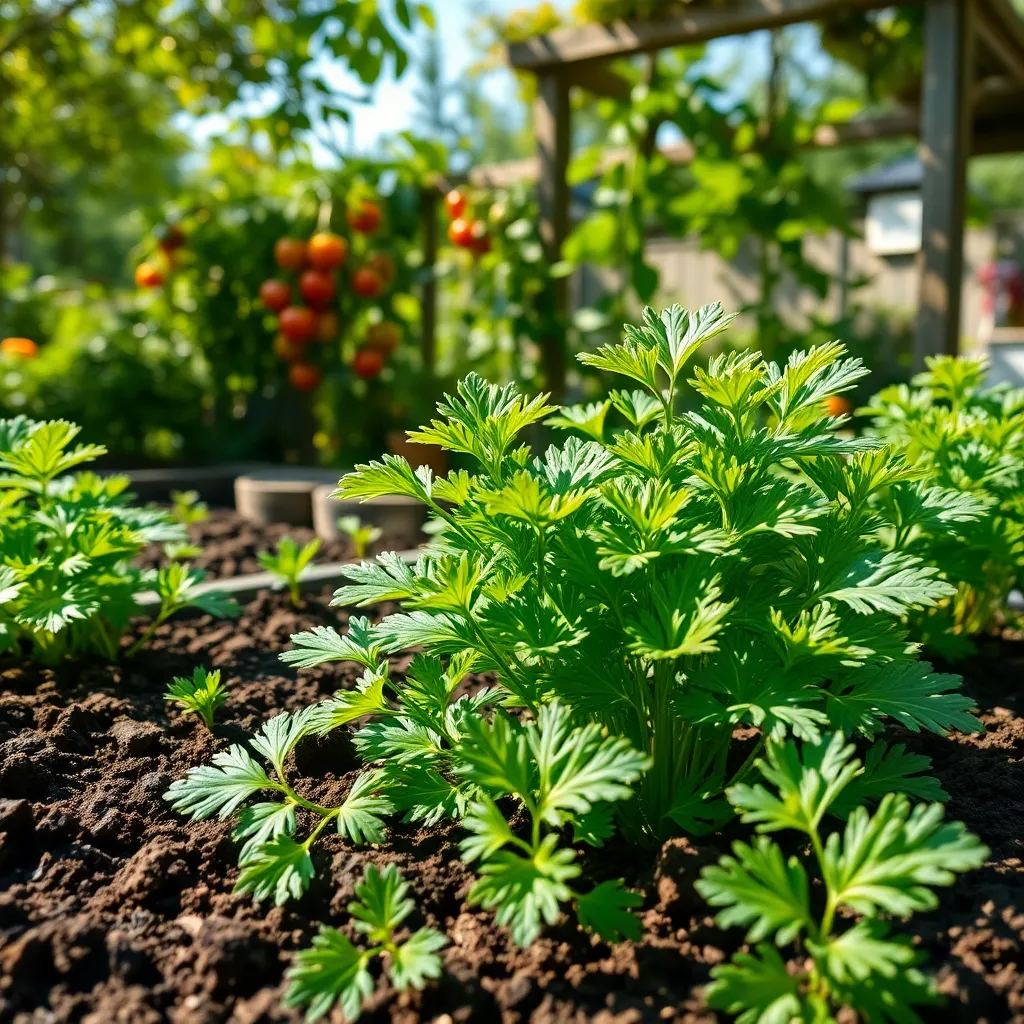
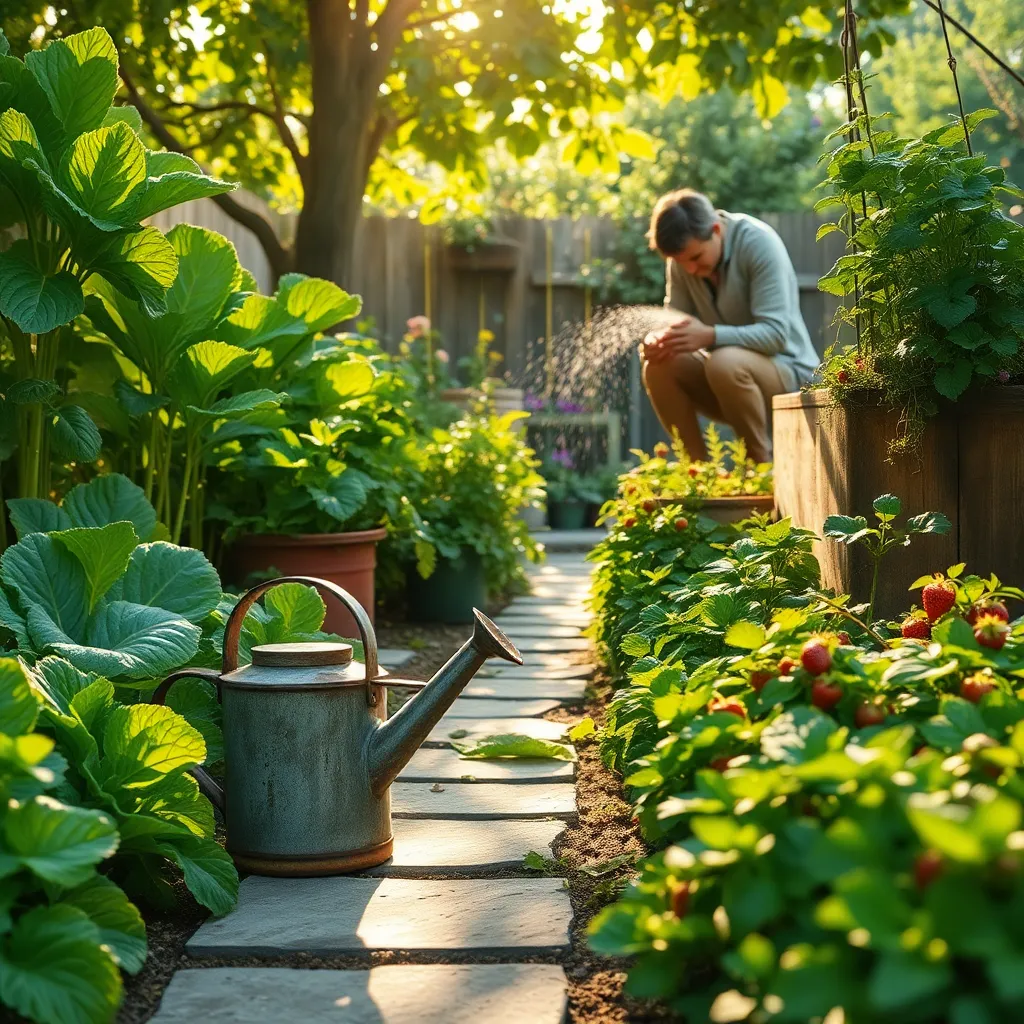
Choosing the right location for your carrot bed is crucial, as carrots thrive in sunny spots. Look for an area that receives at least 6 to 8 hours of direct sunlight each day, ensuring your carrots grow healthy and sweet.
In addition to sunlight, ensure the location has good air circulation to prevent diseases. A well-ventilated area helps reduce the risk of fungal infections, keeping your carrot plants robust and thriving.
Beginner gardeners should avoid shady spots under trees, as they can cause spindly growth. Advanced gardeners might consider using reflective surfaces like white stones to increase light availability around the raised bed.
Consider the proximity of the water source when selecting your location, as carrots require consistent moisture. An easily accessible spot makes it more convenient to water regularly, especially during dry spells, ensuring your carrots don’t dry out.
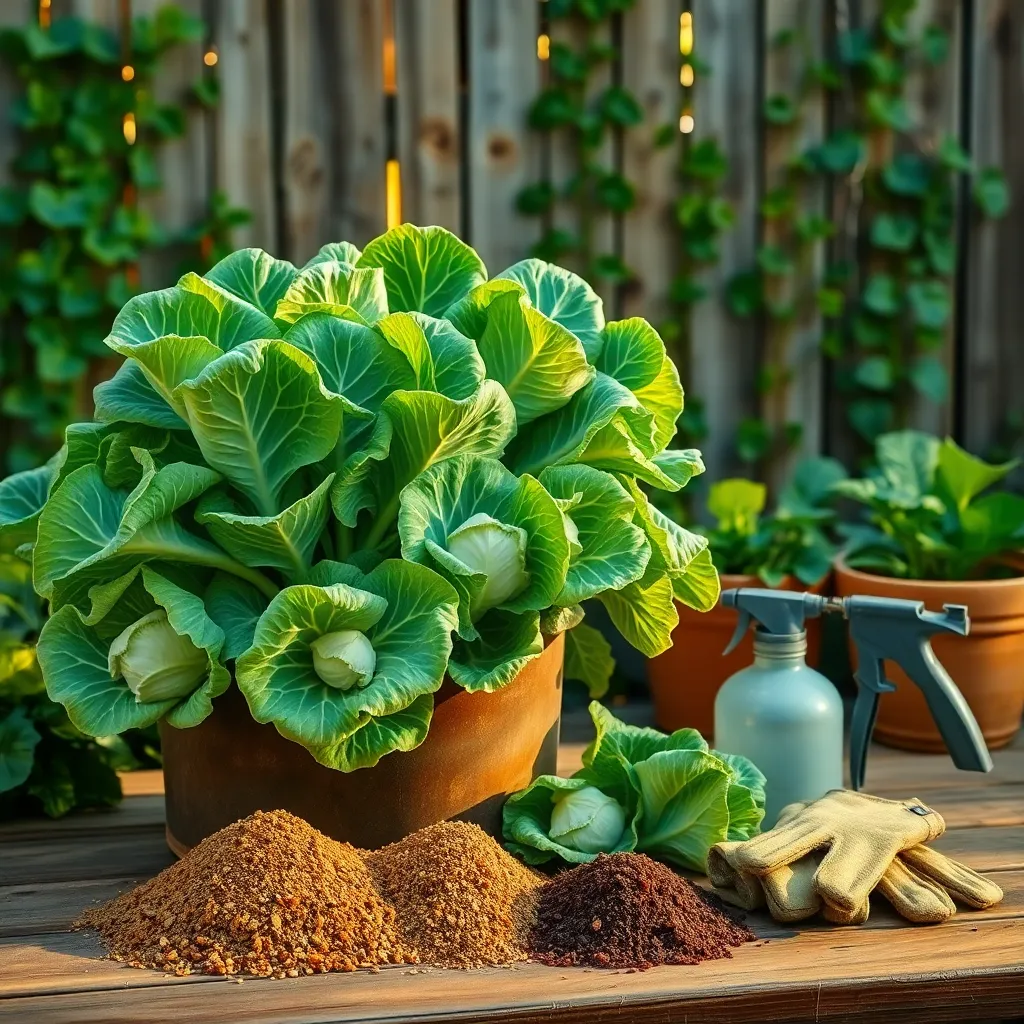
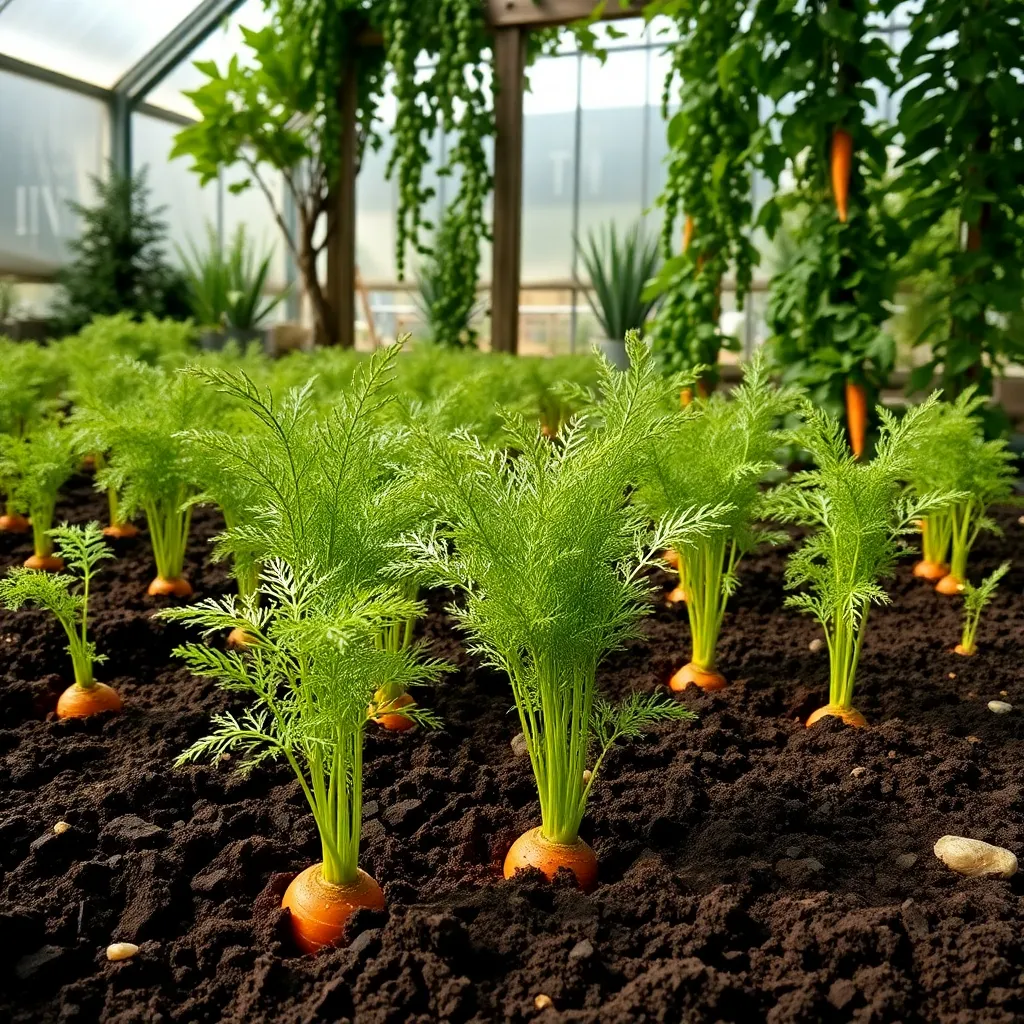
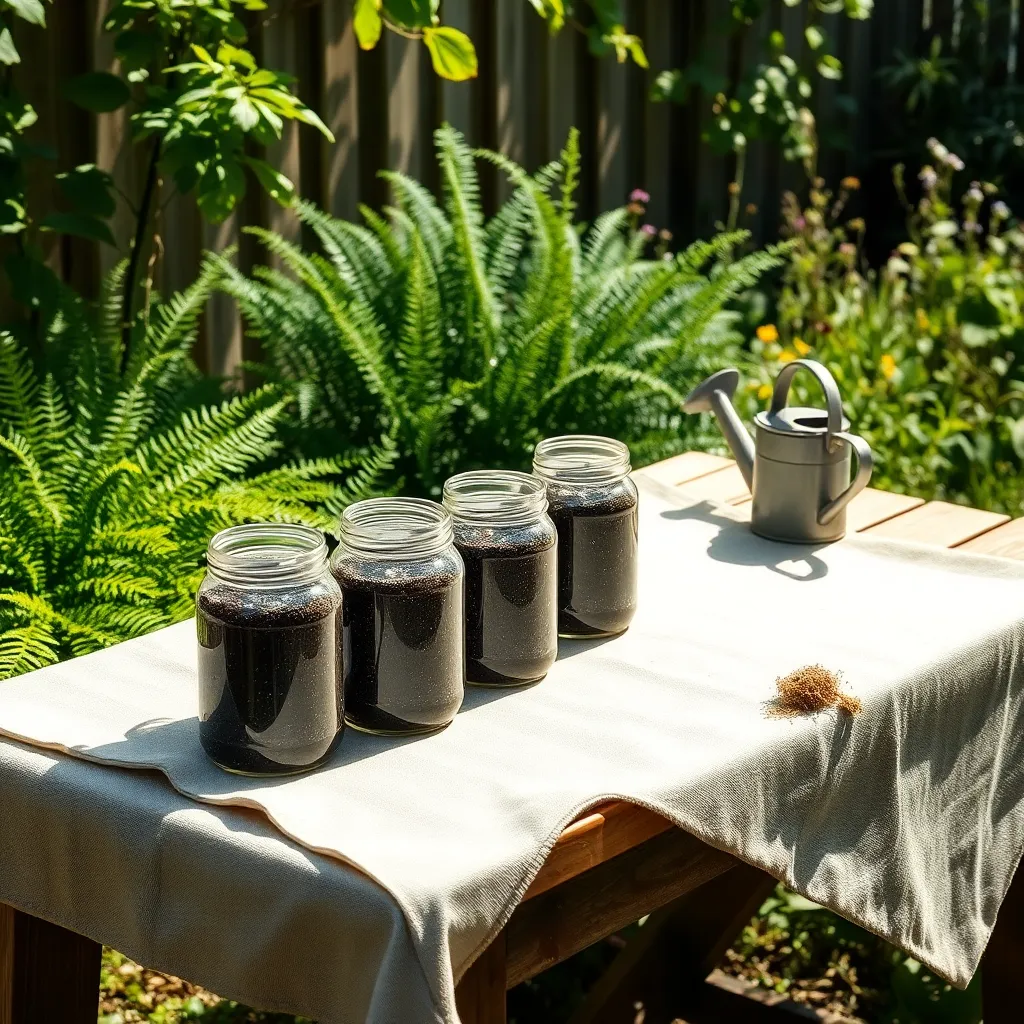
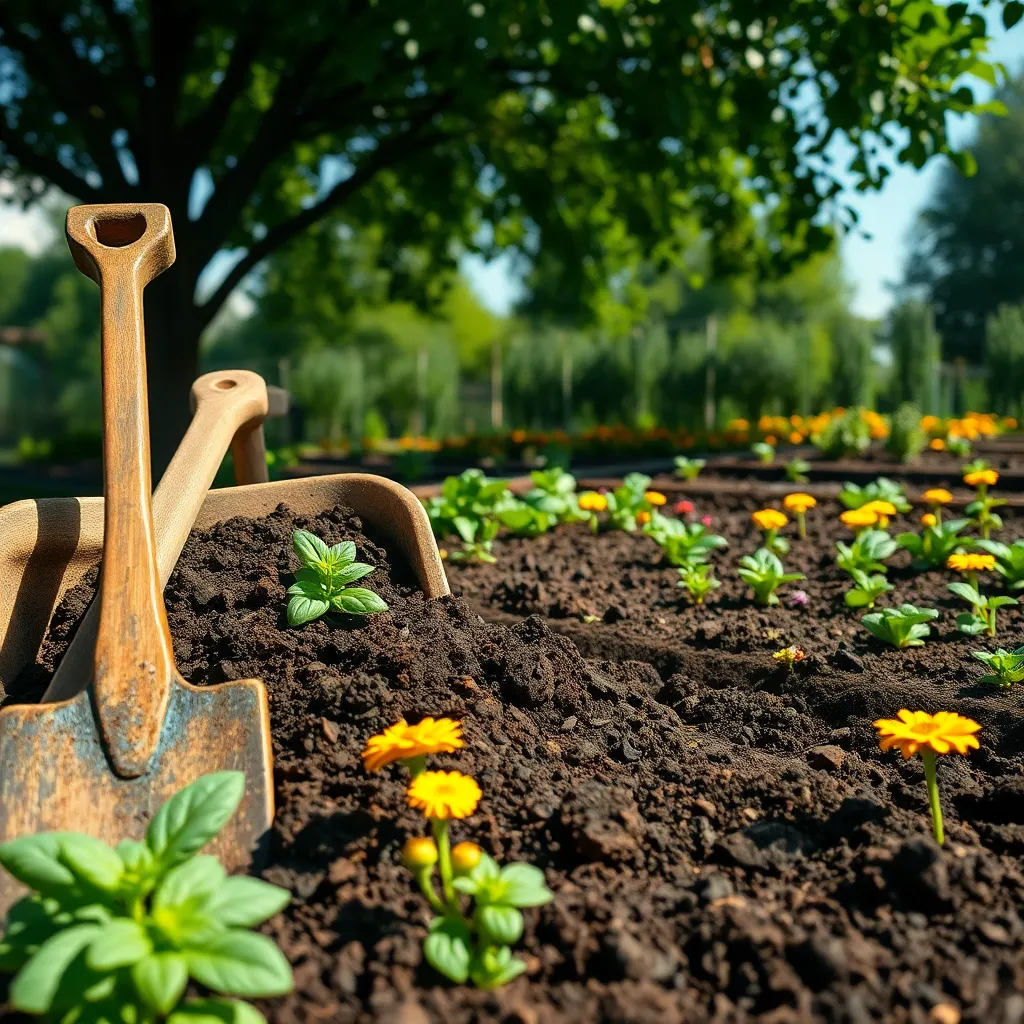
Prepare the Raised Bed Soil
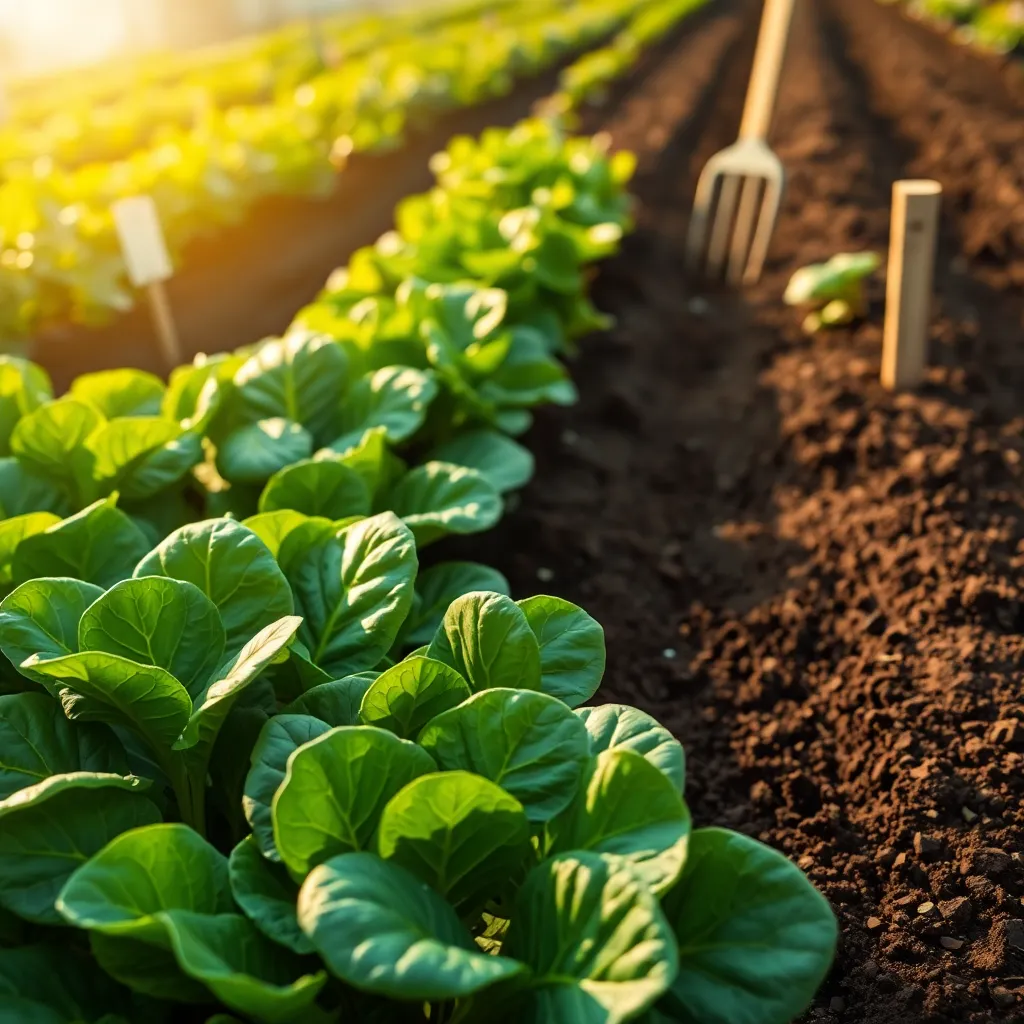
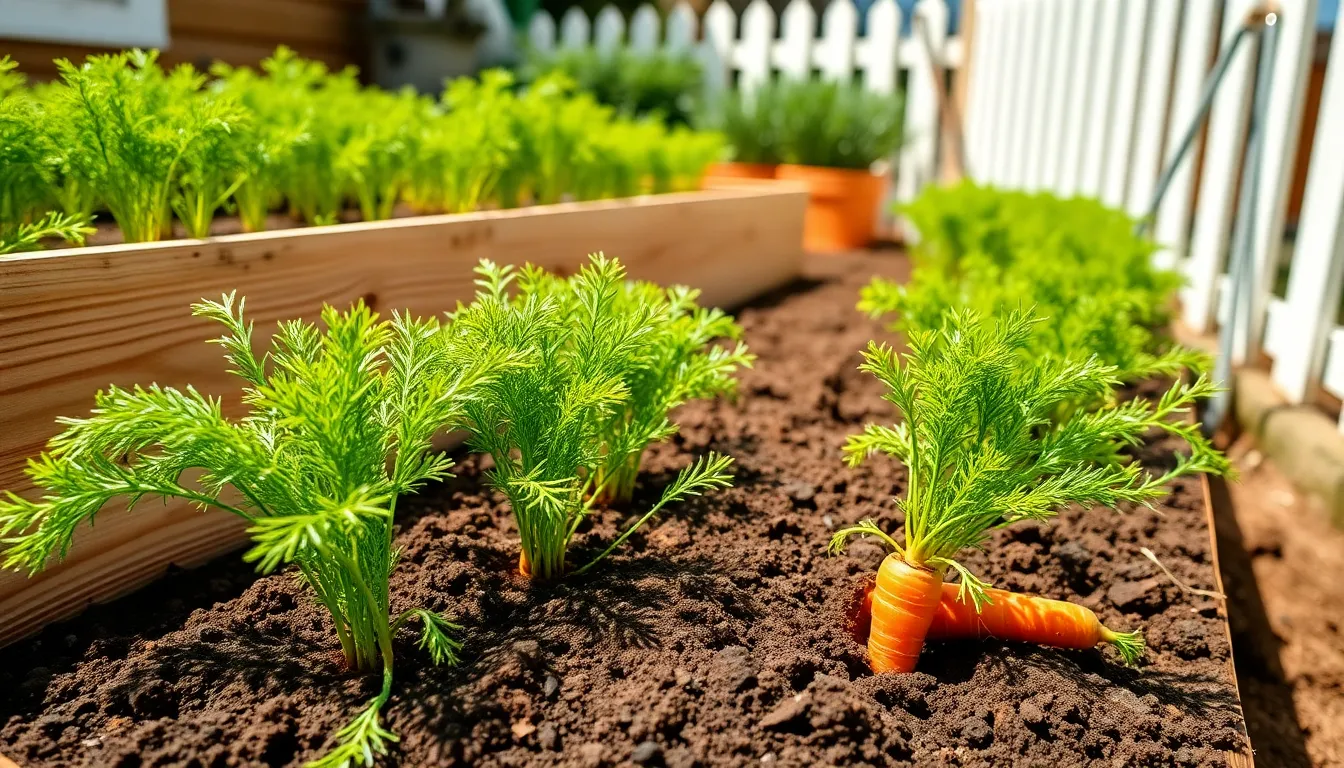
To prepare the soil in your raised bed for growing carrots, start by ensuring it is loose and well-drained. Carrots need a soil depth of at least 12 inches to grow straight and avoid becoming misshapen, so use a spade or garden fork to break up any compacted areas.
Incorporate organic matter such as well-rotted compost or aged manure into the soil to boost its fertility and structure. Aim for a soil composition that is sandy or loamy, as this will provide the ideal environment for carrot roots to expand without obstruction.
After amending the soil, level it with a rake to create a smooth planting surface. This helps to ensure even watering and reduces the risk of water pooling, which can lead to root rot.
For advanced gardeners looking to further optimize their soil, consider performing a soil test to check pH levels. Carrots prefer slightly acidic to neutral soil, with a pH range of 6.0 to 7.0, and adjustments can be made by adding lime or sulfur as needed.
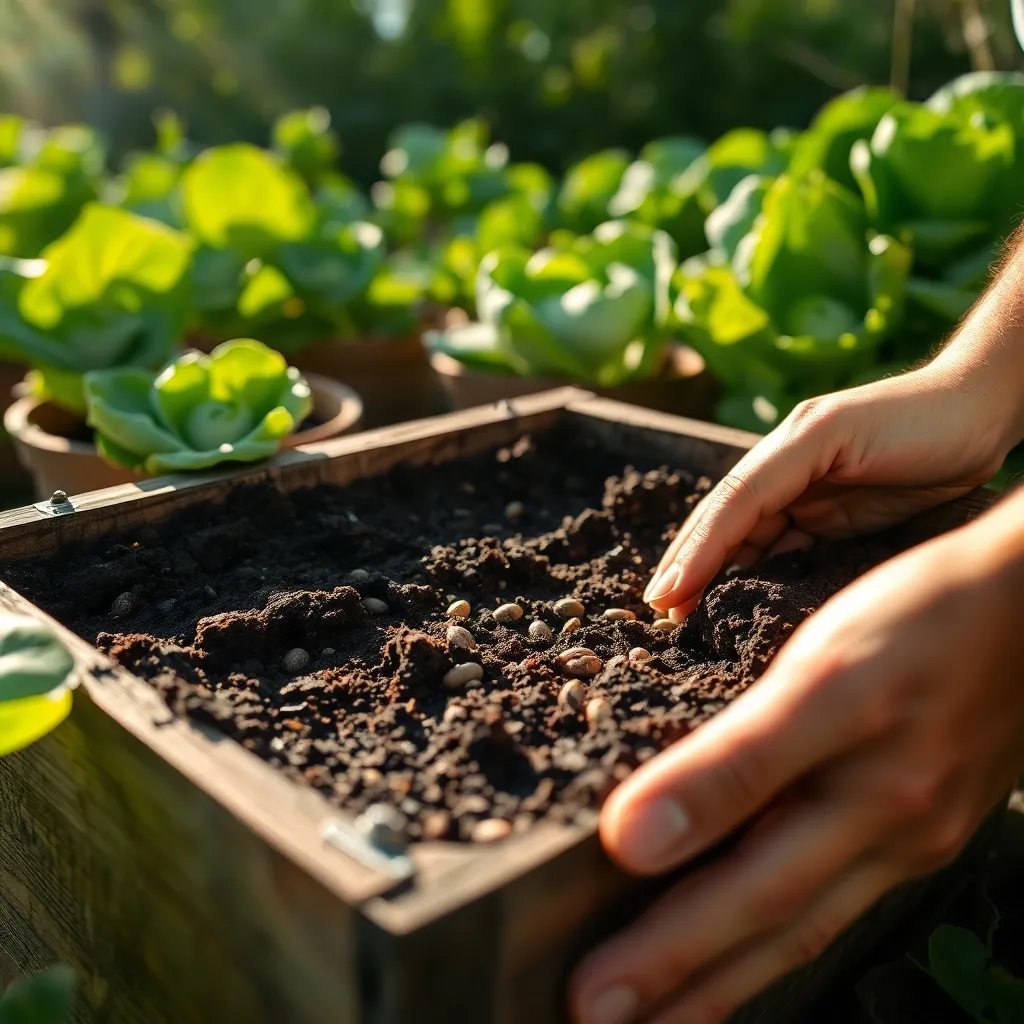
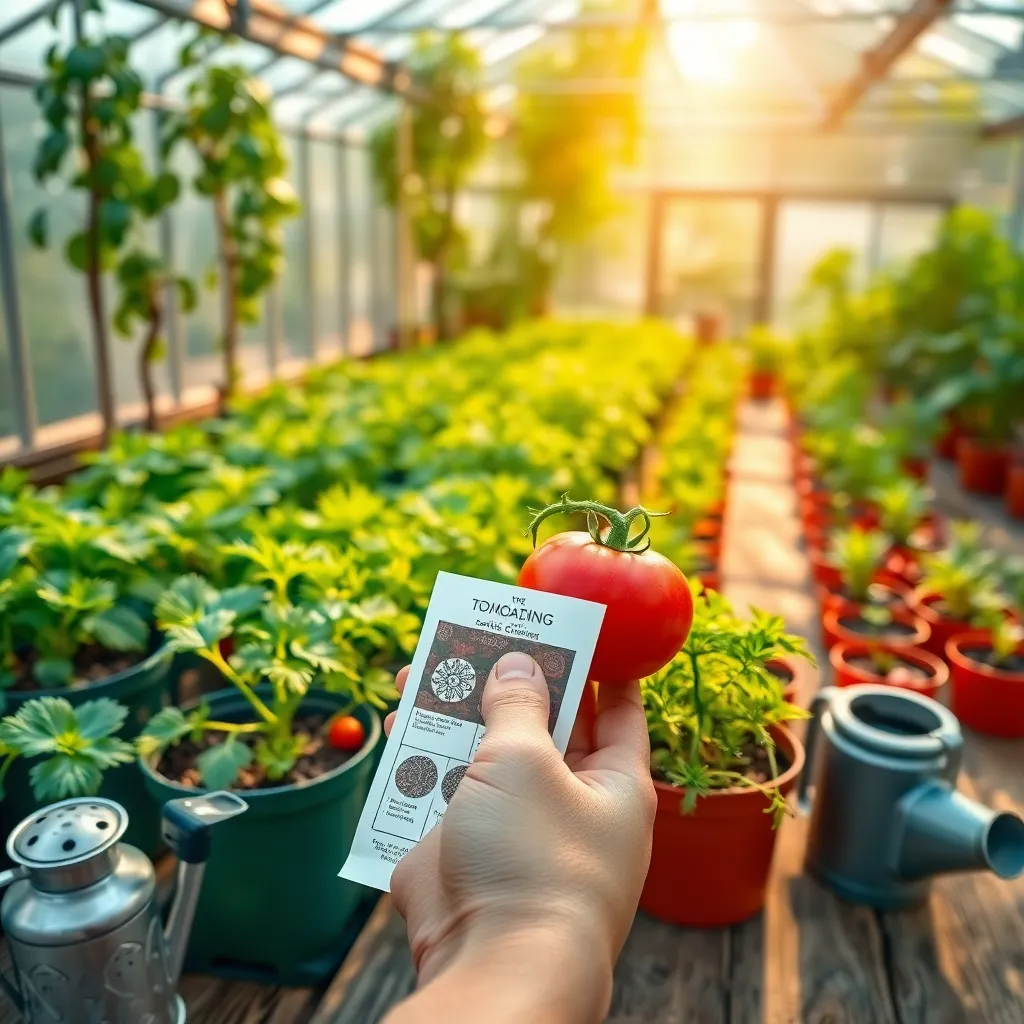
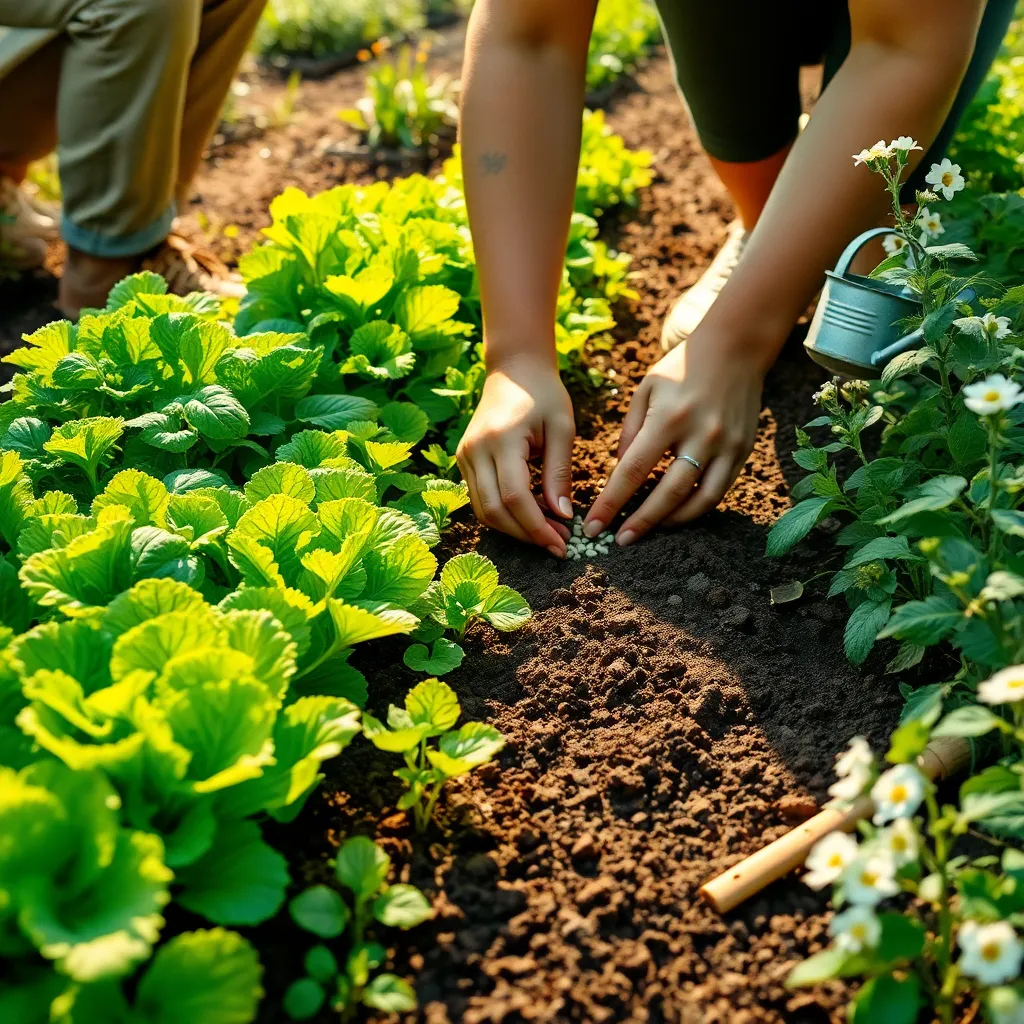
Sow Carrot Seeds Evenly
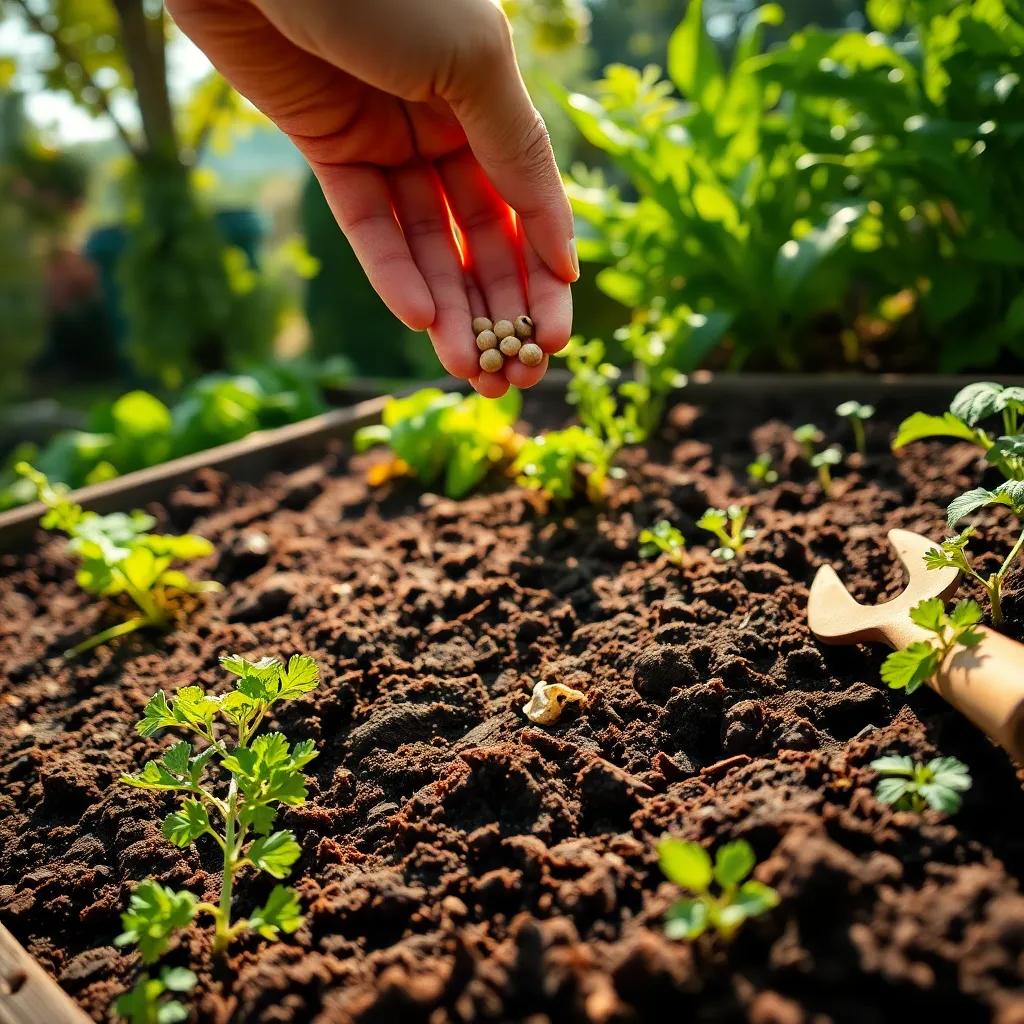
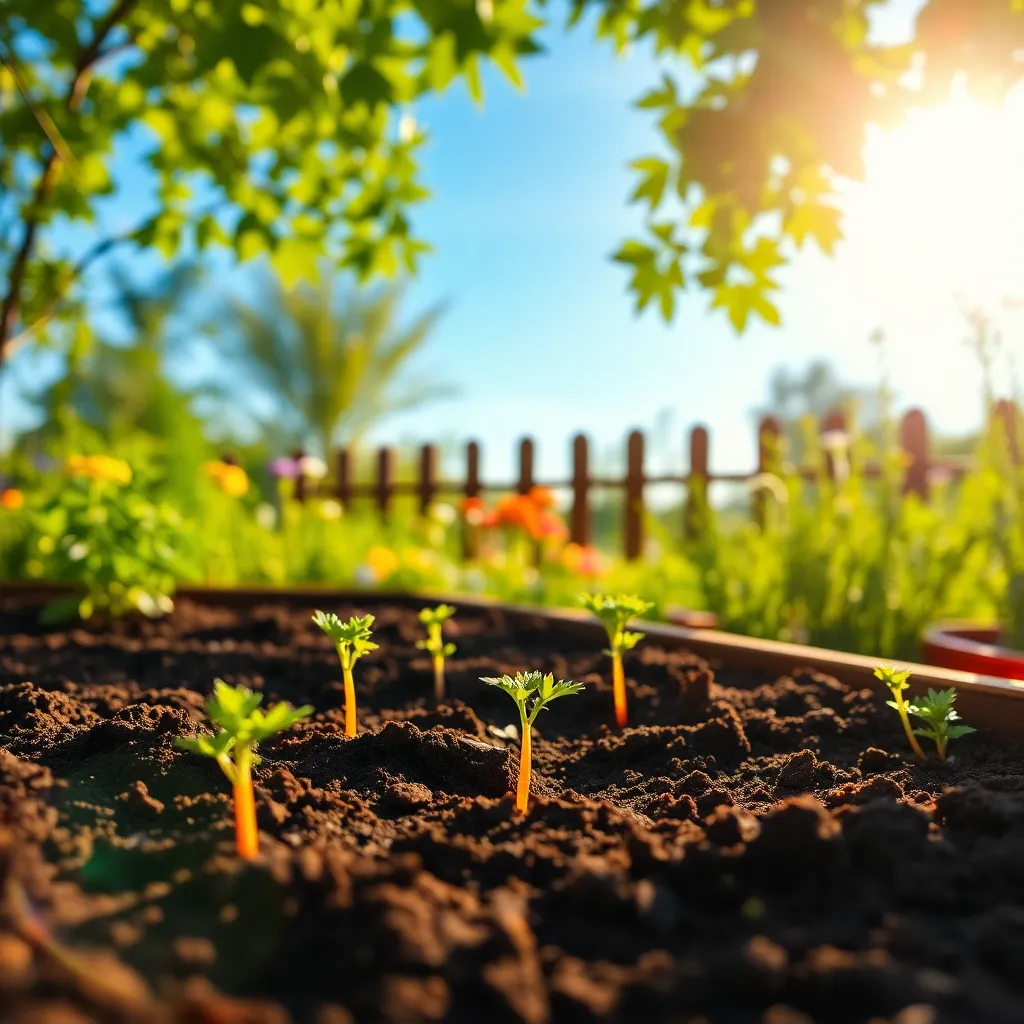
Now that your raised bed is prepared, it’s time to sow your carrot seeds evenly to ensure a healthy and uniform crop. Begin by creating shallow furrows in the soil, approximately half an inch deep and spaced about 12 inches apart. This spacing allows for adequate air circulation and room for the carrots to mature properly.
Even distribution of seeds is crucial for optimal growth and to minimize thinning later on. To achieve this, mix the tiny carrot seeds with sand or fine soil, which helps to spread them more uniformly along the furrow. Alternatively, consider using a seed tape, which ensures even spacing and reduces the need for thinning.
After sowing, cover the seeds with a thin layer of soil, gently patting it down to ensure good soil contact. It’s important to maintain consistent moisture in the soil, especially during germination. Water the bed gently using a fine spray to avoid displacing the seeds, keeping the surface consistently damp until seedlings emerge.
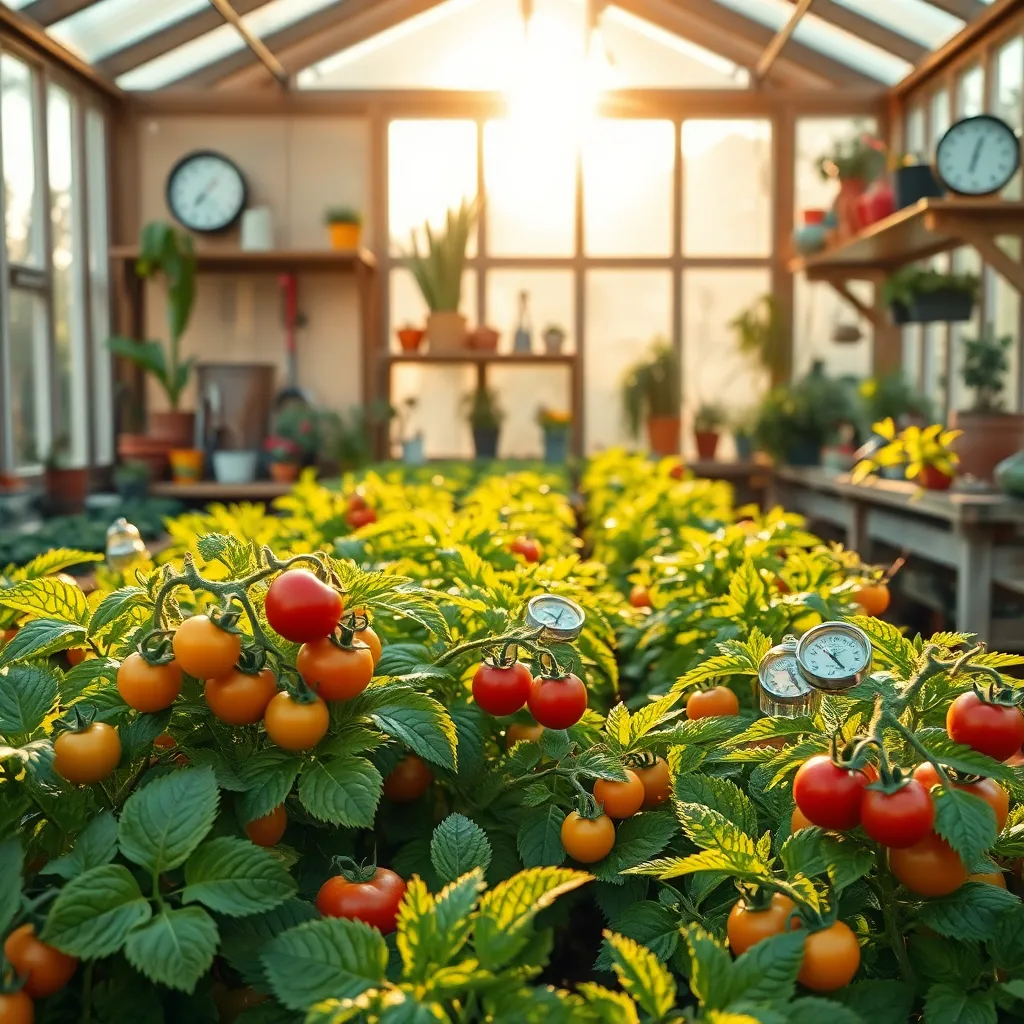
For advanced gardeners, consider staggering your planting to extend your harvest season. By sowing a new batch of seeds every three weeks, you can enjoy fresh carrots over a longer period. Keep an eye on the soil temperature, as carrots germinate best between 55°F and 75°F (13°C to 24°C), ensuring a higher success rate for your seedlings.
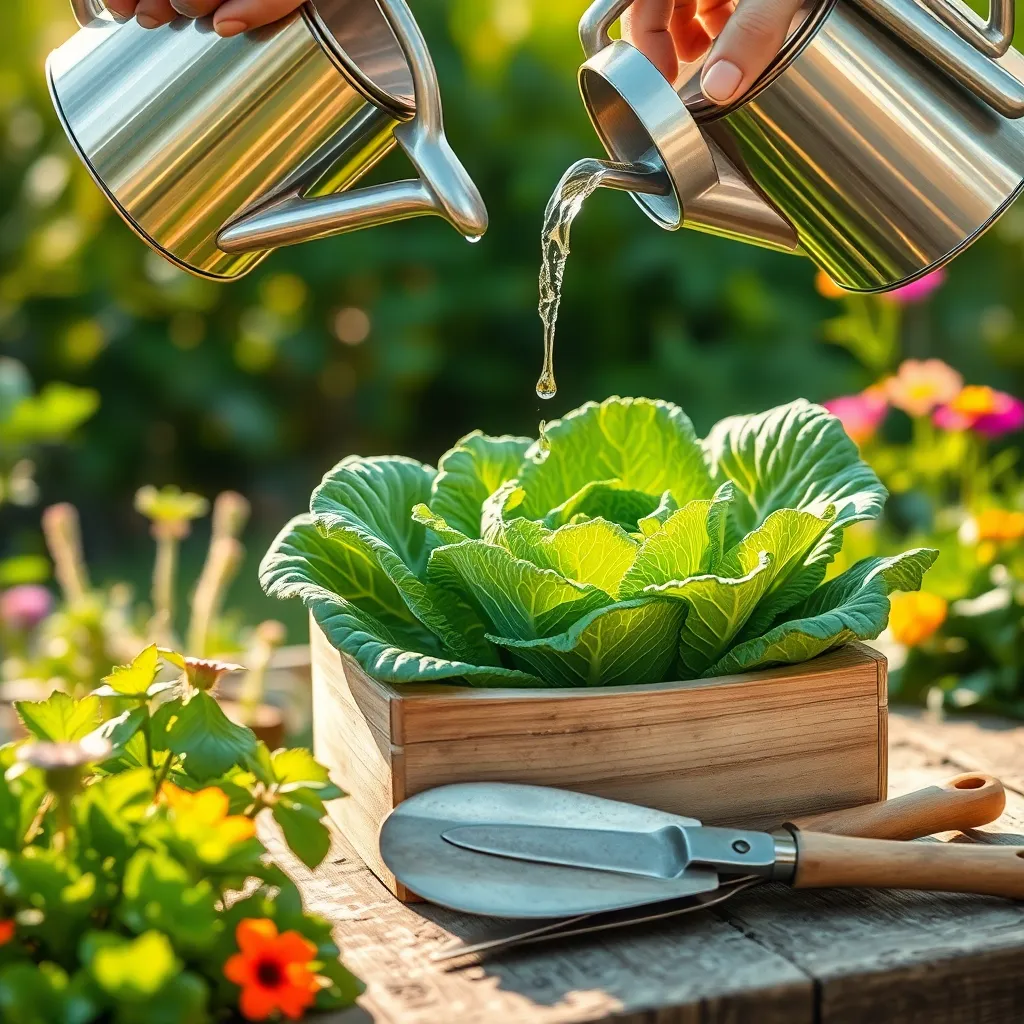
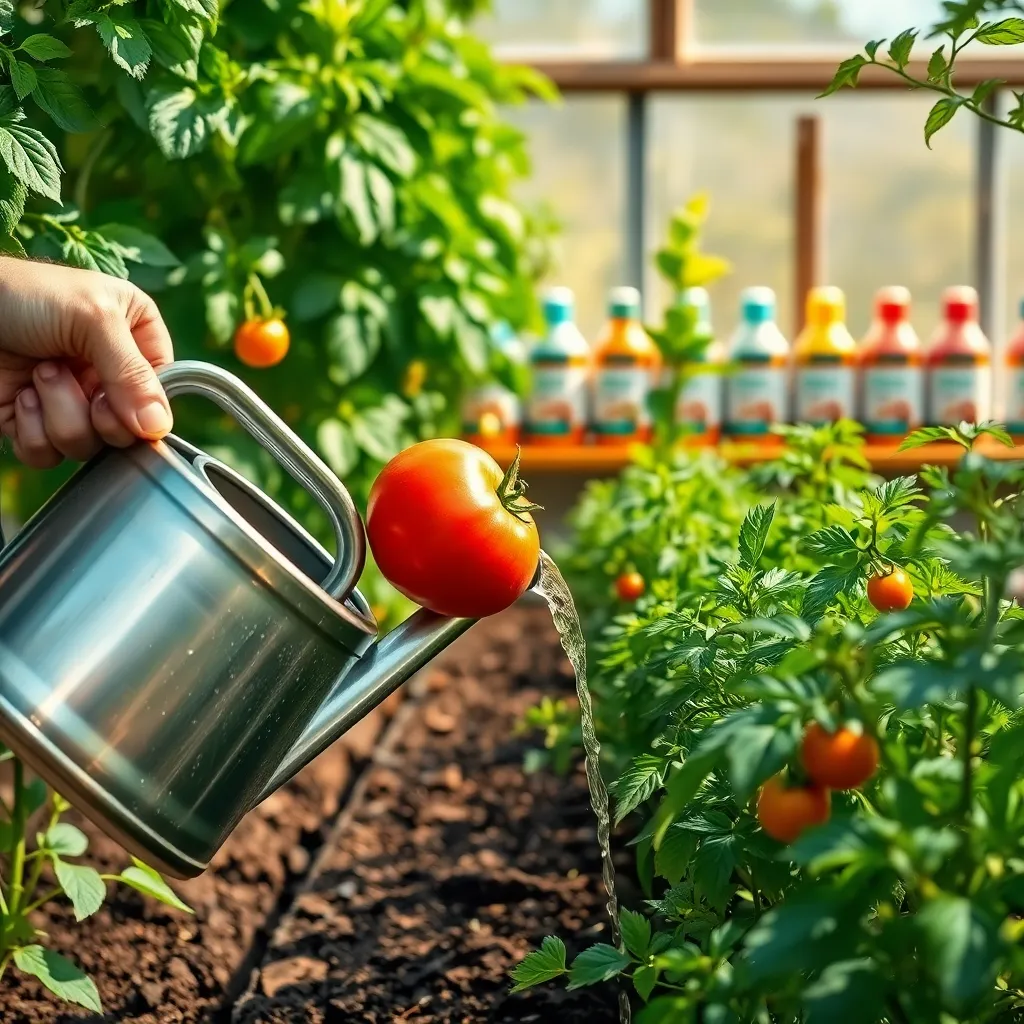
Water Consistently and Gently
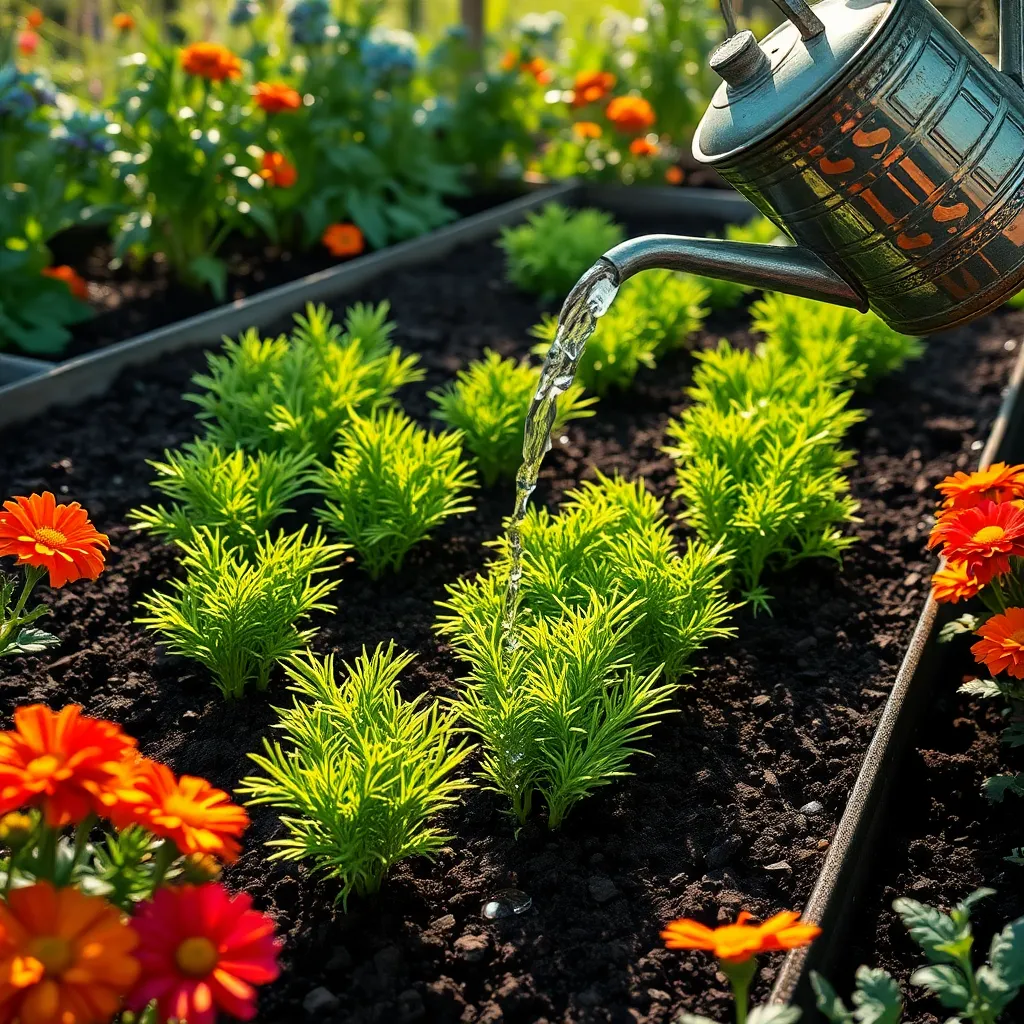
Watering your carrot plants consistently and gently is crucial for their development. Inconsistent watering can cause carrots to split or develop unevenly, so aim to maintain a steady moisture level in the soil.
Begin by checking the soil moisture frequently, especially in the early stages of growth. Insert your finger about an inch into the soil; if it feels dry, it’s time to water.
Use a watering can with a fine rose attachment to ensure a gentle flow of water. This helps avoid disturbing the soil or washing away the seeds, which is vital for the delicate carrot seedlings.
For best results, water deeply once or twice a week rather than lightly every day. This encourages the roots to grow deeper, resulting in stronger and healthier carrot plants.
Consider investing in a soaker hose or a drip irrigation system for more efficient watering. These methods deliver water directly to the root zone, reducing evaporation and conserving water.
Mulching the soil surface with straw or shredded leaves can help retain moisture. This is particularly useful in hot weather, as it minimizes evaporation and keeps the soil temperature stable.
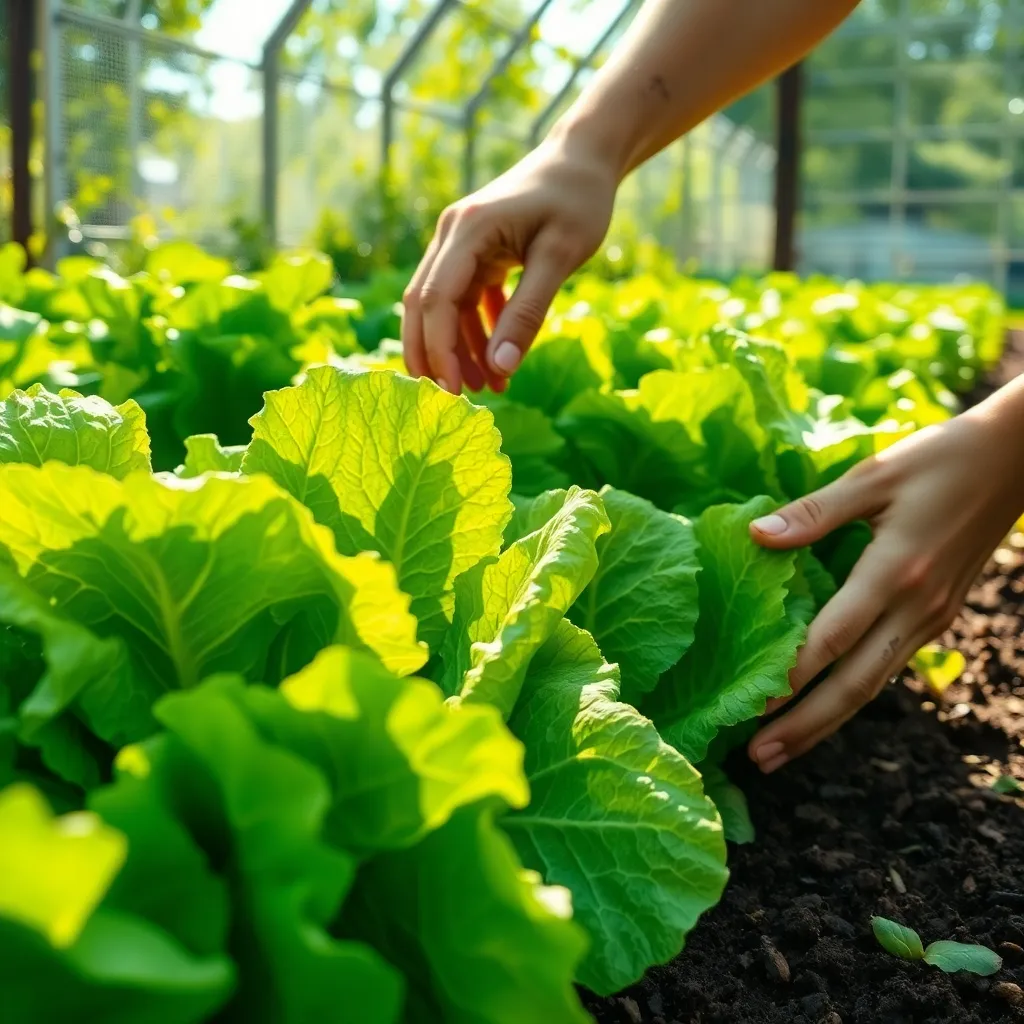
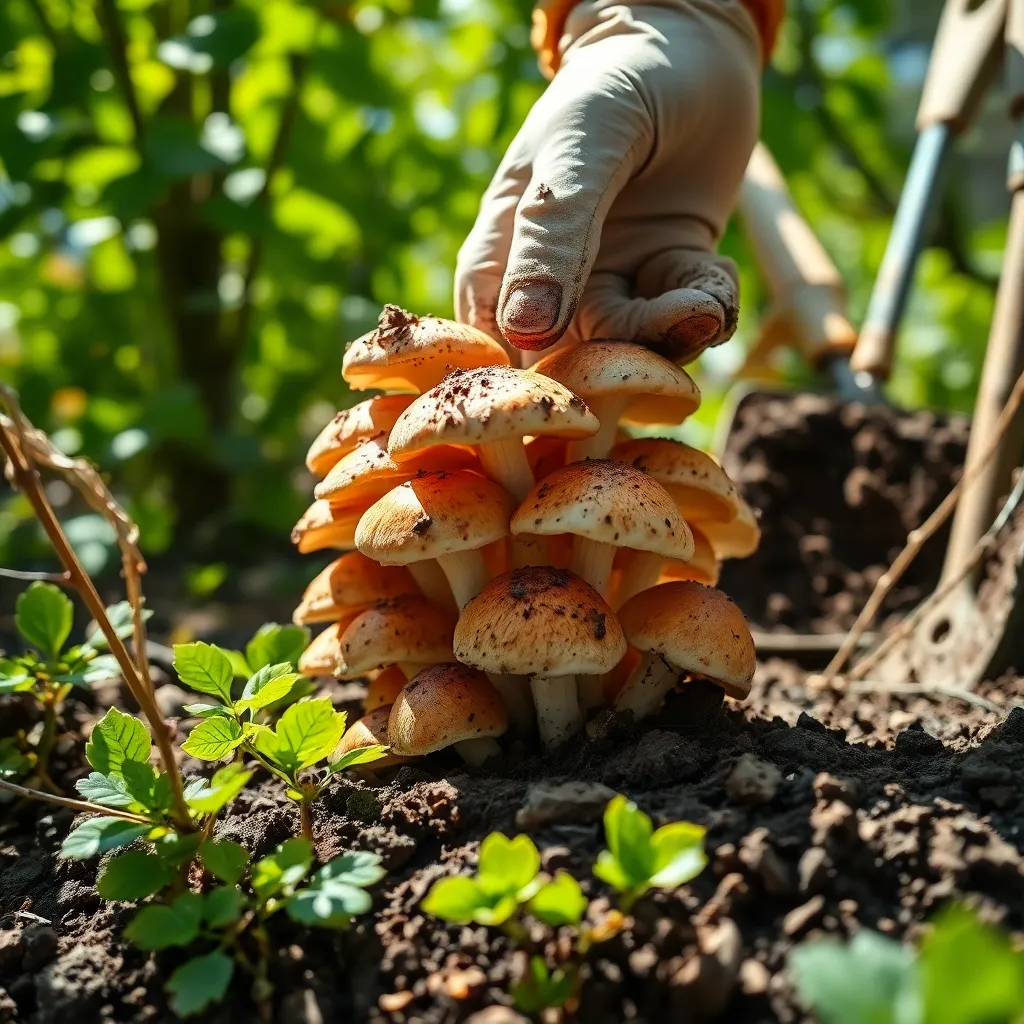
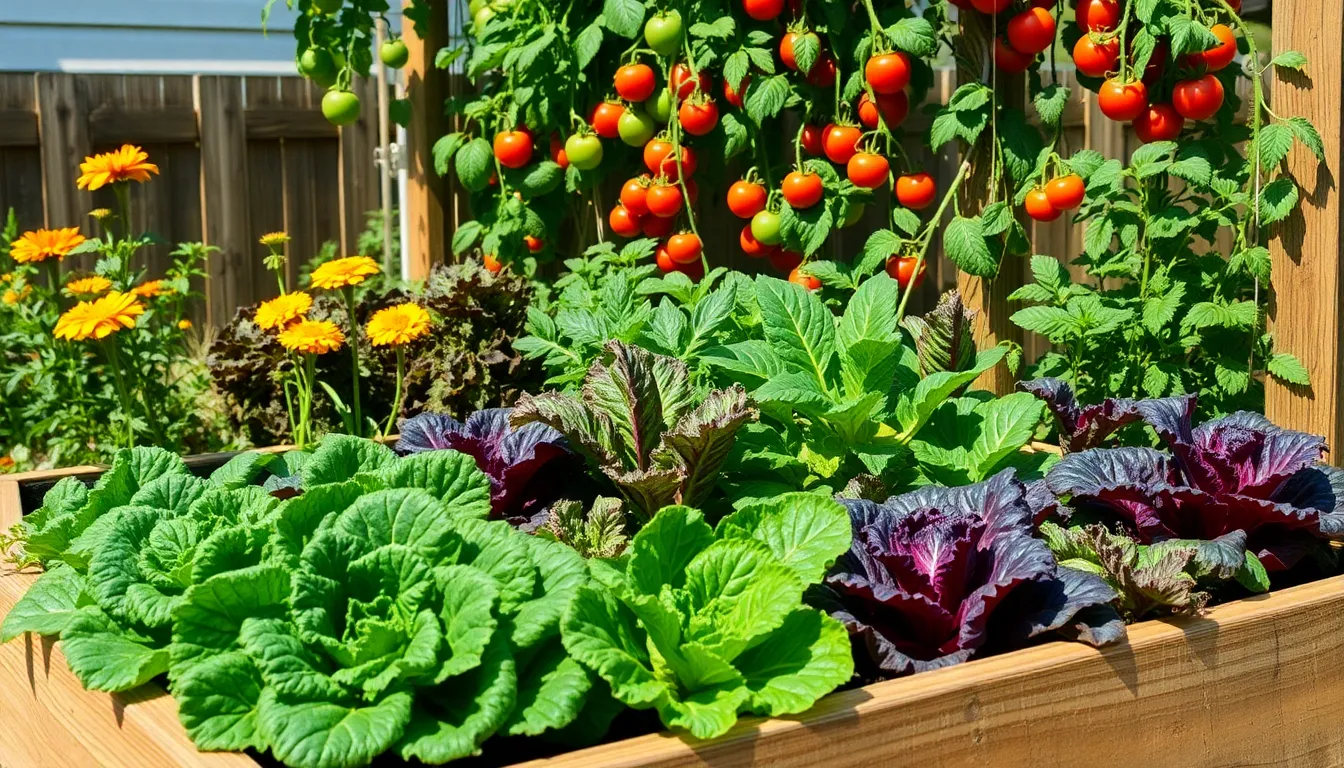
Thin Seedlings for Optimal Growth
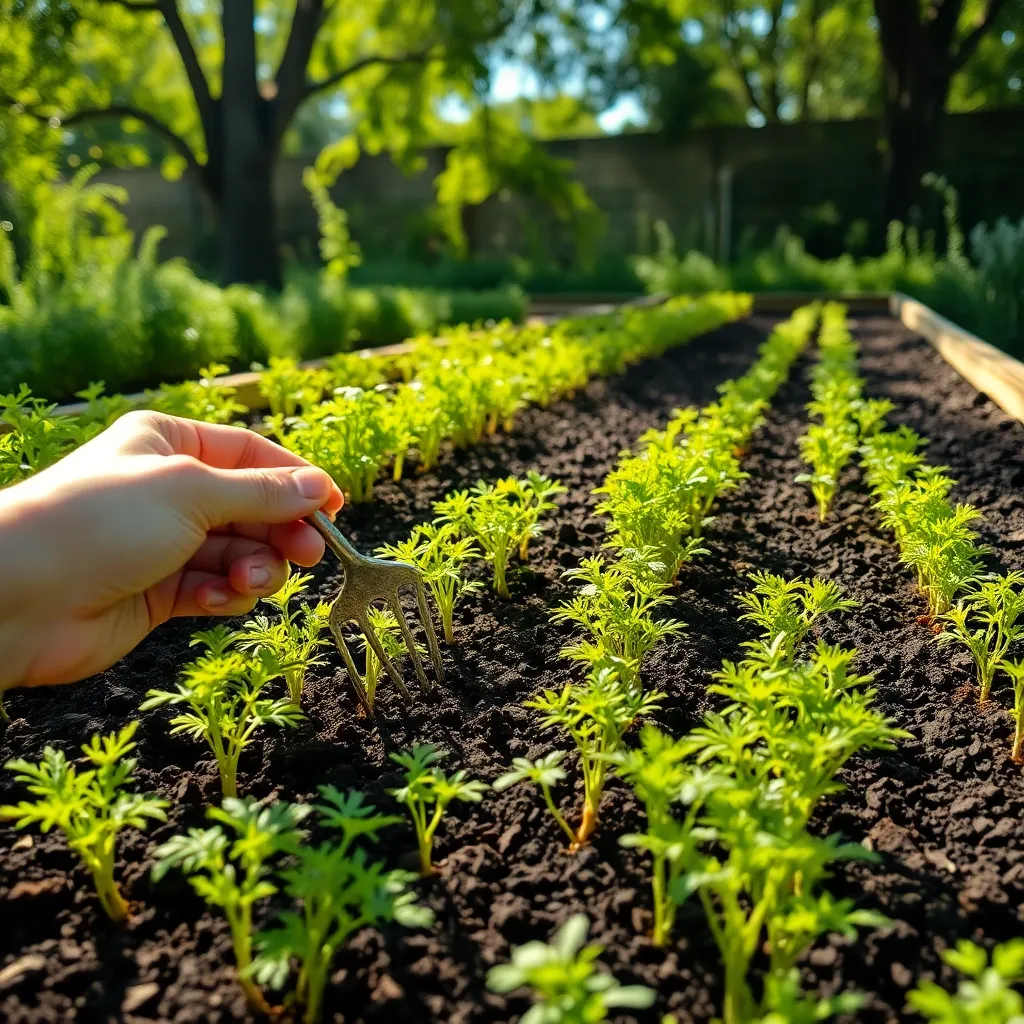
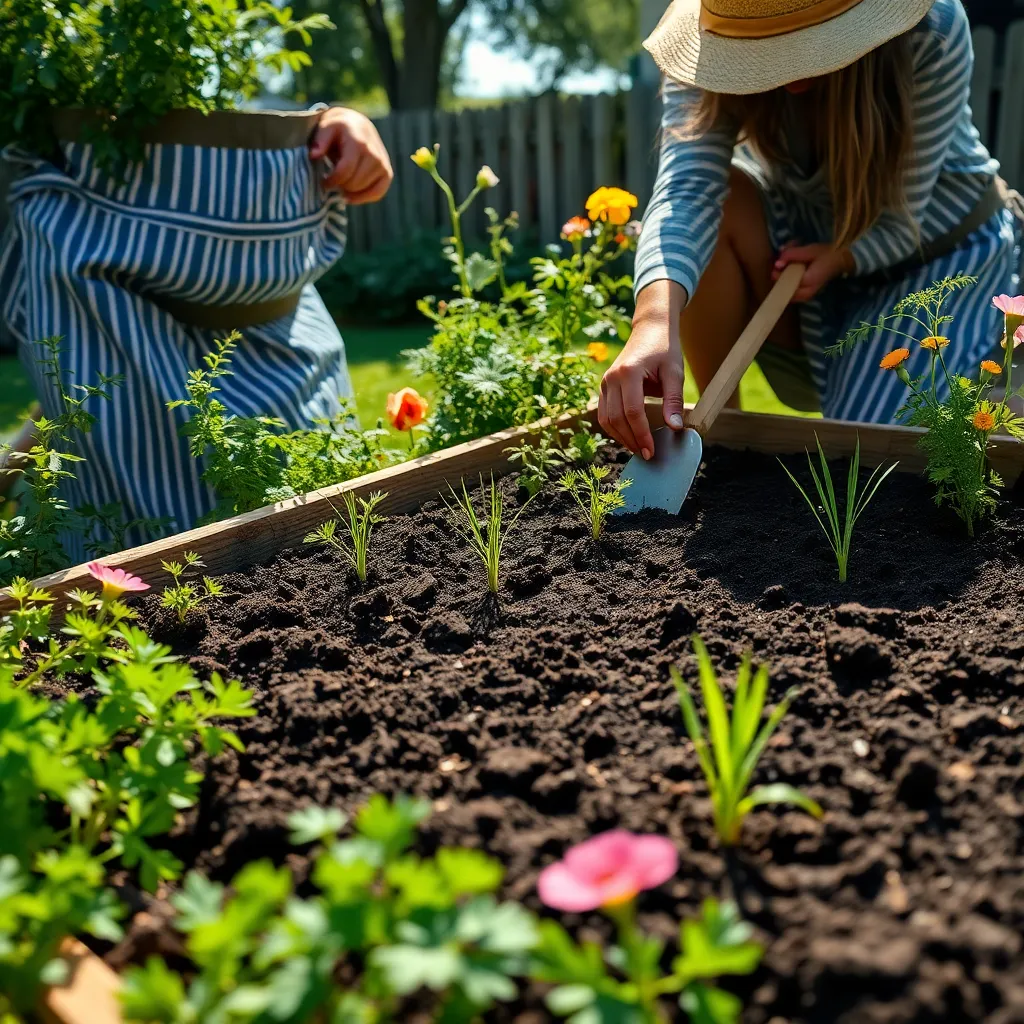
Thinning is a crucial step in ensuring your carrot seedlings have enough space to grow into robust, healthy plants. Once your seedlings reach about two inches tall, carefully thin them to about two inches apart, allowing them room to expand and develop properly.
Carrots need ample space for their roots to grow straight and avoid becoming stunted or misshapen. Use a pair of small scissors to snip off the unwanted seedlings at the soil level, rather than pulling them out, to avoid disturbing the roots of the remaining plants.
For beginners, it’s important to remember that thinning might seem wasteful, but it’s essential for optimal growth. Experienced gardeners know that crowding can lead to competition for nutrients, resulting in smaller, less flavorful carrots.
For those looking to maximize their harvest, consider succession planting by sowing additional seeds every two to three weeks. This technique ensures a continuous supply of carrots over a longer season, and it gives you multiple opportunities to practice thinning.
Conclusion: Growing Success with These Plants
In wrapping up our exploration of ‘How to Grow Carrots in Raised Beds,’ we uncovered five essential relationship concepts that are key to nurturing both your garden and personal connections. First, the importance of a solid foundation, akin to well-prepared soil, sets the stage for healthy growth. Second, consistent communication, much like regular watering, ensures ongoing nourishment. Third, recognizing and addressing needs, similar to monitoring sunlight and shade, is crucial for balance. Fourth, patience and understanding, paralleling the slow germination of carrot seeds, foster resilience. Lastly, adaptability, like adjusting for seasonal changes, keeps relationships vibrant and thriving.
As an immediate step, assess one area in your relationship that could benefit from deeper cultivation and commit to nurturing it today. Whether it’s a heartfelt conversation or a small gesture of appreciation, take action now.
Don’t let these valuable insights slip away—bookmark this article to have a go-to guide for relationship growth at your fingertips. Remember, just as tending to a garden requires time and care, so too does nurturing your relationships. By applying these principles, you pave the way for a future filled with flourishing connections and enduring happiness. Keep growing, and let your relationships blossom!