Imagine stepping into your backyard and being transported to a serene haven, where the stresses of daily life melt away amidst the gentle rustle of leaves and the vibrant chorus of colors. Crafting a garden oasis isn’t just about aesthetics; it’s about creating a sanctuary that nourishes both the spirit and the senses, providing a peaceful retreat right outside your door. Whether you’re planting your first seedling or have years of gardening wisdom under your belt, designing this verdant escape can be a transformative experience that enriches your connection to nature.
Creating a personal paradise is more than just planting flowers—it’s about orchestrating a symphony of textures, scents, and sounds that reflects your personal style. In this guide, you’ll discover how to select plants that thrive in harmony, design spaces that invite relaxation, and incorporate elements that soothe and inspire. From choosing the right foliage to creating cozy nooks, you’ll learn practical strategies to transform any space into a lush, inviting retreat. Get ready to dig in and cultivate a little slice of paradise that feels uniquely yours.
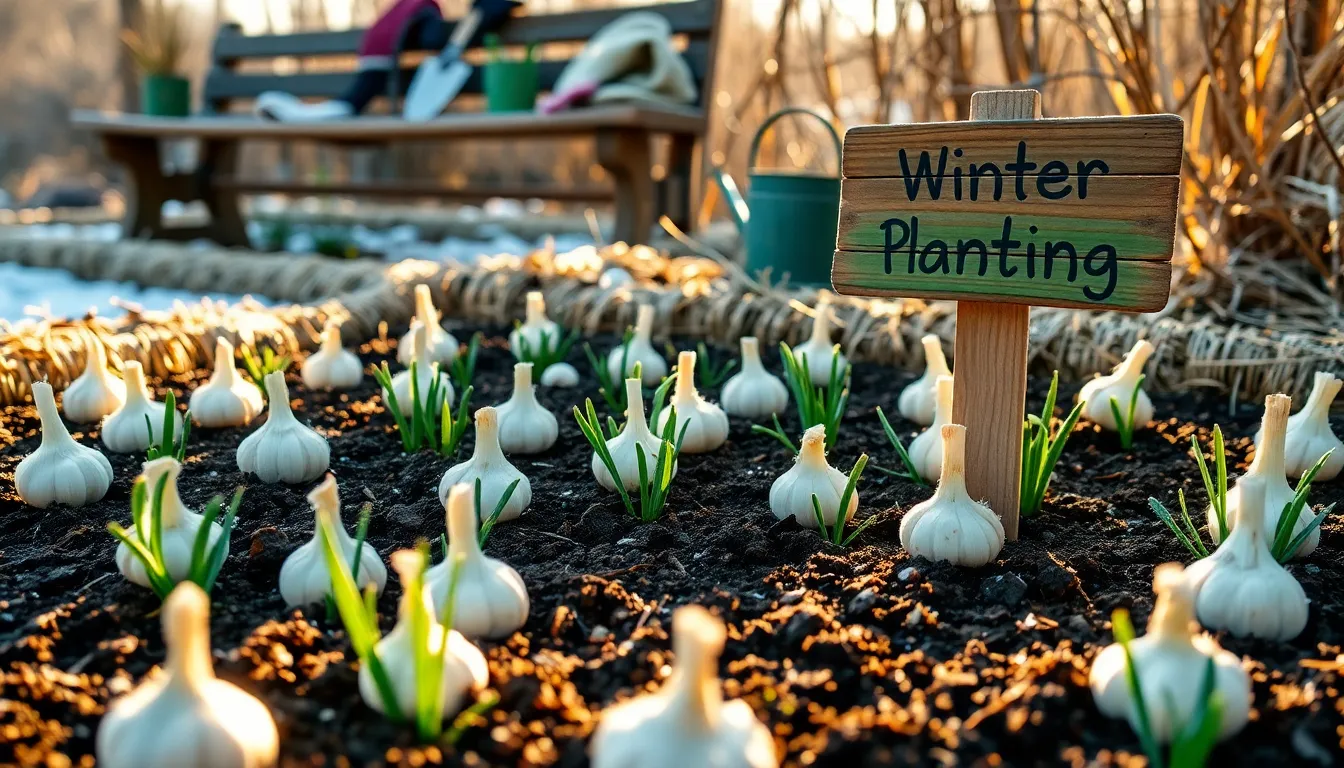
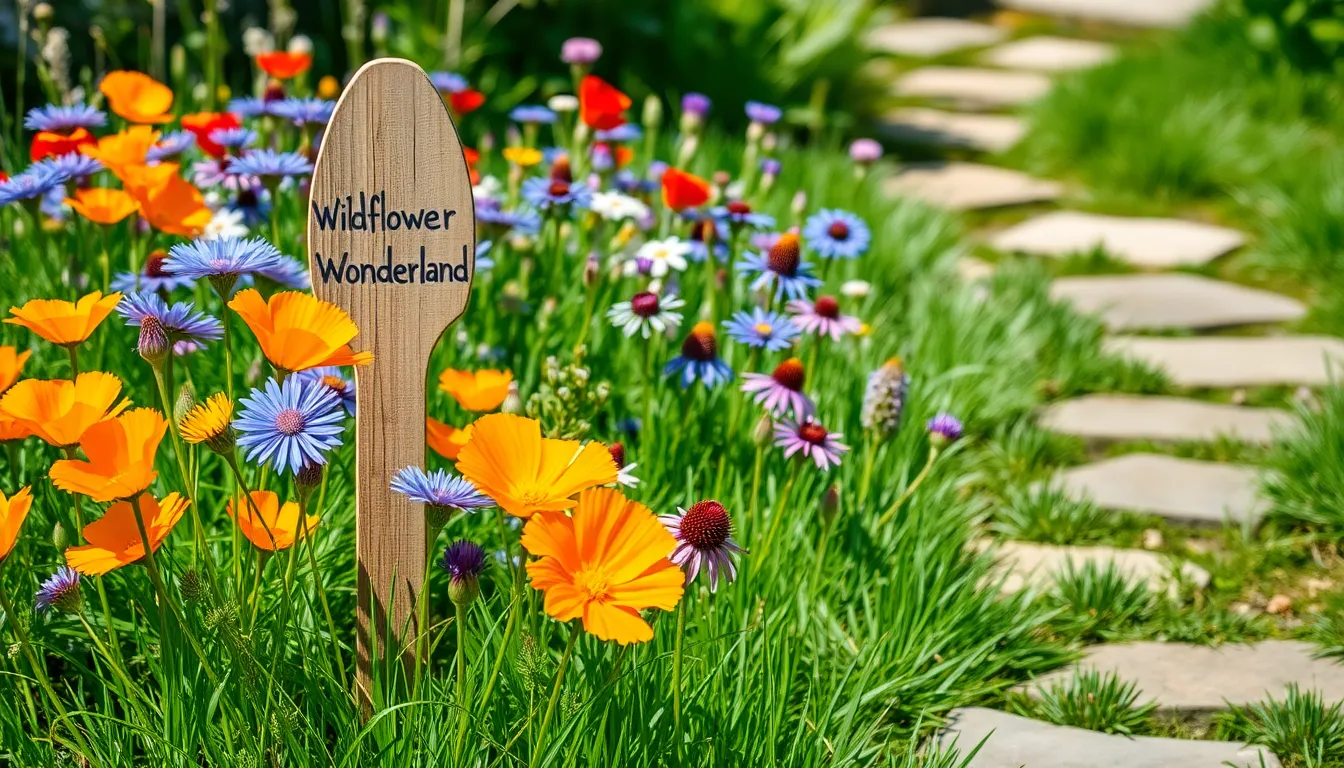
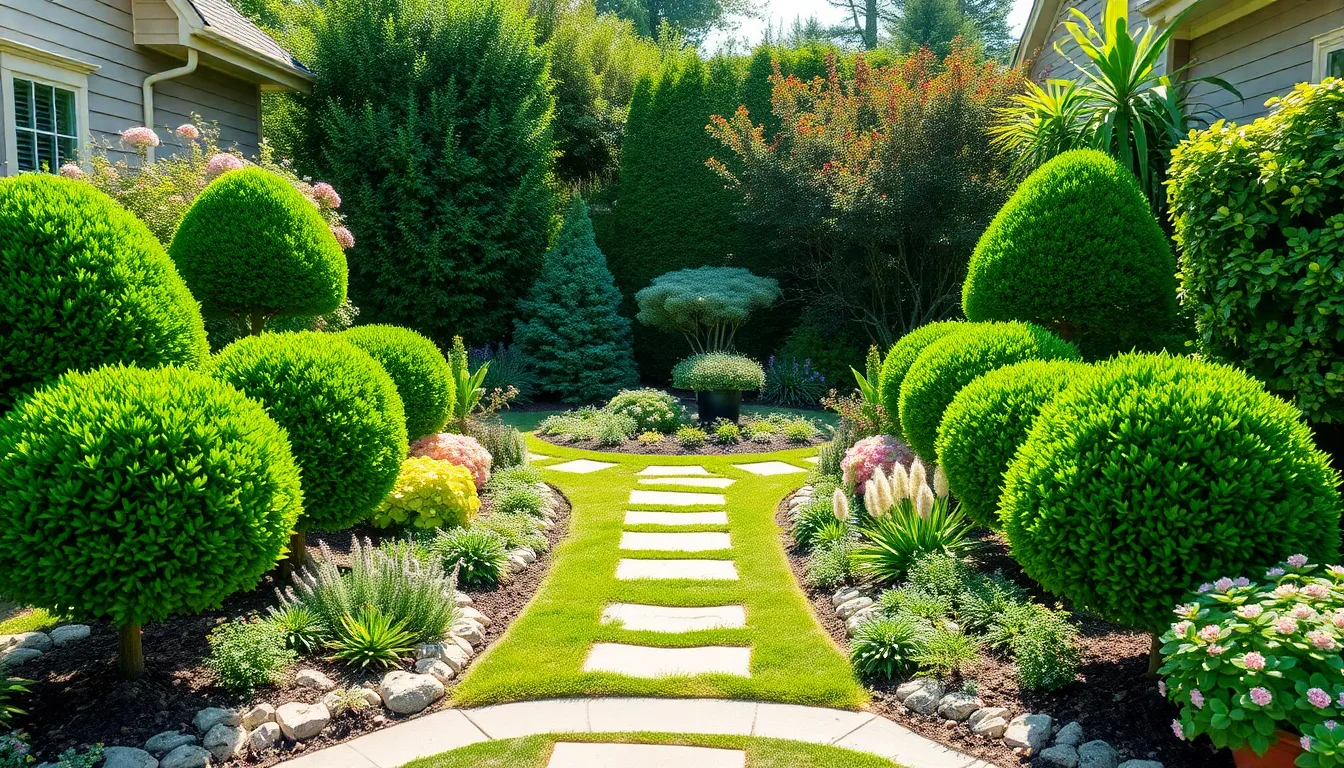
Select a Tranquil Location
Finding a tranquil location for your garden is essential to creating a peaceful oasis. Choose a spot that receives the right amount of sunlight, typically six to eight hours for most flowering plants, ensuring both beauty and growth.
Consider the surrounding environment to minimize noise and distractions. Tall hedges or fences can help block out unwanted sounds, providing a more serene atmosphere.
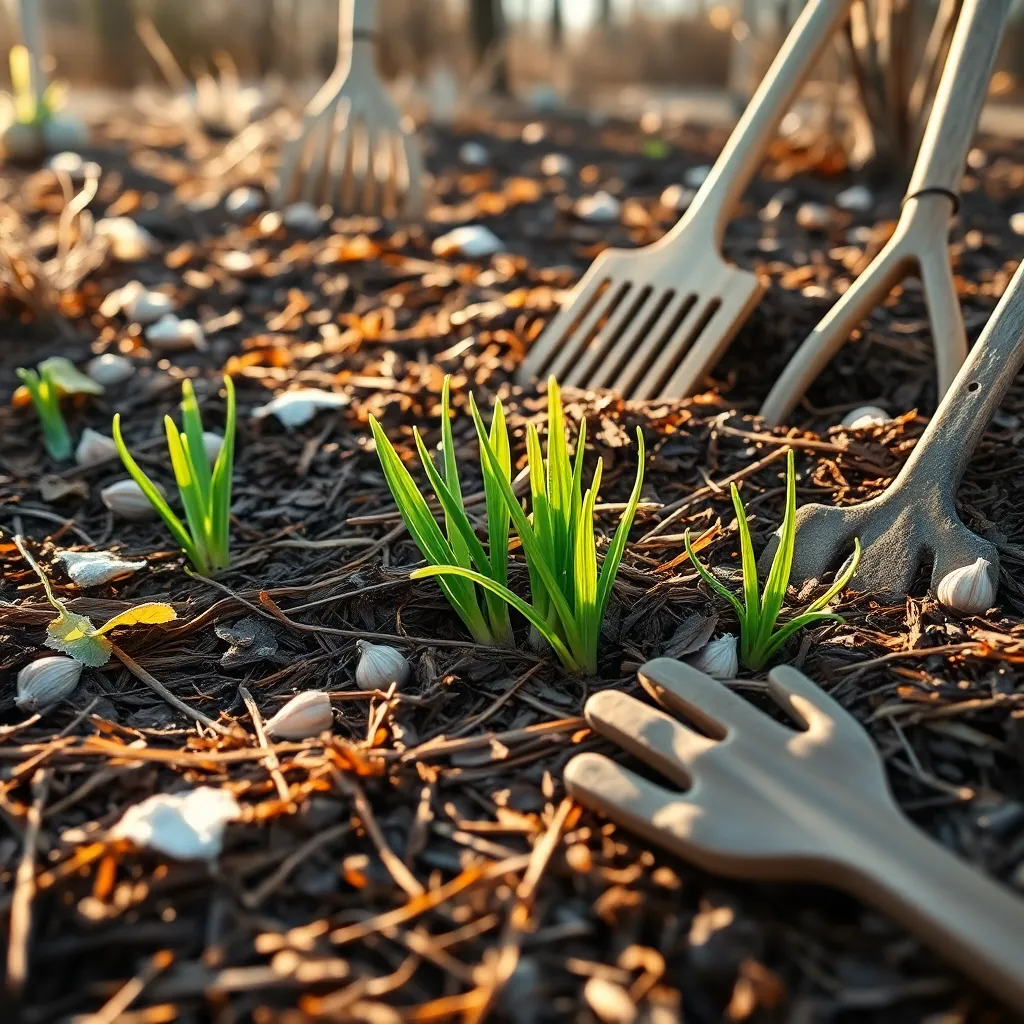
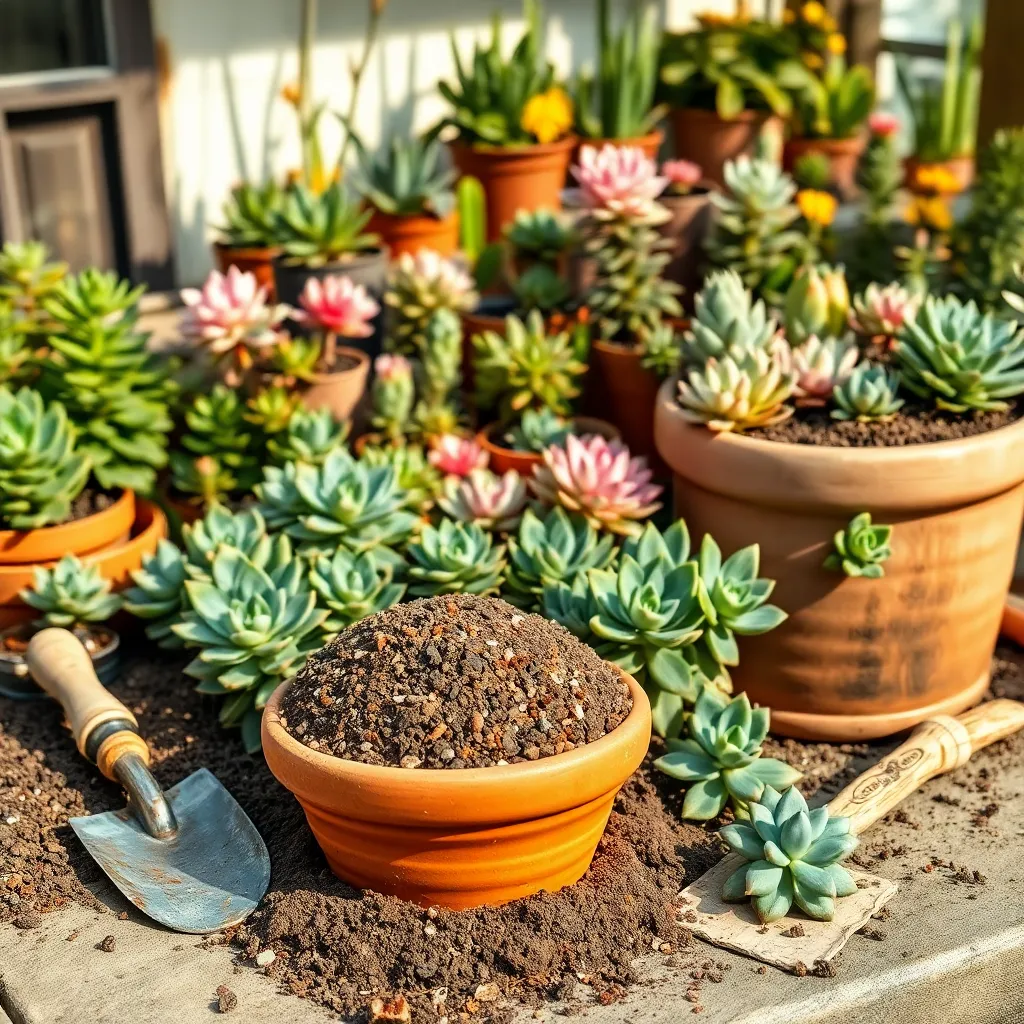
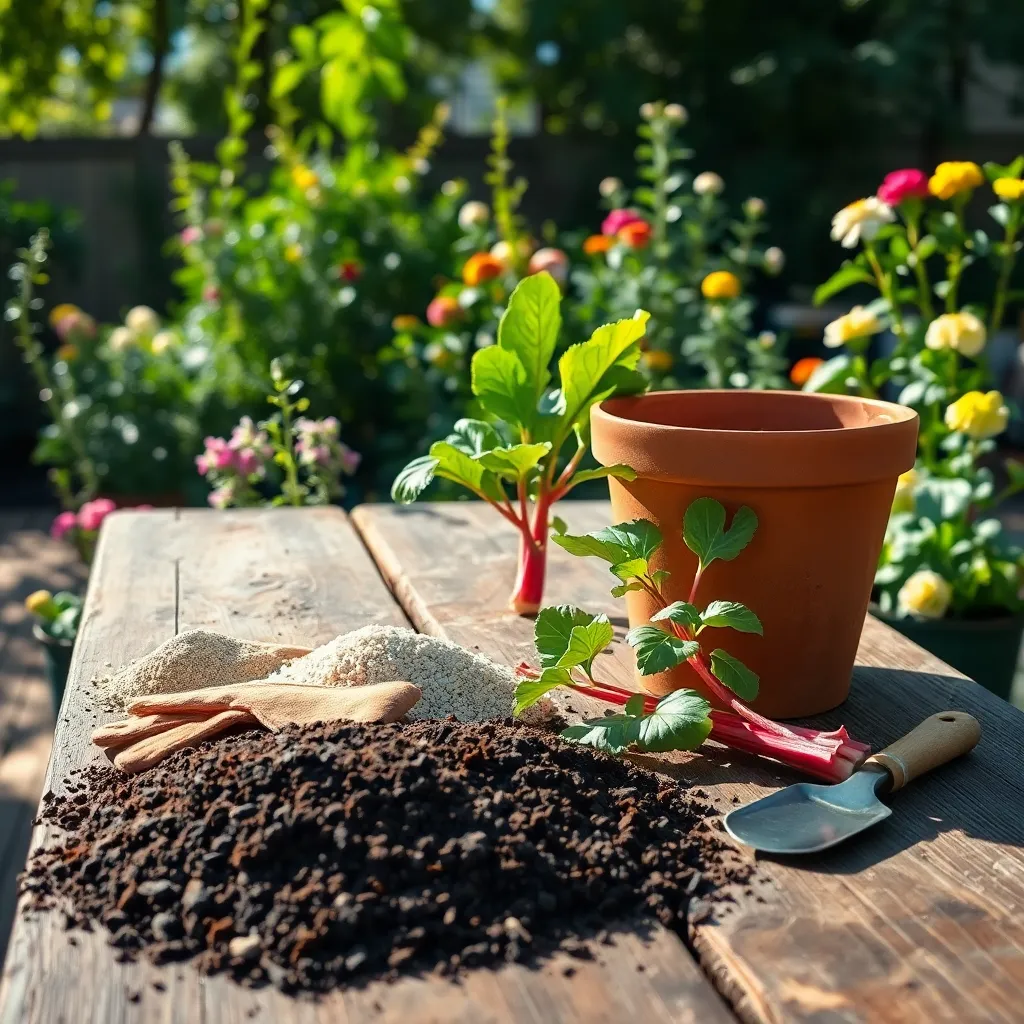
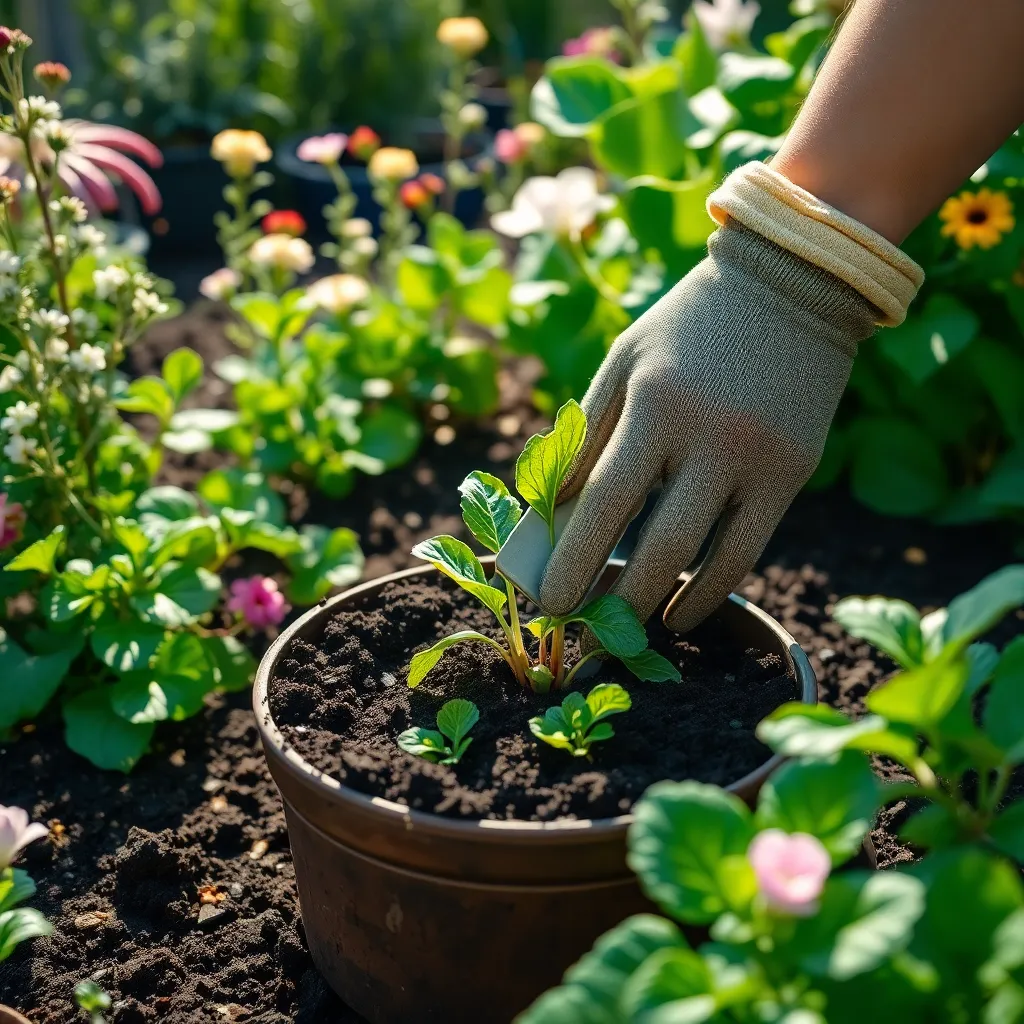
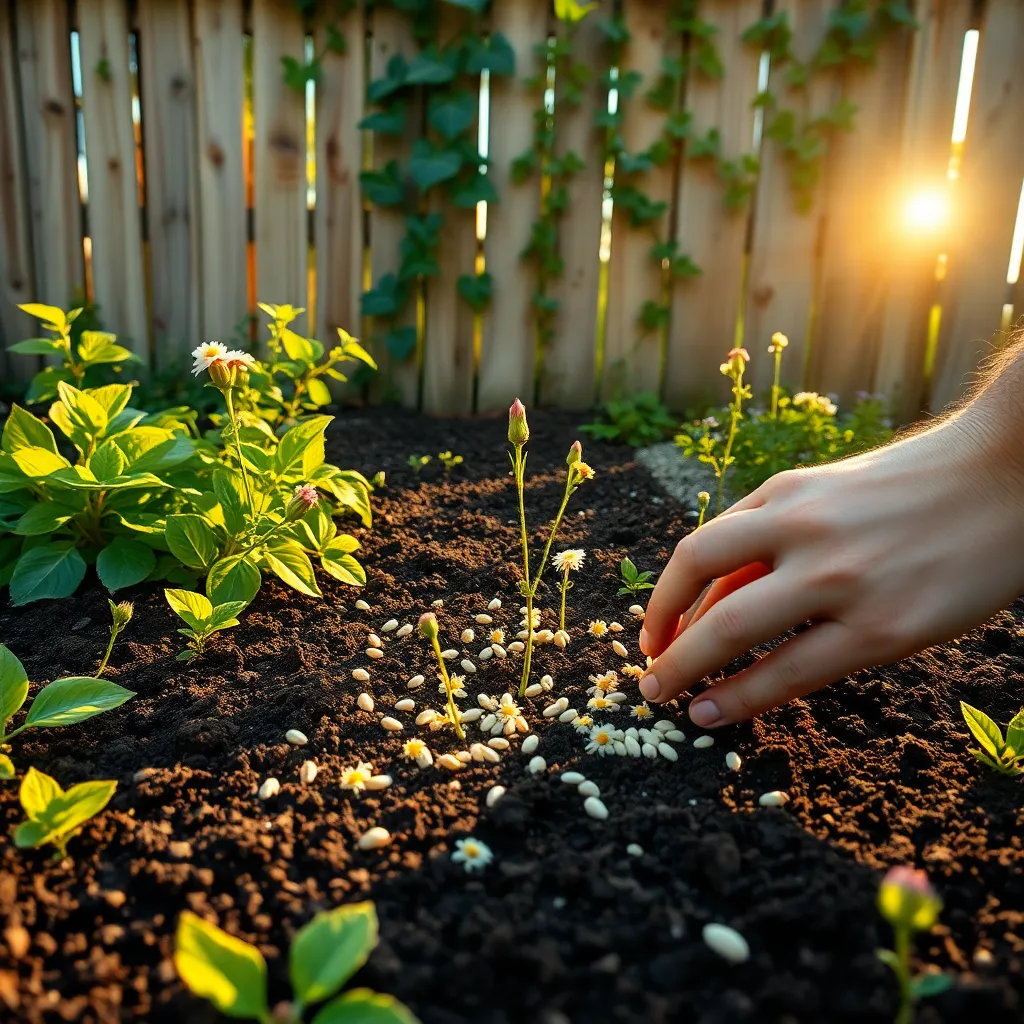
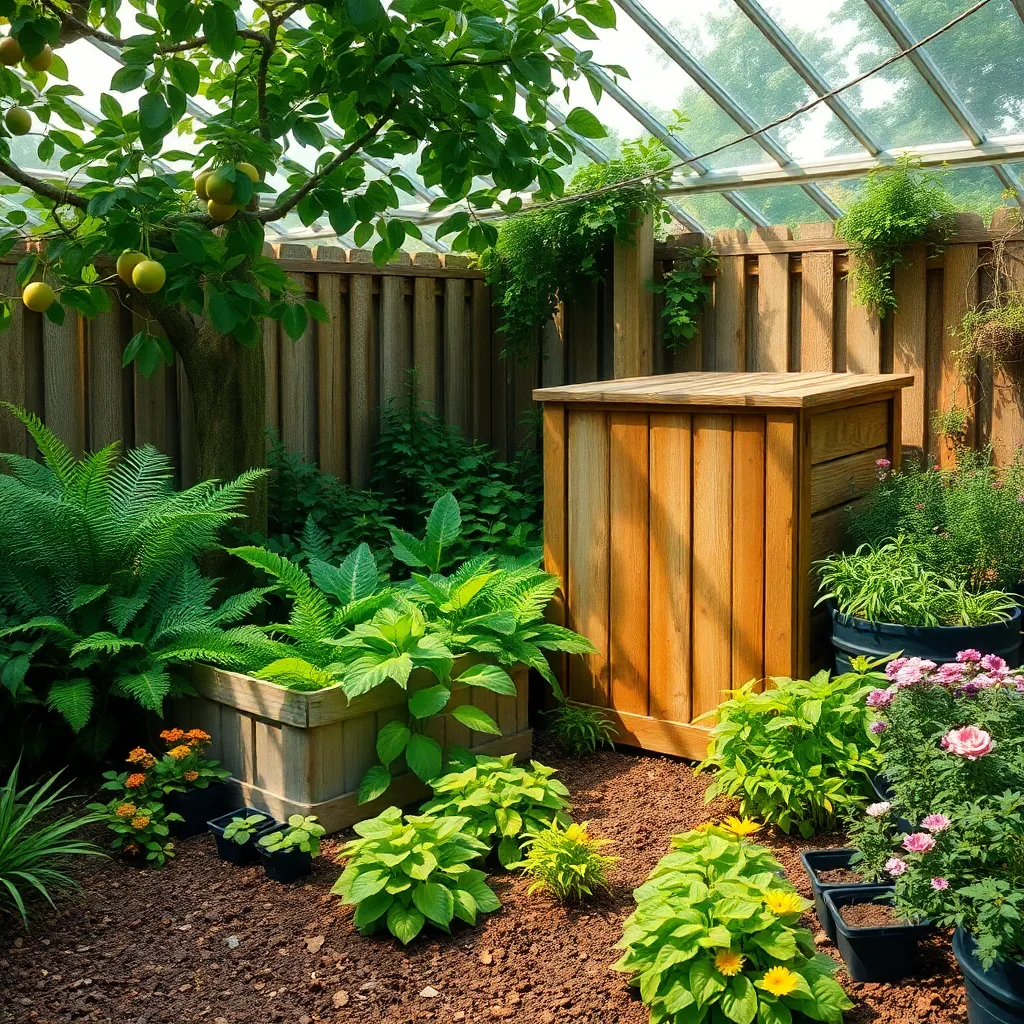
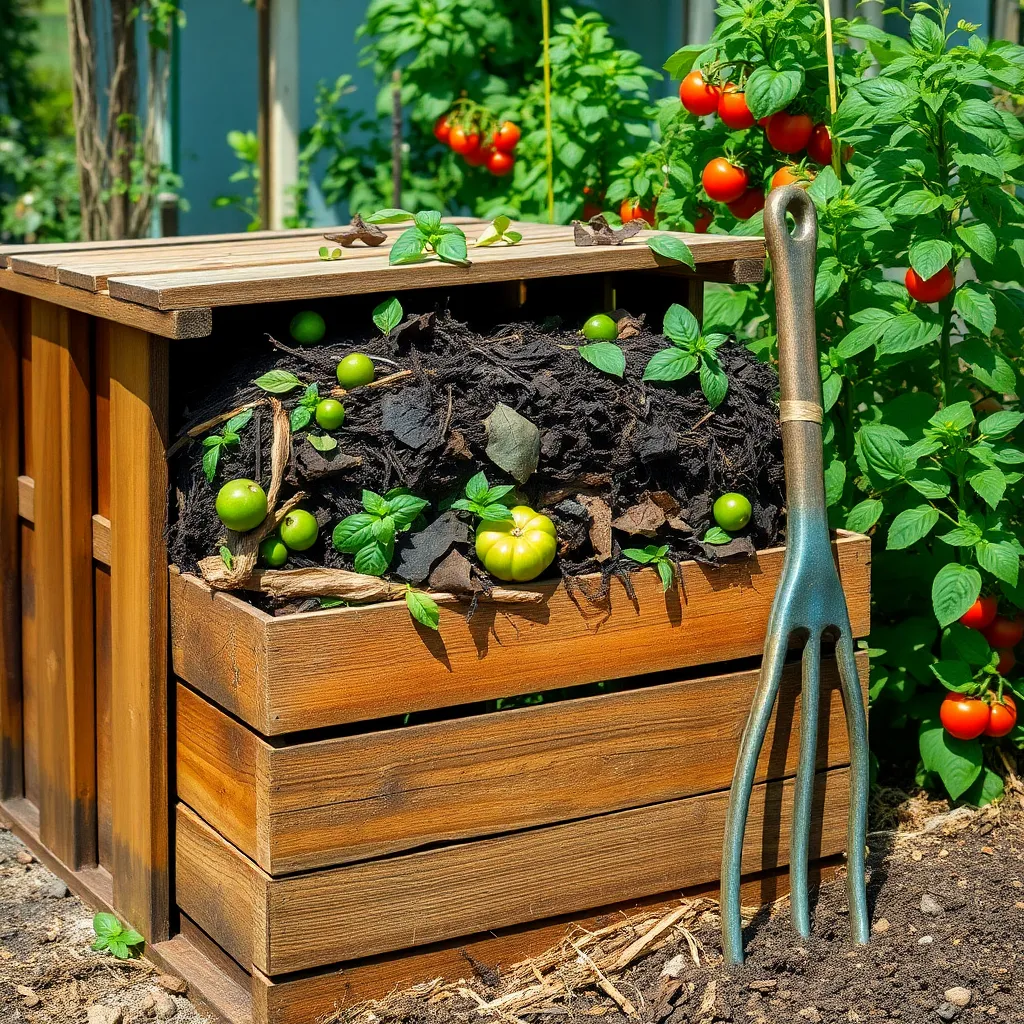
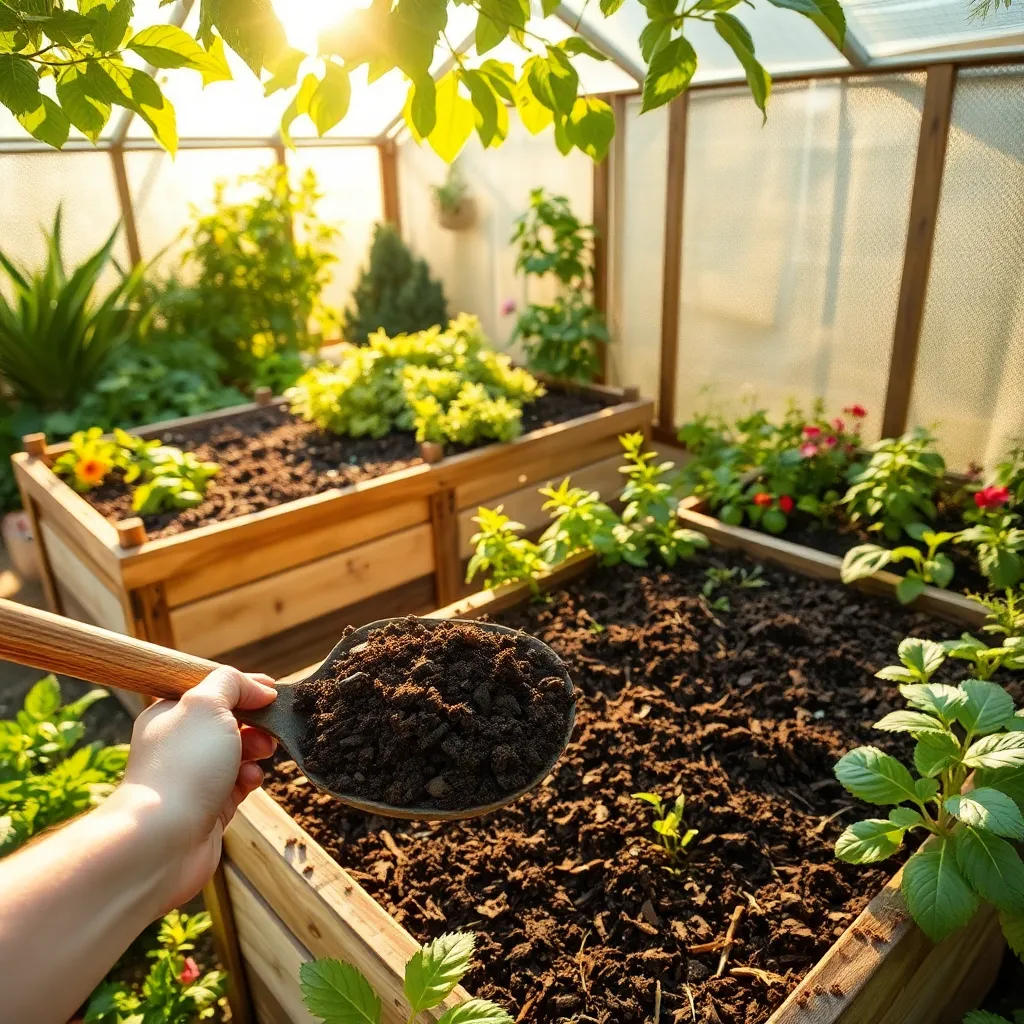
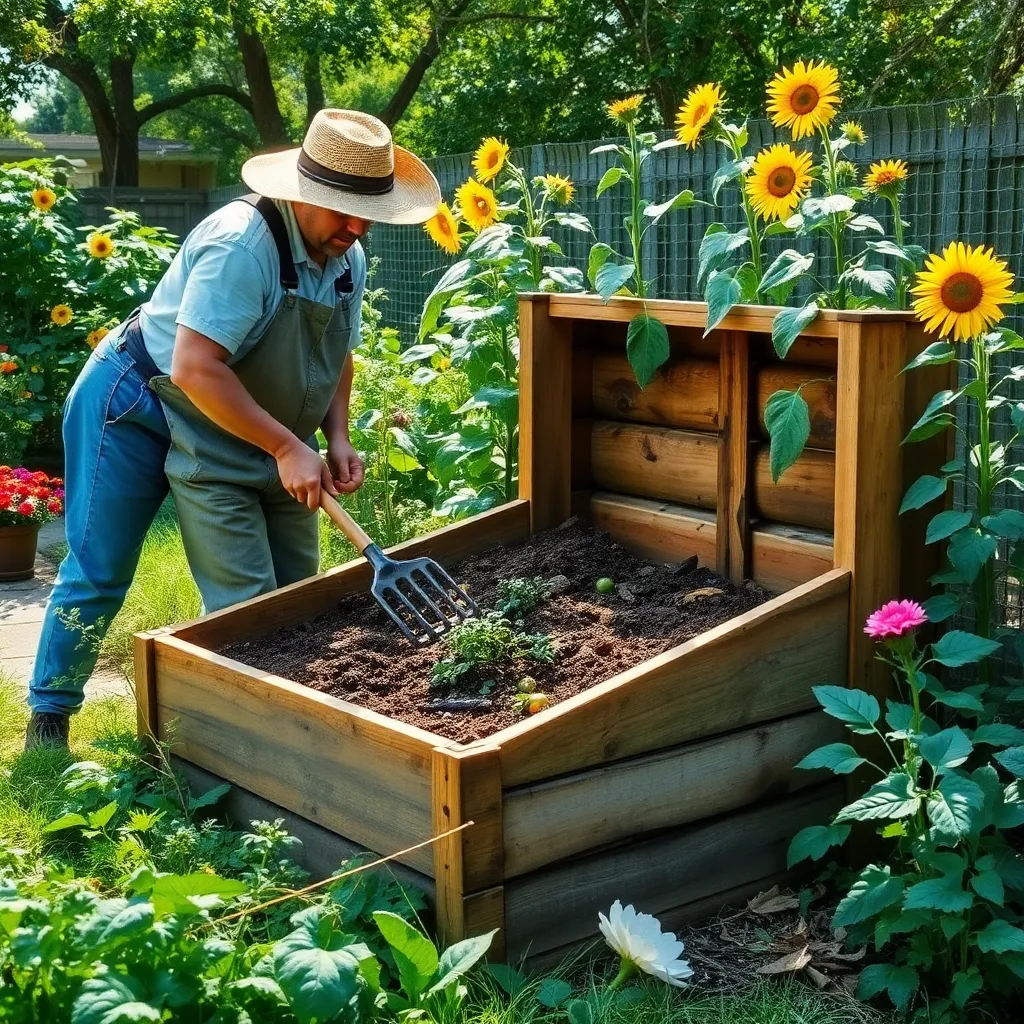
Evaluate the soil condition in your chosen area, as it forms the foundation of a thriving garden. Amending the soil with organic matter like compost can enhance drainage and nutrient content, supporting healthy plant growth.
For those with more experience, think about incorporating features that enhance tranquility, such as a small water fountain or wind chimes. These elements can add soothing sounds and visual interest, deepening the sense of peace in your garden.
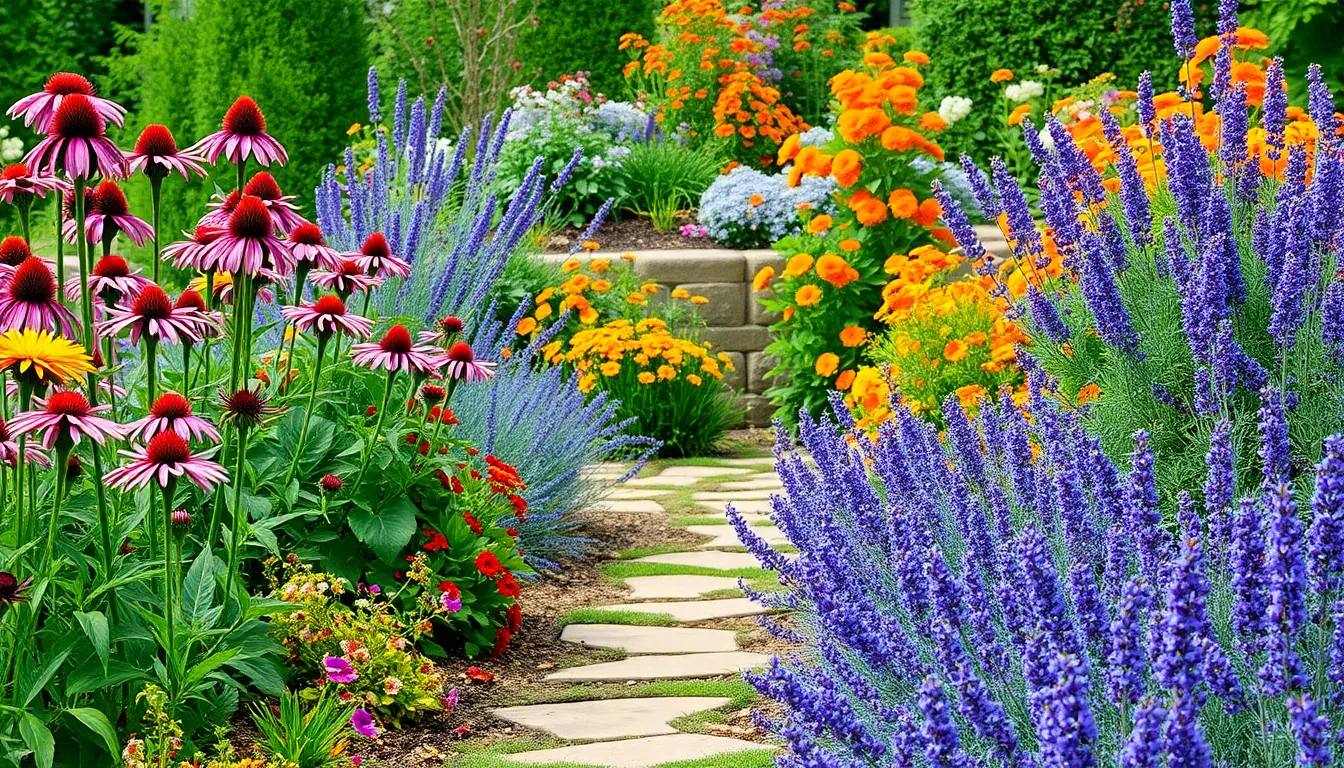
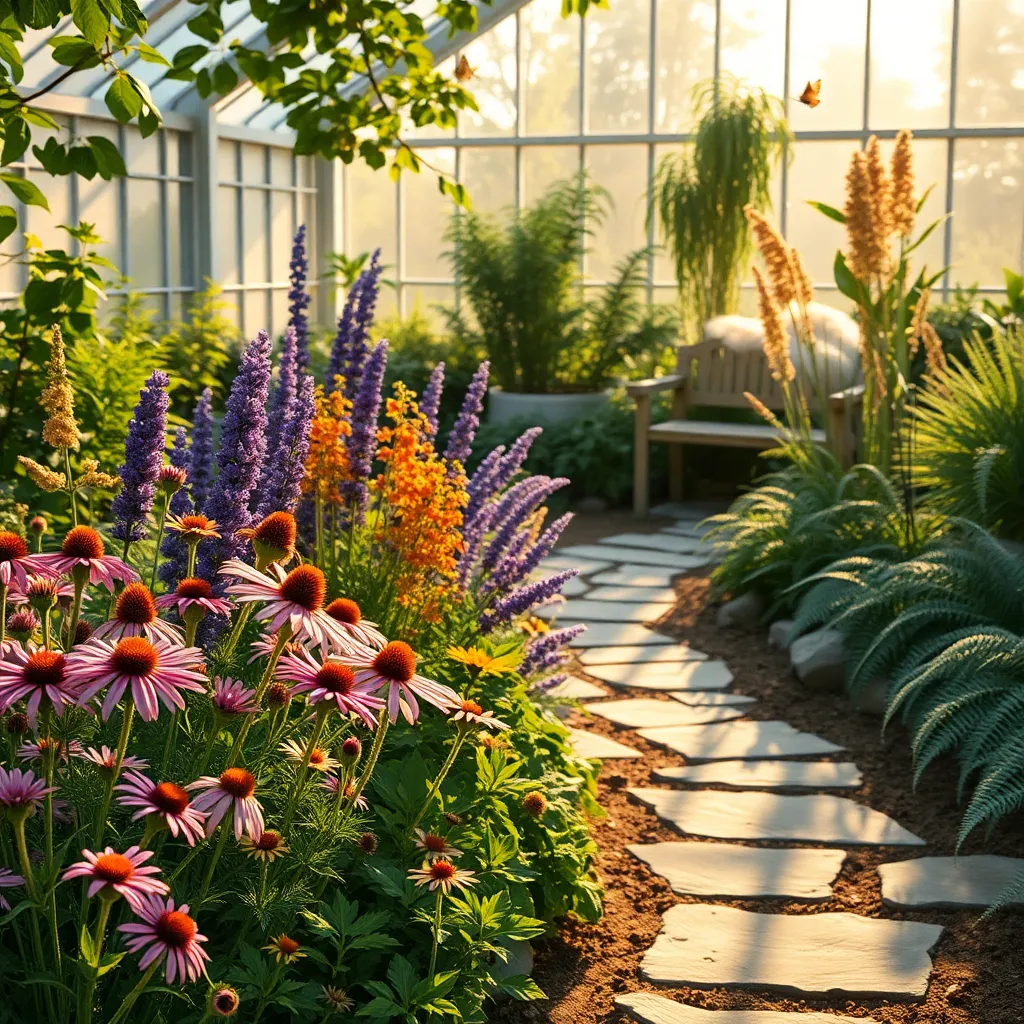
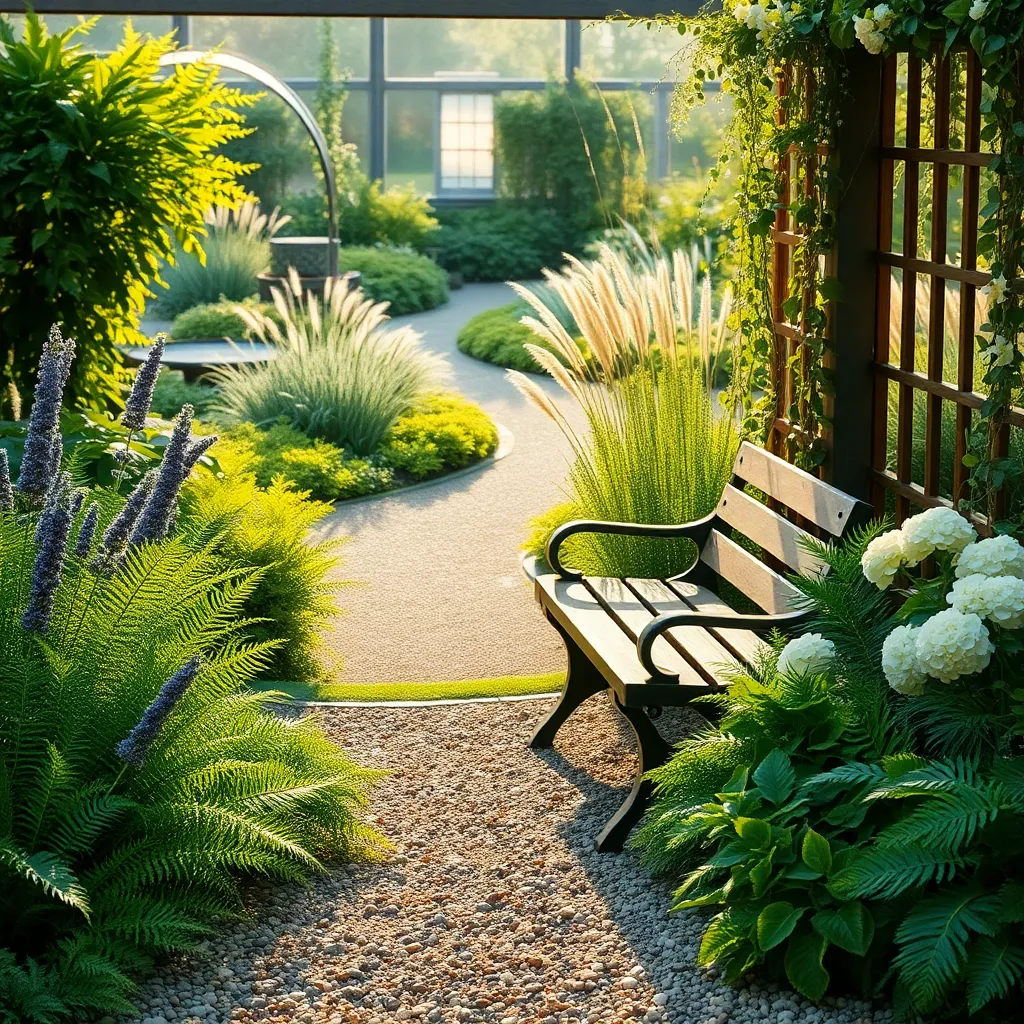
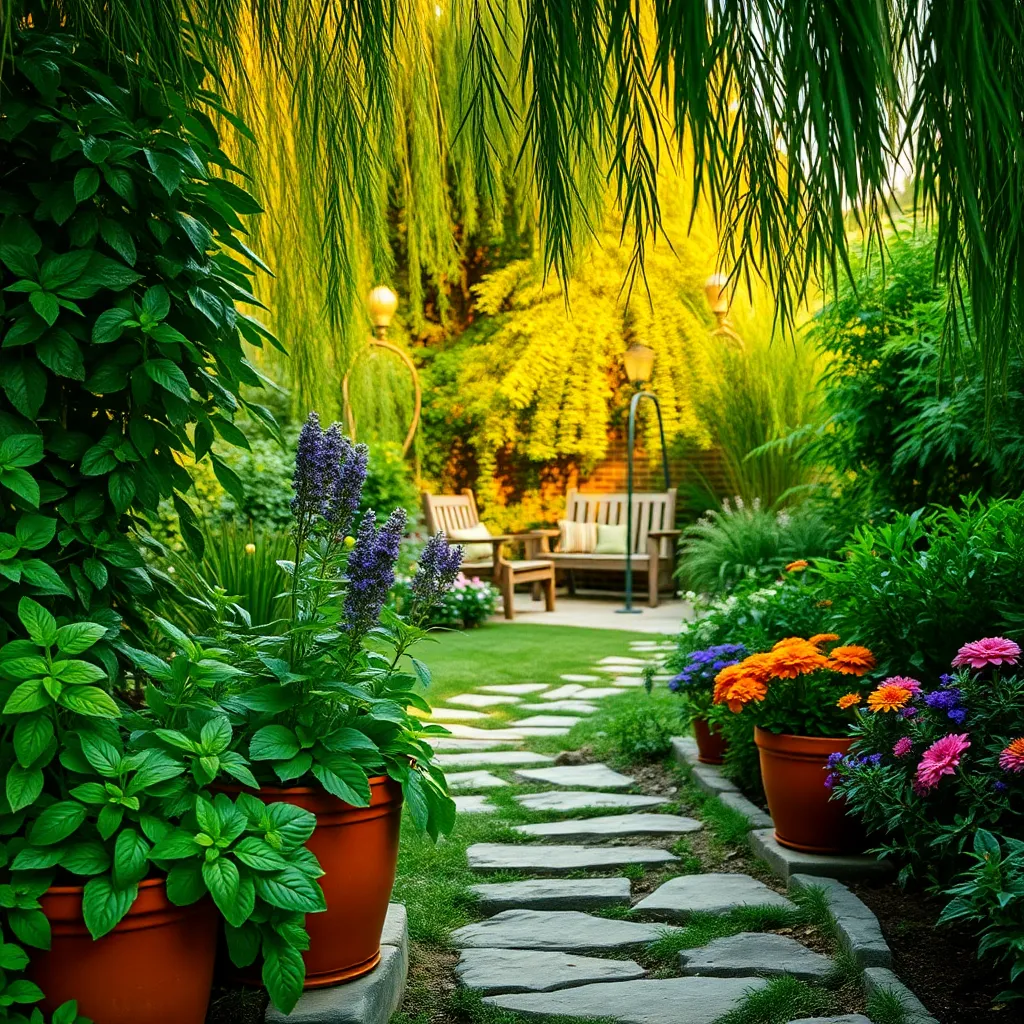
Design a Calming Layout
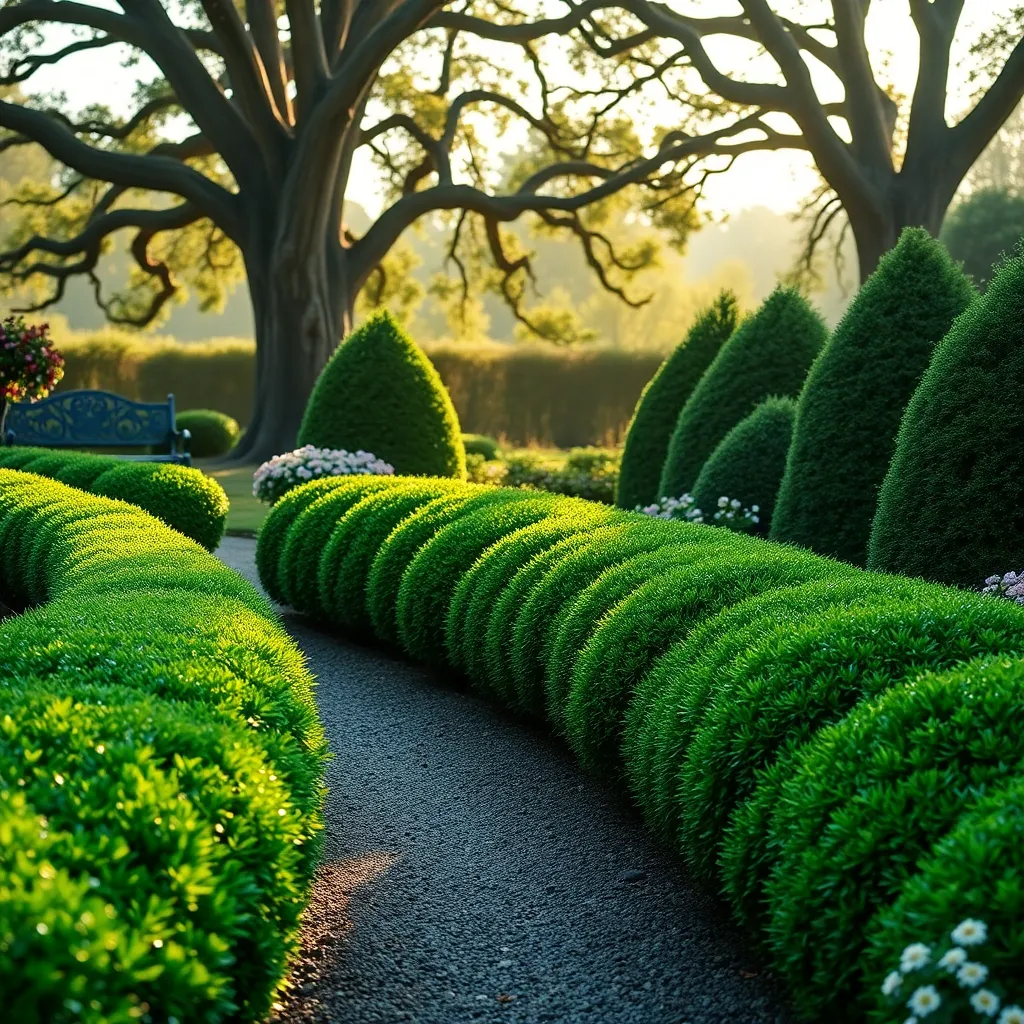
Creating a calming garden layout begins with understanding the flow of your space. Use pathways to gently guide visitors, incorporating curves rather than straight lines to encourage a slower, more contemplative stroll.
Consider using materials like gravel or stepping stones for pathways, as their textures and colors can add a natural, soothing element. Gravel paths also provide a pleasant crunch underfoot, enhancing the sensory experience of your garden.
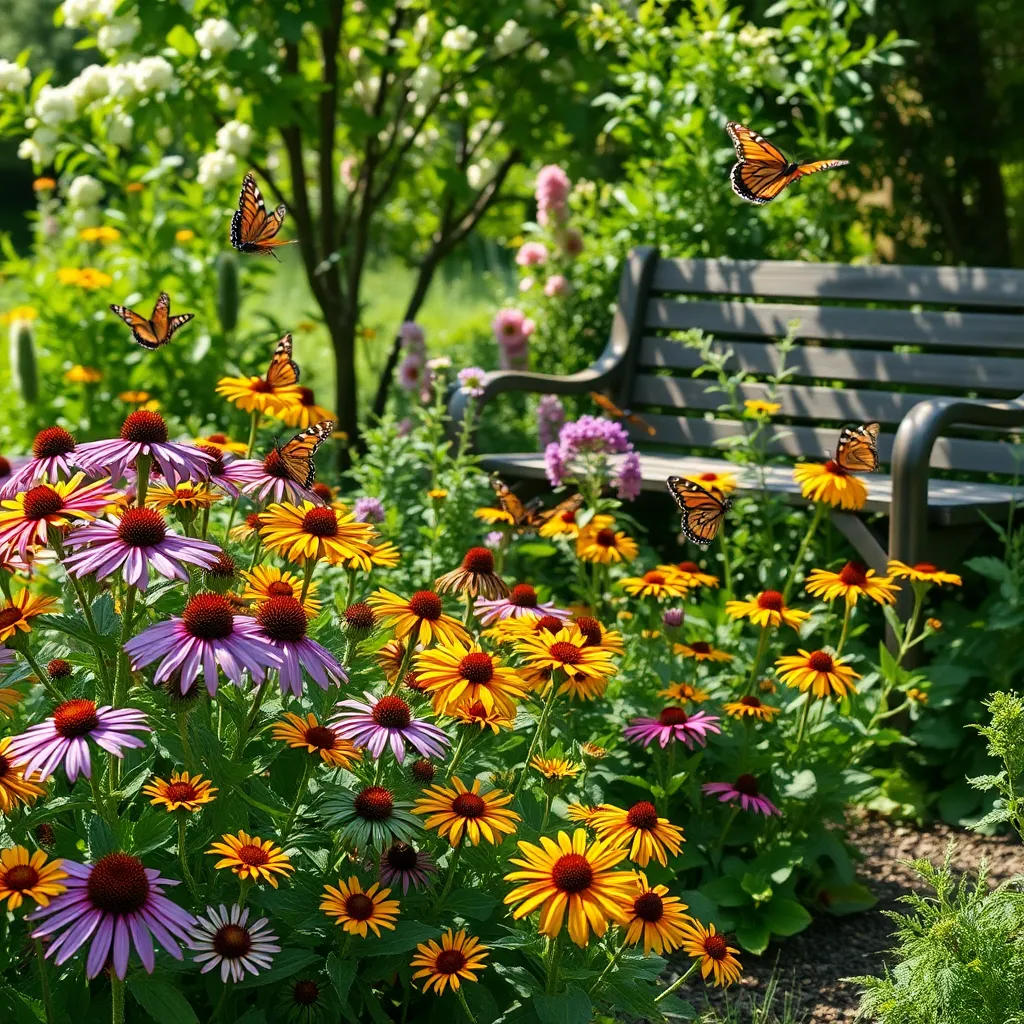
Integrate areas for relaxation with comfortable seating that blends into the environment. Choose natural materials like wood or stone, and position seating to offer views of your favorite plants or water features.
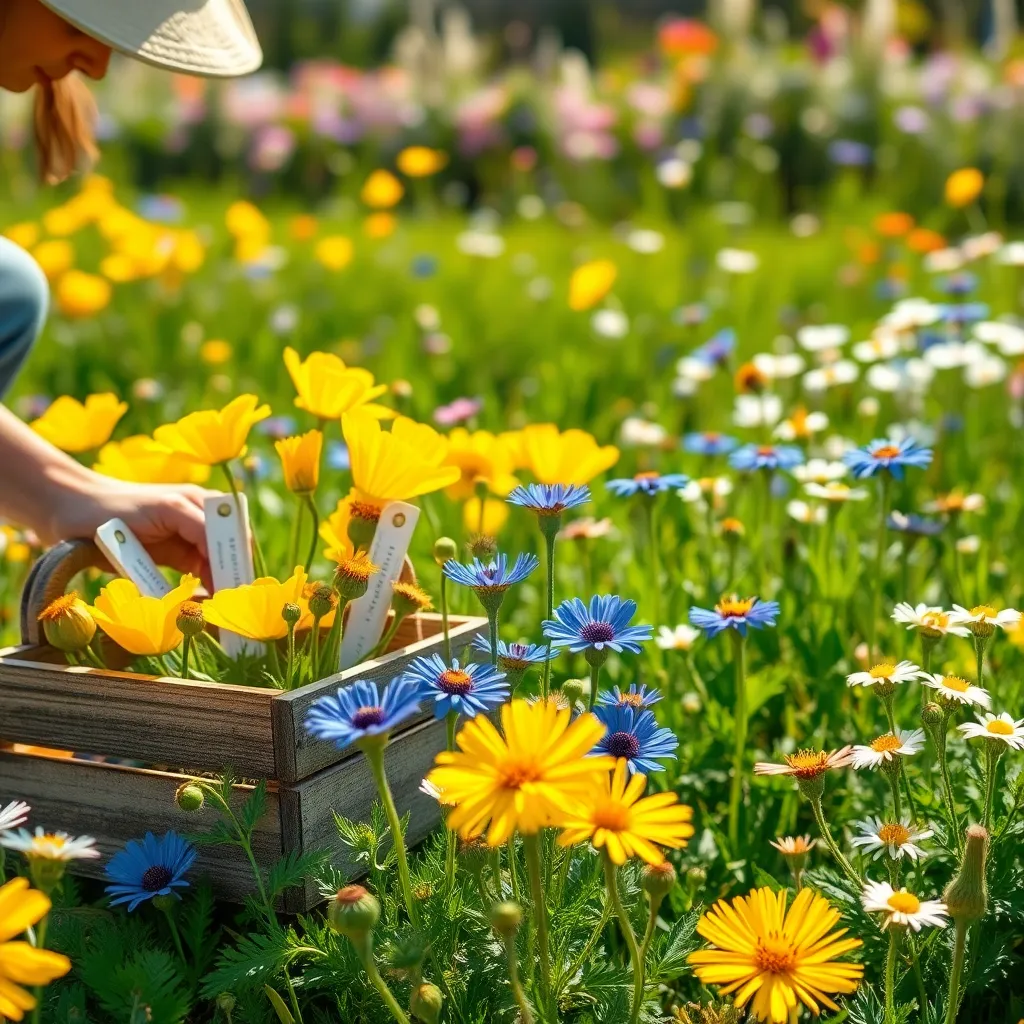
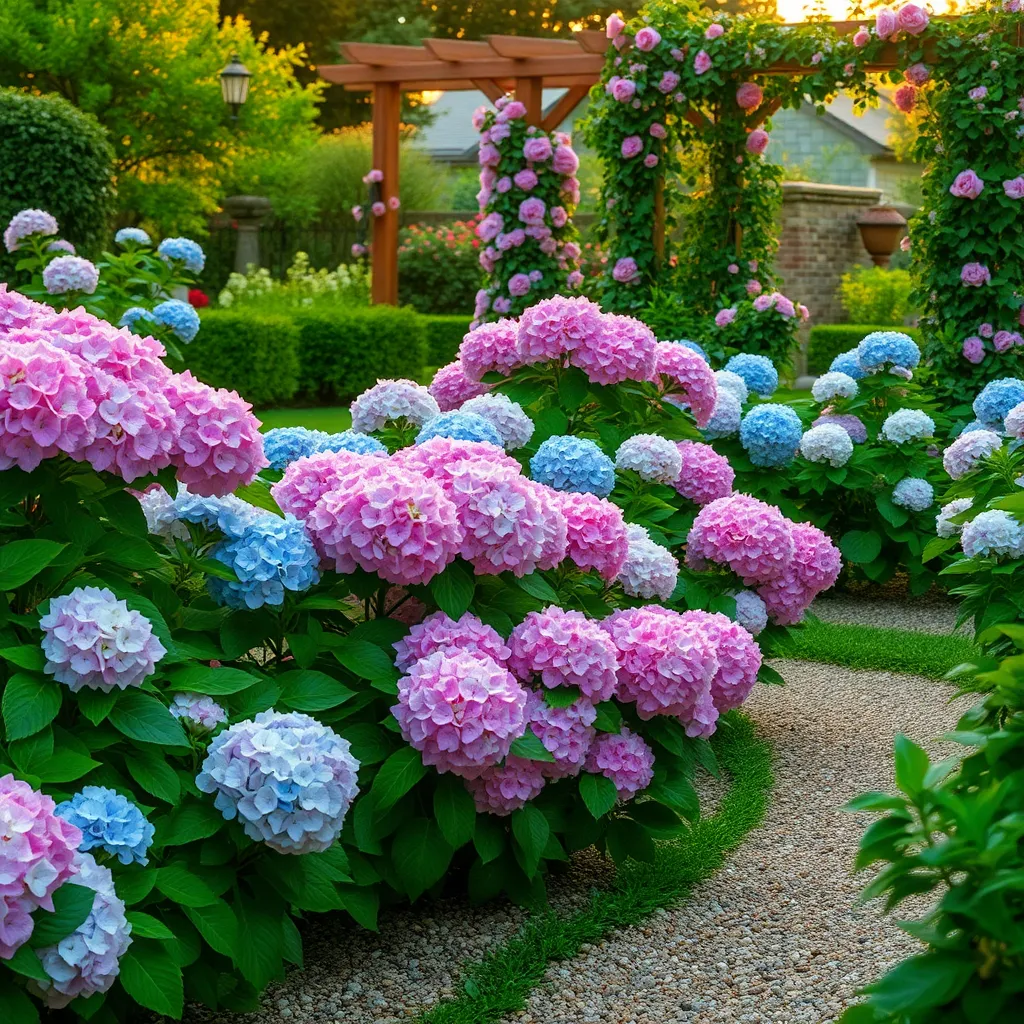
Plant selection is crucial to setting the mood, so opt for species known for their calming effects, like lavender or chamomile. These plants not only emit soothing fragrances but also attract beneficial insects like bees and butterflies, enhancing the peaceful ambiance.
For a more advanced touch, consider adding vertical elements such as a trellis with climbing plants. Clematis or wisteria can provide shade and a beautiful focal point, while also creating a sense of enclosure and privacy.
Finally, ensure you choose plants suited to your climate and soil type, as healthy plants contribute greatly to the garden’s tranquility. Regularly check soil moisture and adjust watering routines to maintain optimal growing conditions, particularly for sensitive species.
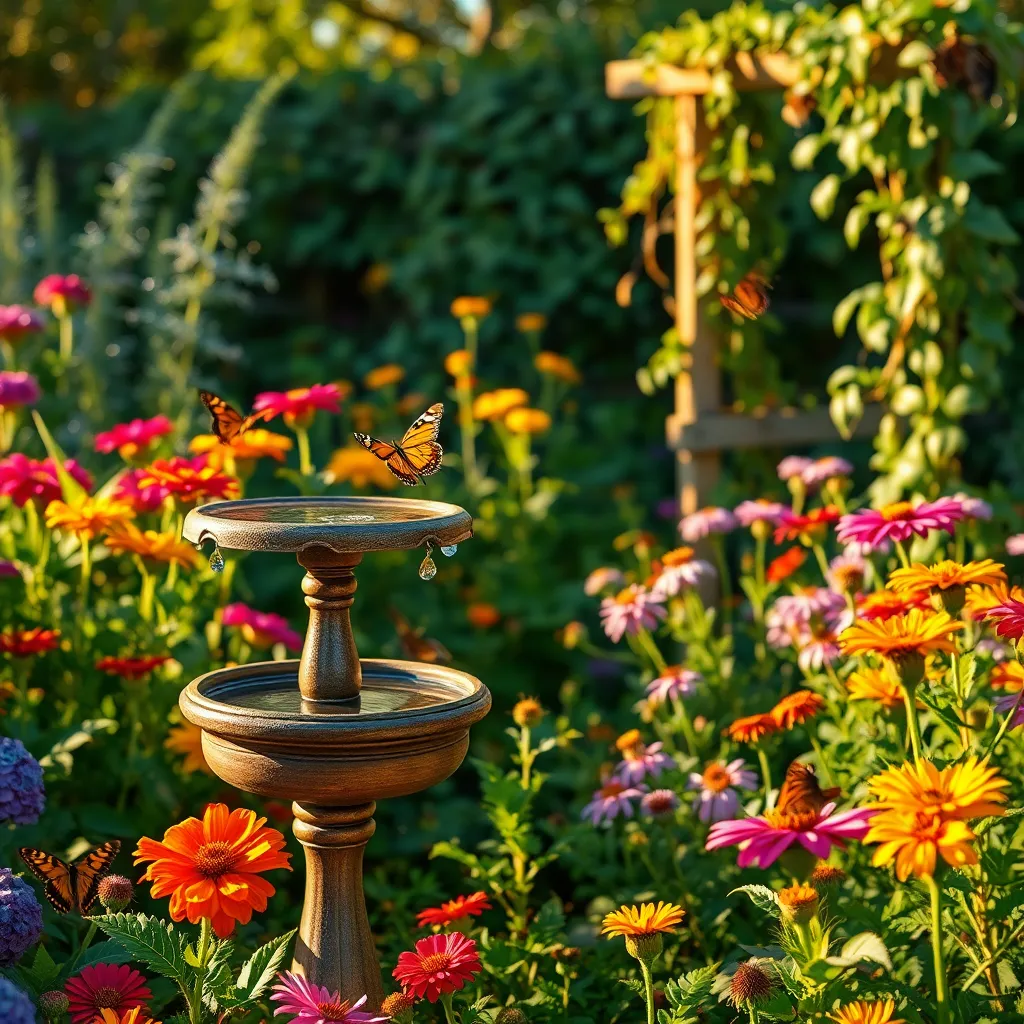
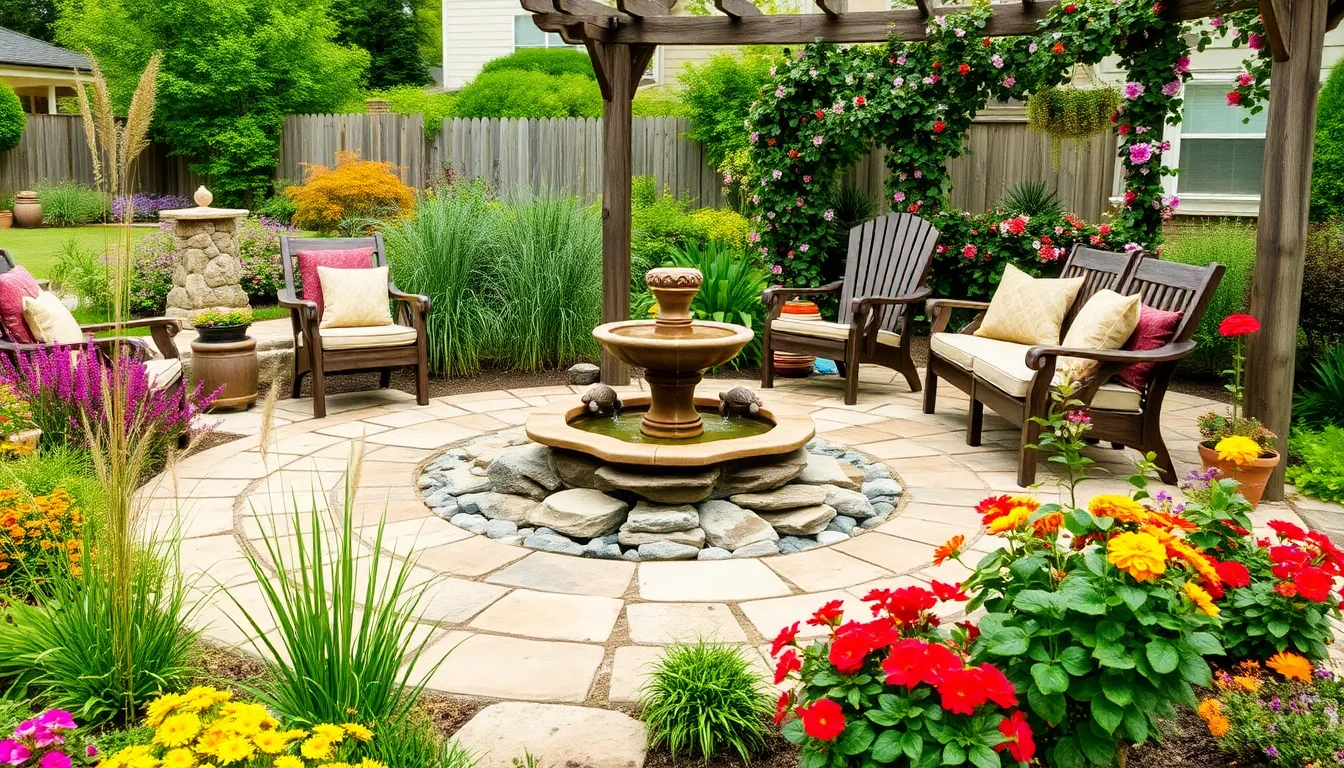
Incorporate Soothing Water Features
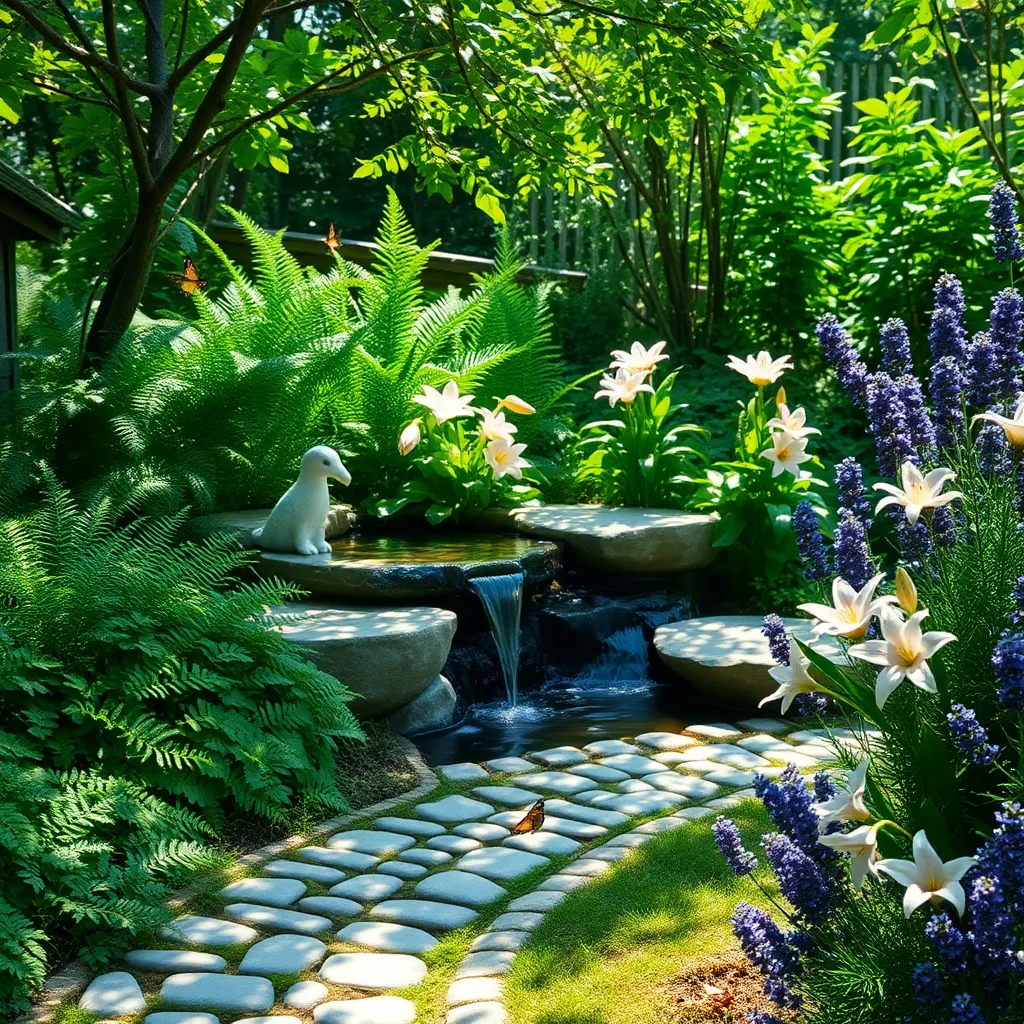
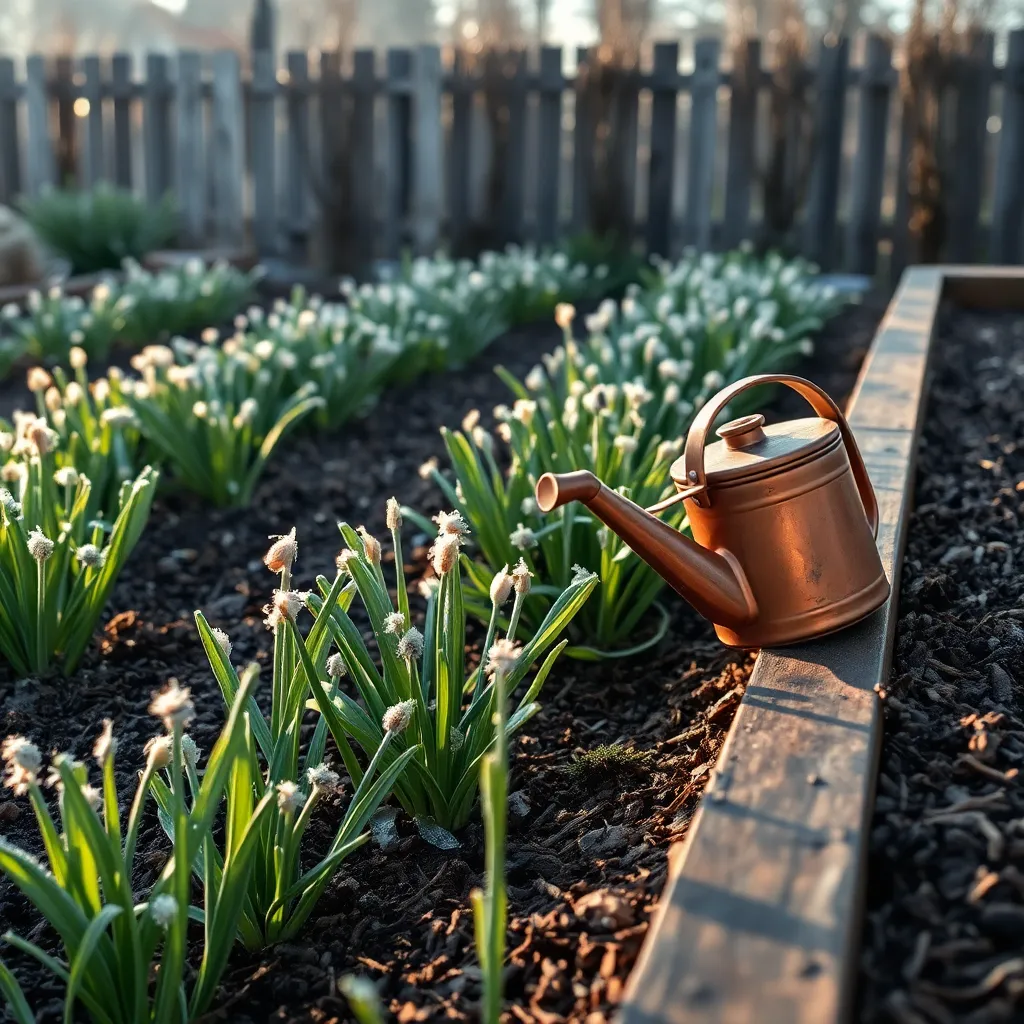
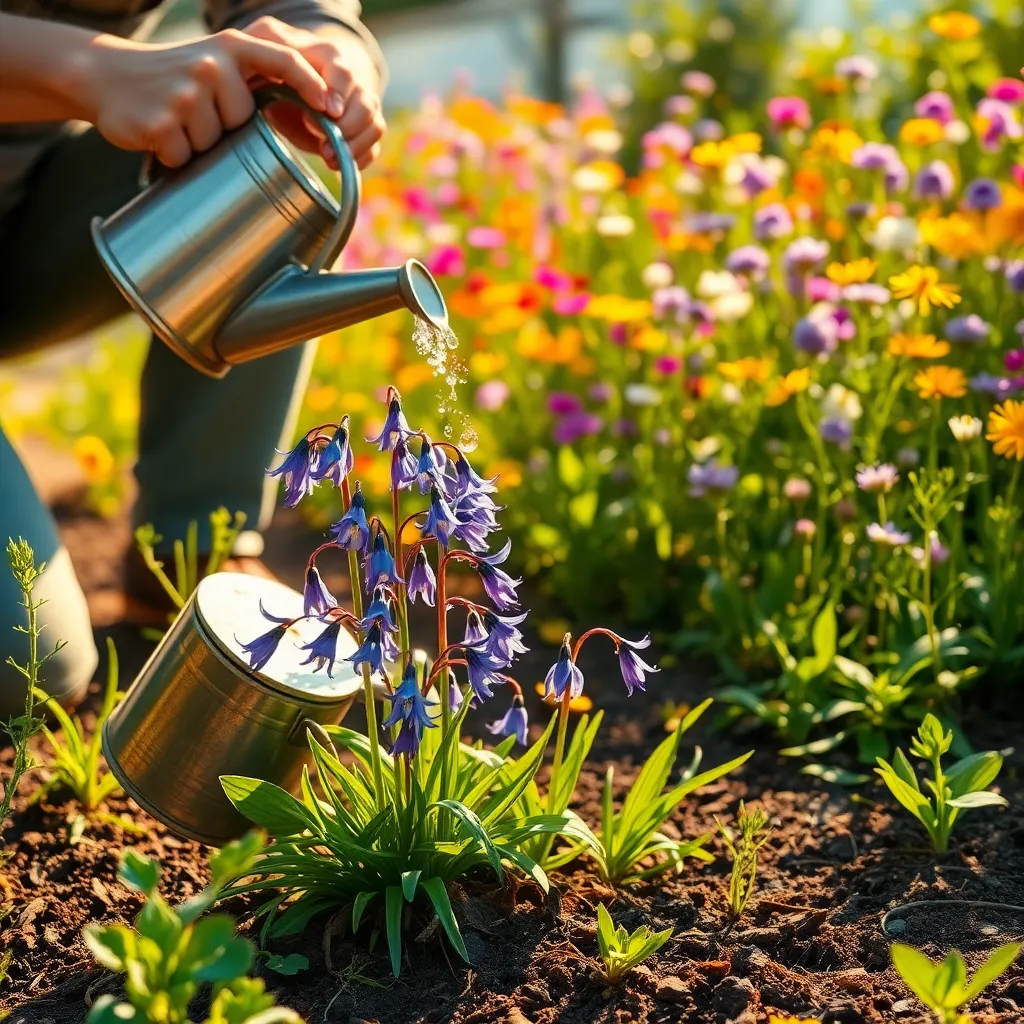
Incorporating a soothing water feature can significantly enhance the tranquility of your garden oasis. Consider installing a small fountain or a pond to introduce the calming sound of water, which can help mask neighborhood noise and create a peaceful retreat.
When planning a water feature, choose a location that receives partial sunlight to prevent algae growth. For beginners, solar-powered fountains are an excellent choice as they are eco-friendly and easy to maintain, requiring minimal setup and zero electricity costs.
Ensure your water feature is on level ground and lined with a durable material like rubber or PVC to prevent leaks. Advanced gardeners might explore adding aquatic plants such as water lilies or lotus, which thrive in ponds and require at least six hours of sunlight daily.
Regular maintenance is crucial to keep your water feature clean and functional. Remove debris and algae buildup weekly, and ensure the water level is consistent, especially during hot weather when evaporation is high.
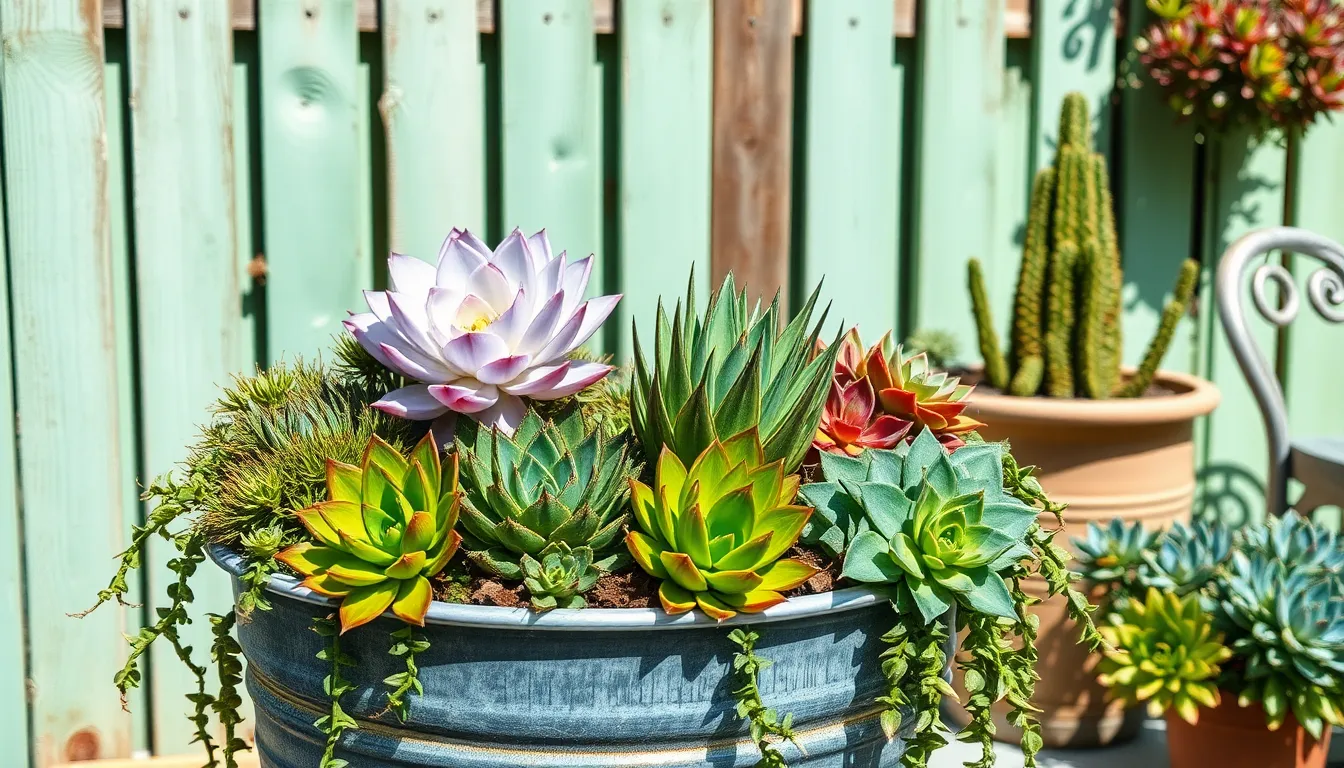
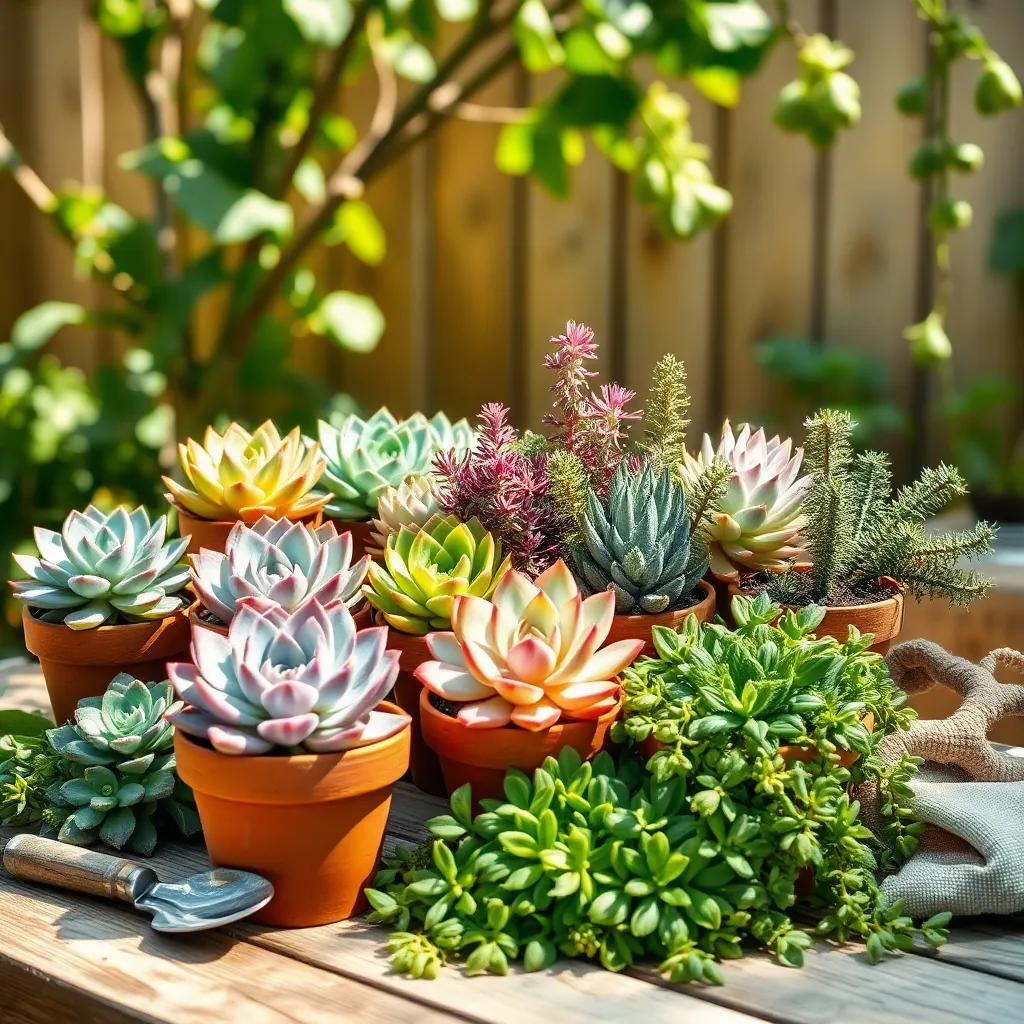
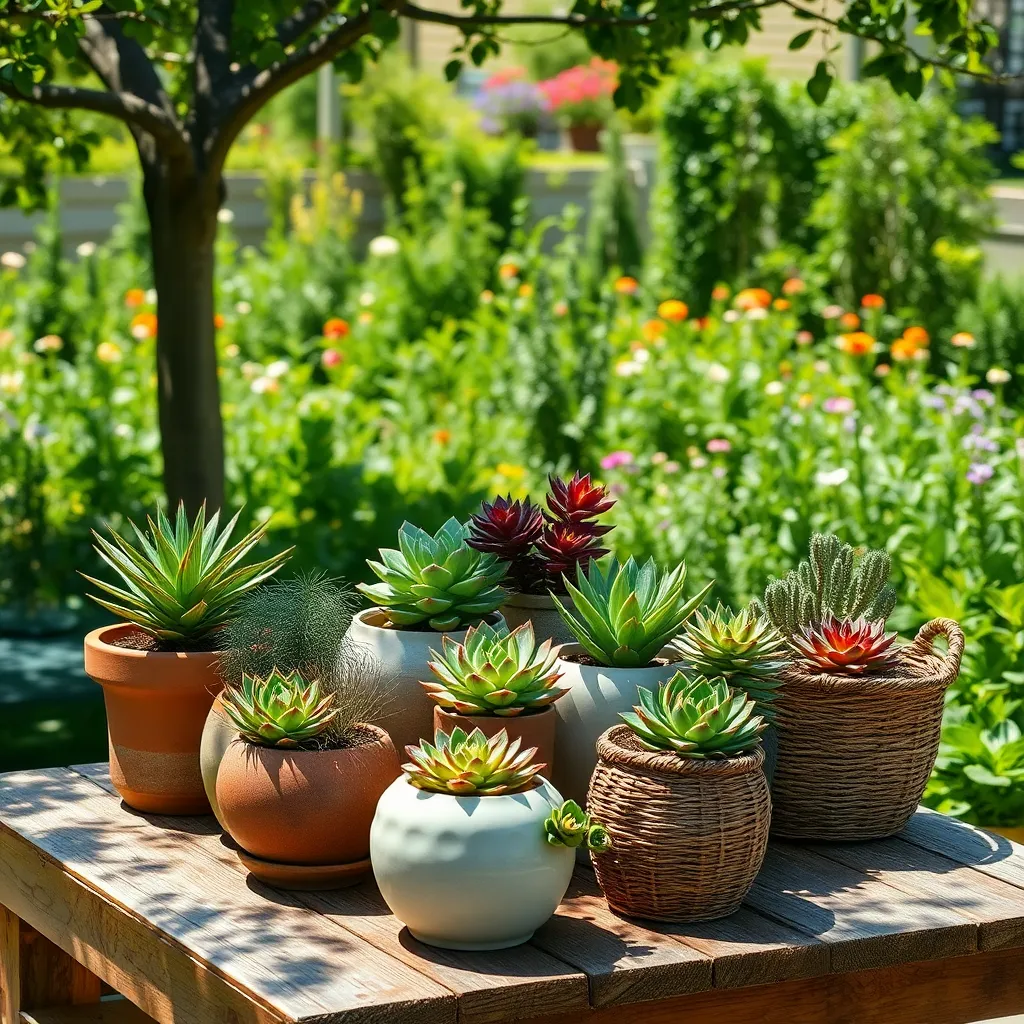
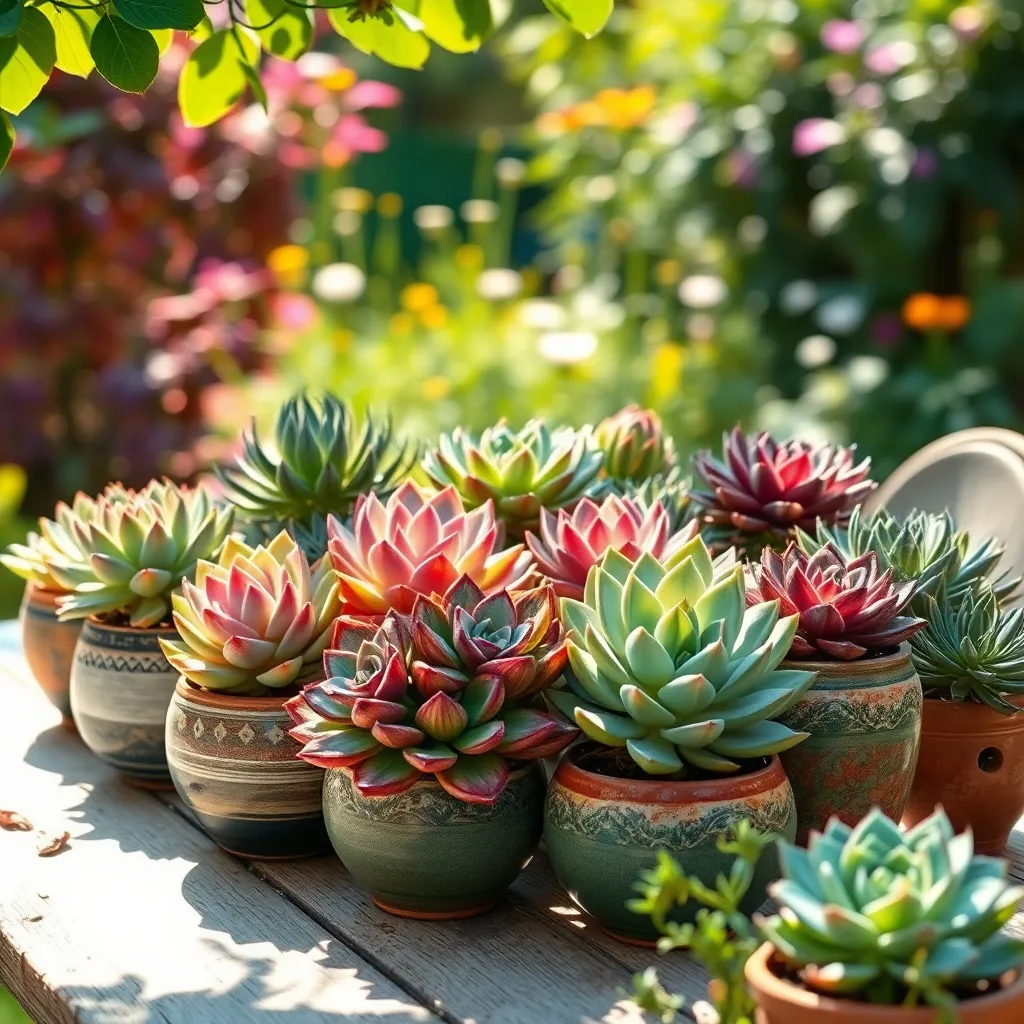
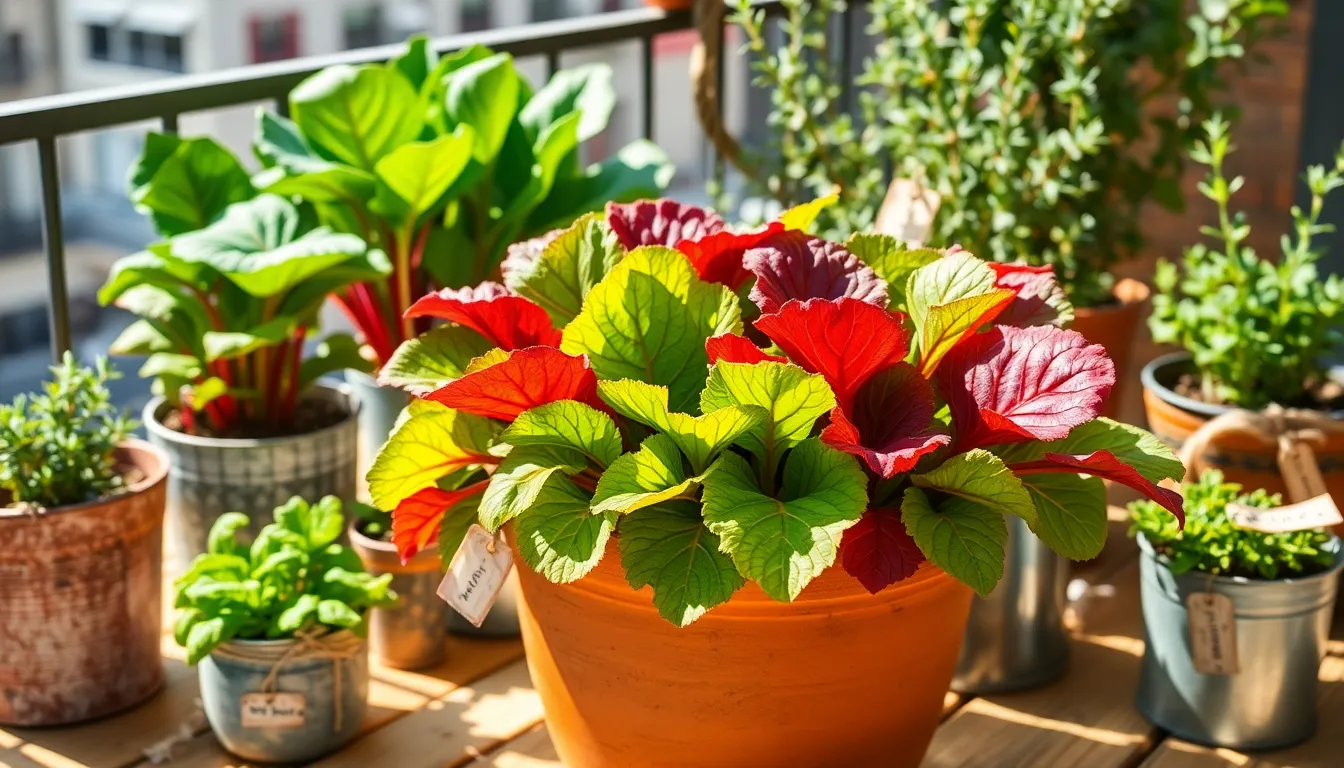
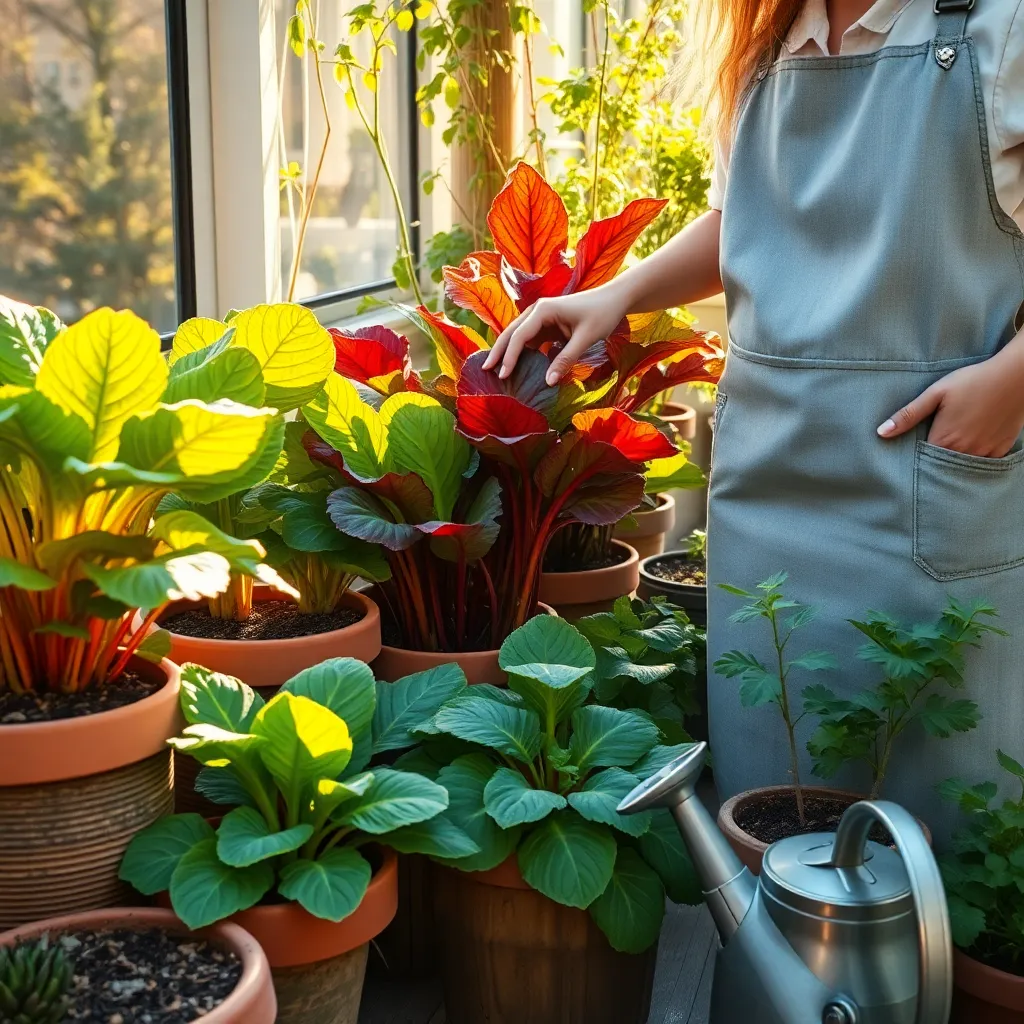
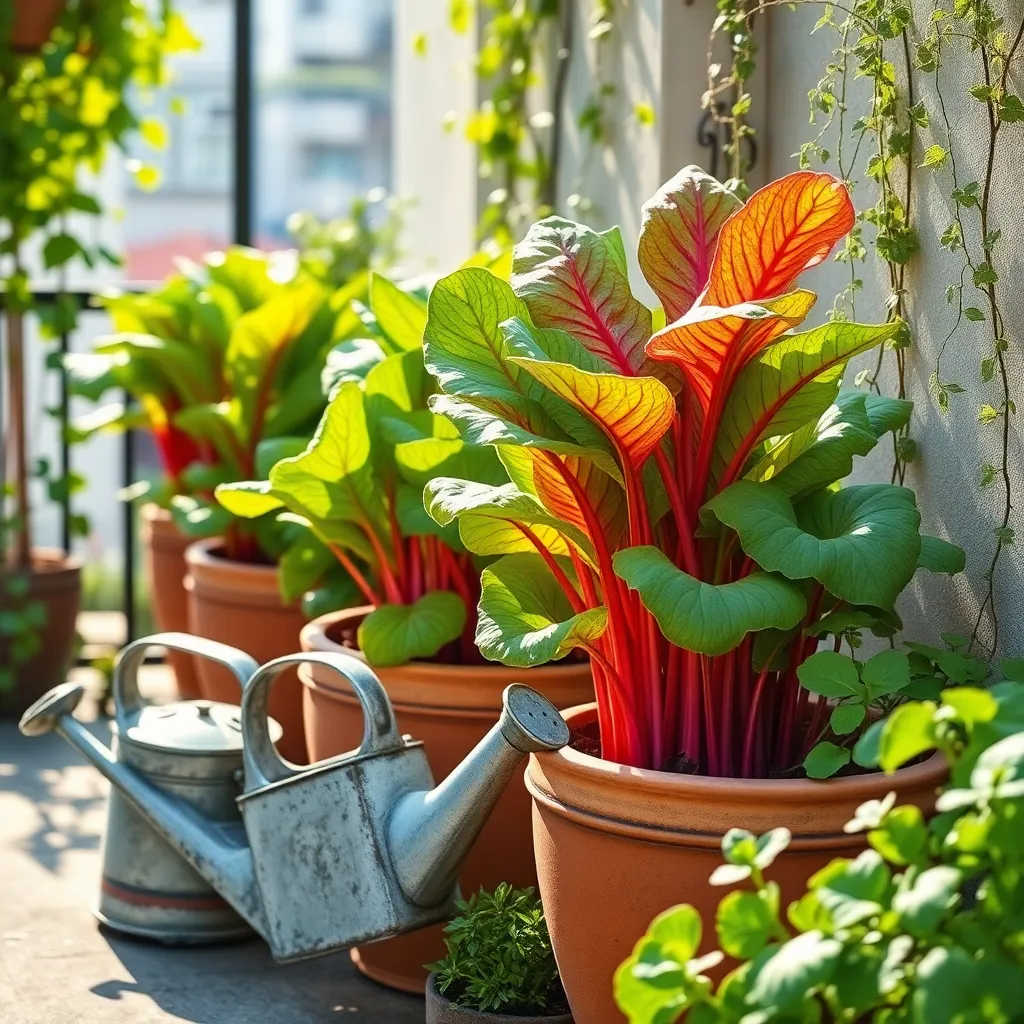
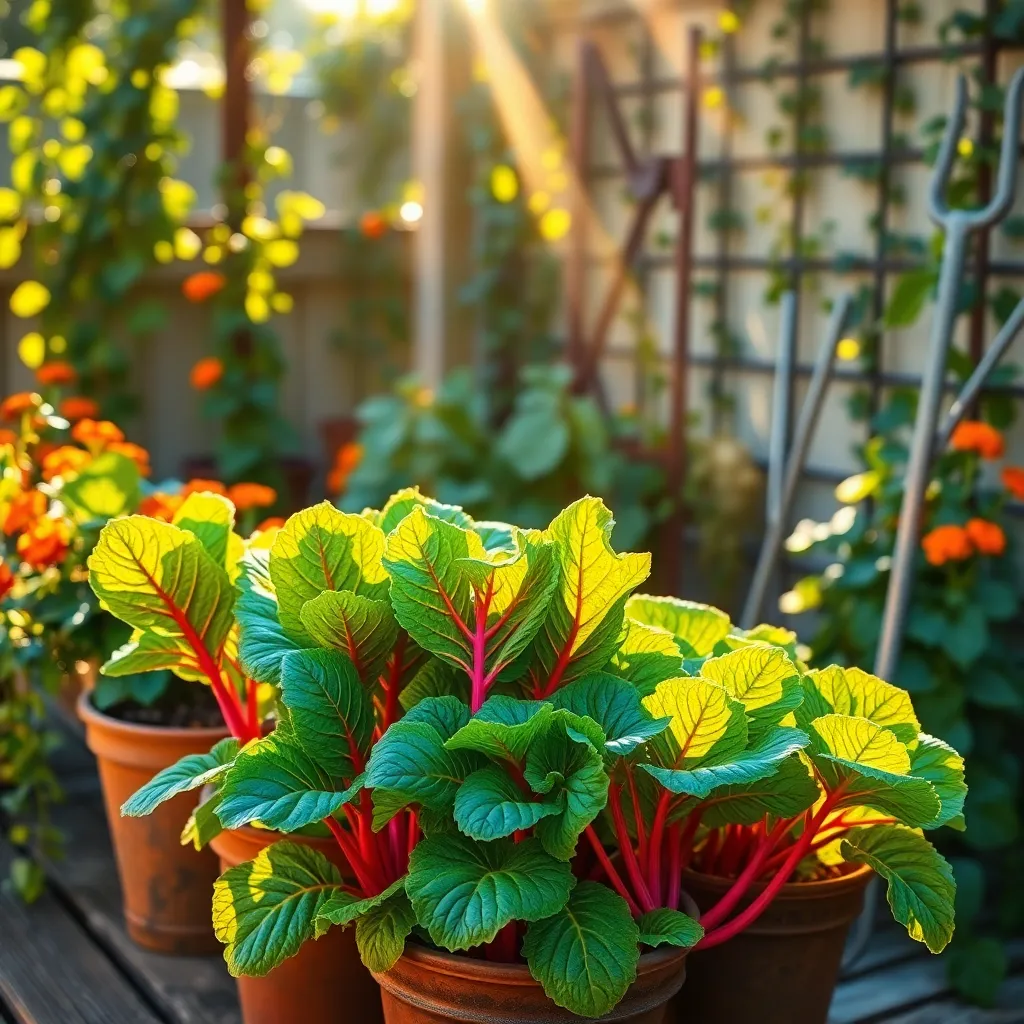
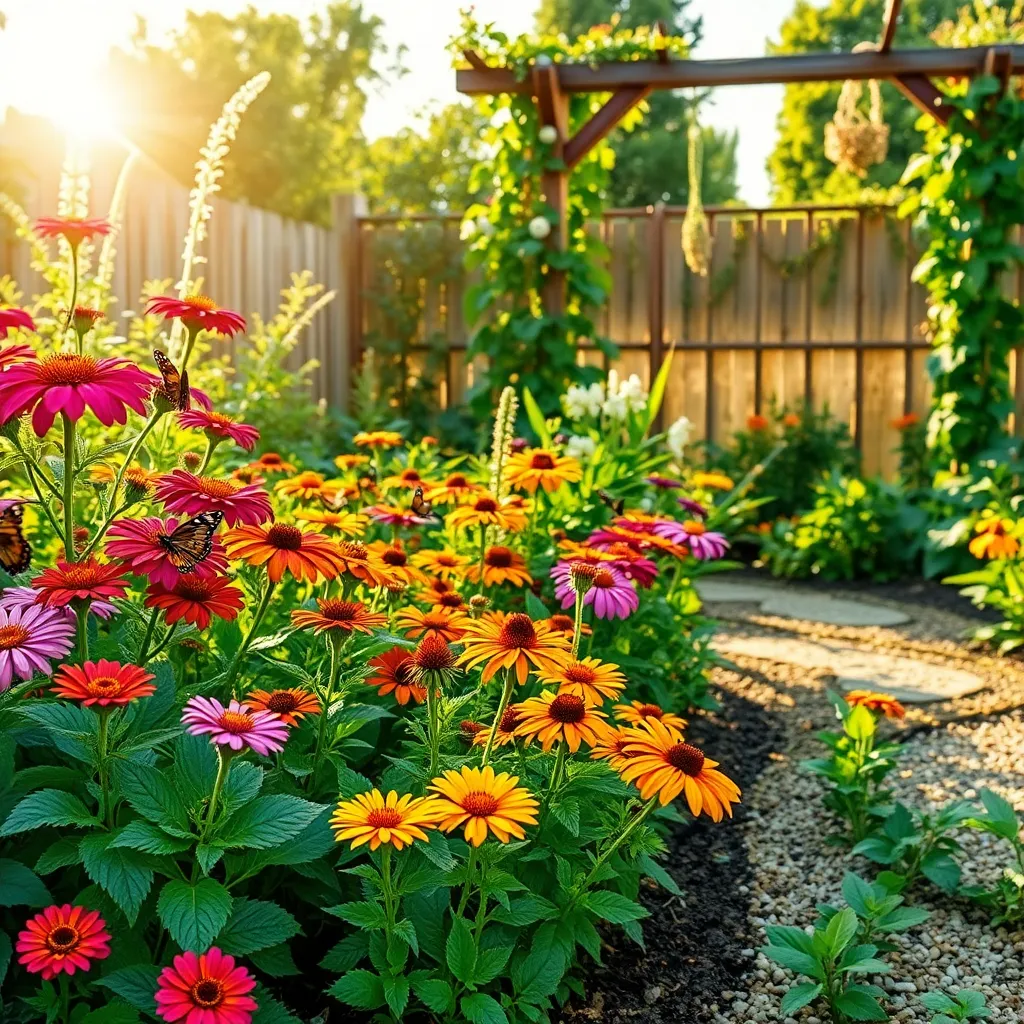
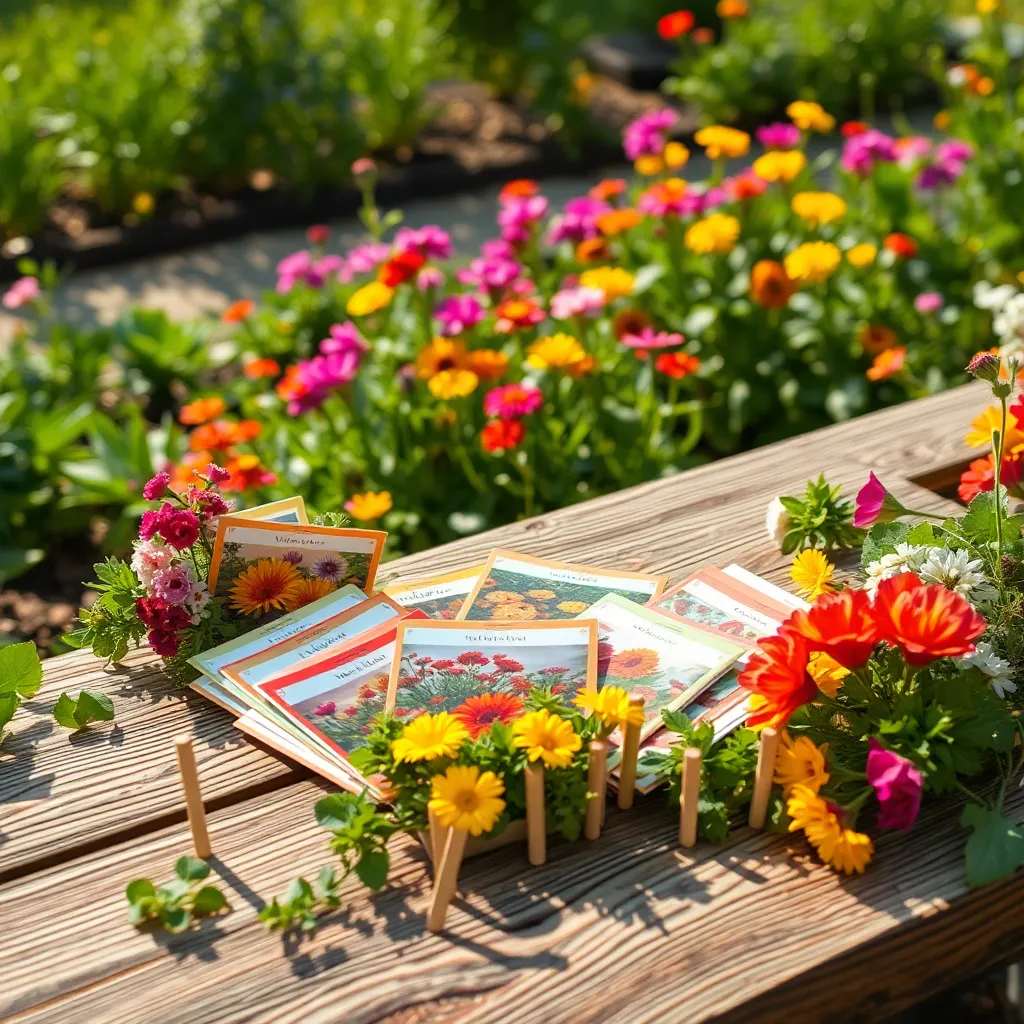
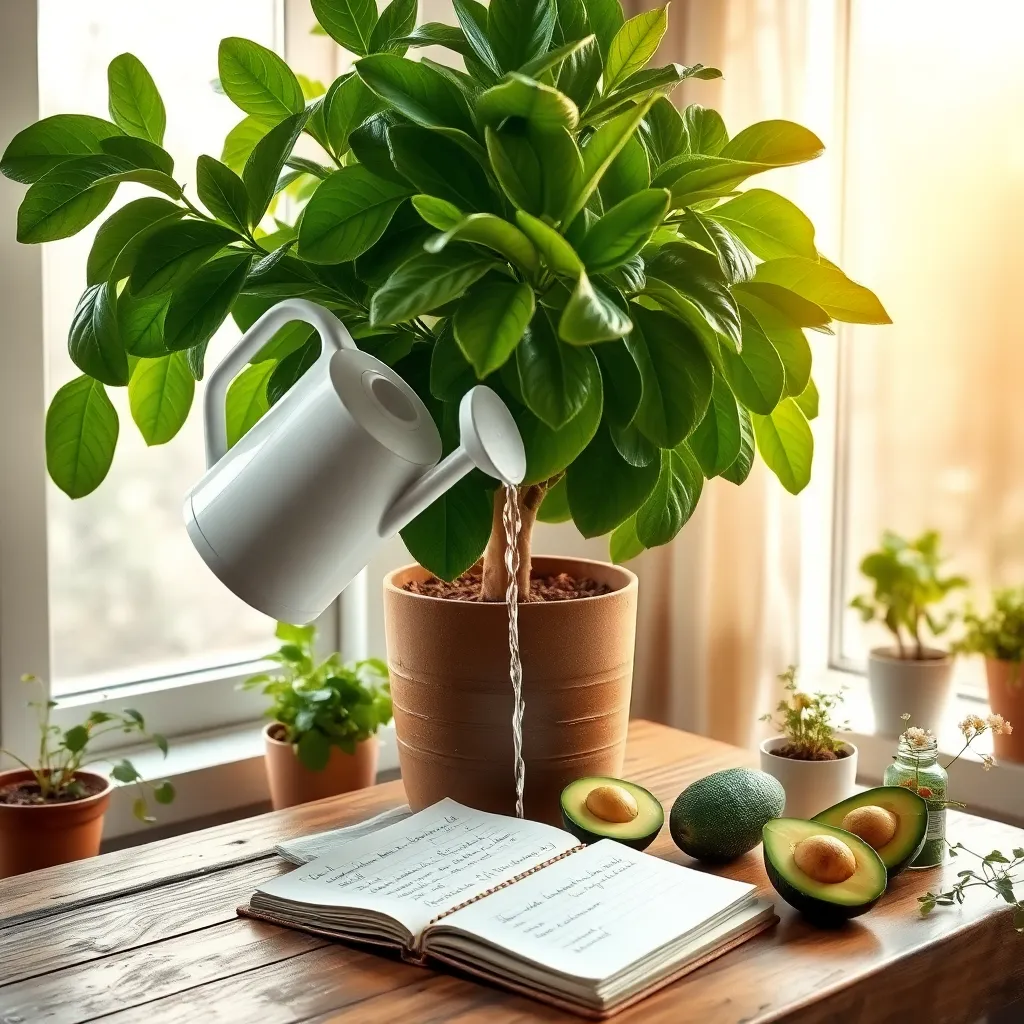
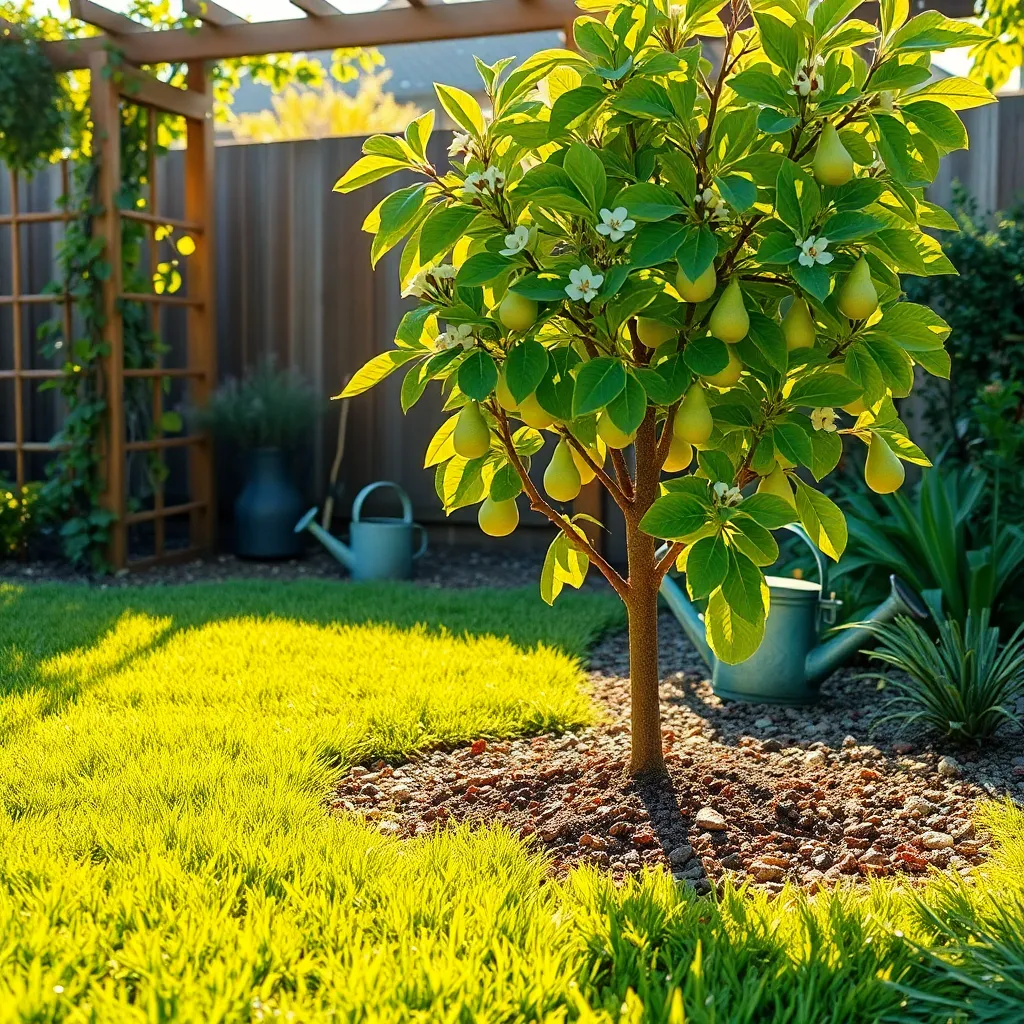
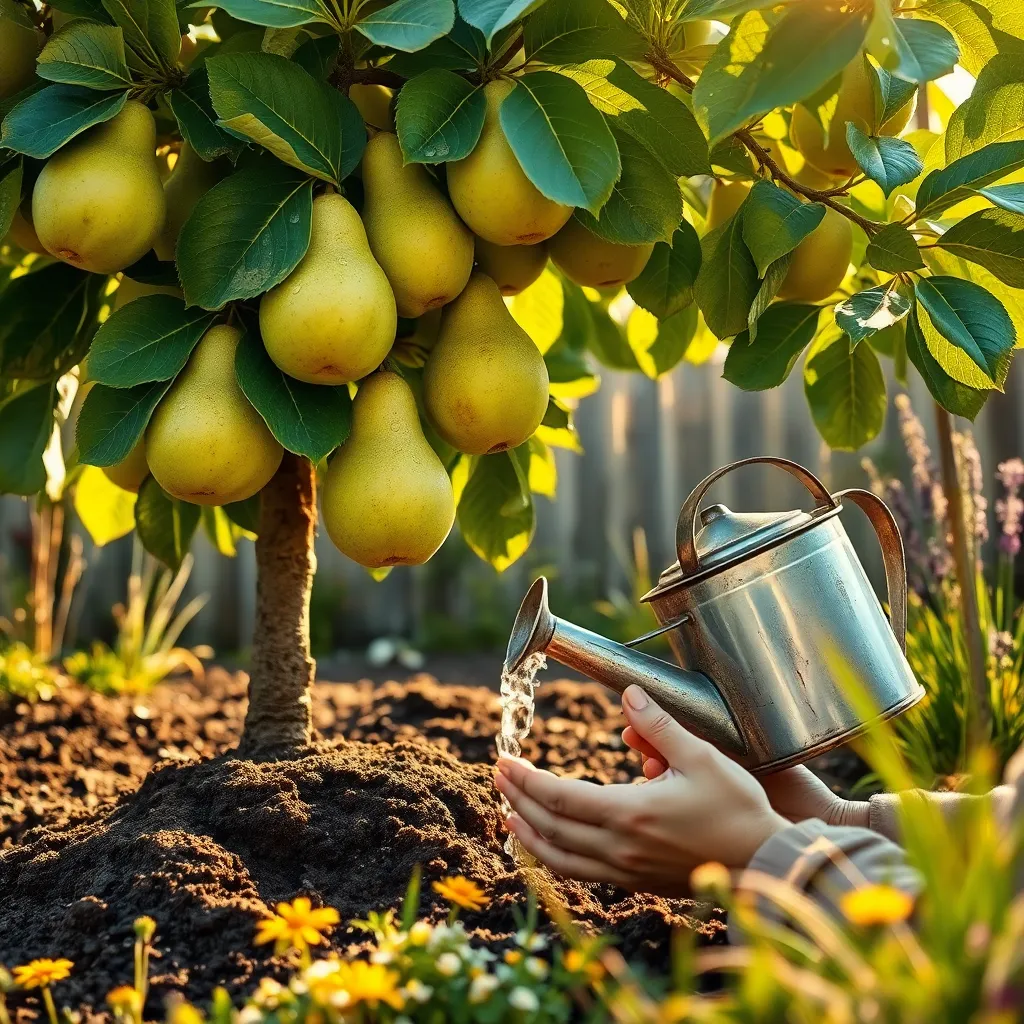
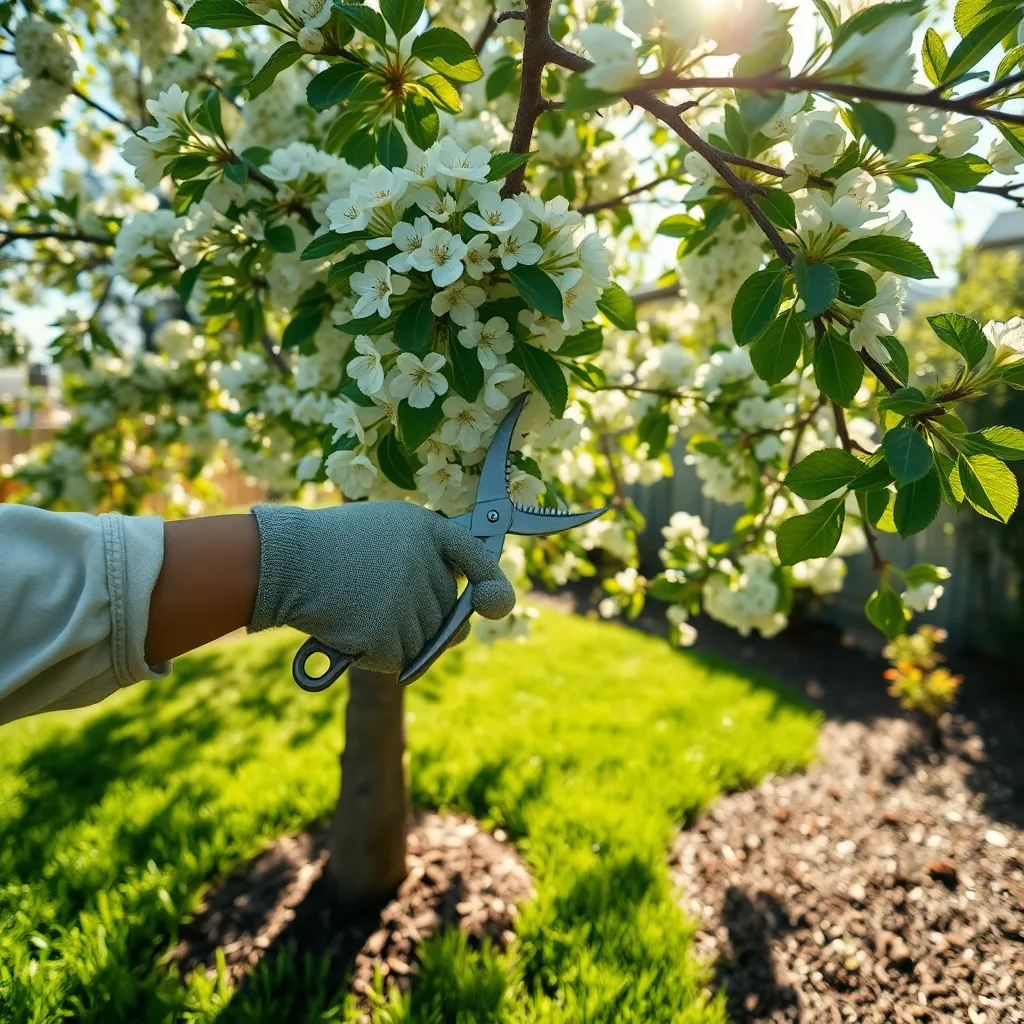
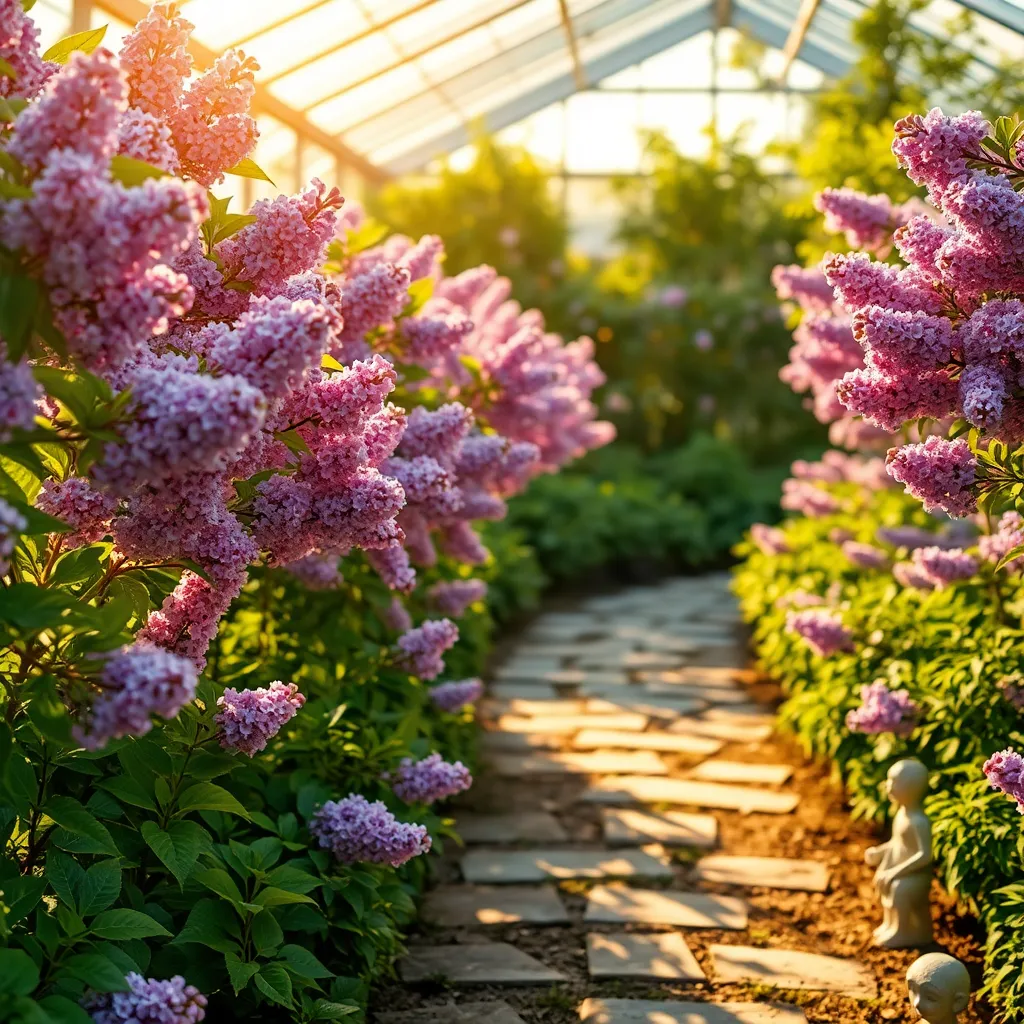
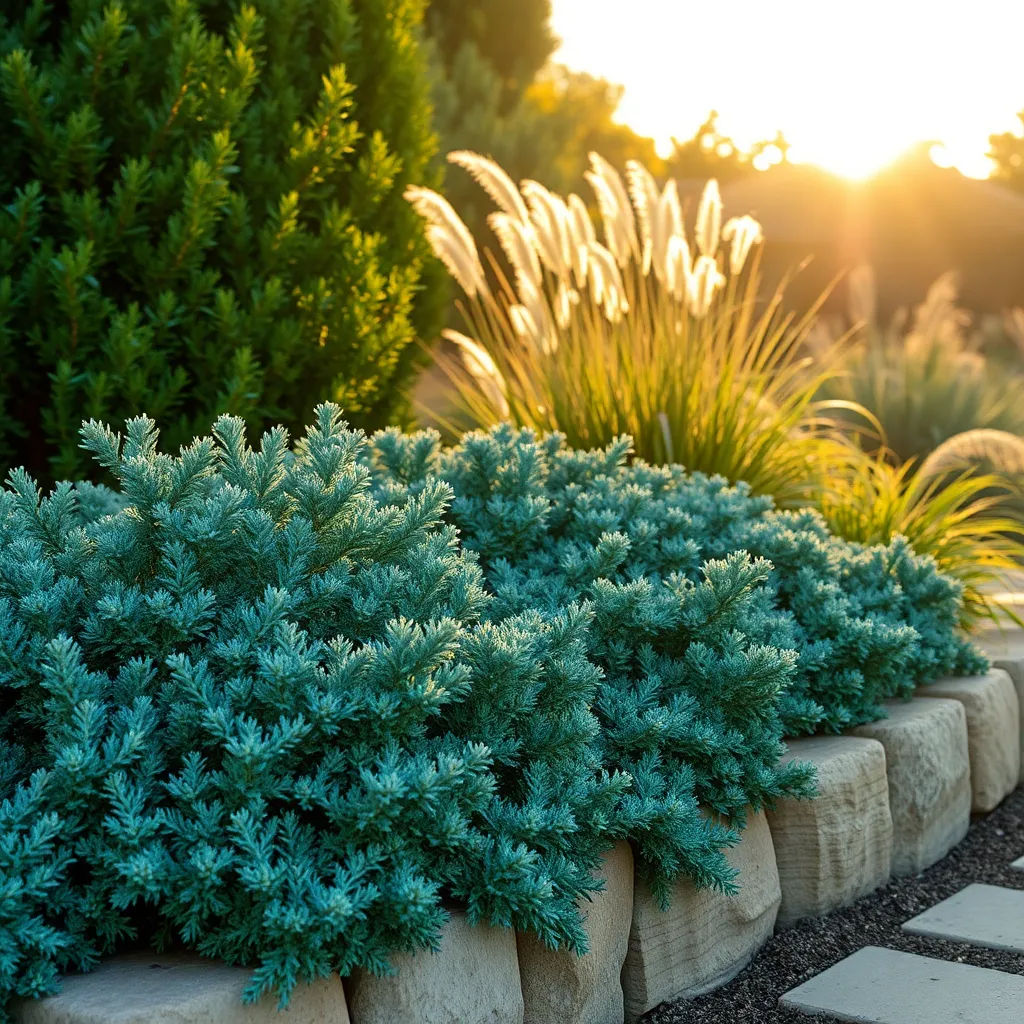
Plant Lush, Relaxing Greenery
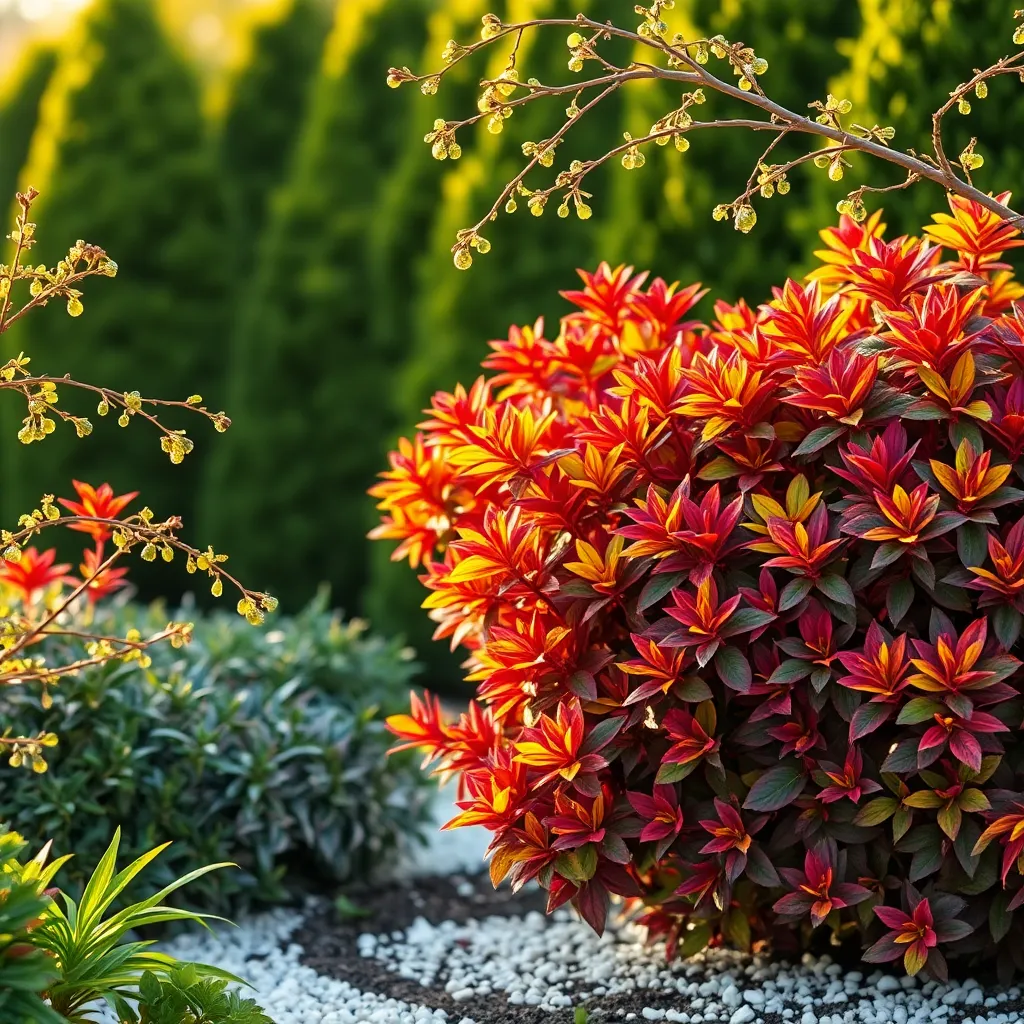
Creating a lush, relaxing garden begins with selecting the right plants that thrive in your specific climate. Consider incorporating a mix of evergreens and deciduous shrubs to ensure year-round interest and texture in your garden.
Choose plants with varying shades of green to add depth and calmness to your oasis. For example, ferns, such as the Boston fern, are perfect for shaded areas and offer soft, feathery foliage that creates a serene atmosphere.
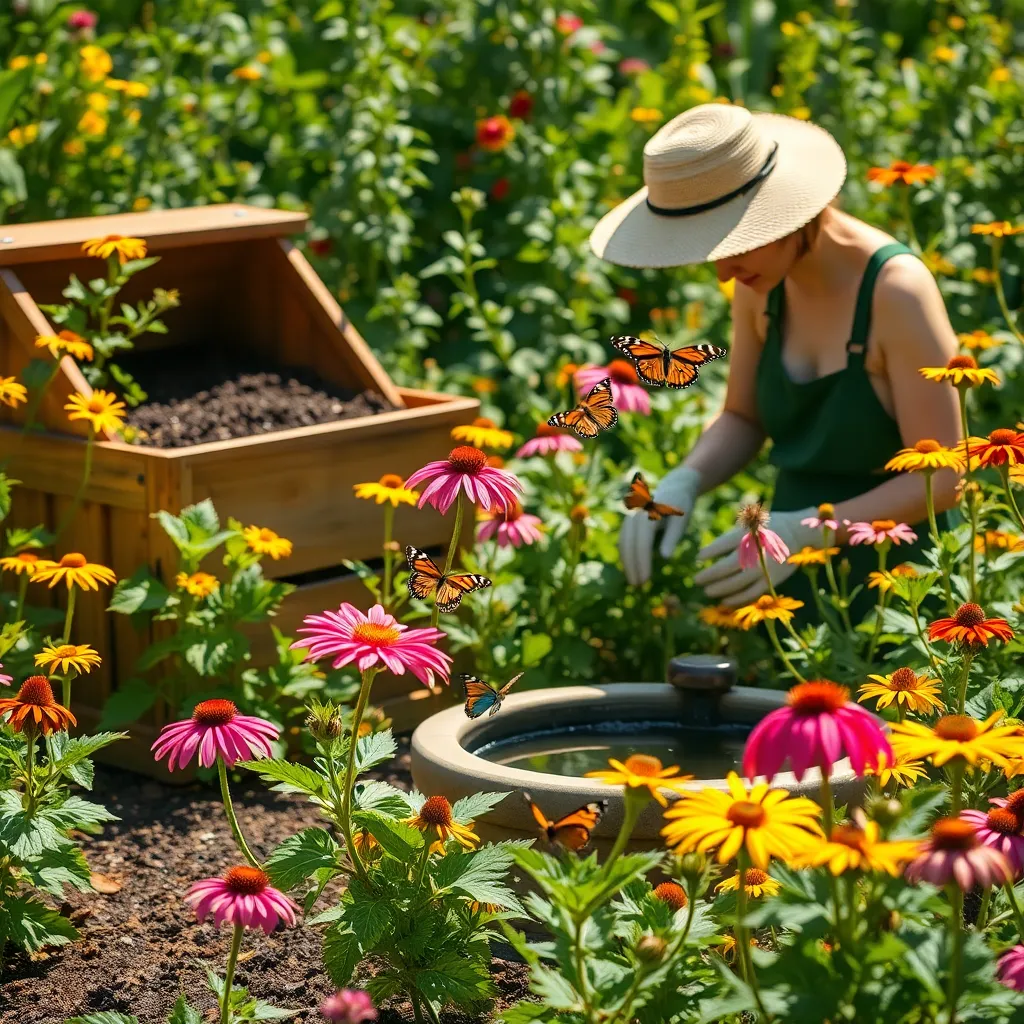
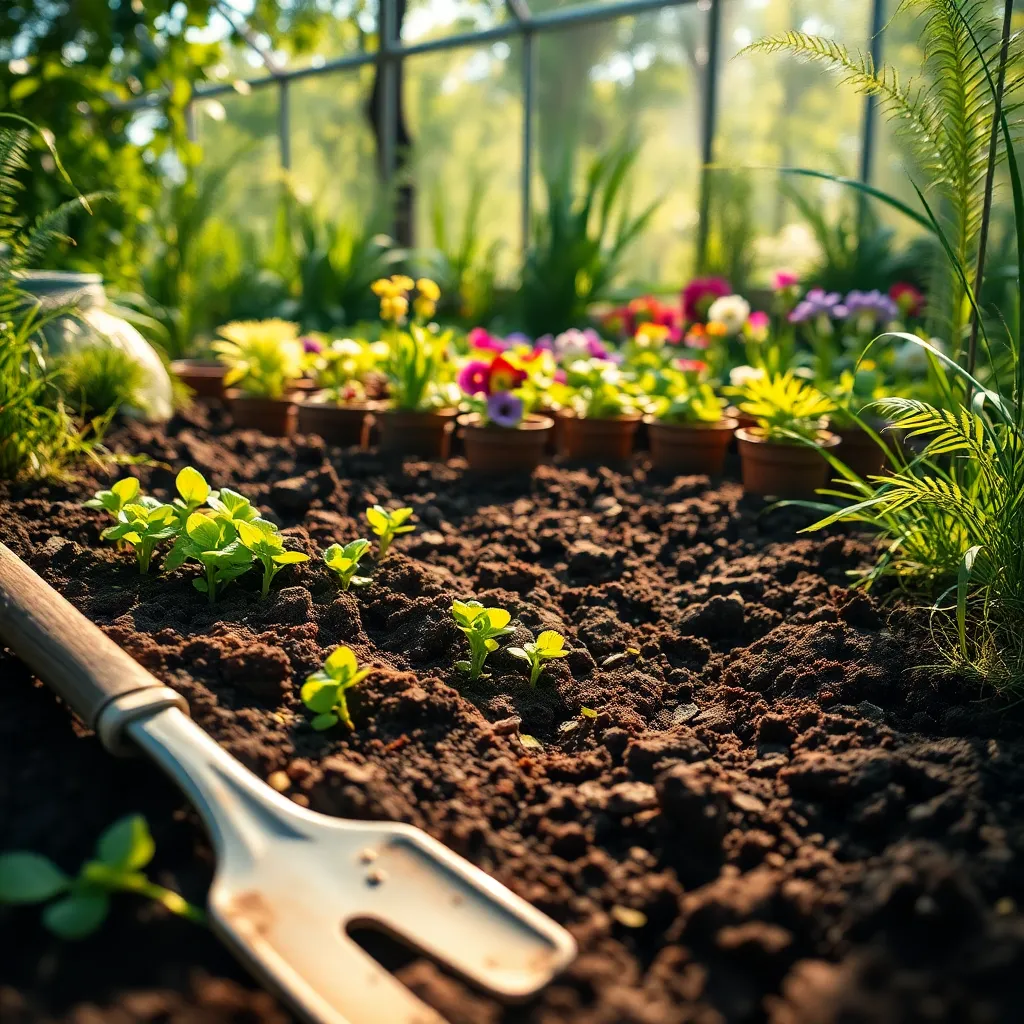
Soil preparation is crucial for lush plant growth, so start by testing your soil’s pH and nutrient levels. Amend the soil with organic matter like compost to improve drainage and provide essential nutrients for your plants.
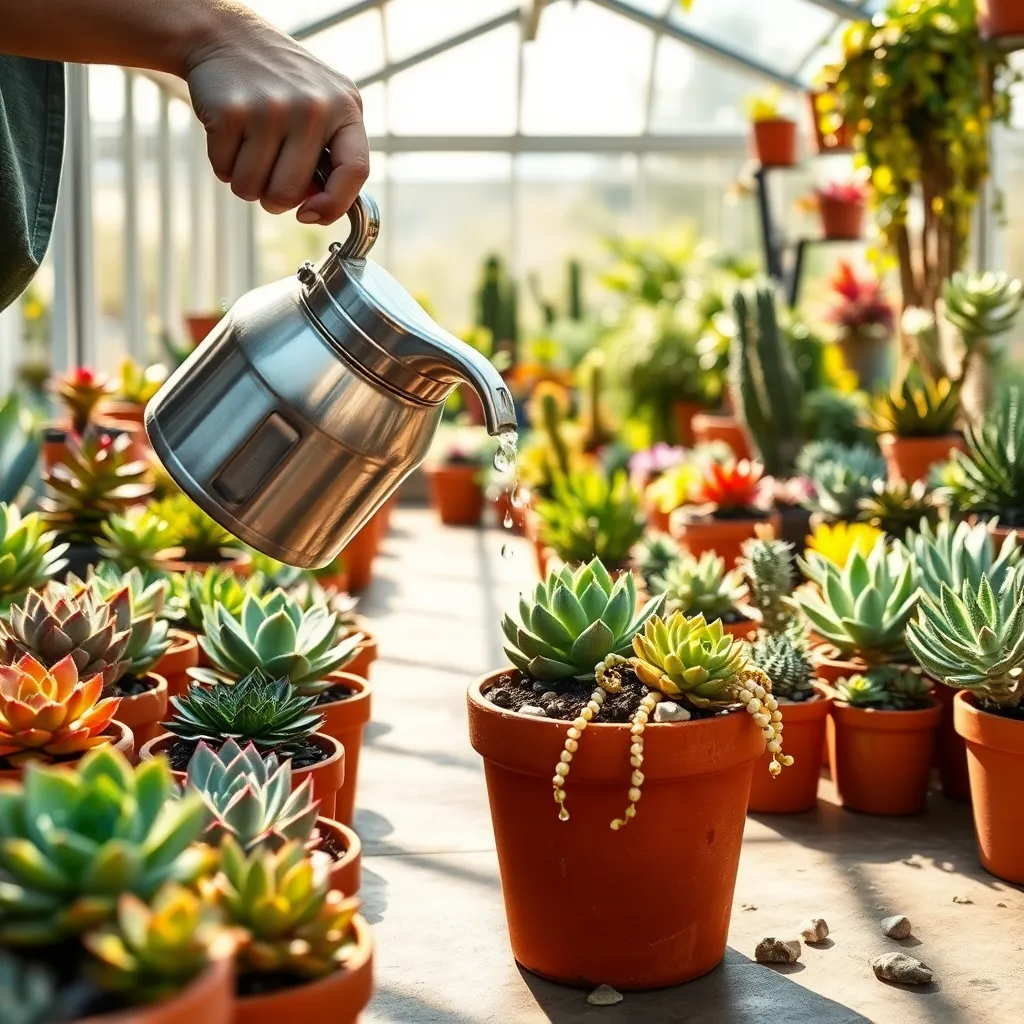
Watering is key to maintaining vibrant greenery, but it’s important to avoid overwatering. Most greenery benefits from a deep watering once or twice a week, allowing the soil to dry out slightly between waterings to prevent root rot.
For more advanced gardeners, consider integrating companion planting to enhance plant growth and health. Pairing plants such as hostas and astilbes can help control pests naturally while adding layers of lush texture to your garden.
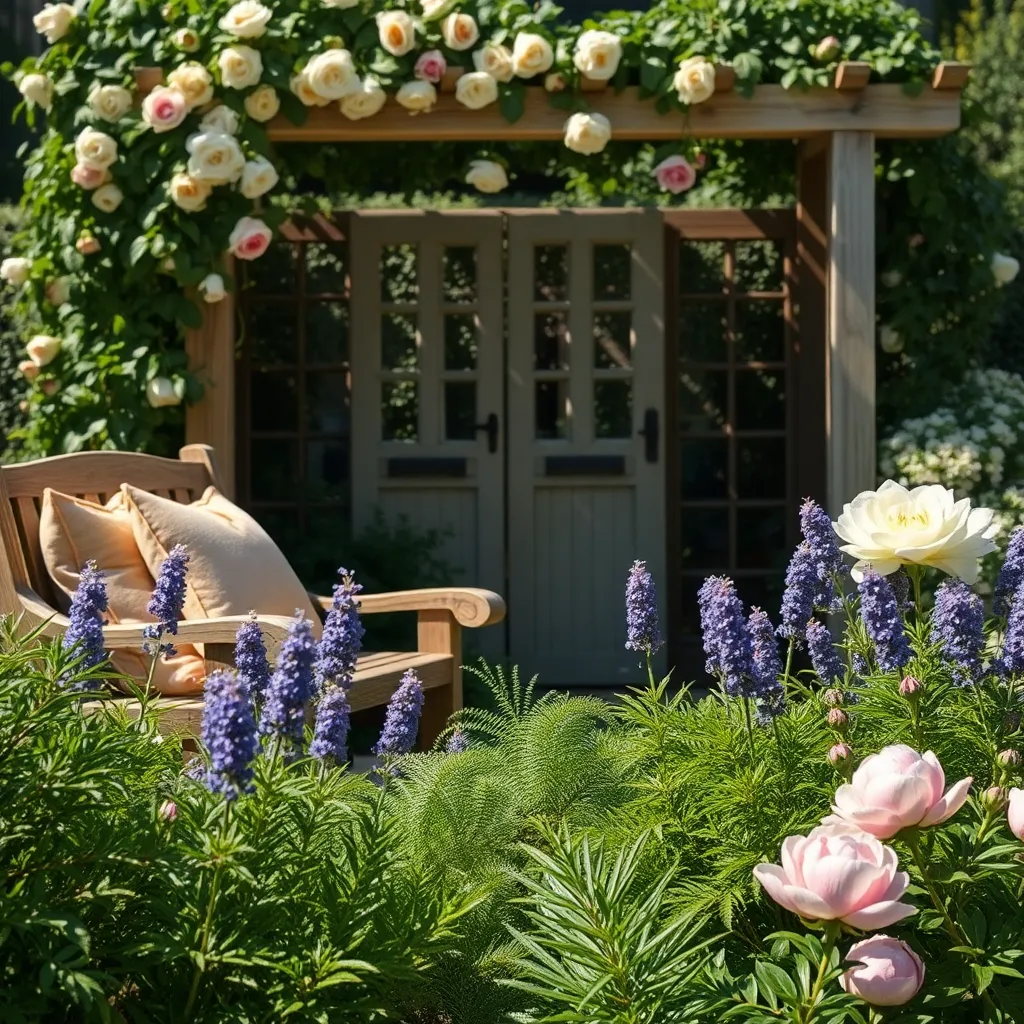
Add Cozy, Inviting Seating
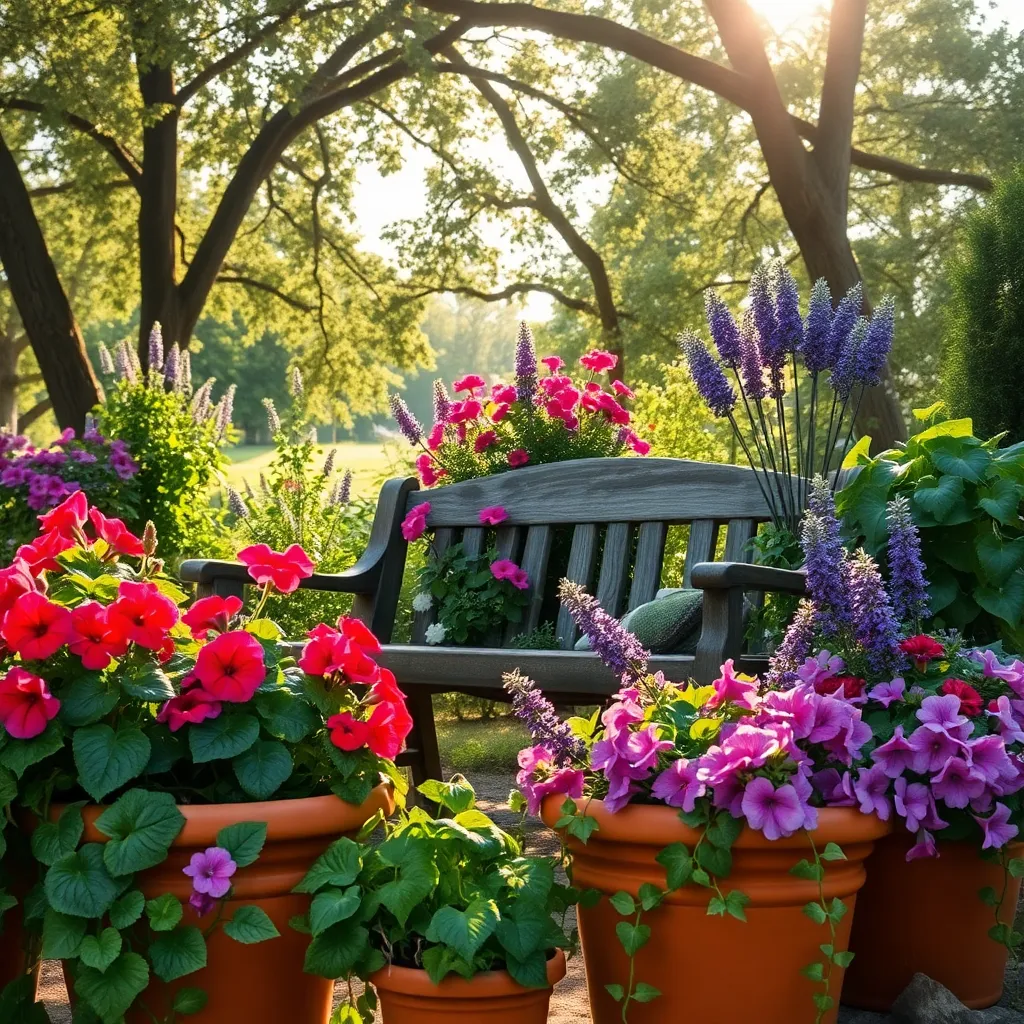
Creating a welcoming garden oasis isn’t complete without adding cozy, inviting seating. Begin by determining the best location for your seating area, considering factors like sunlight, shade, and proximity to fragrant plants to enhance relaxation.
Opt for weather-resistant furniture materials such as teak, wrought iron, or powder-coated aluminum to ensure longevity. Adding cushions made from outdoor fabric will not only enhance comfort but also bring a pop of color and style to your garden setup.
Consider incorporating seating options that blend seamlessly with the natural surroundings. For a rustic look, use wooden benches or stone seats nestled among your plants, while a swing or hammock can add a playful touch to your retreat.
Enhance the ambiance by surrounding your seating area with potted plants or climbing vines. Choose easy-care varieties like lavender or jasmine which not only thrive in containers but also release a pleasant aroma, adding to the cozy atmosphere.
Conclusion: Growing Success with These Plants
Creating a garden oasis isn’t just about cultivating plants; it’s about nurturing the key elements of a thriving relationship. First, communication is like sunlight, essential for growth. Second, mutual respect acts as rich soil, providing a foundation for roots to deepen. Third, shared goals are akin to seeds, blossoming into shared dreams over time. Fourth, adaptability is water, ensuring your relationship remains resilient through changing conditions. Lastly, quality time is the gentle pruning that keeps your relationship vibrant and healthy.
To take immediate action, why not schedule a garden date with your partner this week? Use this time to discuss dreams and goals, ensuring you’re both aligned and growing together.
Remember to save or bookmark this article as a handy reference whenever you need to refresh your relationship gardening skills. By doing so, you’re investing in a bountiful future of love and understanding.
As you continue nurturing these elements, your relationship is bound to flourish, leading to a lifetime of shared joy and resilience. Embrace this journey with optimism and watch your love blossom into a beautiful oasis.