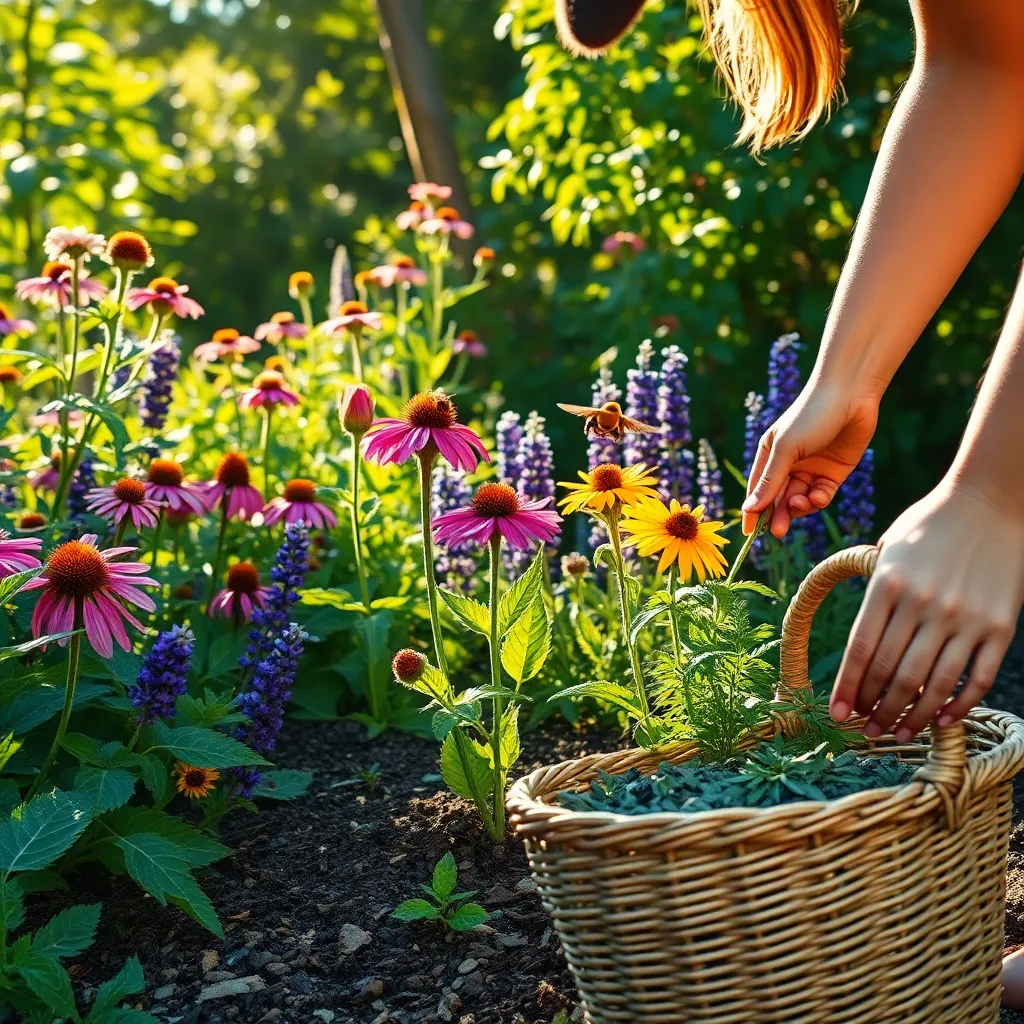
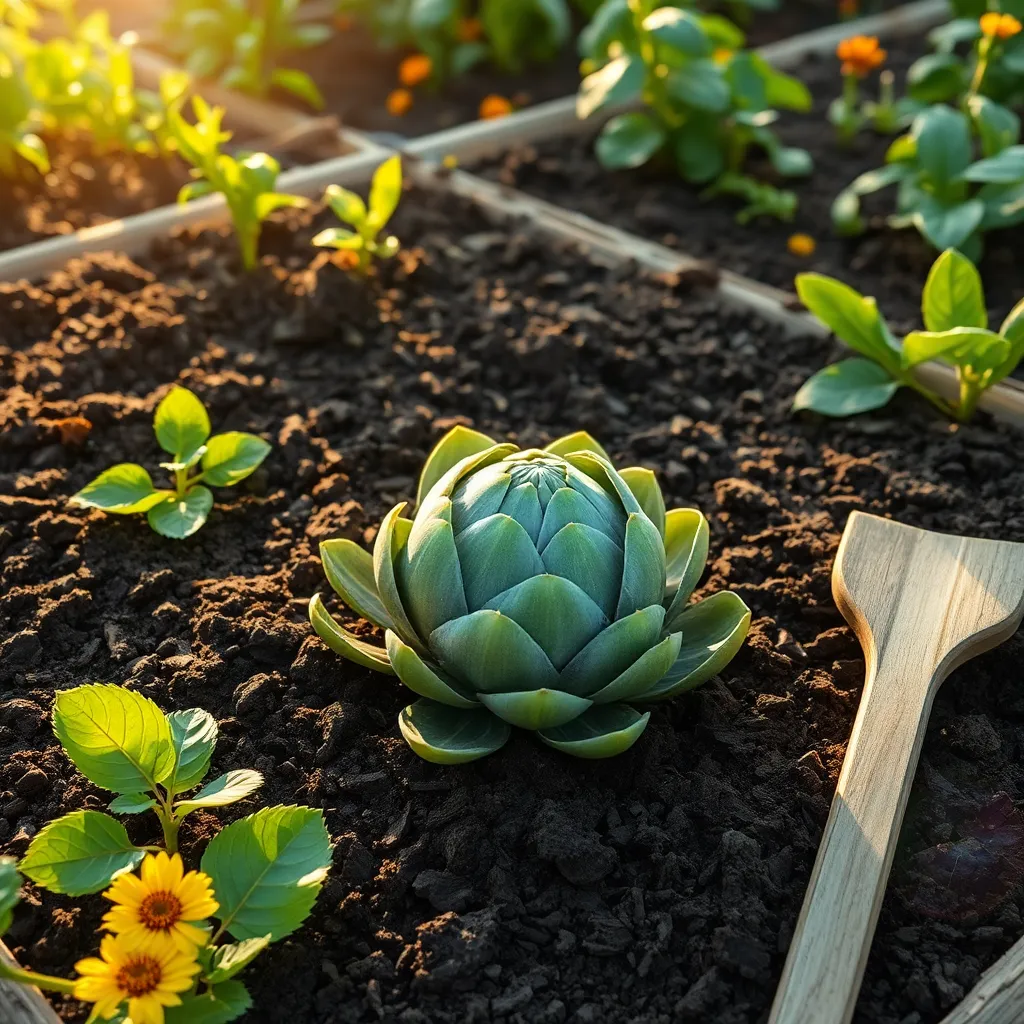
The artichoke, with its regal silhouette and delicate flavor, is more than just a gourmet delight—it’s a testament to the beauty of home gardening. Whether you’re just starting your gardening journey or have years of experience under your belt, growing artichokes can be a rewarding endeavor that adds both visual appeal and gastronomic value to your garden.
Cultivating artichokes at home isn’t just about the harvest; it’s about embracing the art of patience and nurturing a plant that gives back in abundance. This article will guide you through the essentials of artichoke care, from choosing the right variety for your climate to mastering the nuances of planting and maintenance.
You’ll discover tips on soil preparation, watering schedules, and pest management, ensuring that your artichokes flourish with minimal fuss. Along the way, we’ll share insights on how to optimize your garden space, regardless of its size, to accommodate these striking plants. By the end, you’ll be well-equipped to transform your garden into a thriving oasis of green, with artichokes standing proudly as a testament to your gardening prowess.
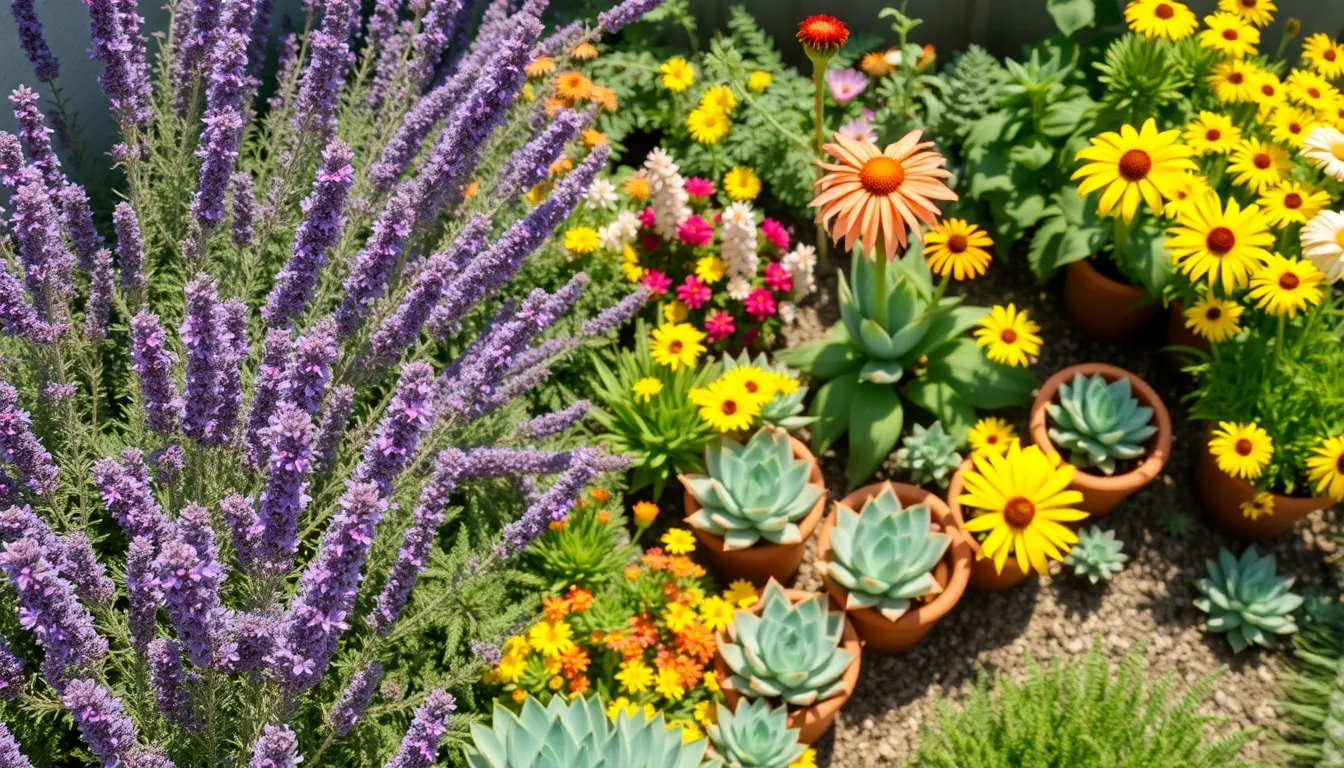
Select Optimal Artichoke Variety
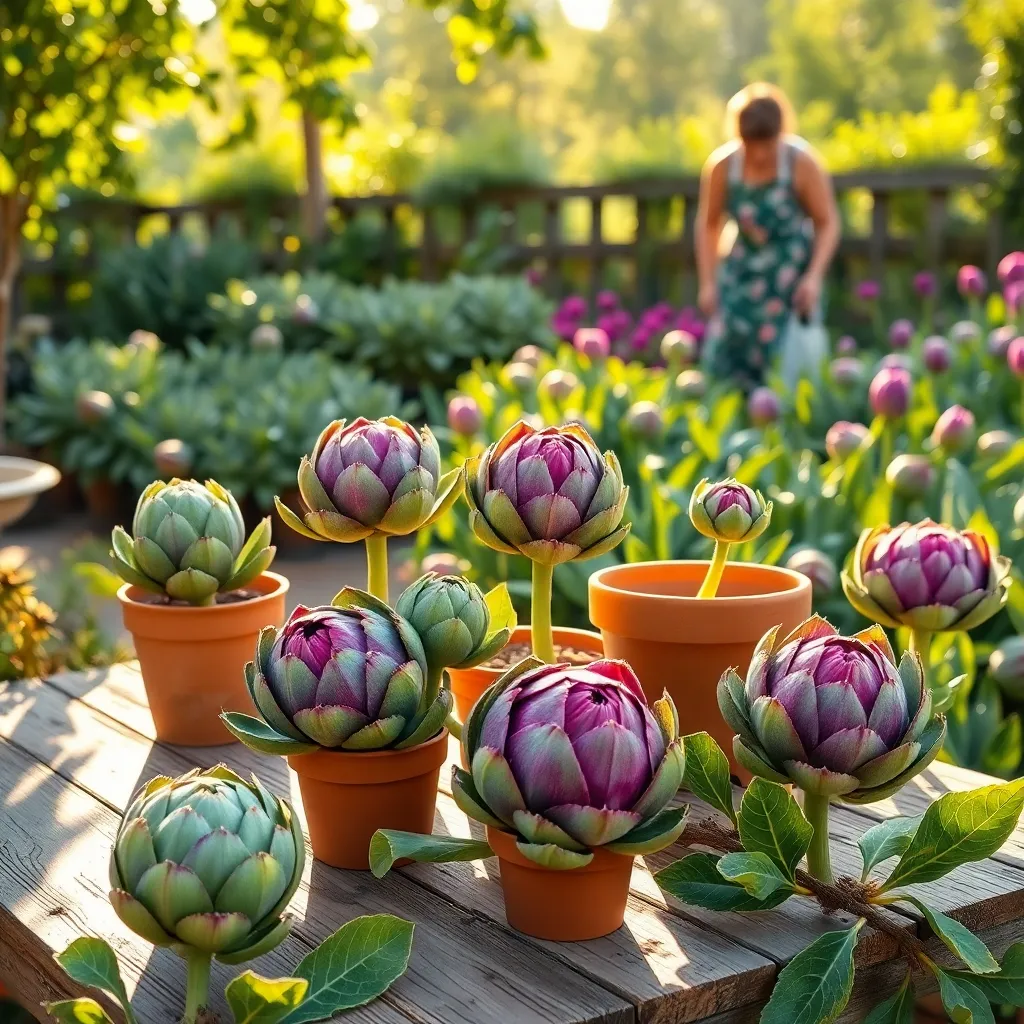
Choosing the right artichoke variety is crucial for success, especially if you’re growing them at home. Globe artichokes like ‘Green Globe’ and ‘Imperial Star’ are popular choices for their large, edible buds and reliable growth in a variety of climates.
For those in cooler areas, consider planting ‘Violetto’, known for its adaptability to less-than-ideal conditions. This variety produces smaller, purple-tinted artichokes that are both visually striking and delicious.
Ensure your artichoke plants have well-draining soil and full sun exposure to thrive. Loamy soil
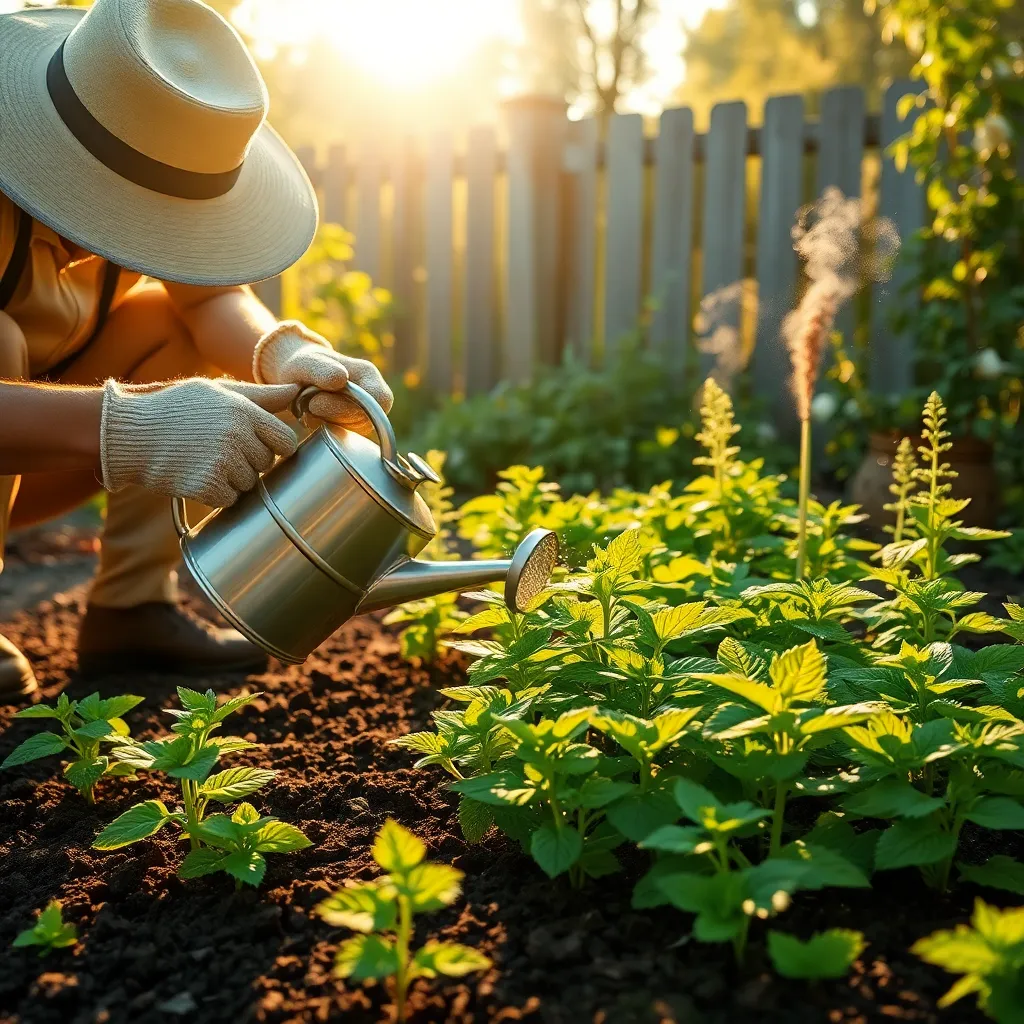
Watering is key, particularly in the early stages of growth; aim for consistency without waterlogging. A deep watering once a week is generally sufficient, but adjust based on your climate and rainfall.
Advanced gardeners might experiment with staggering planting times to extend the harvest period. By planting different varieties at slightly different times, you can enjoy fresh artichokes over a longer season.
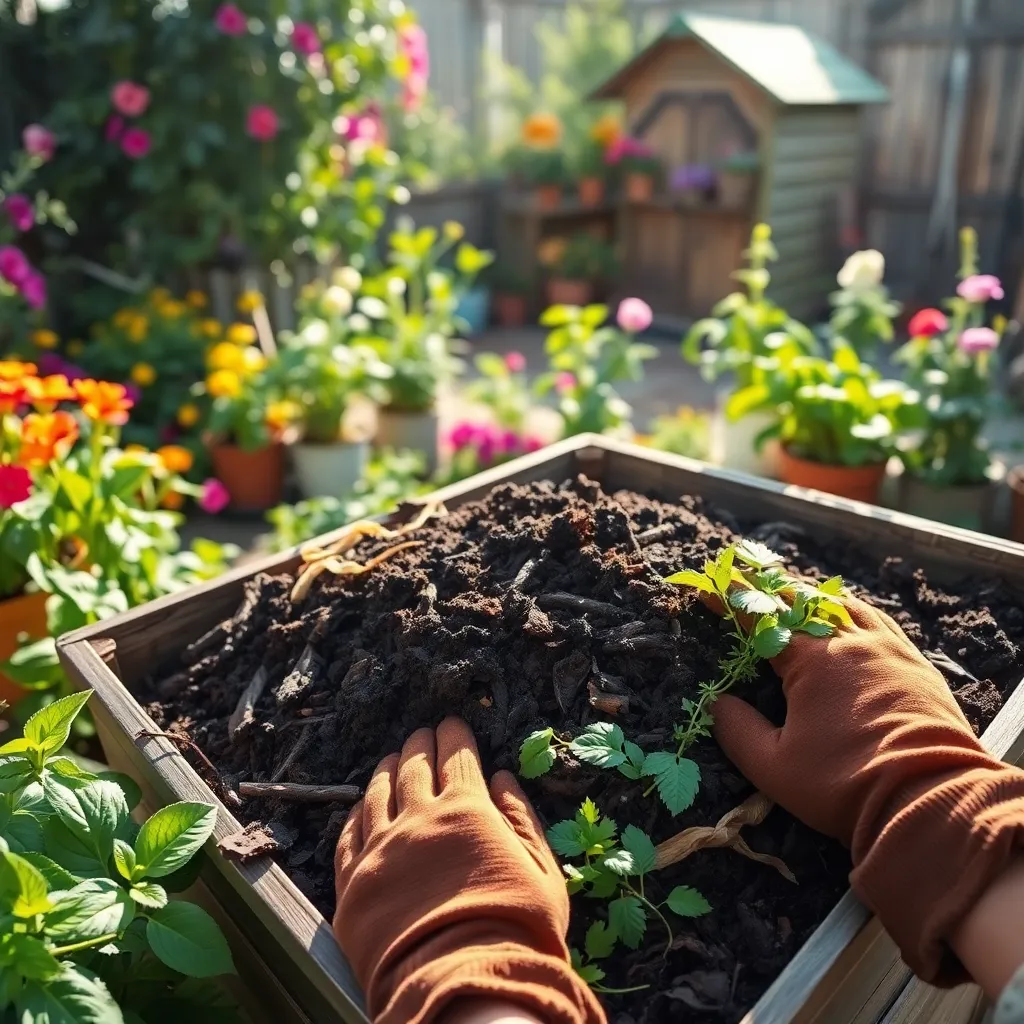
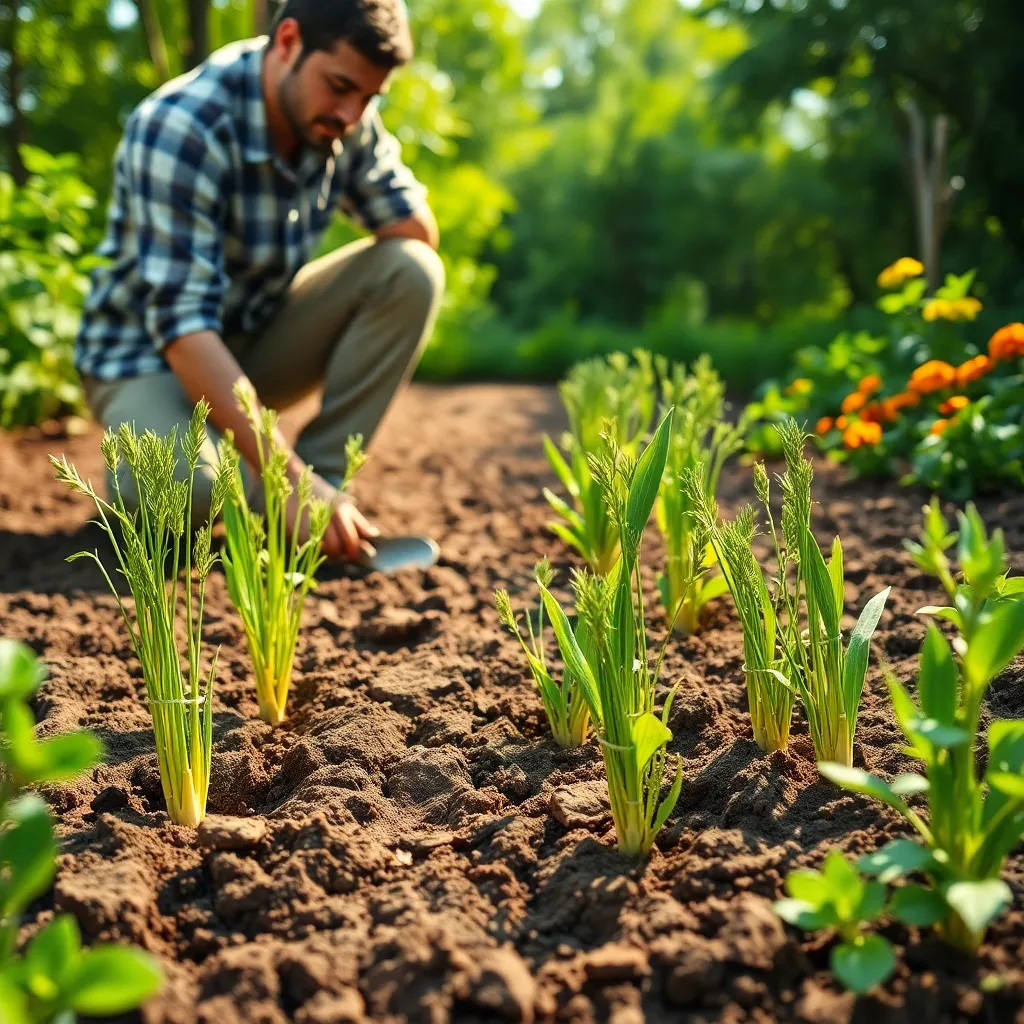
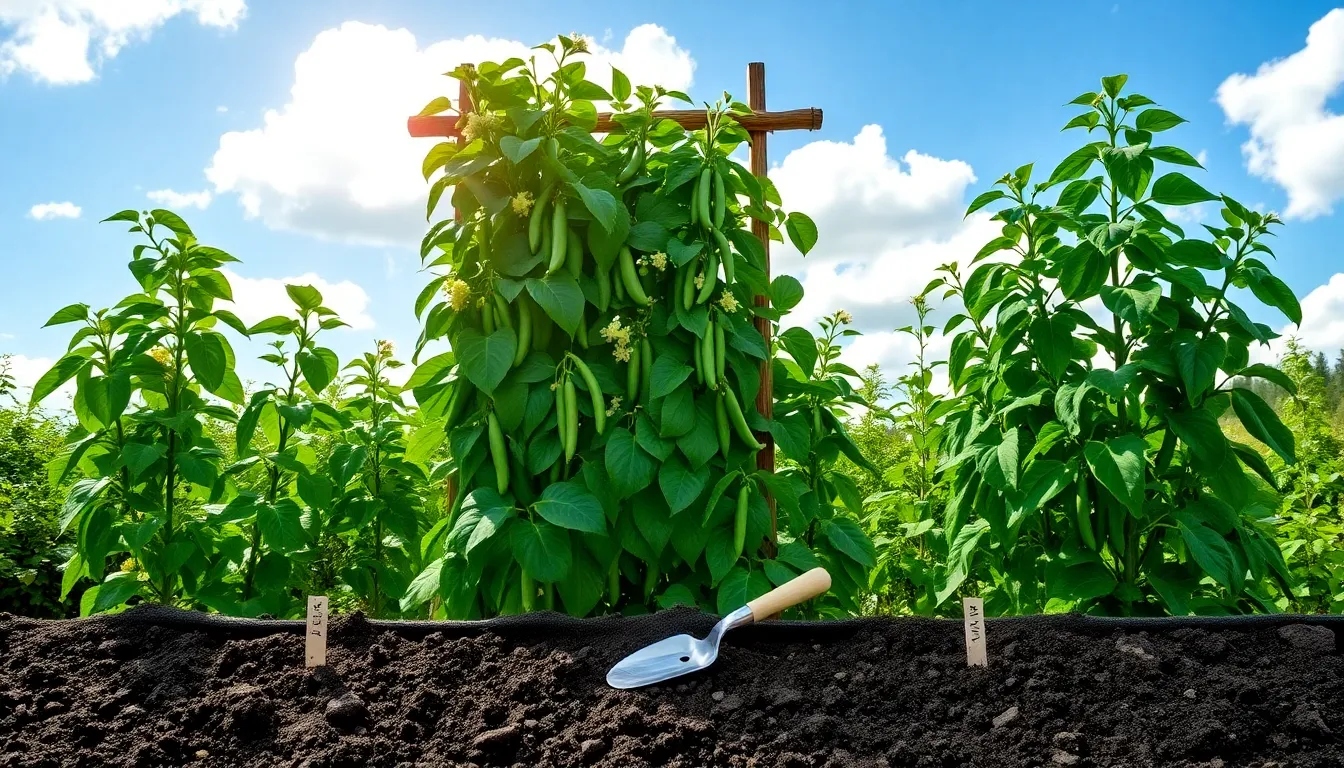
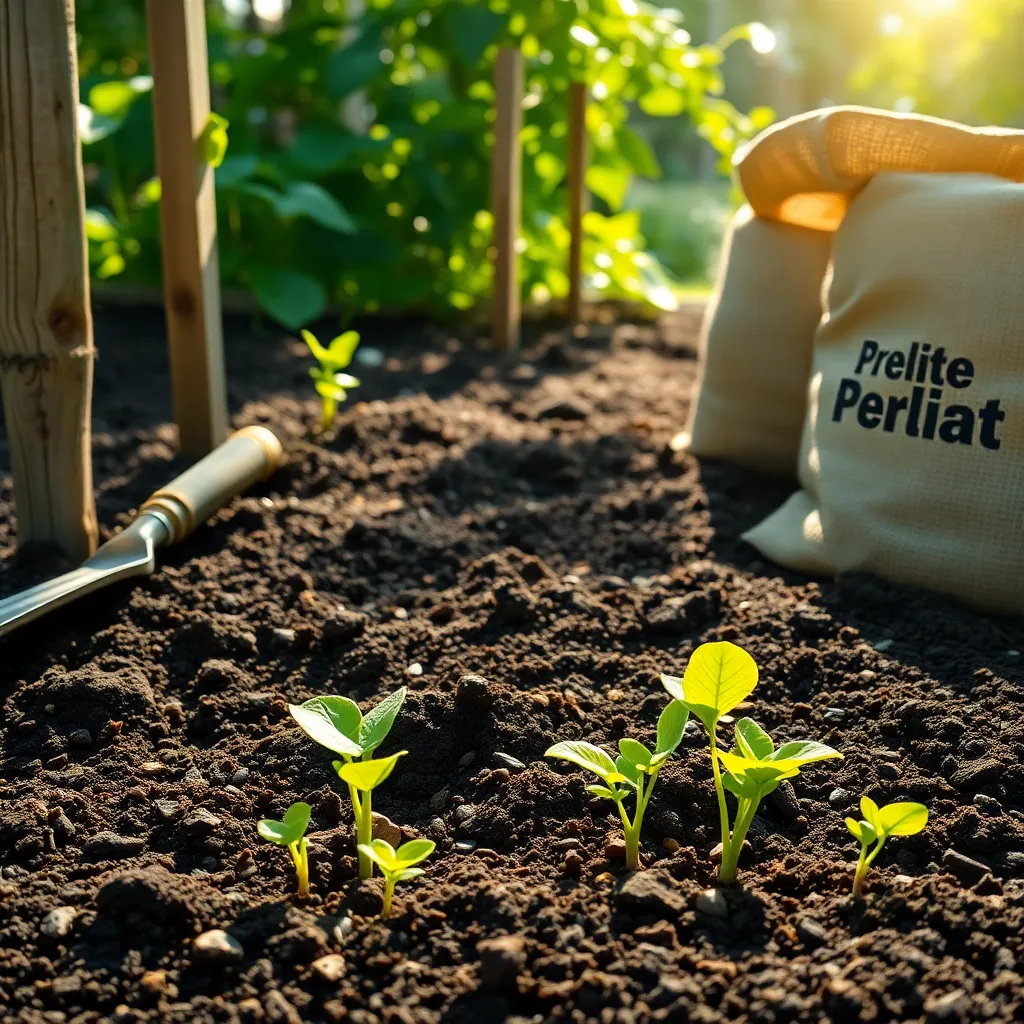
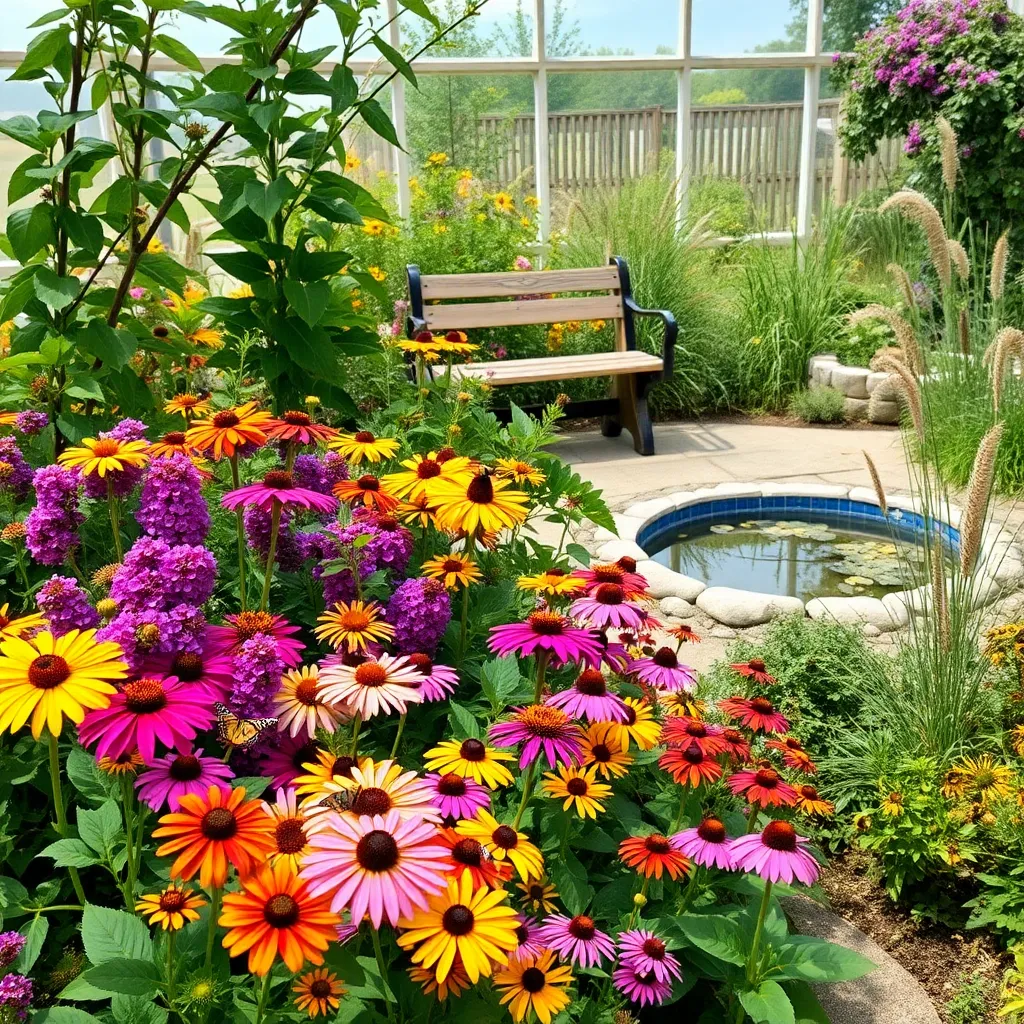
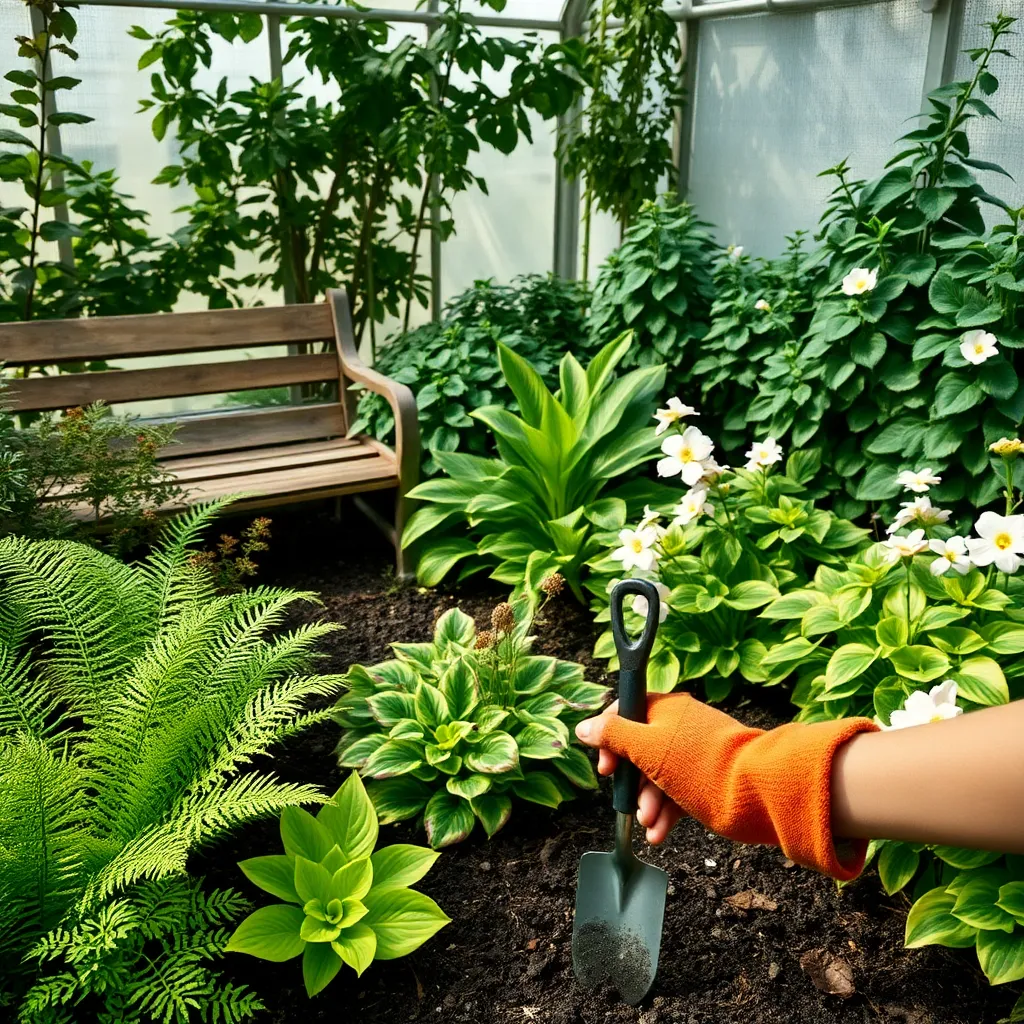
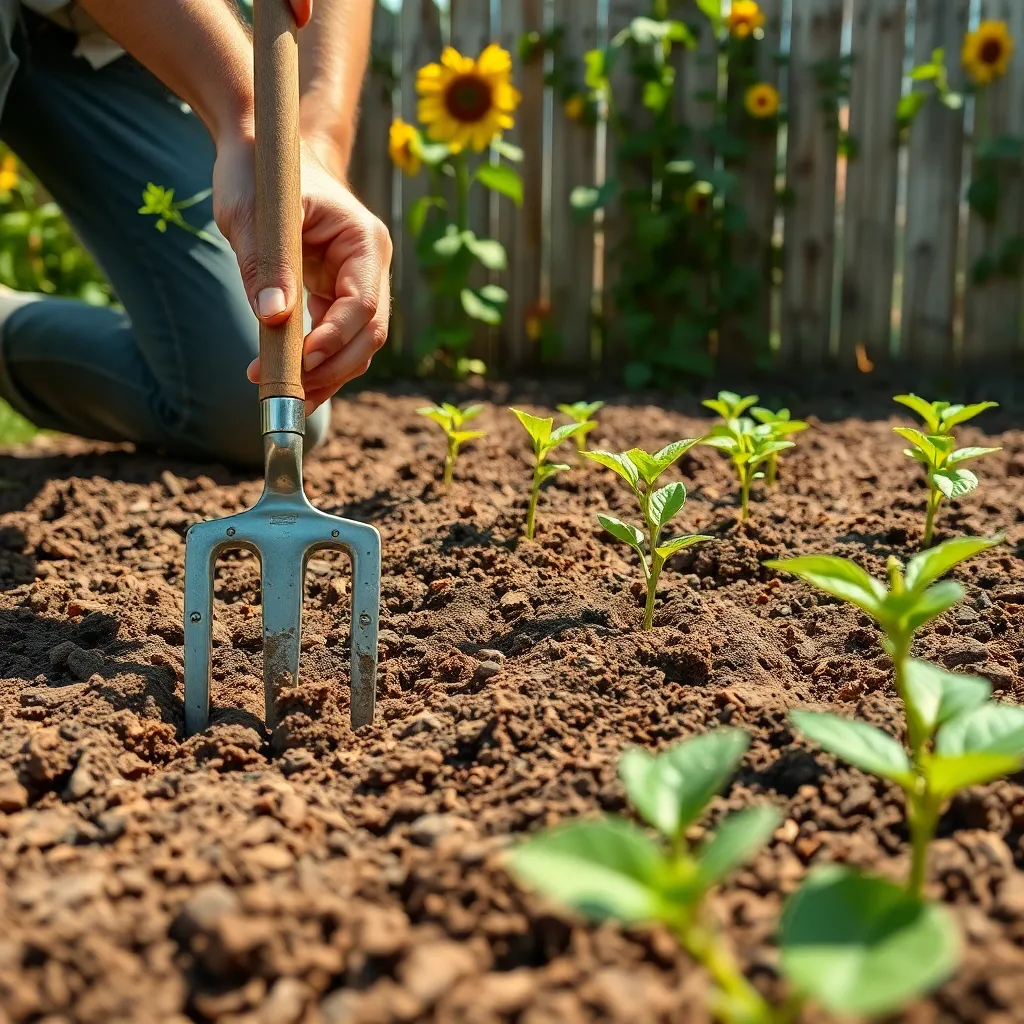
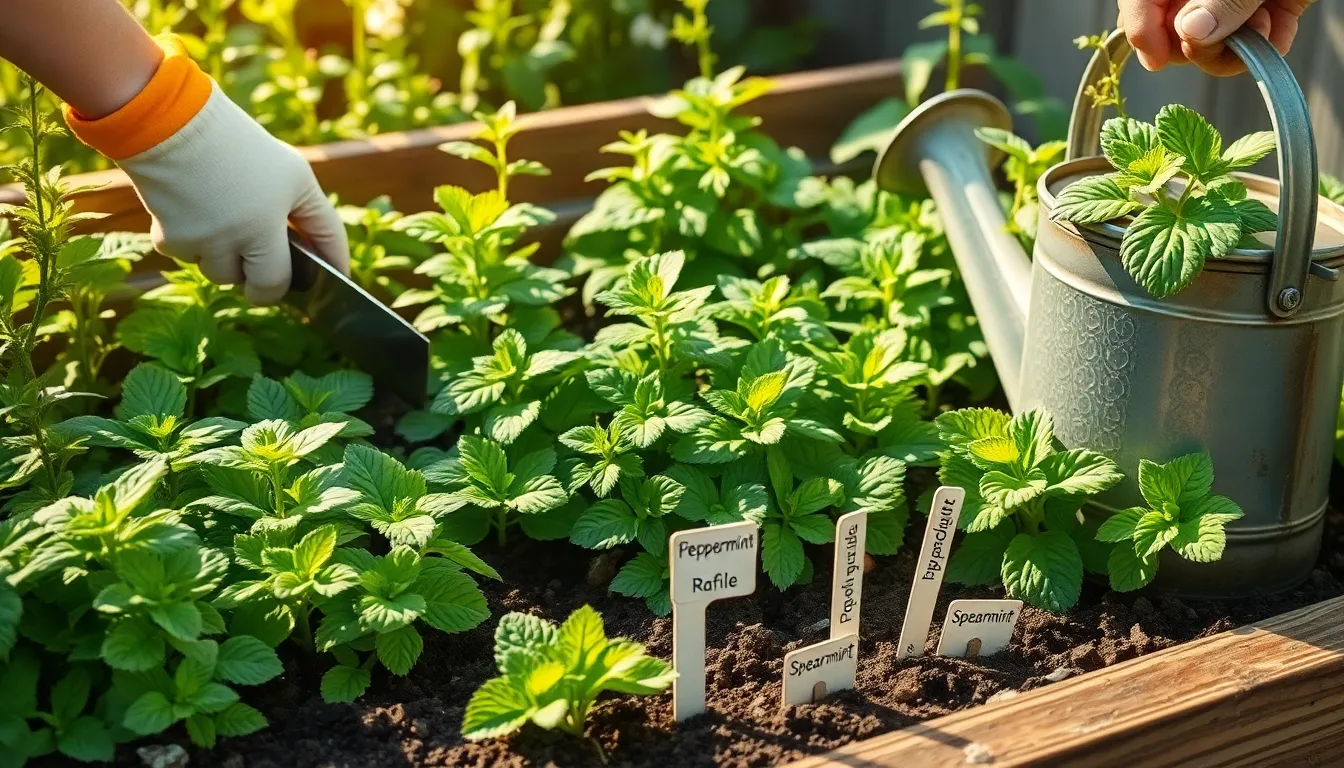
Prepare Well-Drained Soil Beds
Creating well-drained soil beds is essential for growing healthy artichokes at home. Begin by selecting a spot in your garden that receives full sun, as artichokes thrive in bright conditions.
To ensure proper drainage, you’ll want to work organic matter like compost or well-rotted manure into your existing soil. This not only improves drainage but also enriches the soil with nutrients, promoting robust plant growth.
Next, test your soil’s drainage by digging a hole about 12 inches deep and filling it with water. If the water drains within 30 minutes, your soil has adequate drainage; otherwise, consider amending with sand or perlite.
For gardeners dealing with clay soil, constructing raised beds can be an effective solution to improve drainage. Raised beds provide better control over soil composition, allowing artichokes to develop their deep root systems without waterlogging.
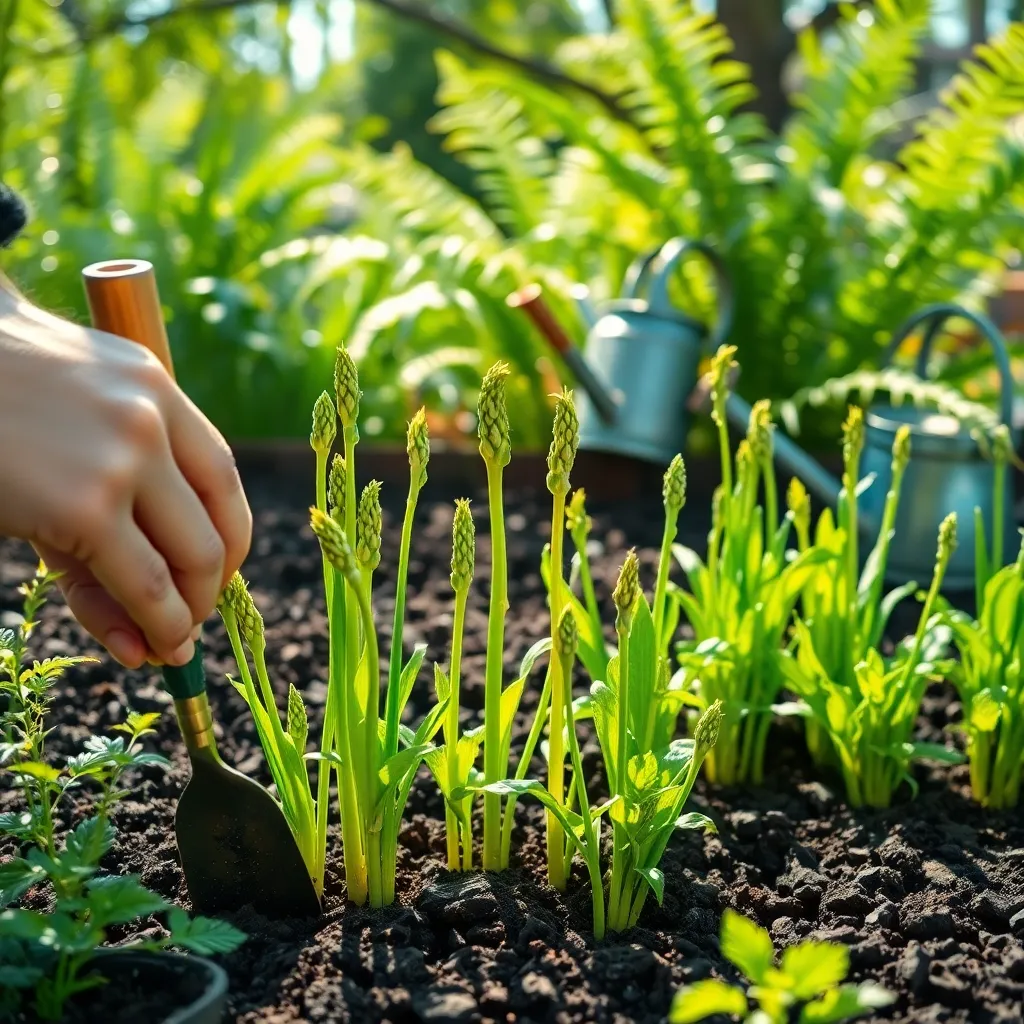
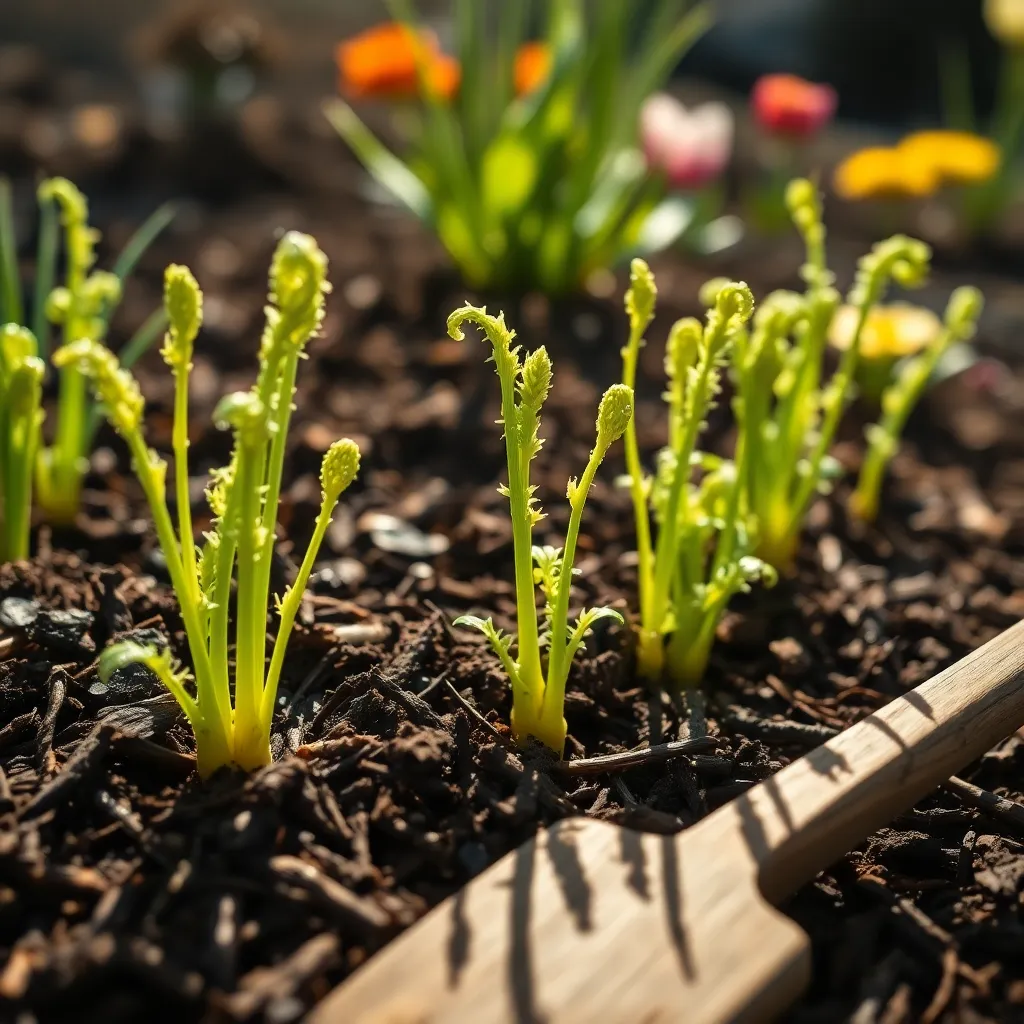
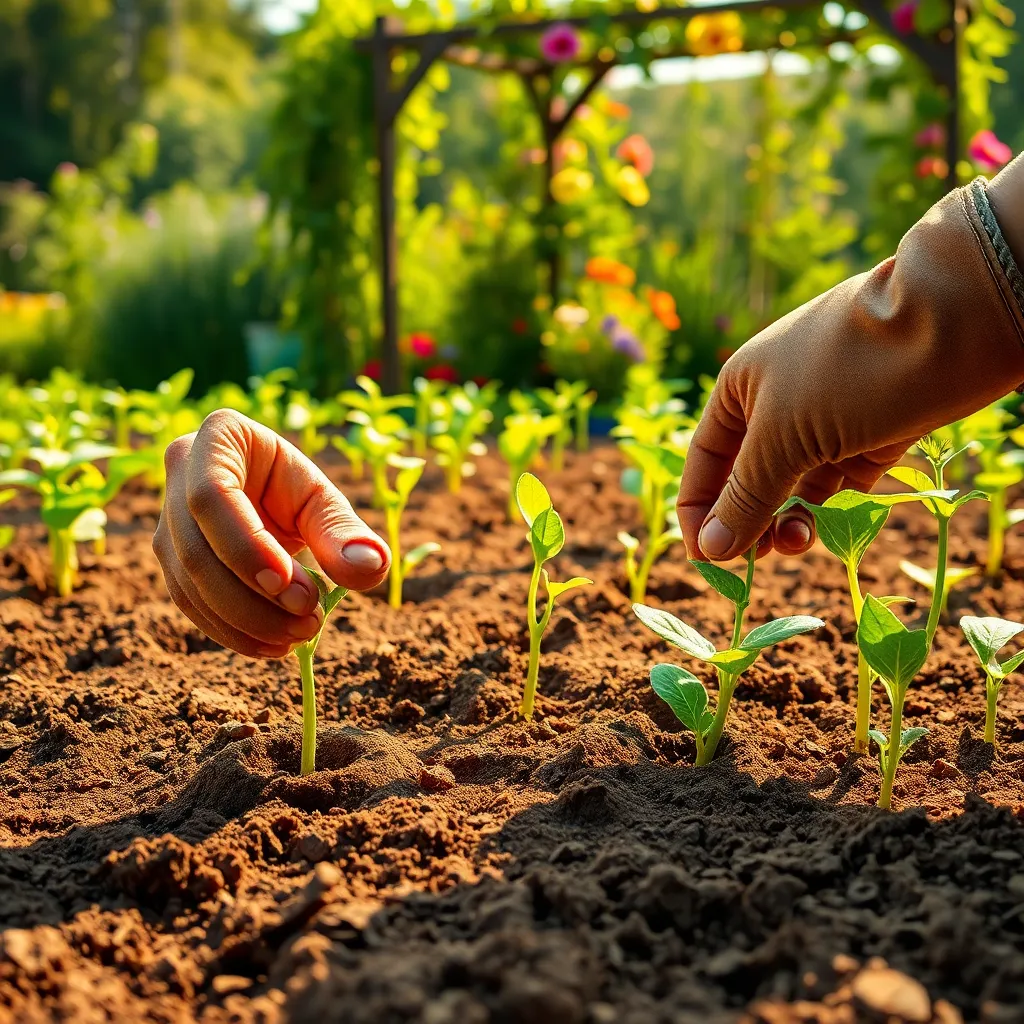
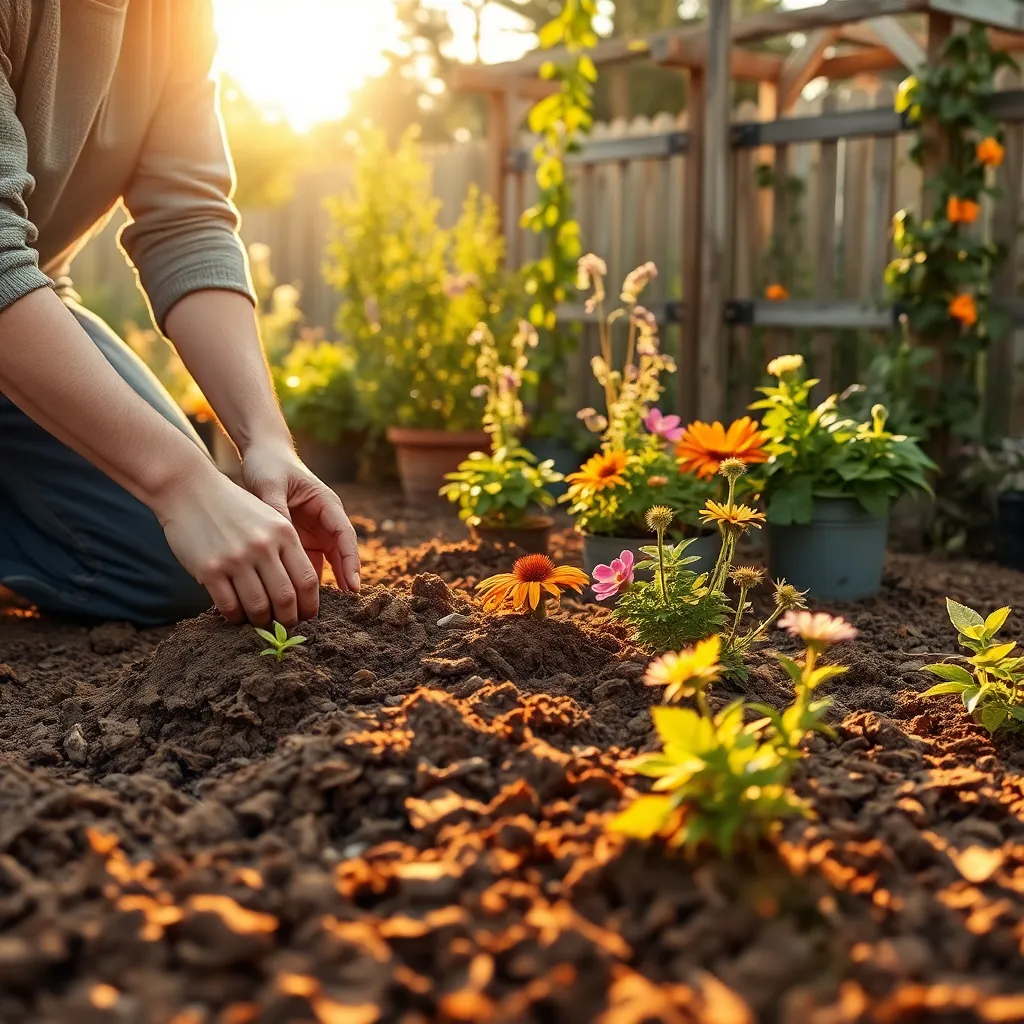
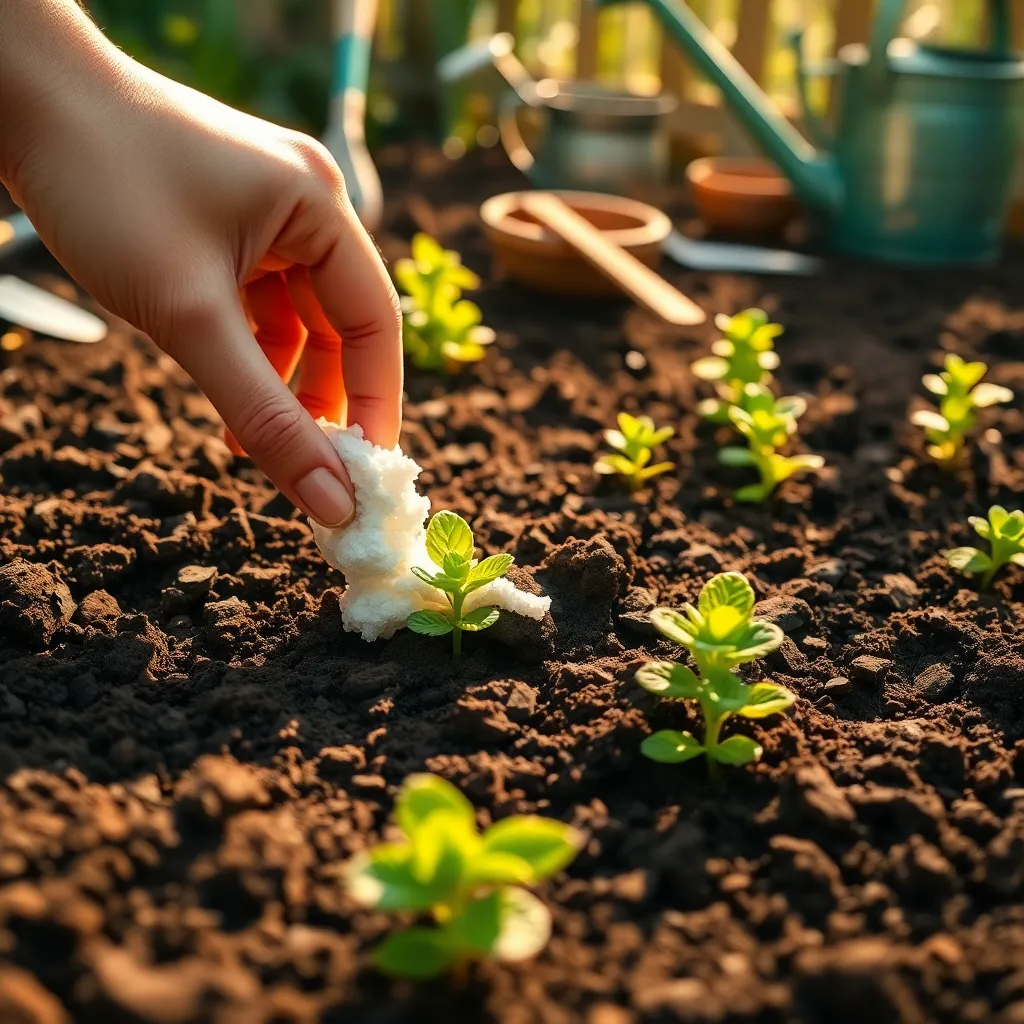
Sow Seeds or Transplants Correctly
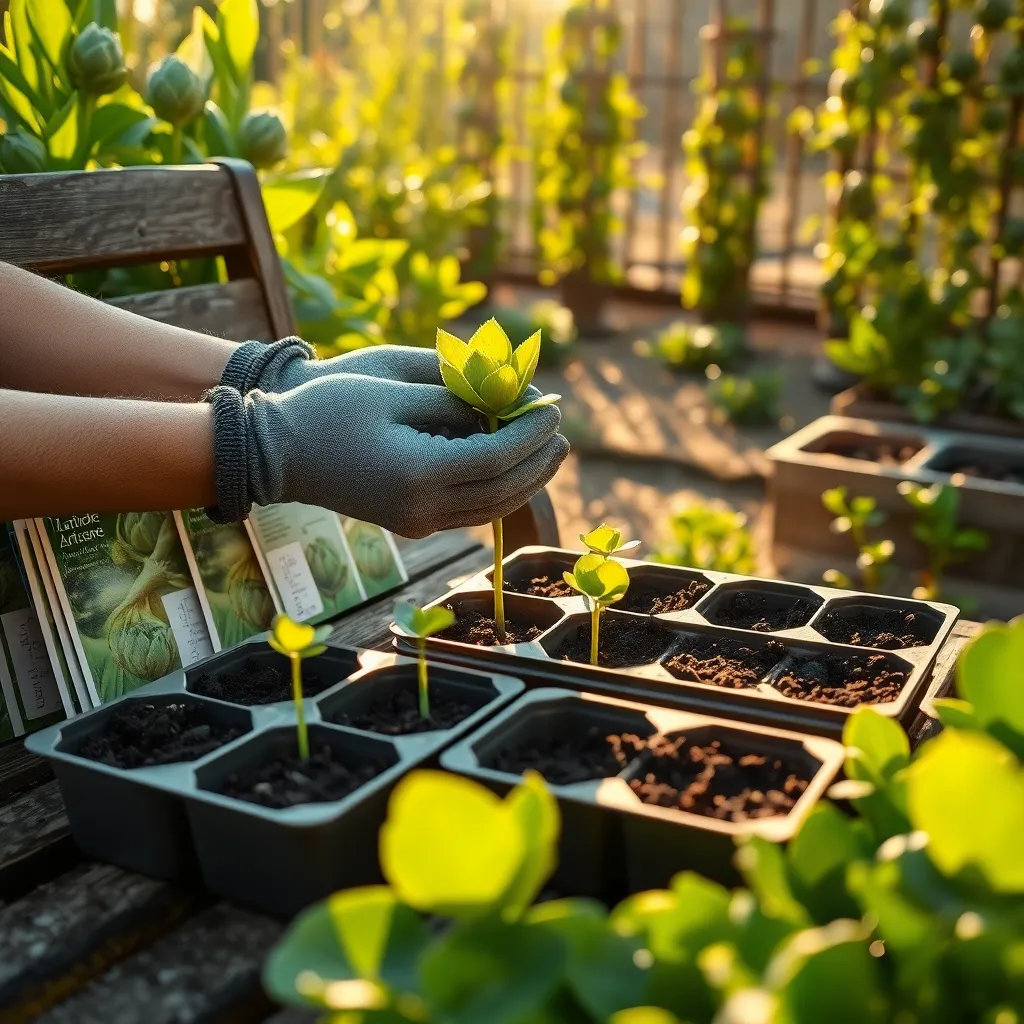
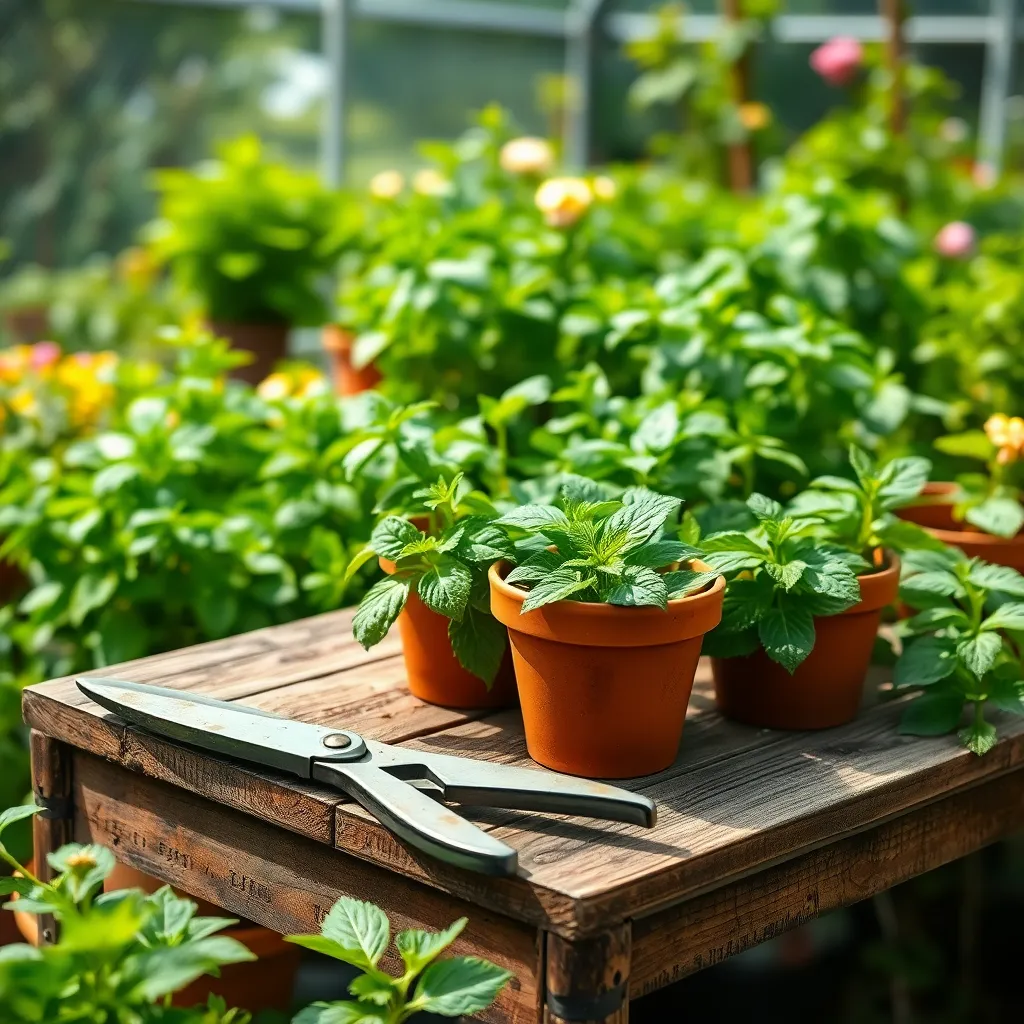
When growing artichokes at home, you have the option to start with either seeds or transplants. Seeds are ideal for gardeners who enjoy the process of nurturing plants from the very beginning, while transplants can provide a quicker start and are less labor-intensive.
For those opting to sow seeds, begin indoors about 8-12 weeks before the last expected frost date. Use a high-quality seed-starting mix and maintain a consistent moisture level, ensuring the soil is damp but not waterlogged.
Once seedlings have developed two sets of true leaves, harden them off by gradually exposing them to outdoor conditions over a week. This acclimatization process is crucial to prevent transplant shock and ensure strong growth once they are planted in the garden.
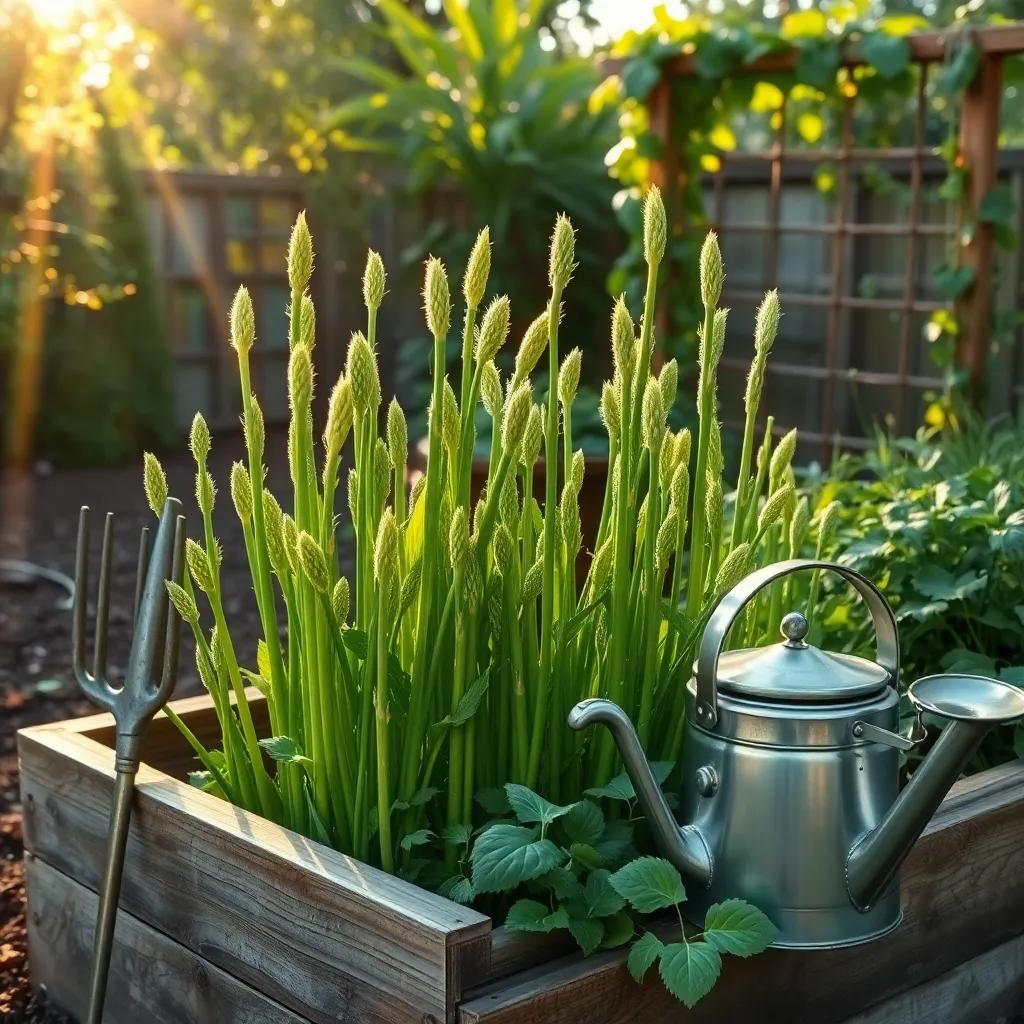
If you choose transplants, wait until the danger of frost has passed and the soil temperature is consistently above 60°F (15°C). Space transplants 3-4 feet apart in well-drained soil enriched with organic matter, ensuring they have ample room to spread and thrive.
Both seeds and transplants require regular watering, especially during dry spells, to establish a strong root system. Mulching around the base of the plants can help retain moisture and suppress weeds, making maintenance easier for even the busiest gardener.
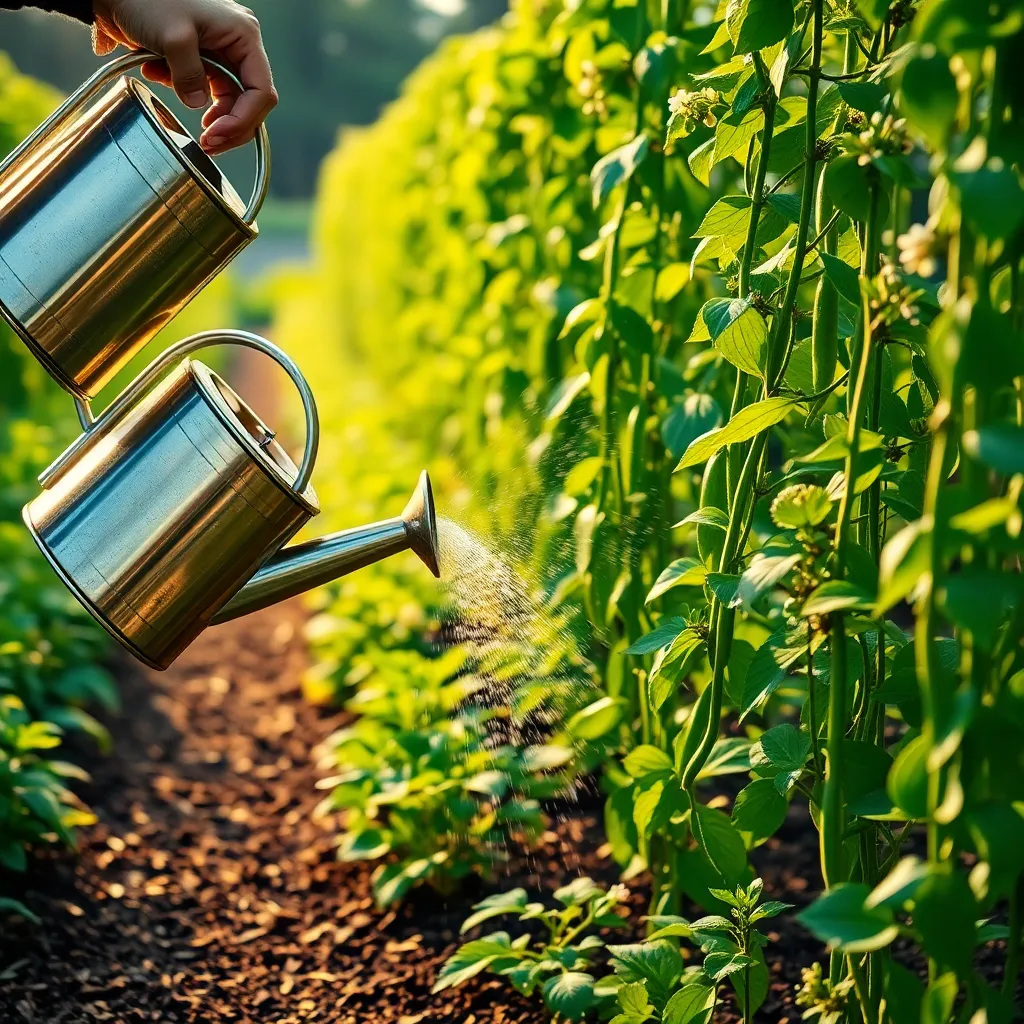
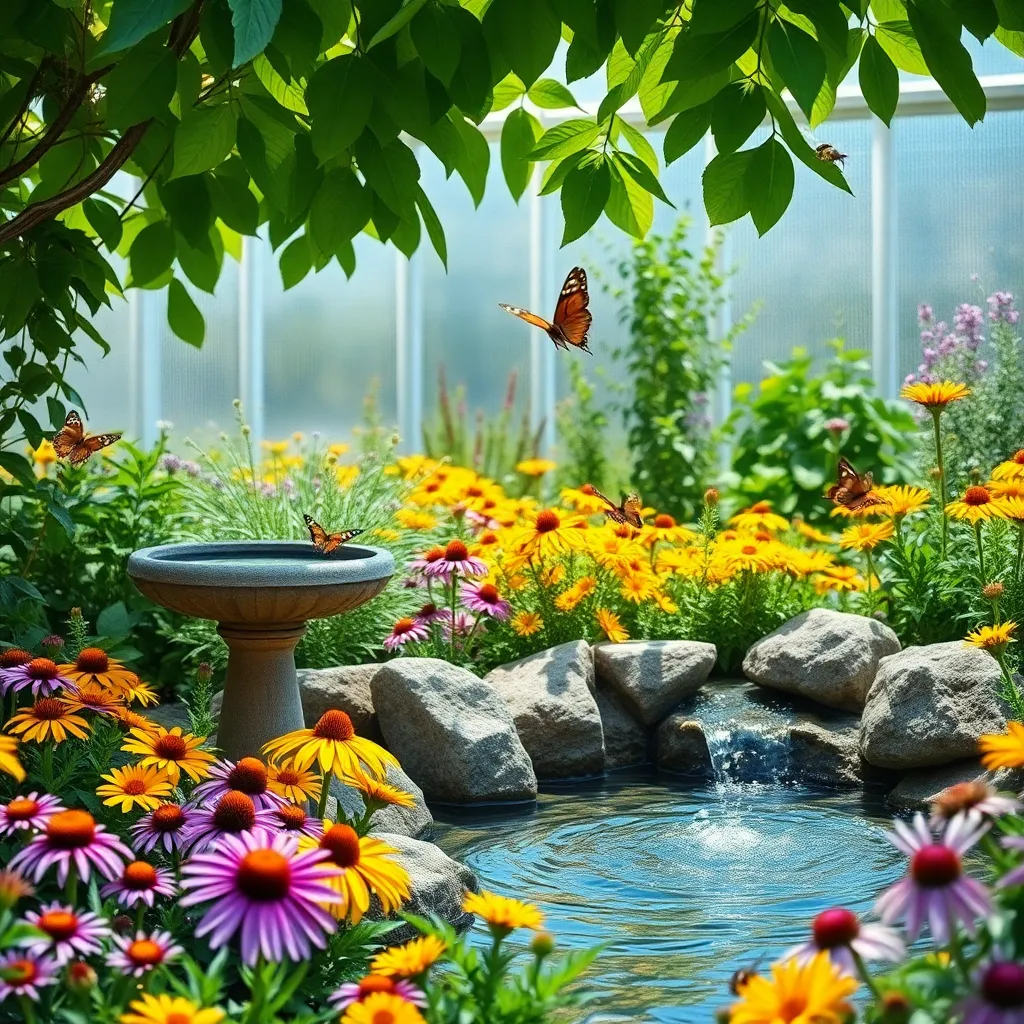
Water Consistently and Adequately
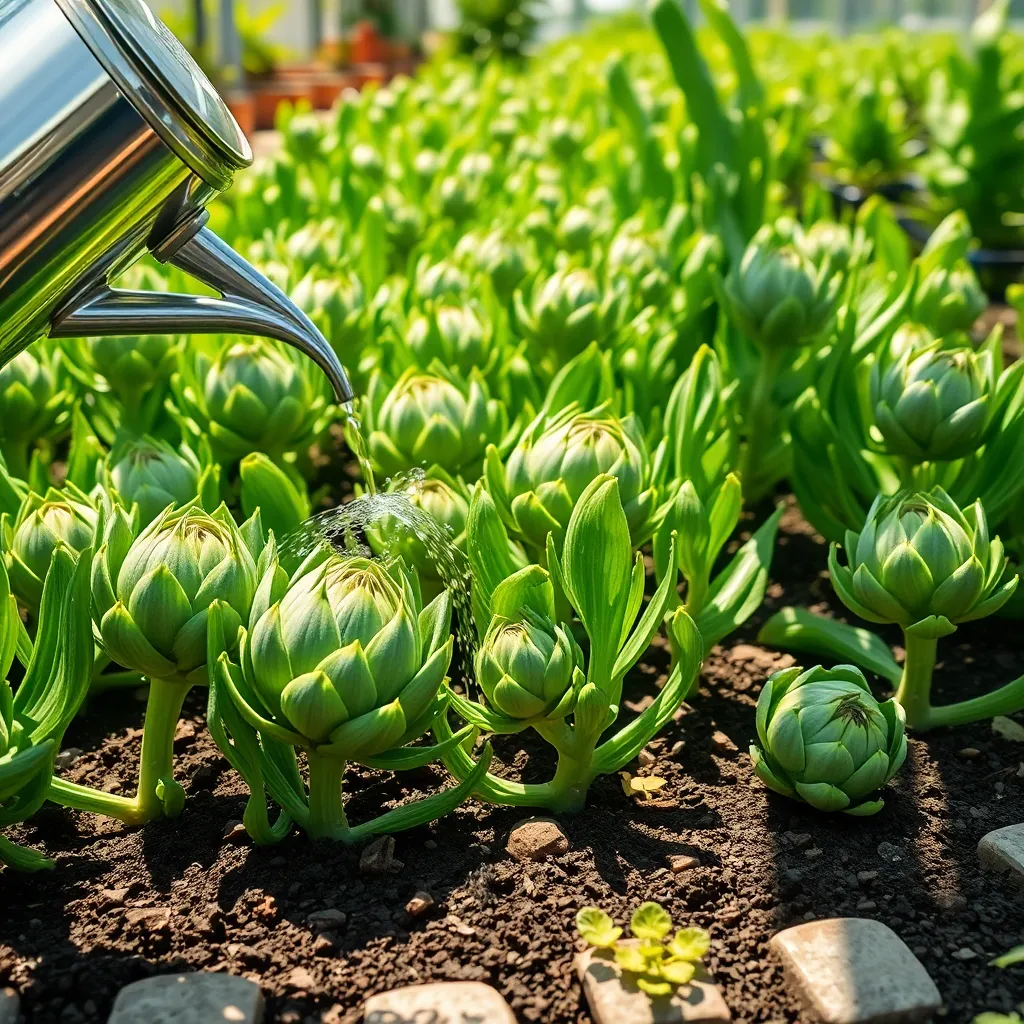
Watering artichokes consistently is crucial for their healthy growth and abundant production. These plants thrive best when the soil is kept moist but not waterlogged, so aim to keep the top inch of soil damp at all times.
To achieve this balance, check the soil moisture regularly by sticking your finger into the ground. If it feels dry at an inch below the surface, it’s time to water.
It’s beneficial to water artichokes deeply and infrequently, allowing the water to reach the roots. A general guideline is to provide about 1-1.5 inches of water per week, either through rainfall or supplemental watering.
For more advanced care, consider using a soaker hose or drip irrigation system. These methods ensure that water is delivered directly to the plant roots, minimizing evaporation and reducing the risk of fungal diseases.
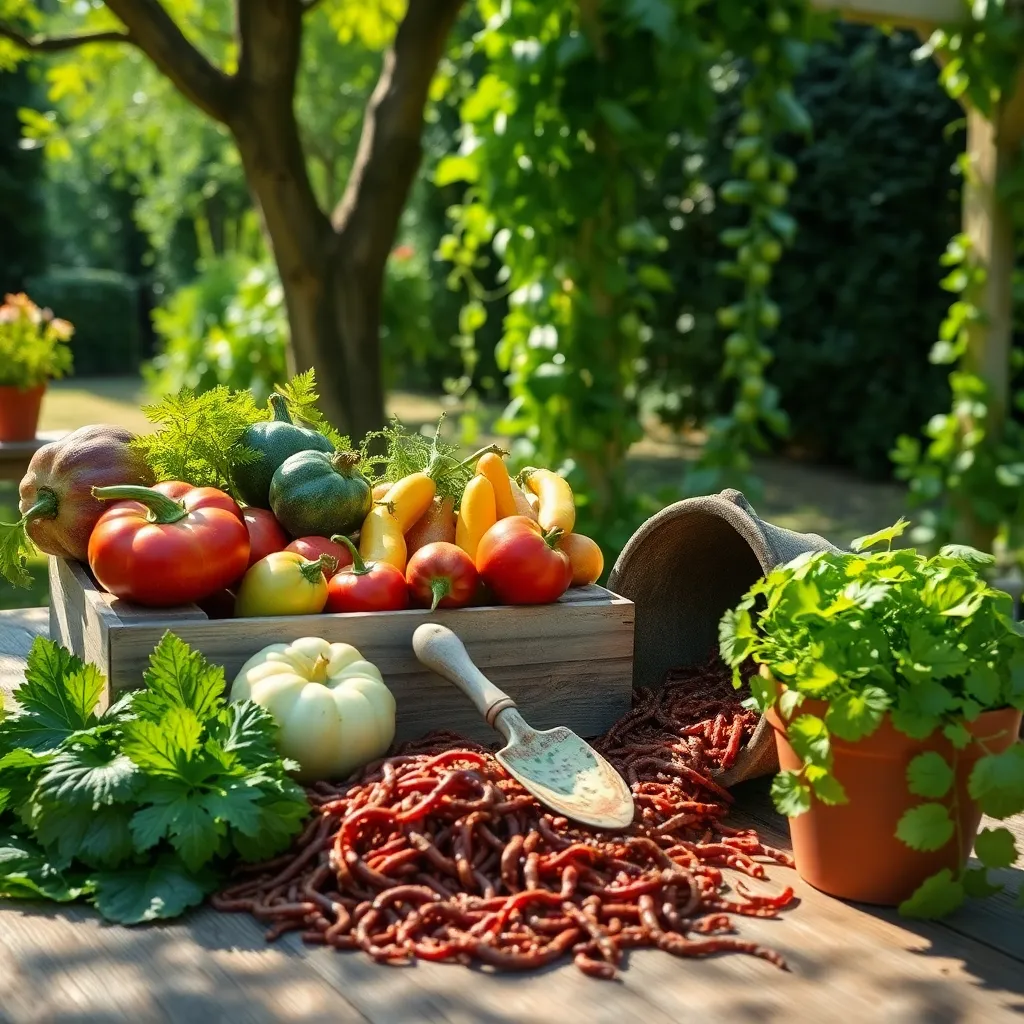
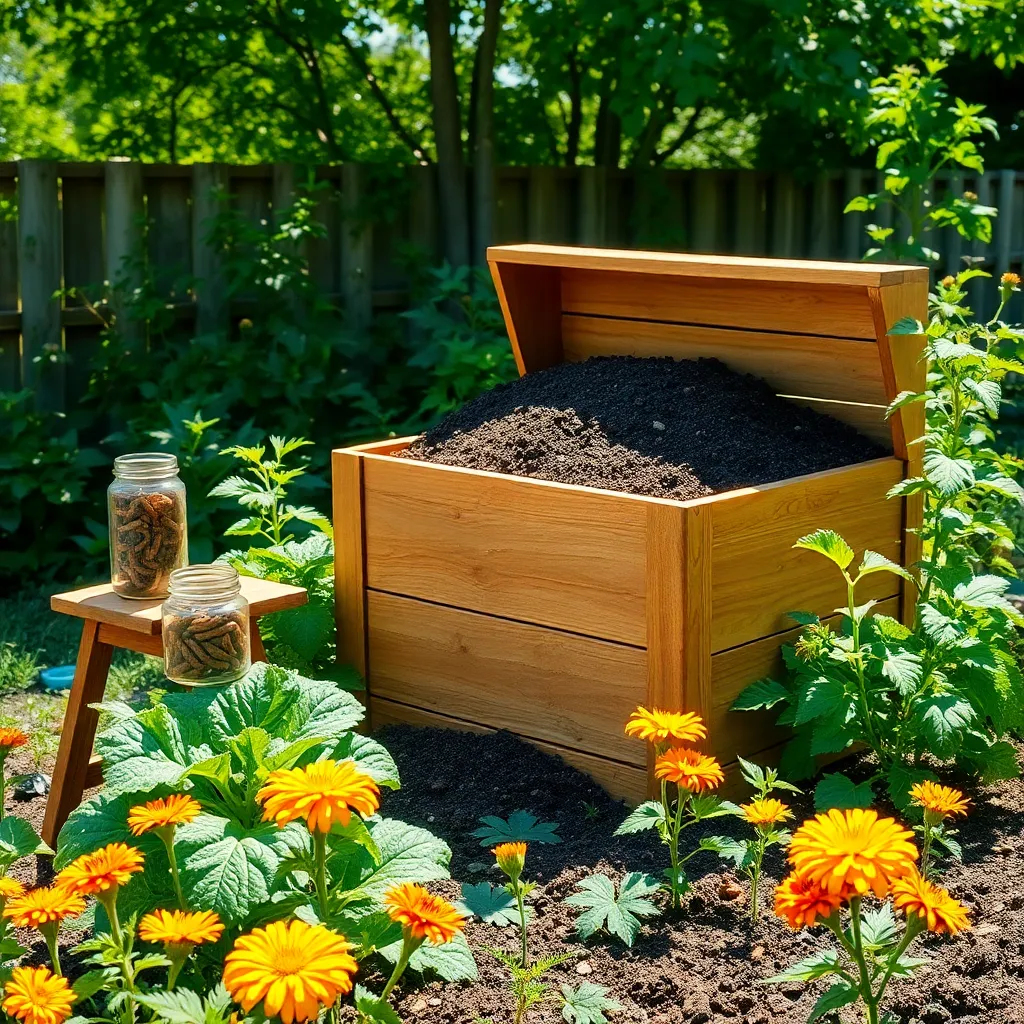
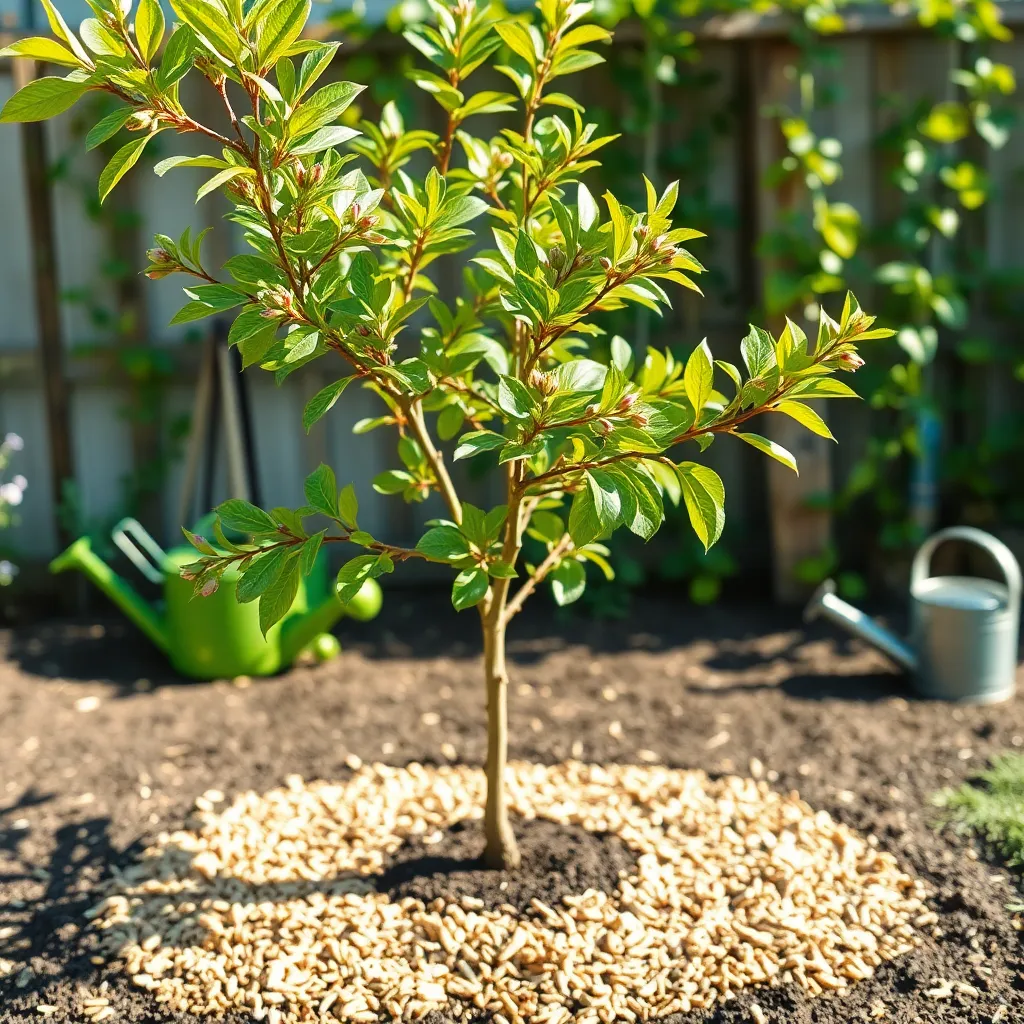
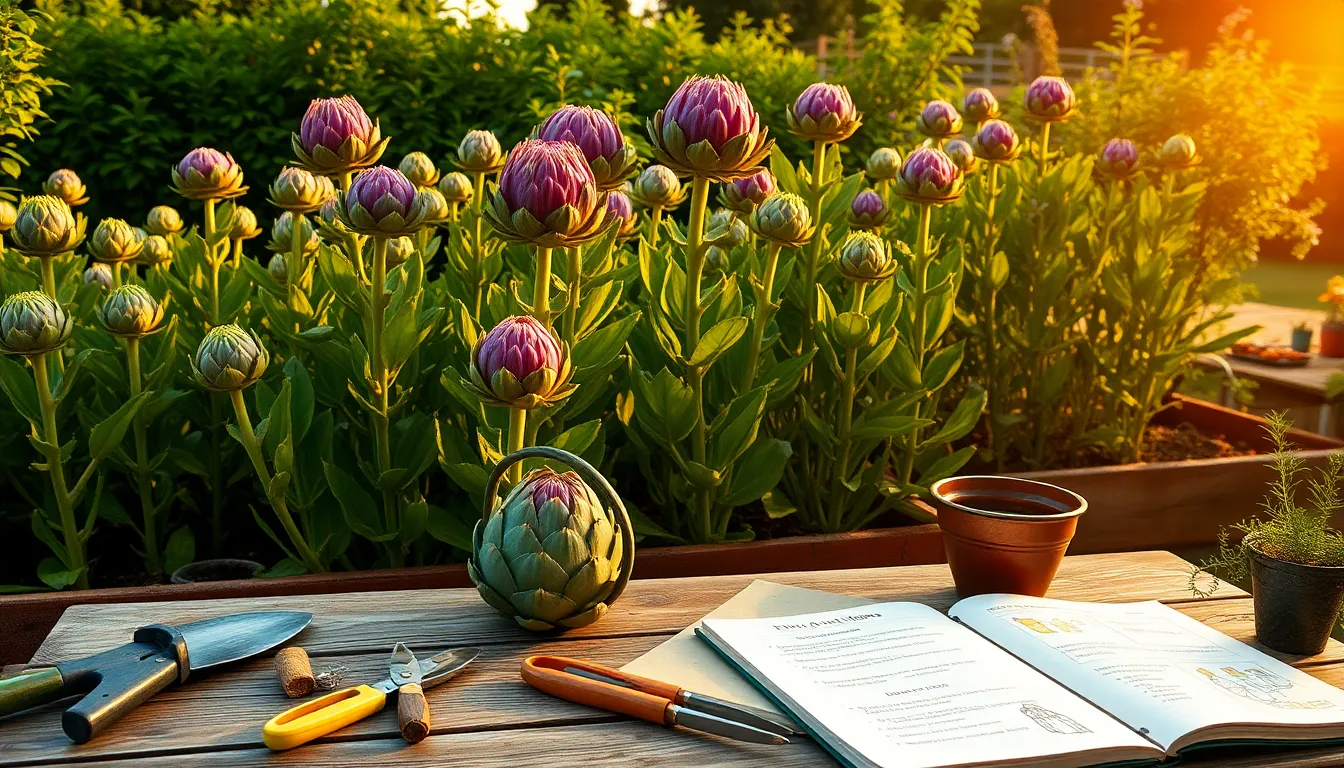
Fertilize and Mulch Regularly
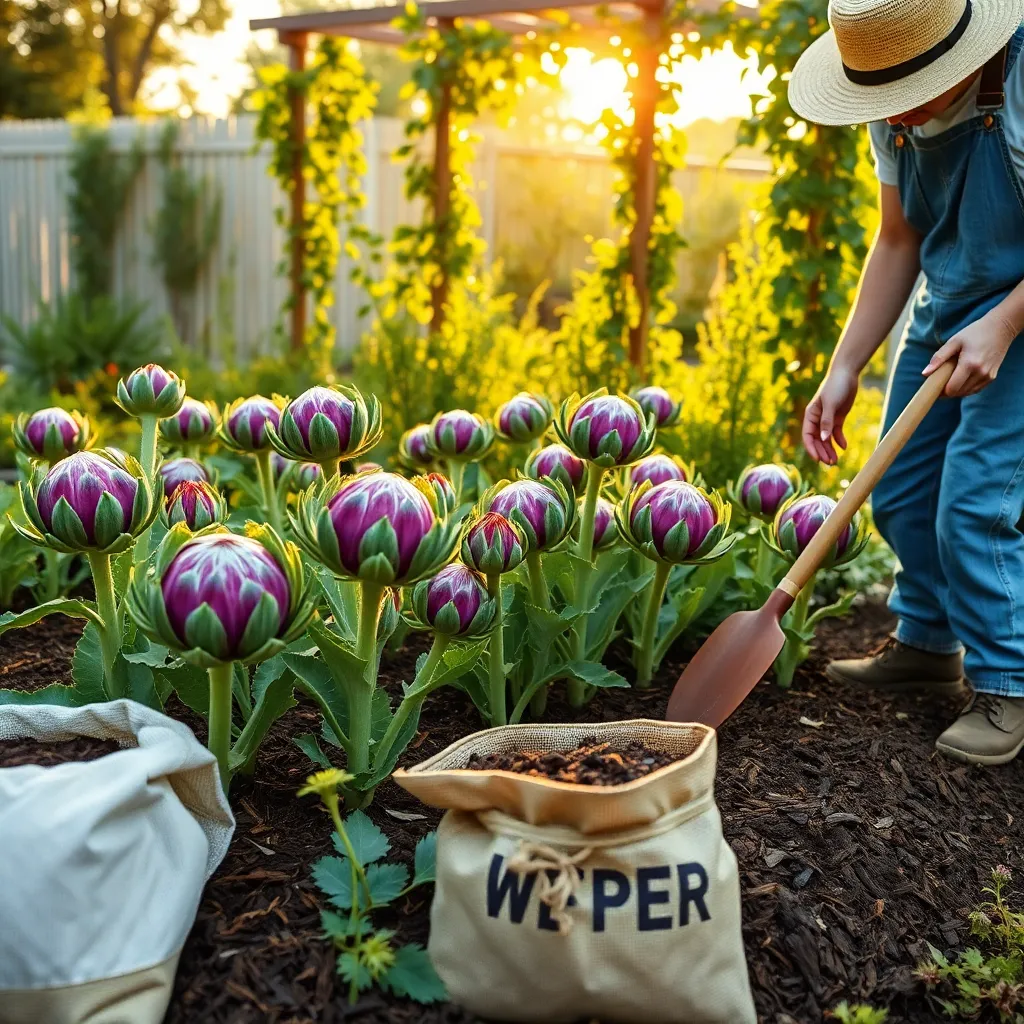
To ensure your artichokes thrive, it’s essential to fertilize them regularly throughout the growing season. Start by applying a balanced fertilizer, such as a 10-10-10, every four to six weeks, which will provide the necessary nutrients to support robust growth.
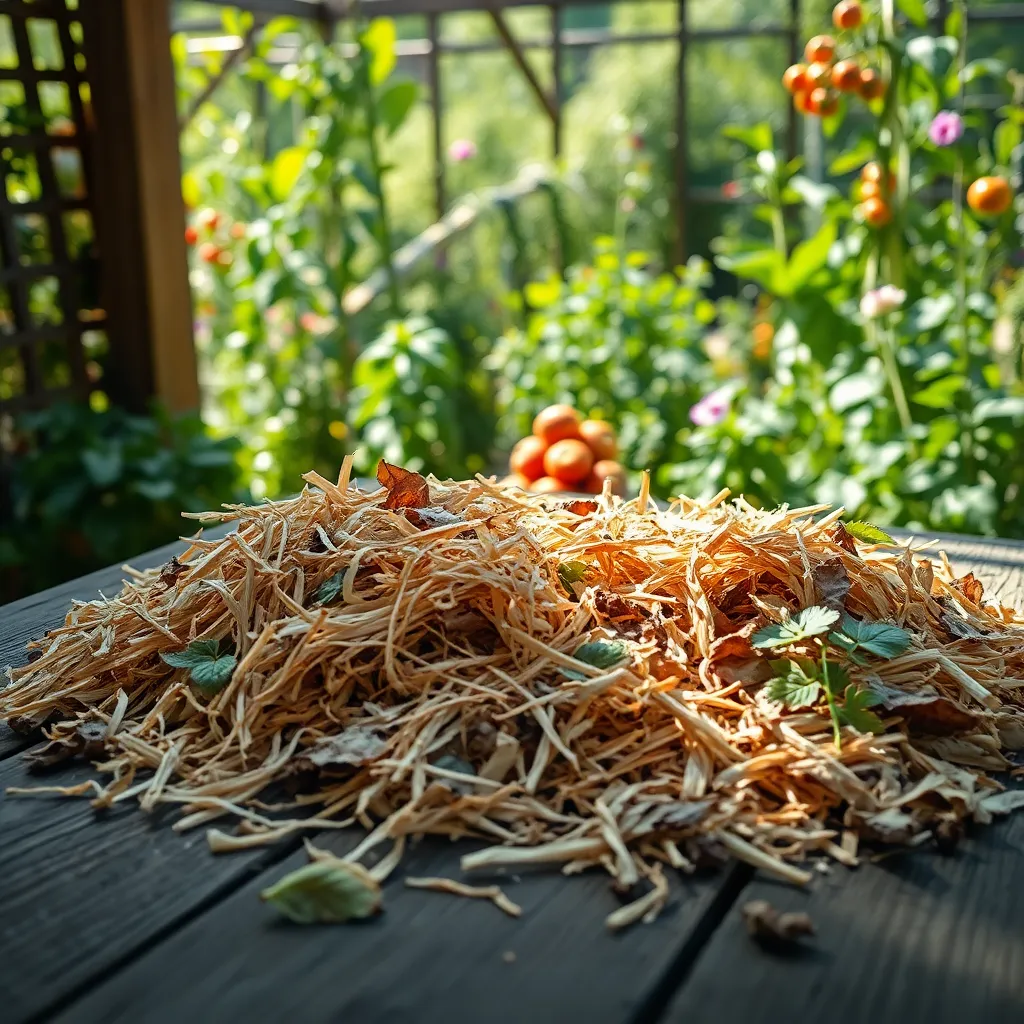
Adding a layer of mulch around your artichoke plants offers multiple benefits beyond just weed suppression. Use organic mulch like straw or shredded leaves, which will help retain moisture and gradually add nutrients back into the soil as they decompose.
While beginners may stick to basic fertilizers, experienced gardeners might consider side-dressing with compost for added benefits. This technique involves applying compost around the base of the plants, which enriches the soil and improves its structure over time.
Remember, artichokes are heavy feeders, so don’t skimp on nutrients if you want to maximize your harvest. Keep the mulch layer about 2-3 inches thick, ensuring it doesn’t touch the stems to prevent rot, which is particularly important in areas with high humidity.
Conclusion: Growing Success with These Plants
In cultivating artichokes at home, we uncover transformative insights that can enhance our relationships. Firstly, patience is key; just as artichokes require time to mature, so do our connections with others. Secondly, nurturing is vital; consistent care and attention foster growth in both plants and relationships. Thirdly, adaptability, akin to adjusting to seasonal changes, helps us weather the ups and downs with our loved ones. Fourthly, communication, like understanding the needs of your garden, ensures clarity and harmony in our interactions. Lastly, resilience, much like overcoming pests in gardening, empowers us to tackle relationship challenges.
As your actionable next step, why not apply these principles today by dedicating an hour to nurture a meaningful conversation with someone dear to you? By doing so, you plant the seeds for deeper connections. Bookmark this article for a handy guide when you need a reminder of how to cultivate both your garden and your relationships.
Remember, the path to relationship success is a journey of continual growth and learning. With each step you take, you’re building a future brimming with love and understanding. Let this article be your companion on this rewarding journey. Save it now and watch your relationships flourish!