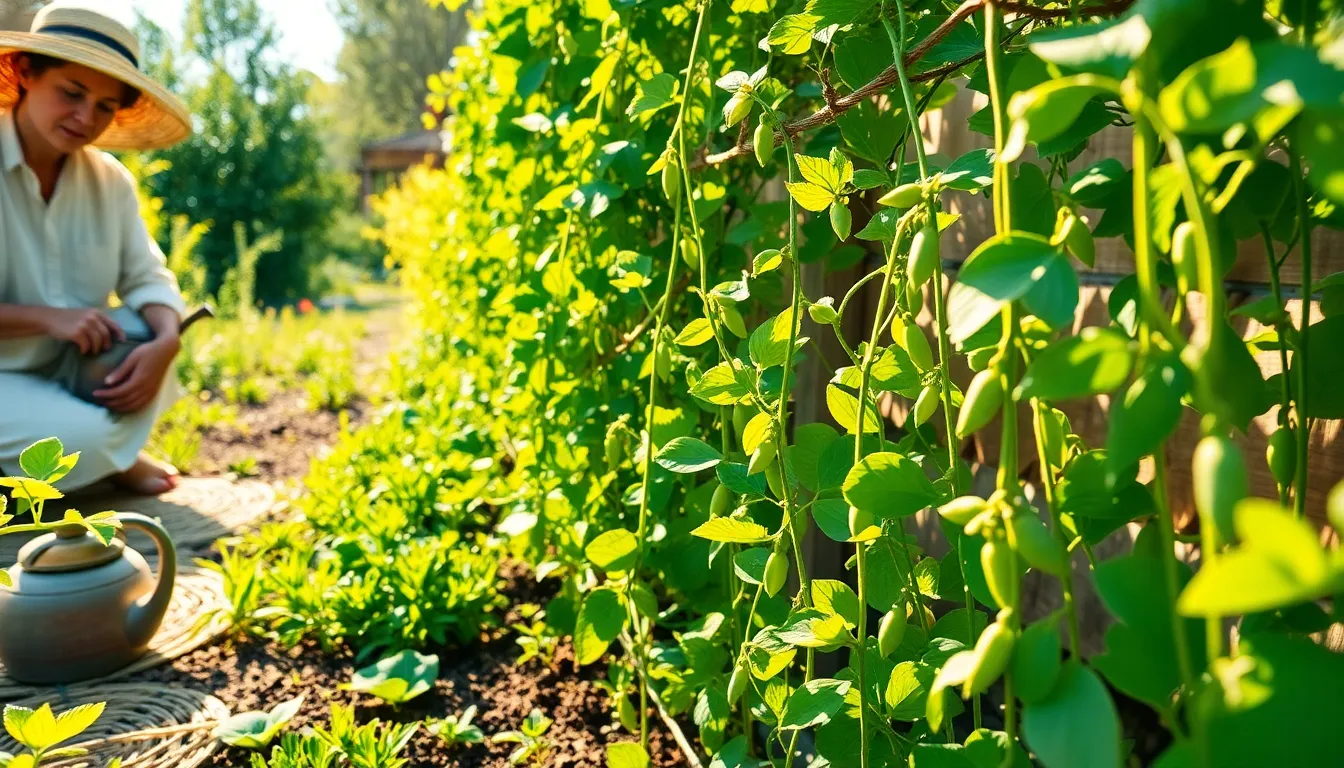
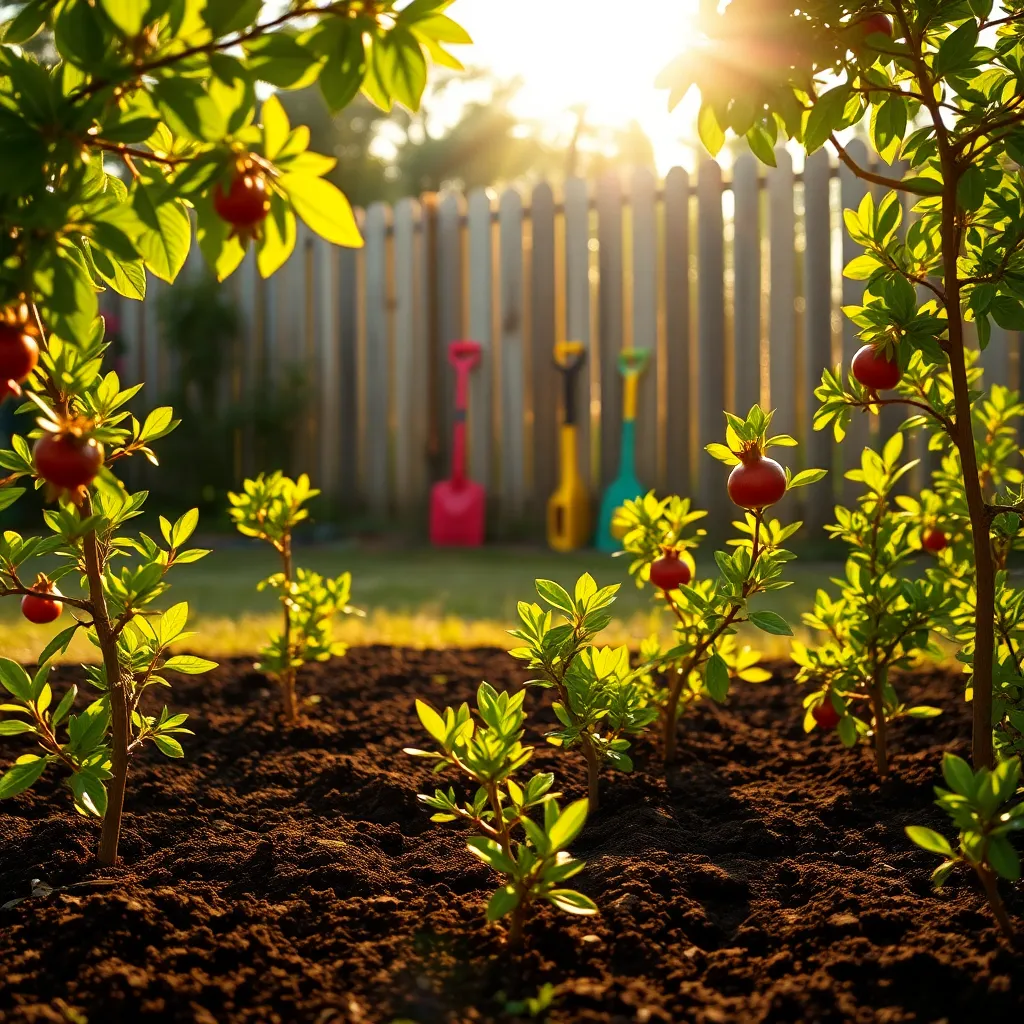
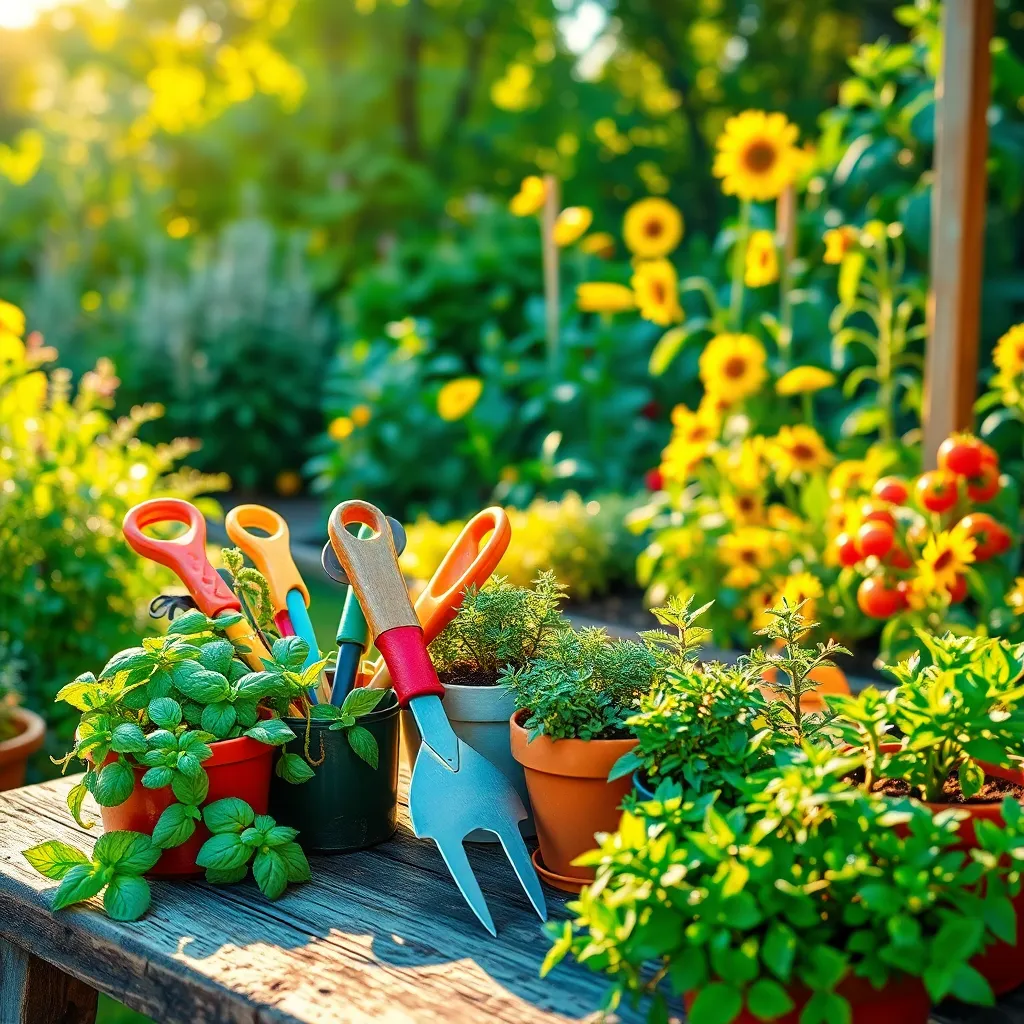
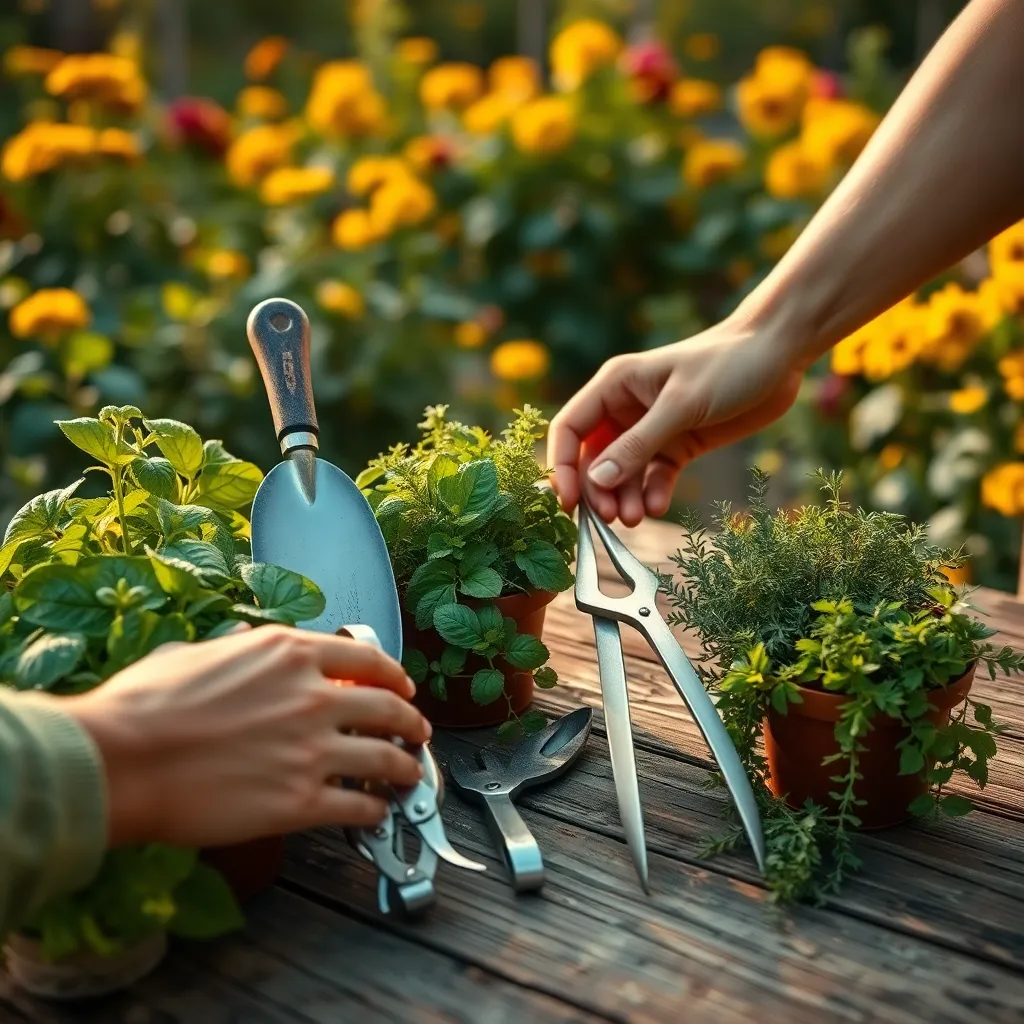
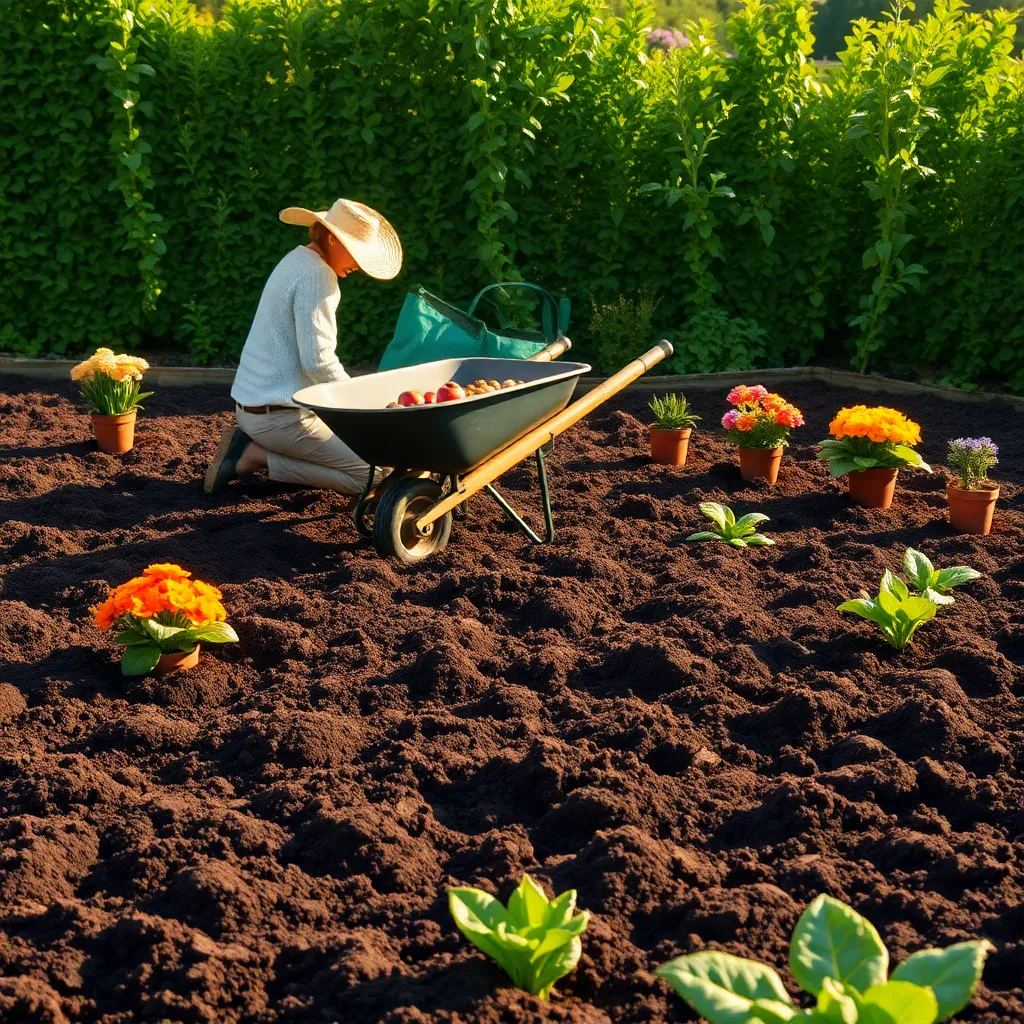
Imagine stepping into your garden, where every plant tells a story of resilience and harmony with the environment. Gardening with native plants is not just a trend; it’s a rewarding journey that connects us to the land and nurtures biodiversity in our own backyards. Whether you’re just starting out or have a seasoned green thumb, native plants offer a unique opportunity to create a sustainable and thriving garden ecosystem. These plants, perfectly adapted to local climates and soils, require less water and care, making them an ideal choice for gardeners seeking both beauty and efficiency.
For those new to gardening, native plants can be a gentle introduction to the joys of plant care, with their robust nature forgiving the occasional misstep. Experienced gardeners will find new challenges and delights in discovering the subtle nuances of these locally adapted varieties. As you delve into the world of native gardening, you’ll learn how to choose plants that naturally flourish in your area, creating a vibrant habitat for local wildlife. By understanding the symbiotic relationships between native plants and the environment, you can enhance your garden’s health and reduce the need for chemical interventions.
Throughout this article, we’ll explore the myriad benefits of embracing native plants, from conserving water to attracting pollinators. You’ll gain practical insights into selecting the right plants for your region, designing a cohesive garden plan, and maintaining your native garden with minimal fuss. By the end, you’ll feel empowered to cultivate a garden that’s not only beautiful but also a vital part of the local ecosystem. So, let’s dig in and discover how gardening with native plants can transform your outdoor space into a haven of natural beauty and ecological balance.
Understanding Native Plant Benefits
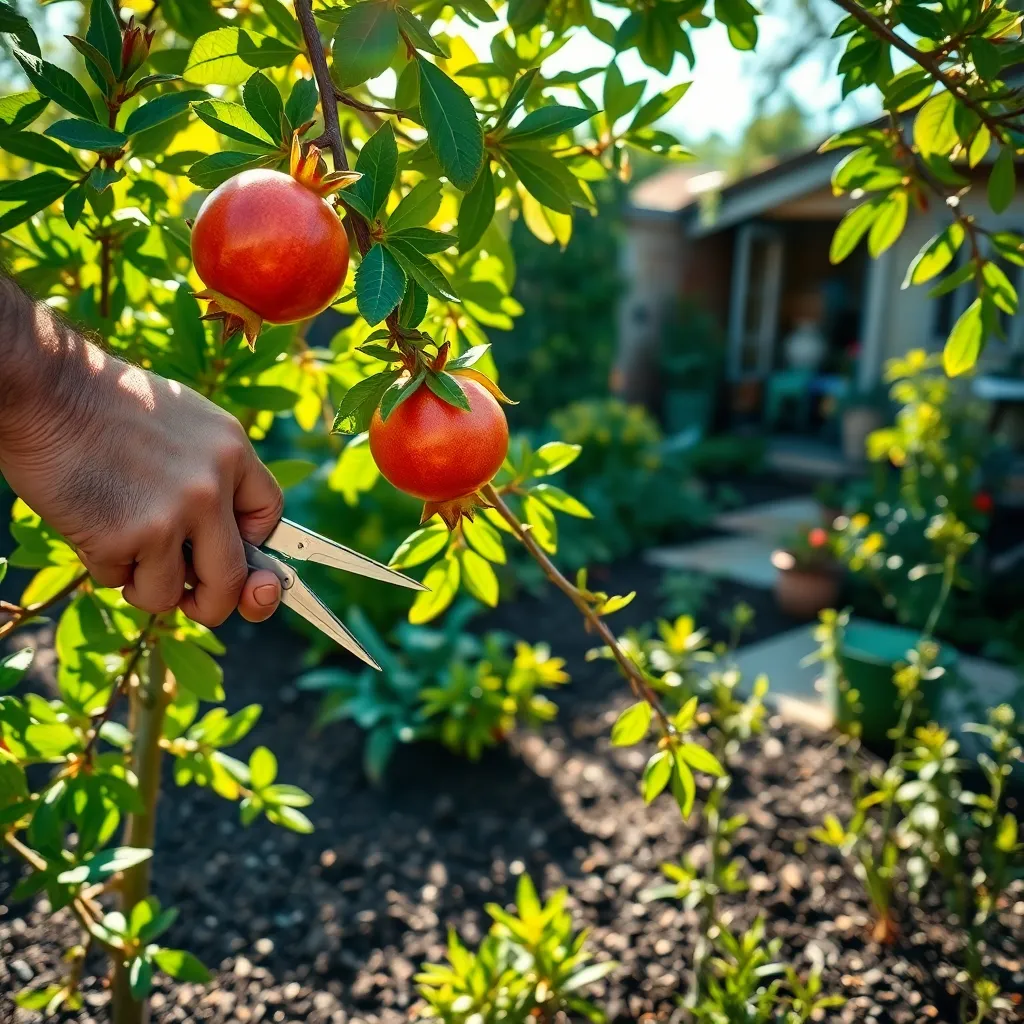
Native plants offer significant advantages to your garden by being well-adapted to the local climate and soil conditions. This means they require less water, fertilizer, and pesticides, which makes them a sustainable choice for eco-conscious gardeners.
By choosing native plants, you can also benefit from their natural resistance to local pests and diseases. This resilience often translates to healthier plants that require less intervention and maintenance.
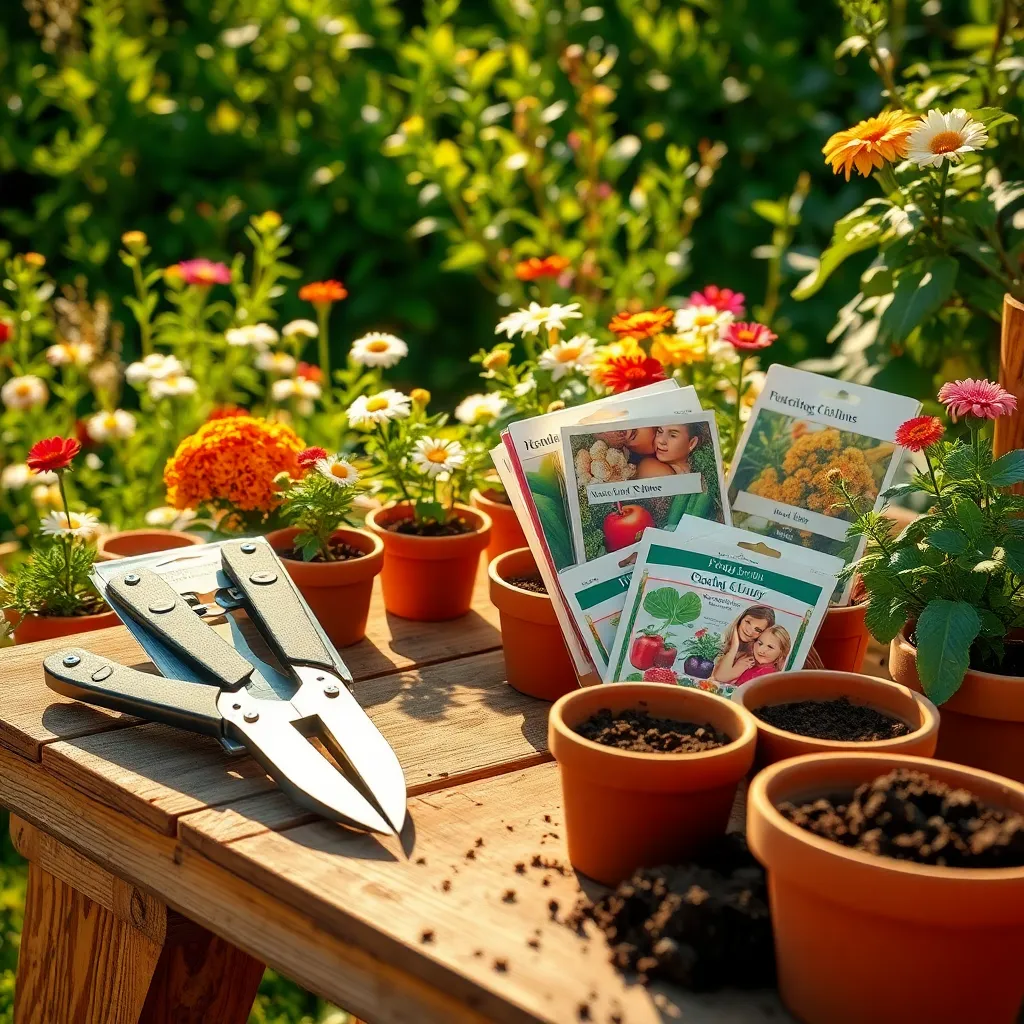
To maximize the benefits of native plants, start by researching which species are indigenous to your area. You can consult local extension services or native plant societies, which often provide lists and growing tips tailored to your region.
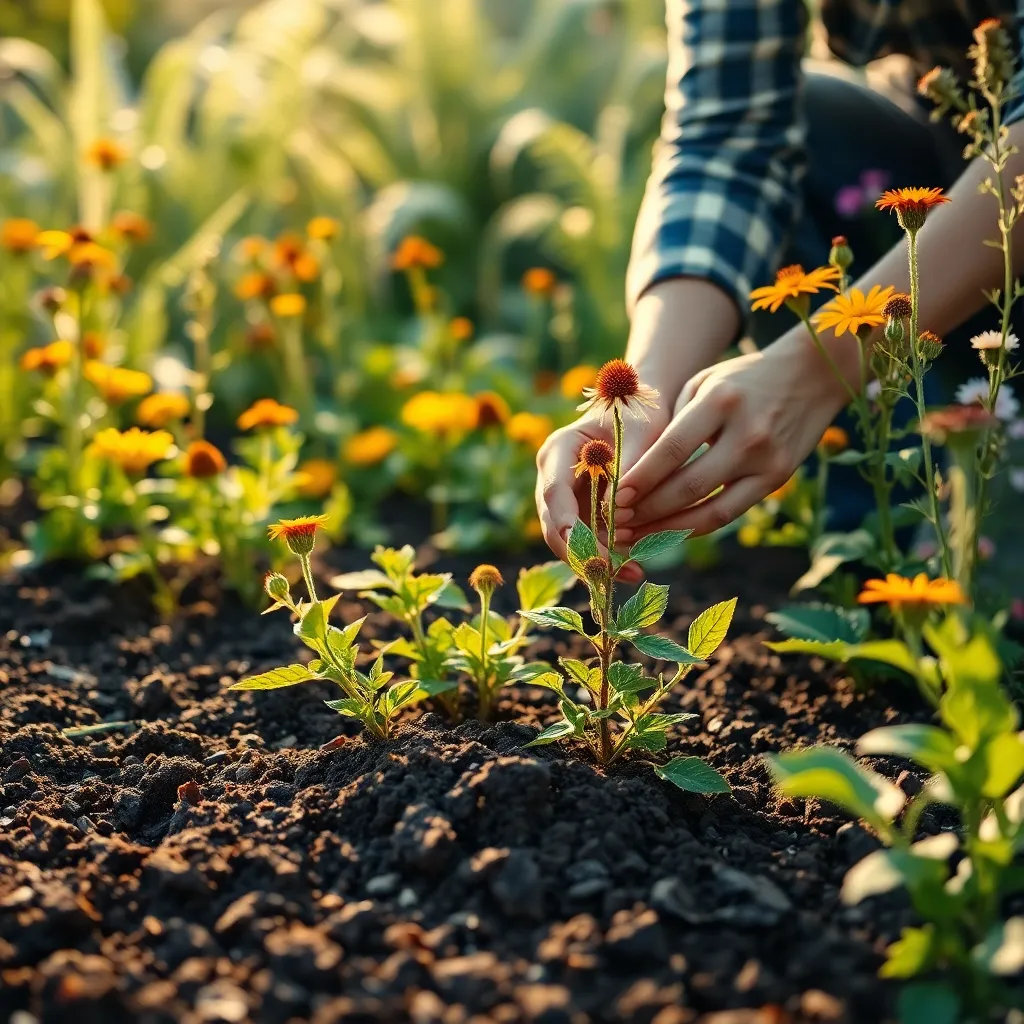
When planting native species, it’s crucial to mimic their natural habitat to ensure their success. For instance, if a plant thrives in a woodland setting, providing partial shade and well-drained soil will help it flourish in your garden.
Advanced gardeners can experiment with companion planting by pairing native plants that naturally support each other in terms of pest control and nutrient requirements. This strategy not only boosts plant health but also enhances biodiversity in your garden.
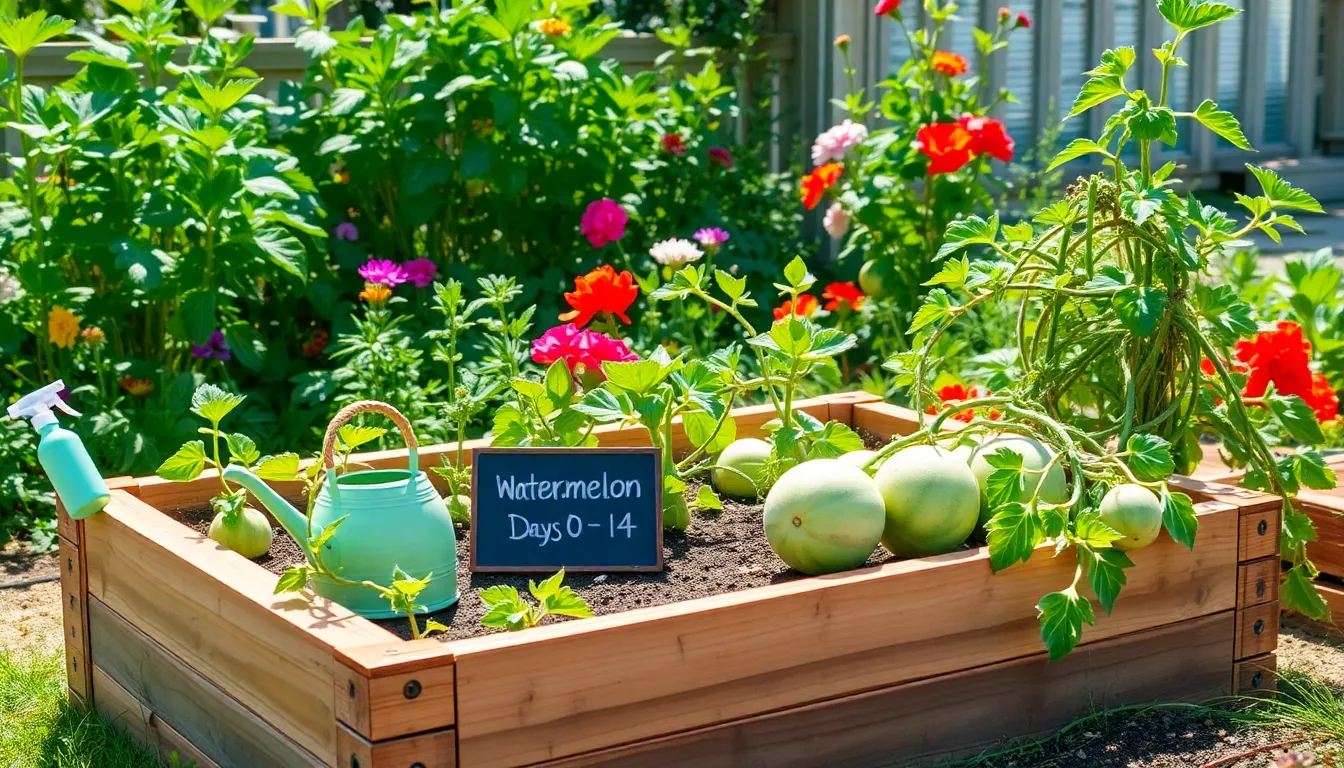
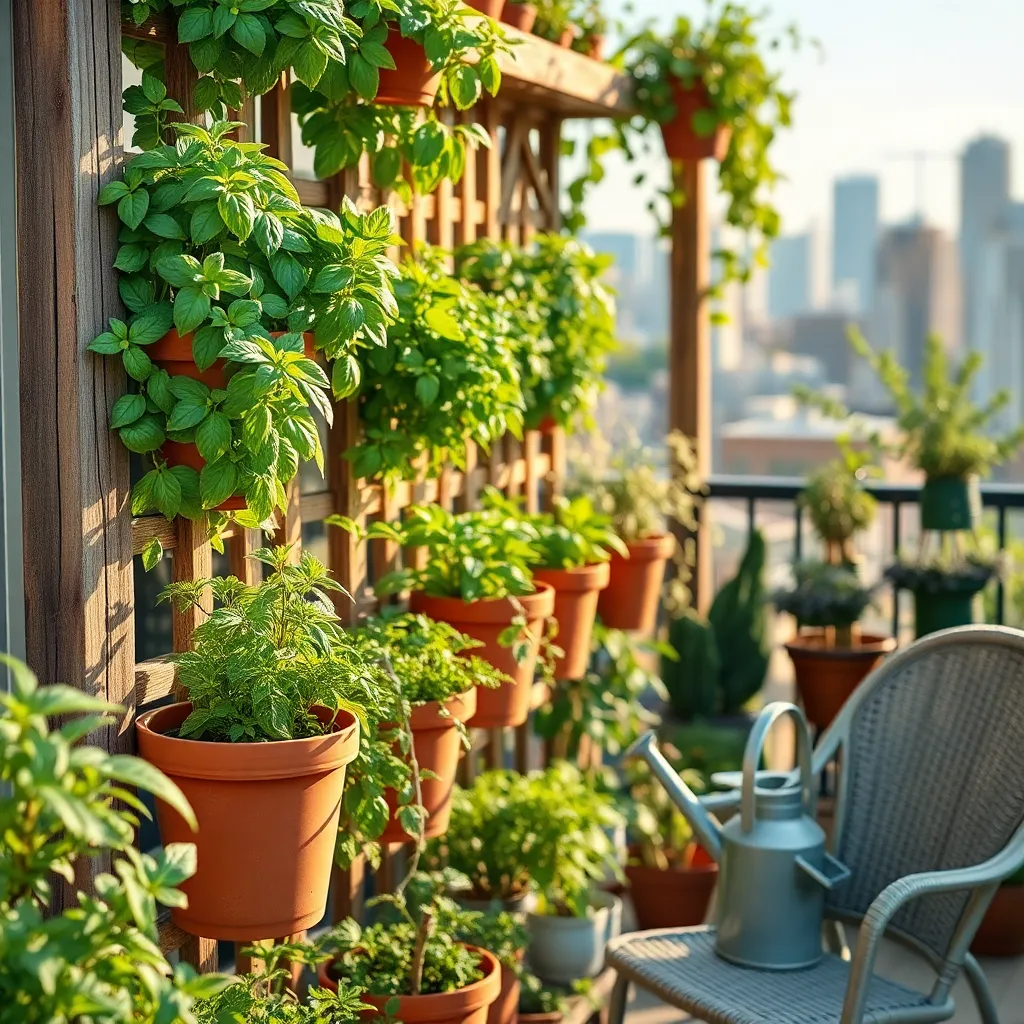
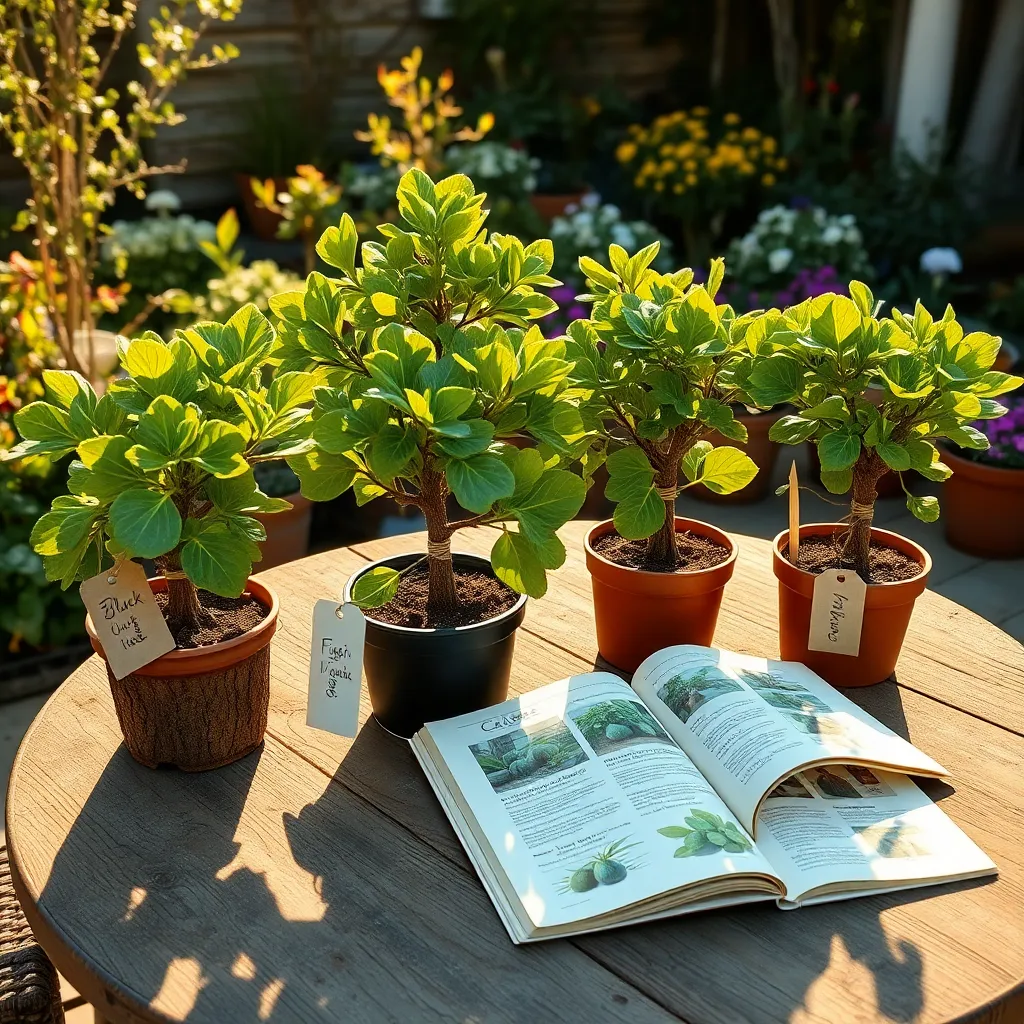
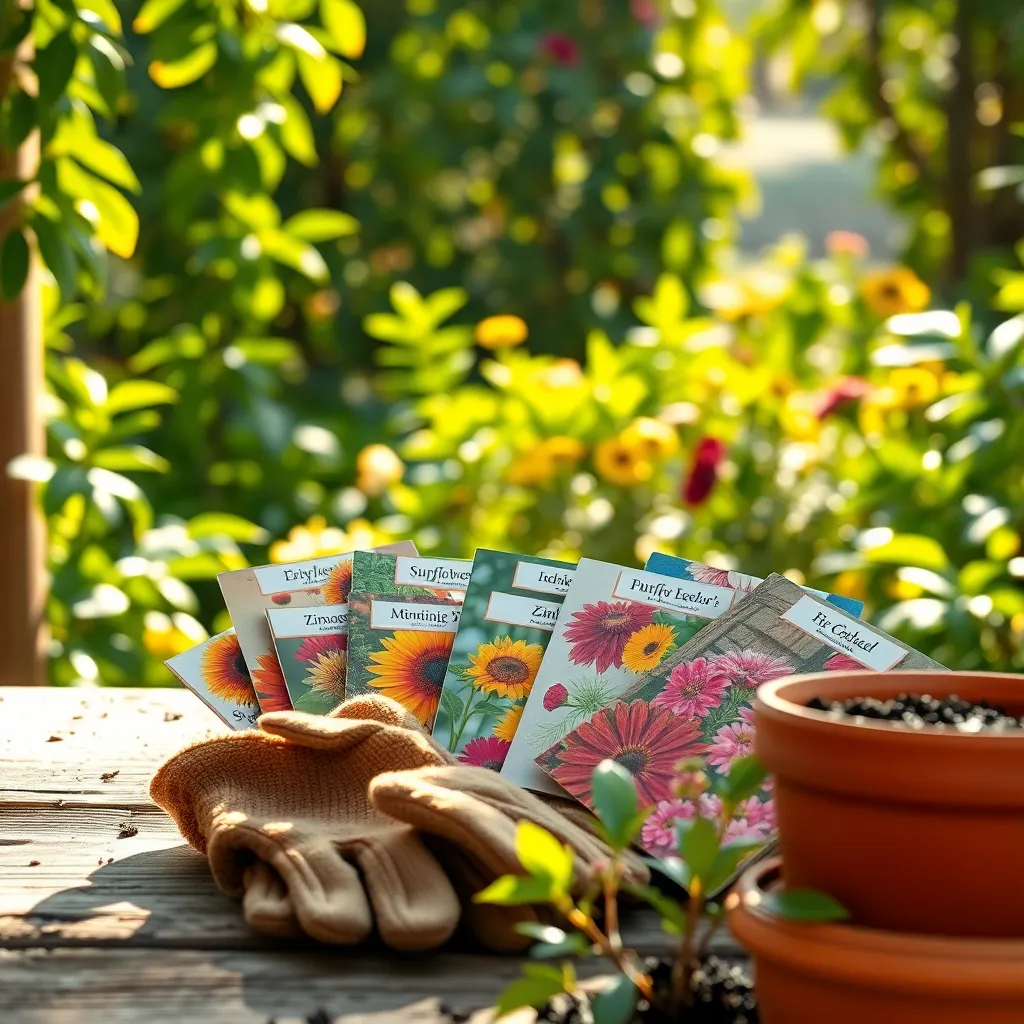
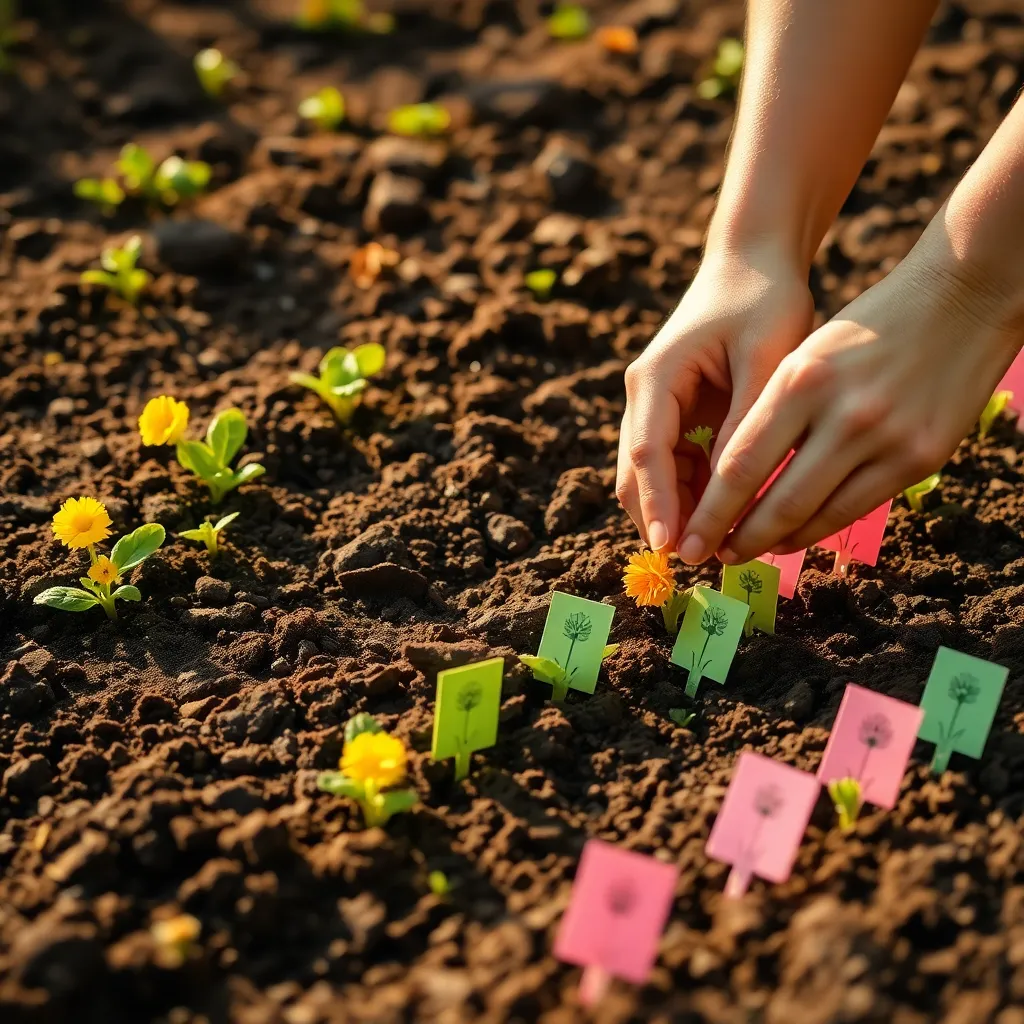
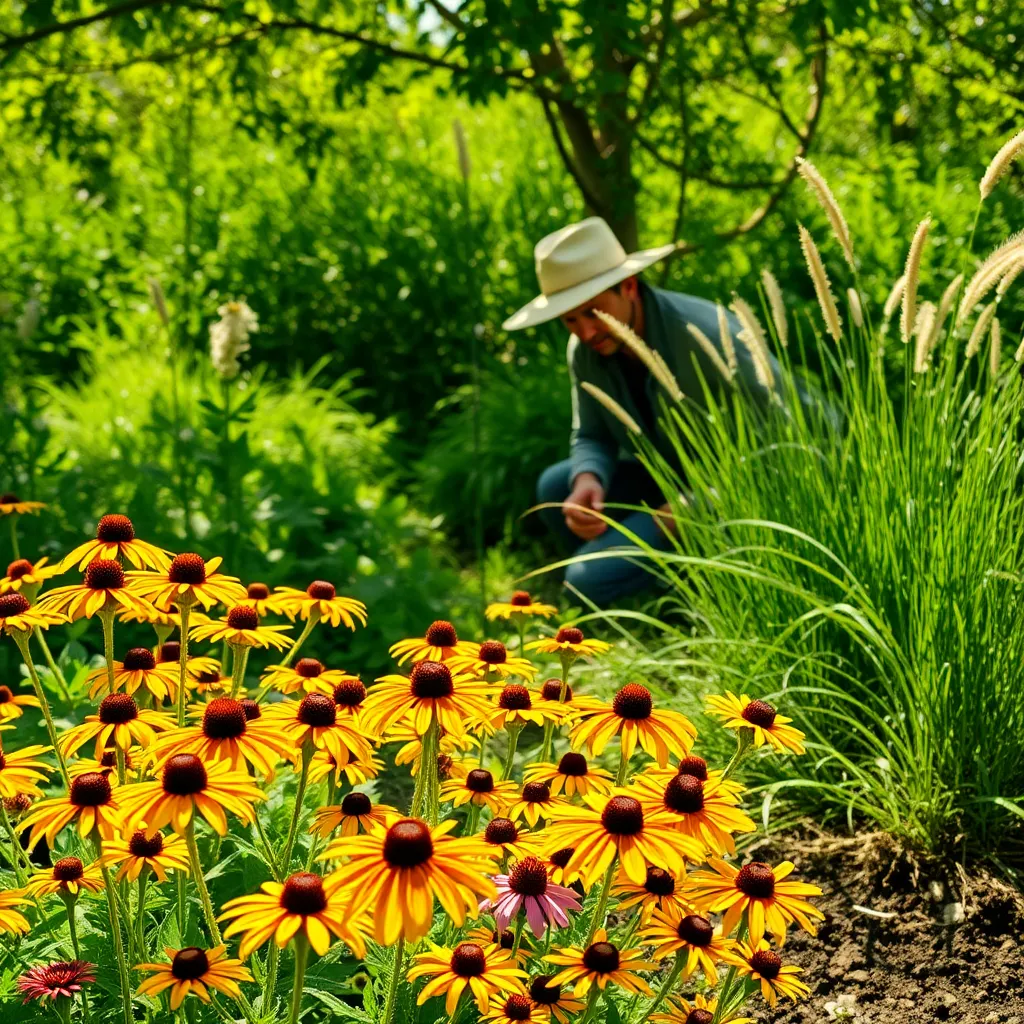
Choosing Regional Native Species
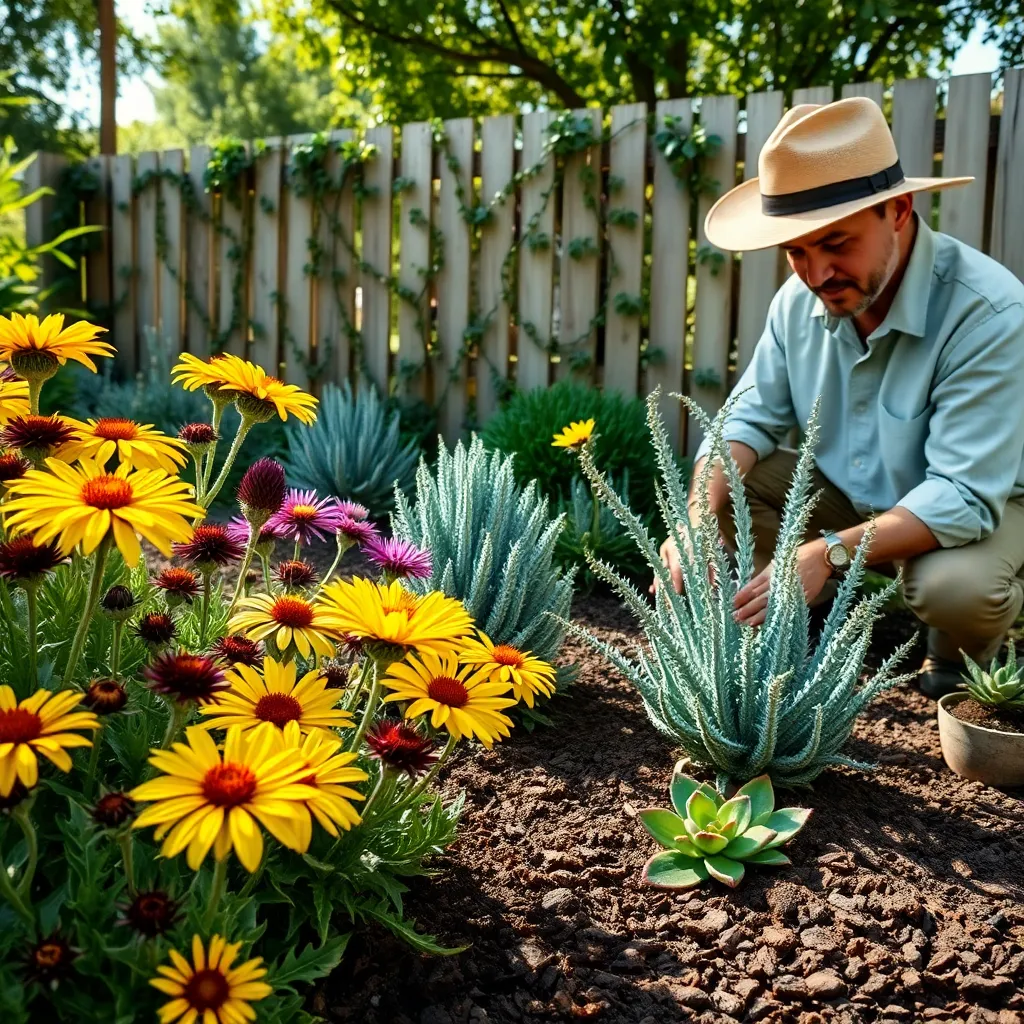
Selecting regional native species is a crucial step in successful native plant gardening. Native plants are adapted to thrive in local soil, climate, and environmental conditions, making them a resilient choice for your garden.
Start your selection by researching which native species are best suited for your region. Local extension services or native plant societies often provide valuable resources and plant lists specific to your area.
When choosing plants, consider your garden’s specific environment, such as sunlight and soil type. For instance, if your garden has sandy soil, opt for plants like Panicum virgatum (switchgrass) that thrive in such conditions.
To ensure healthy growth, match the plant’s requirements with your garden’s conditions. Identify areas with full sun, partial shade, or full shade, and select plants accordingly to maximize their growth potential.
For beginners, starting with a few hardy native perennials can be an excellent way to ease into native gardening. Advanced gardeners might experiment with a variety of species, creating a diverse ecosystem that supports local wildlife.
Watering needs can vary significantly between native species. Generally, native plants require less frequent watering once established, but be mindful to provide sufficient water during their first growing season to help them establish strong roots.
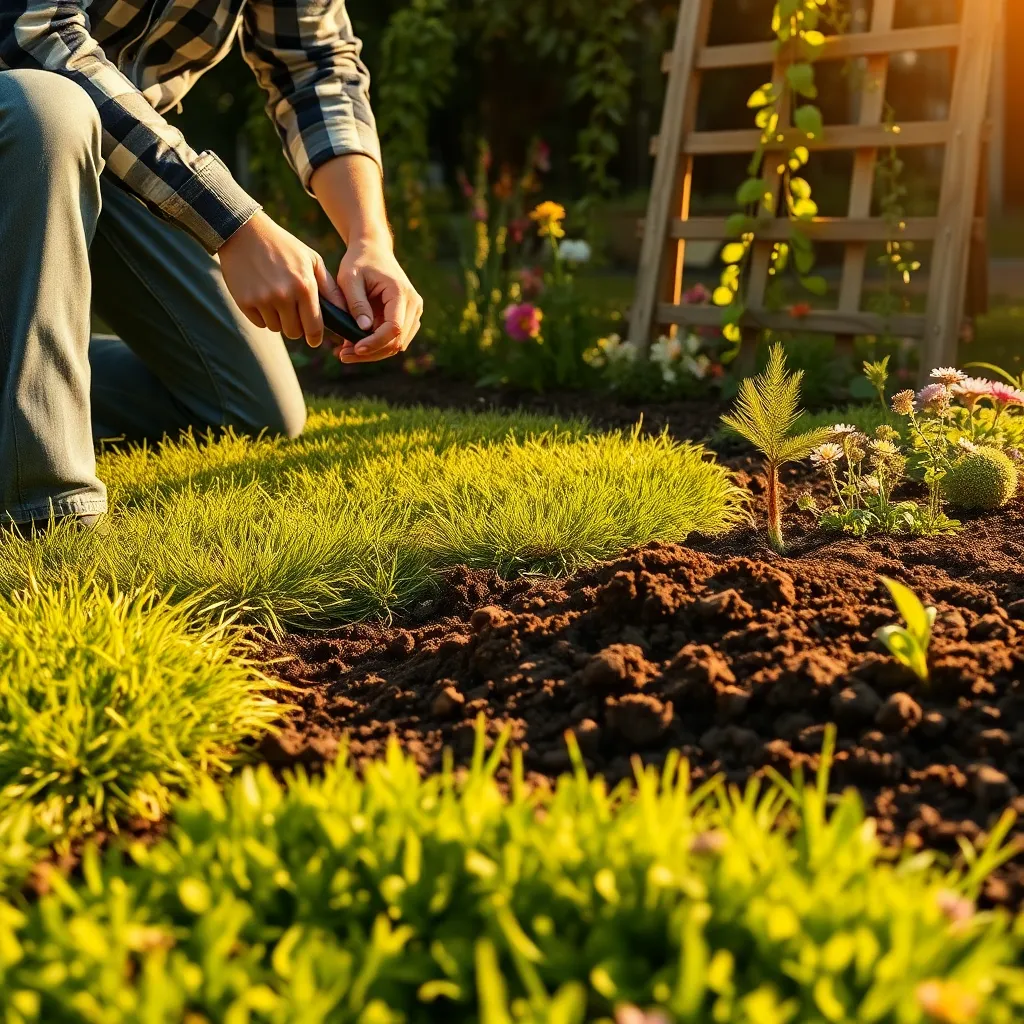
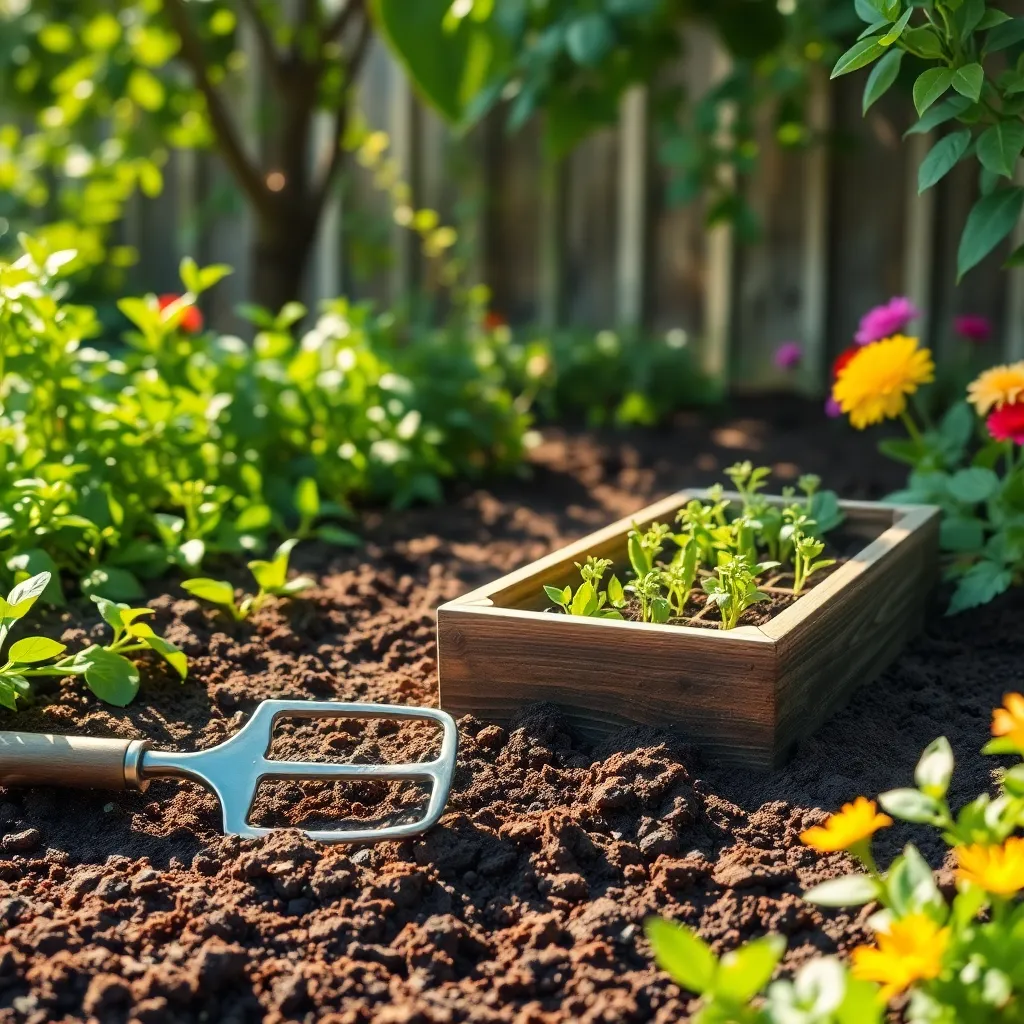
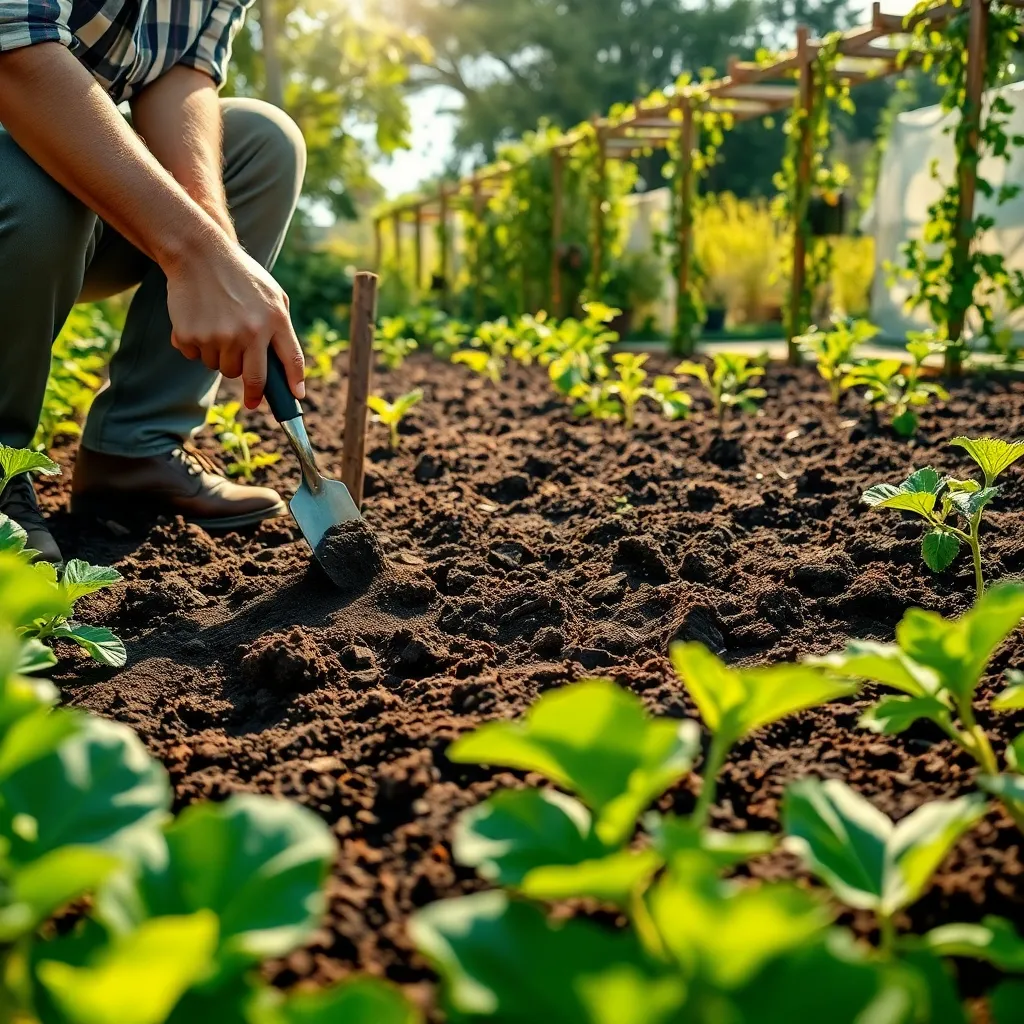
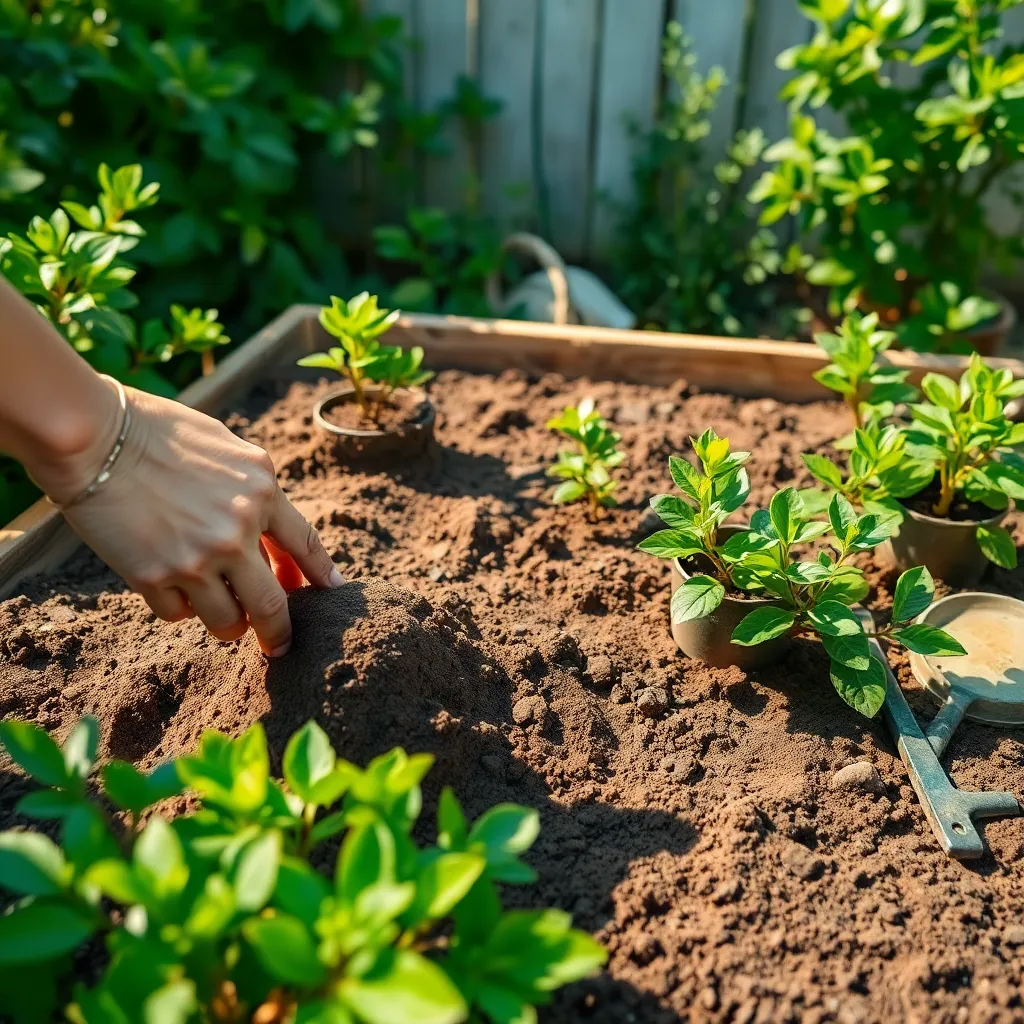
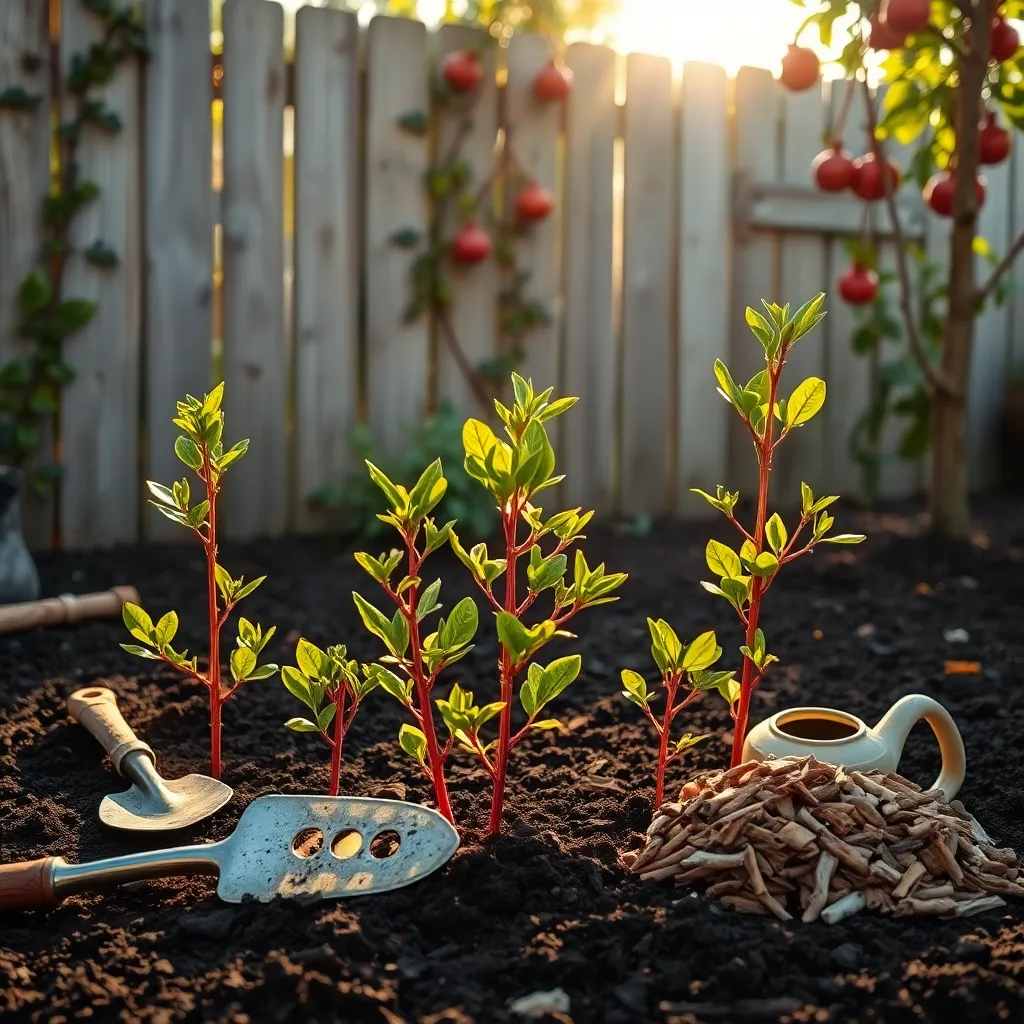
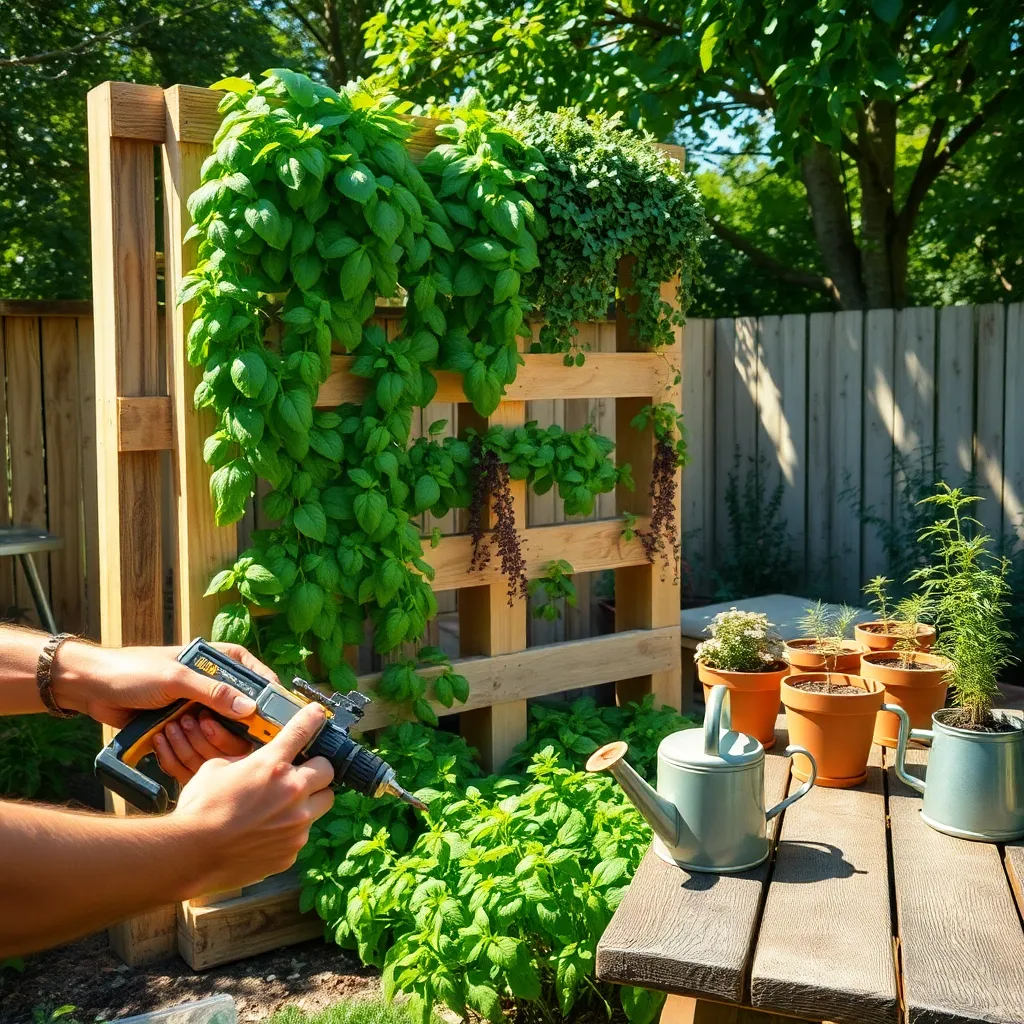
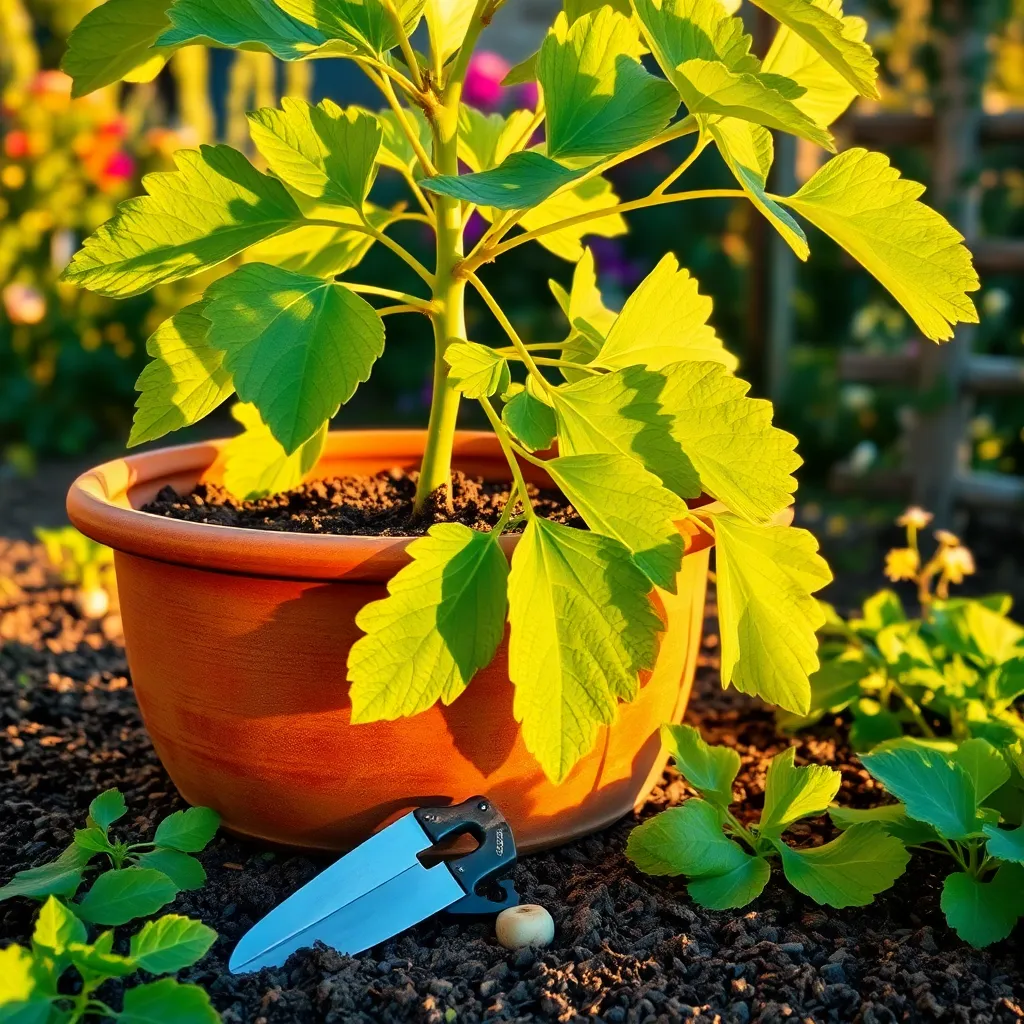
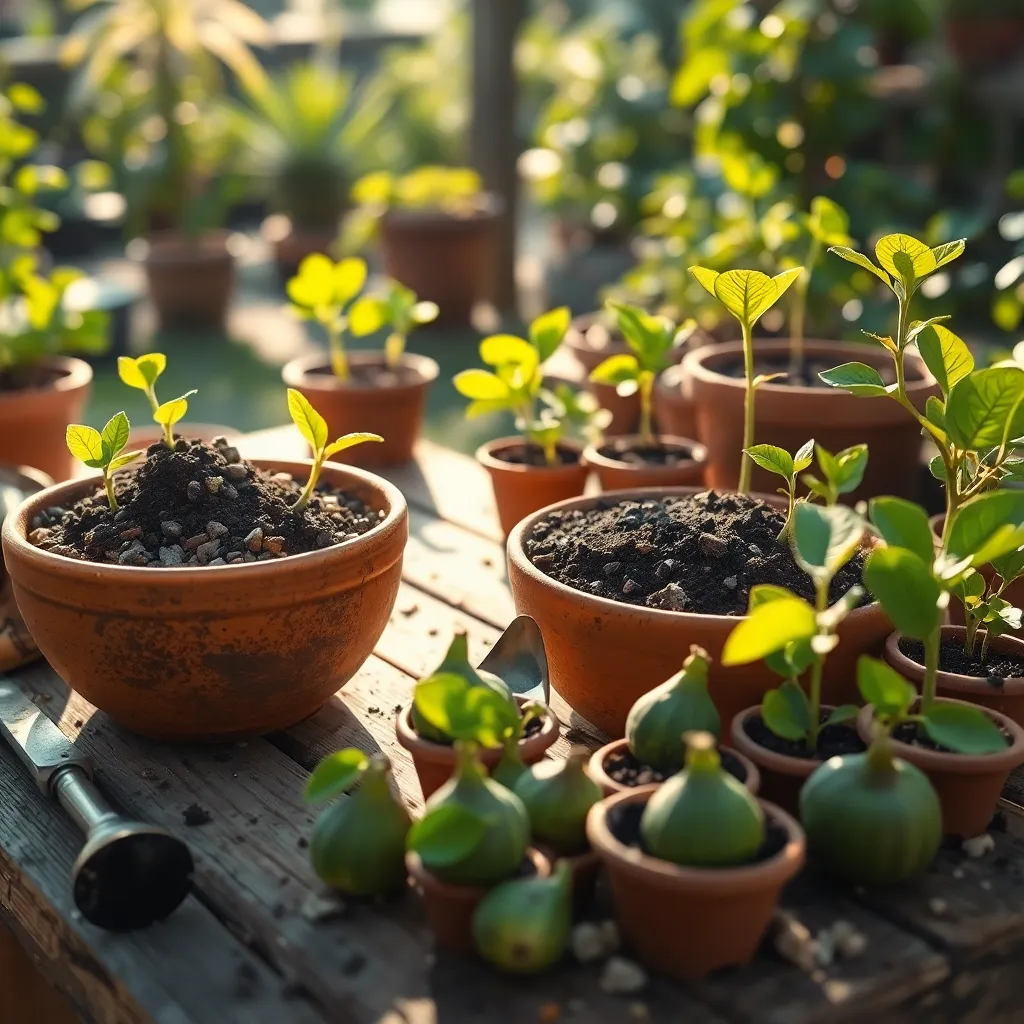
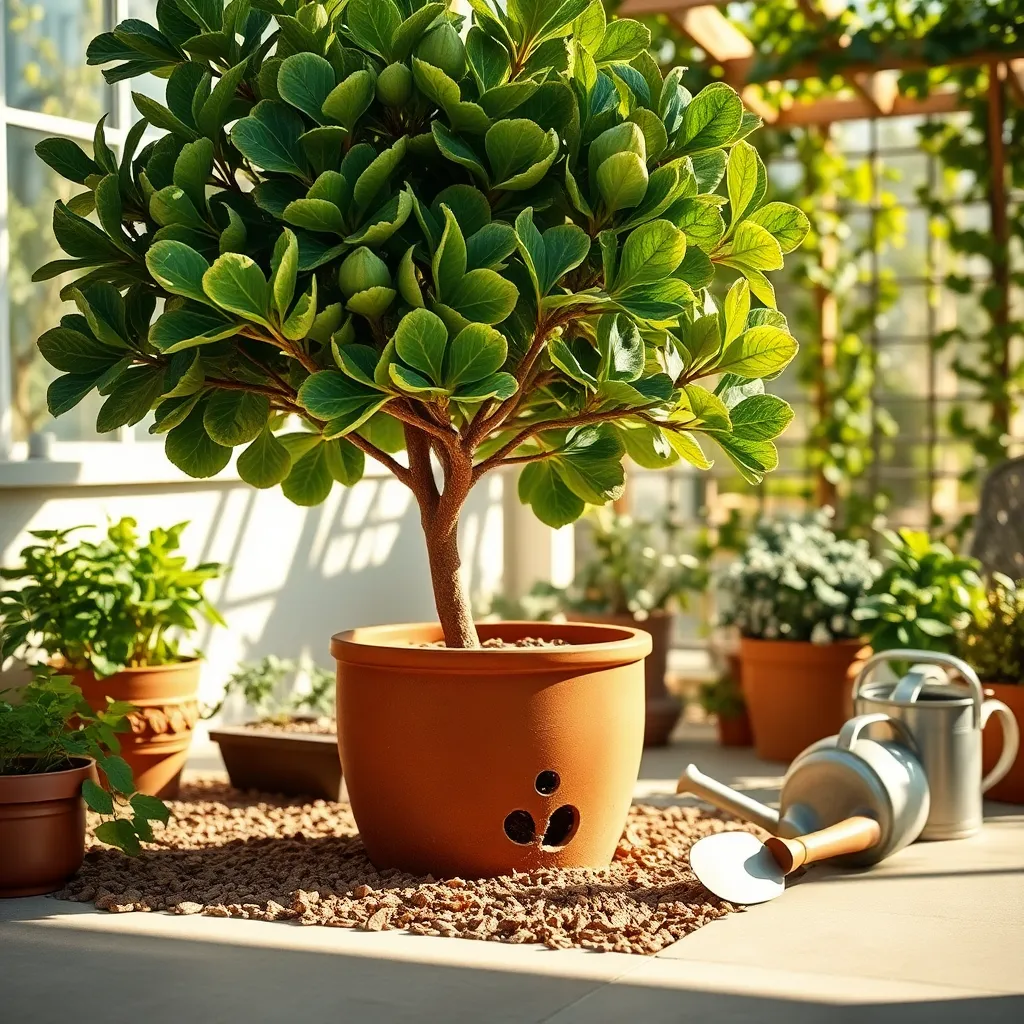
Preparing Soil for Native Growth
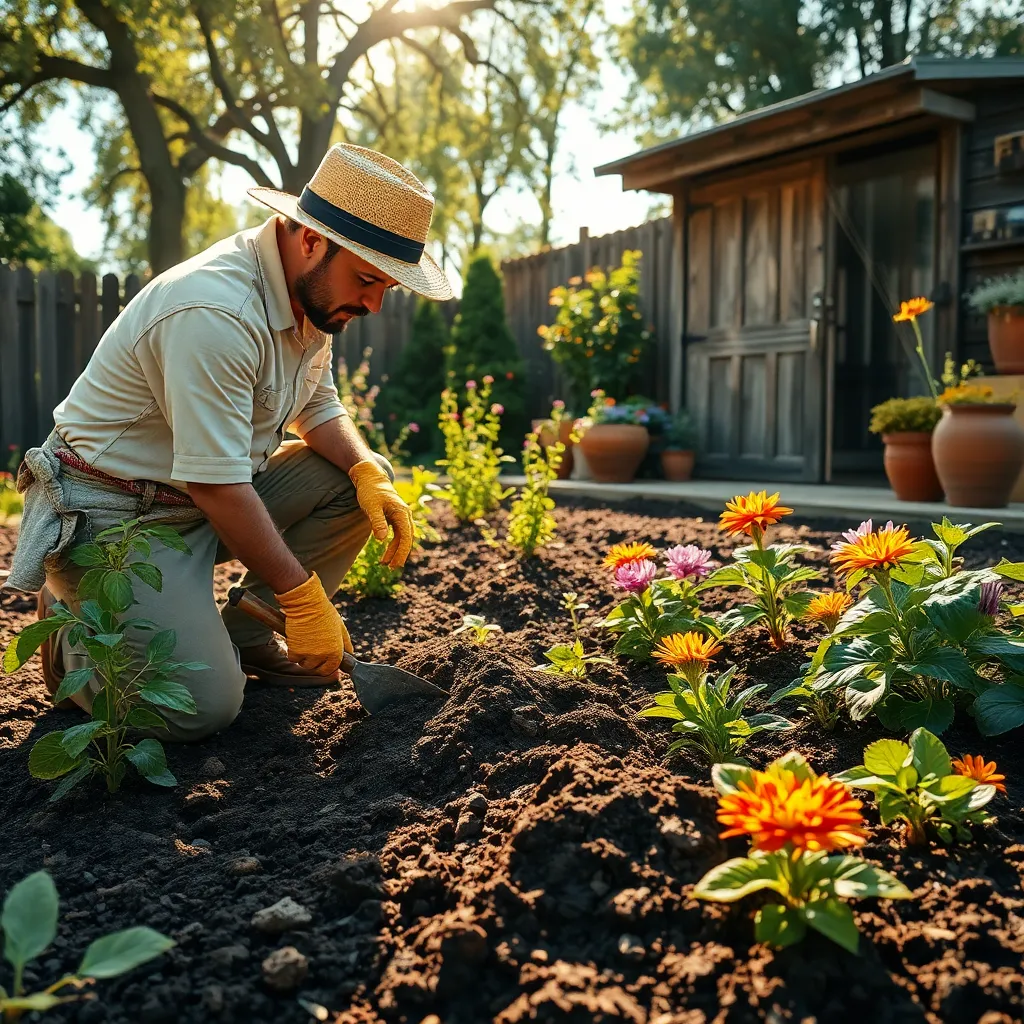
Before planting native species, it’s crucial to assess your soil’s current condition. Start by conducting a simple soil test to determine its pH and nutrient levels; this will guide you in making necessary amendments.
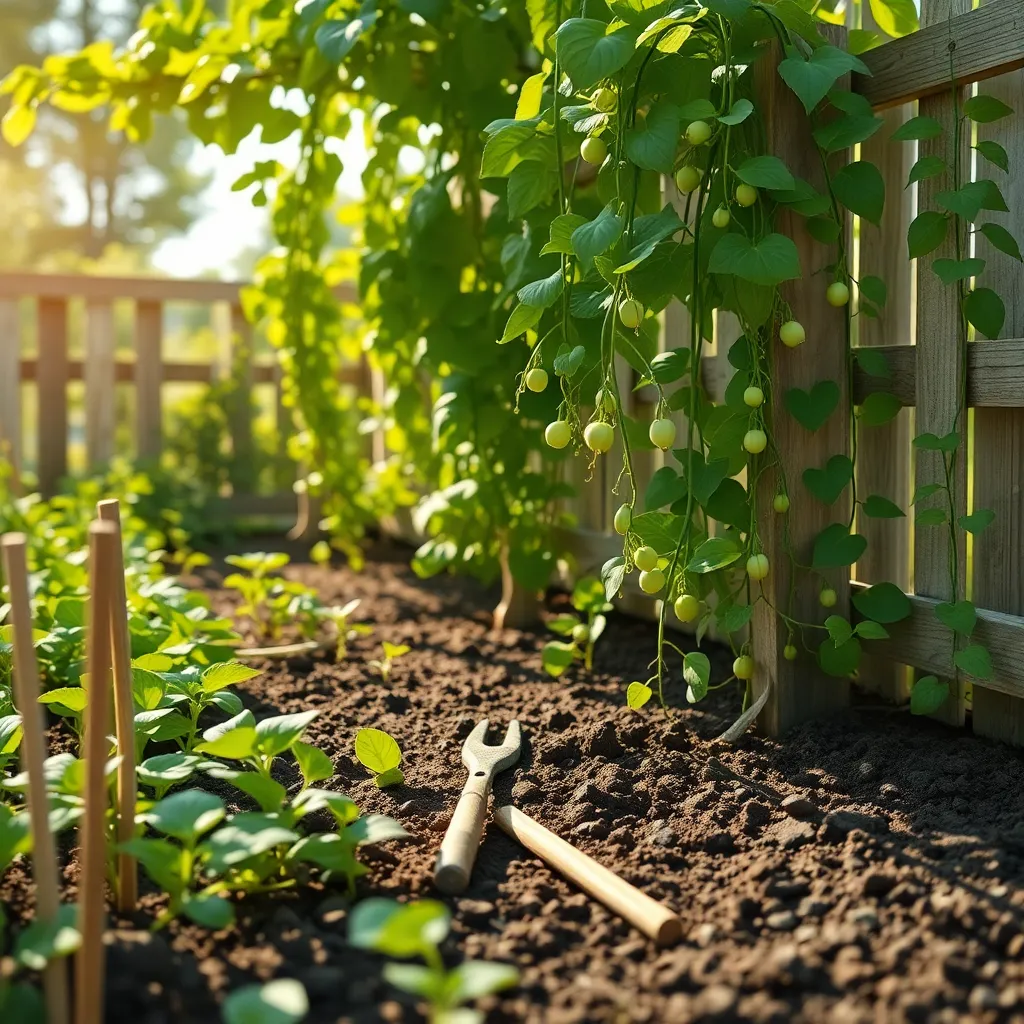
Most native plants thrive in well-draining soil, so ensure your garden bed is not compacted. If drainage is an issue, consider adding organic matter like compost or aged manure to improve soil structure and fertility.
For those with clay-heavy soil, incorporate coarse sand or fine gravel to enhance drainage and aeration. Conversely, if your soil is too sandy and dries out quickly, mix in organic matter to help retain moisture and provide nutrients.
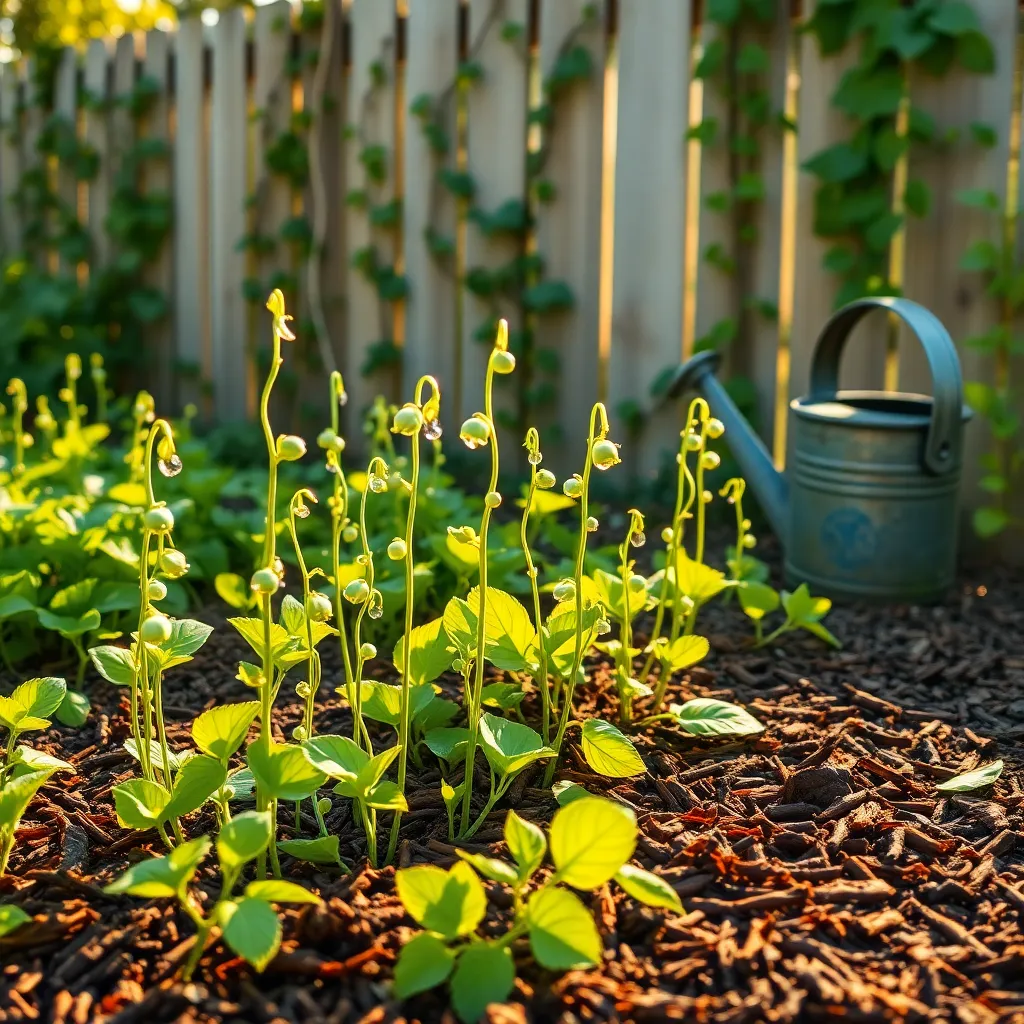
Using mulch can be highly beneficial for native plant beds, as it helps retain moisture and suppress weeds. Apply a layer of bark or leaf mulch around your plants, being careful not to pile it against the plant stems to prevent rot.
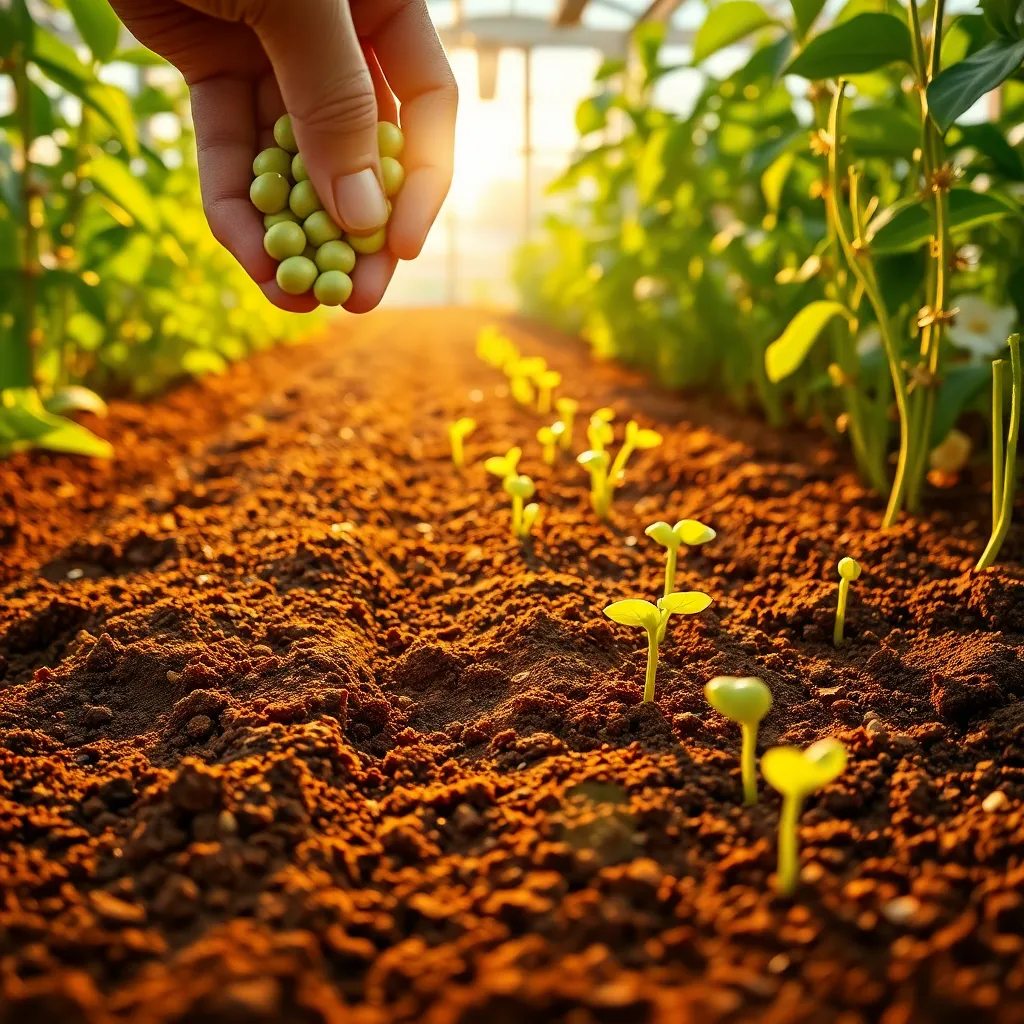
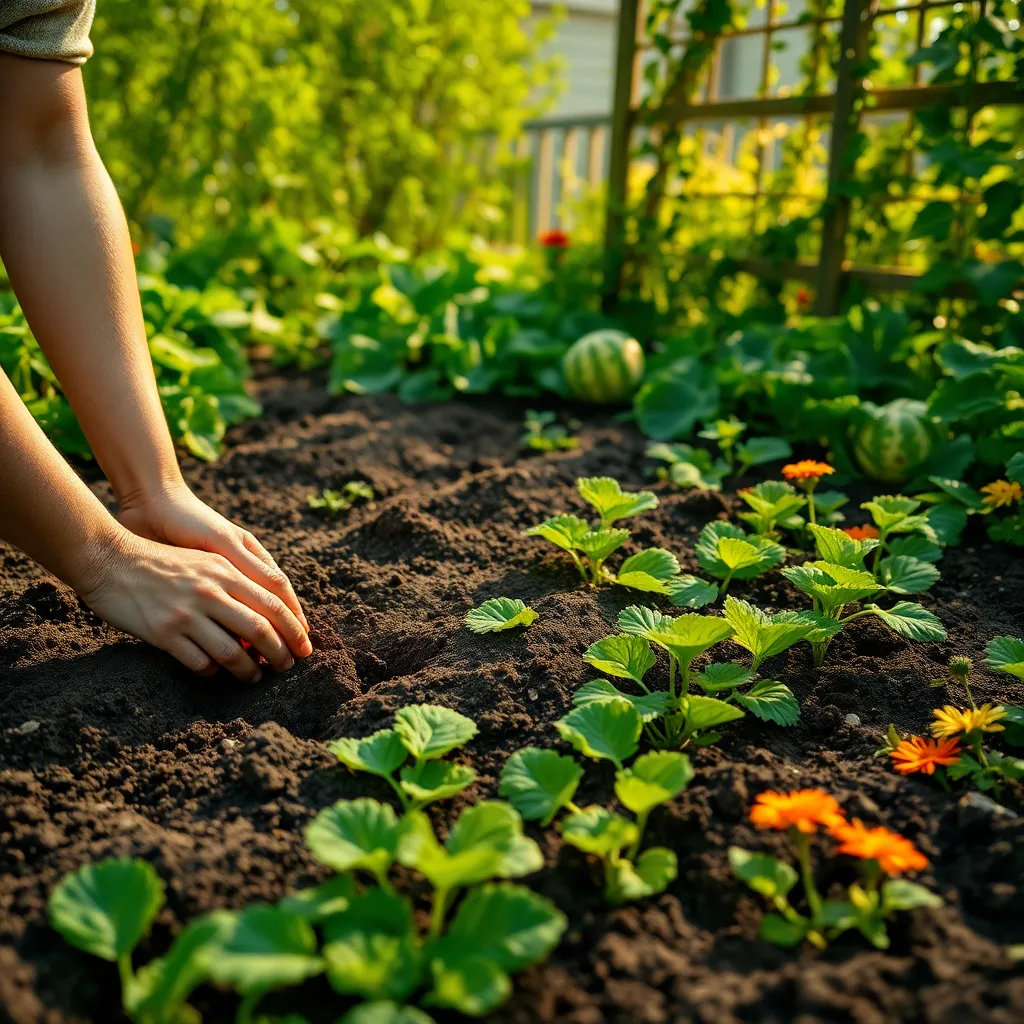
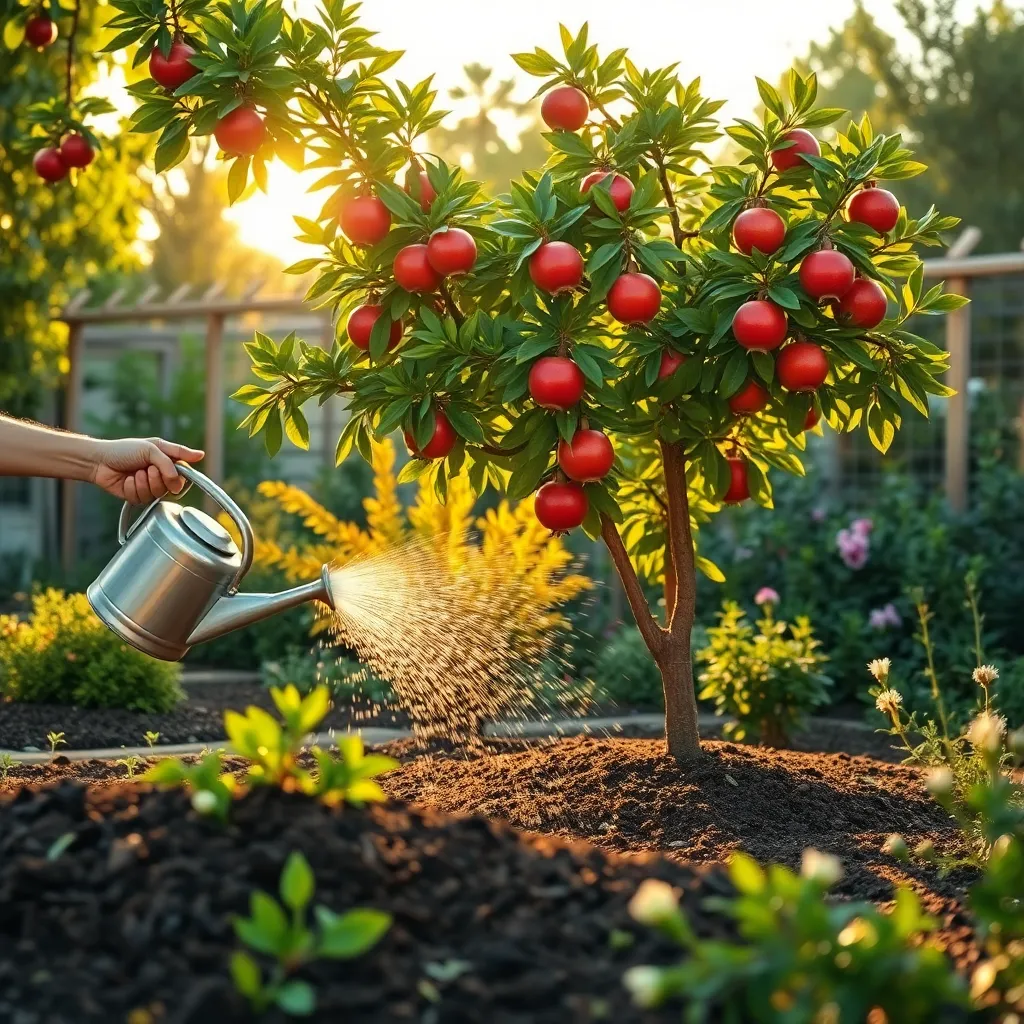
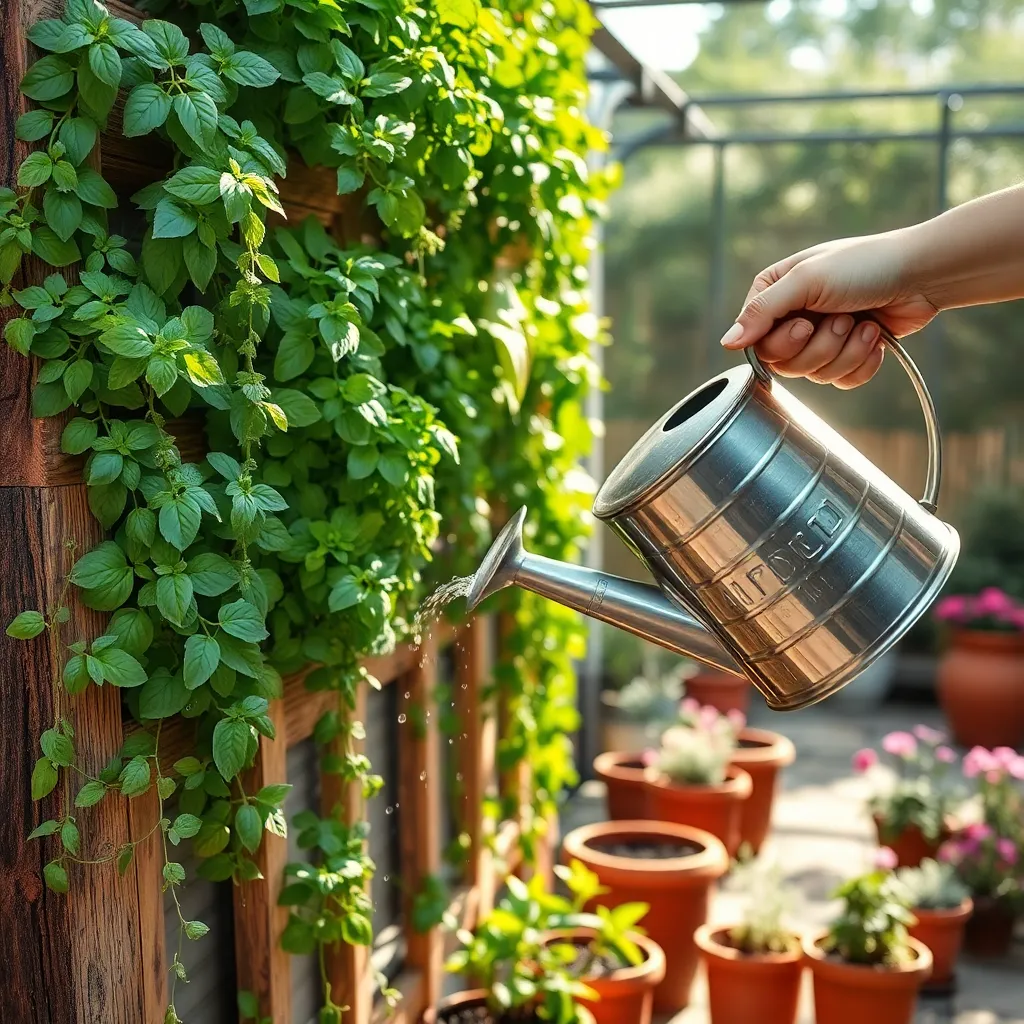
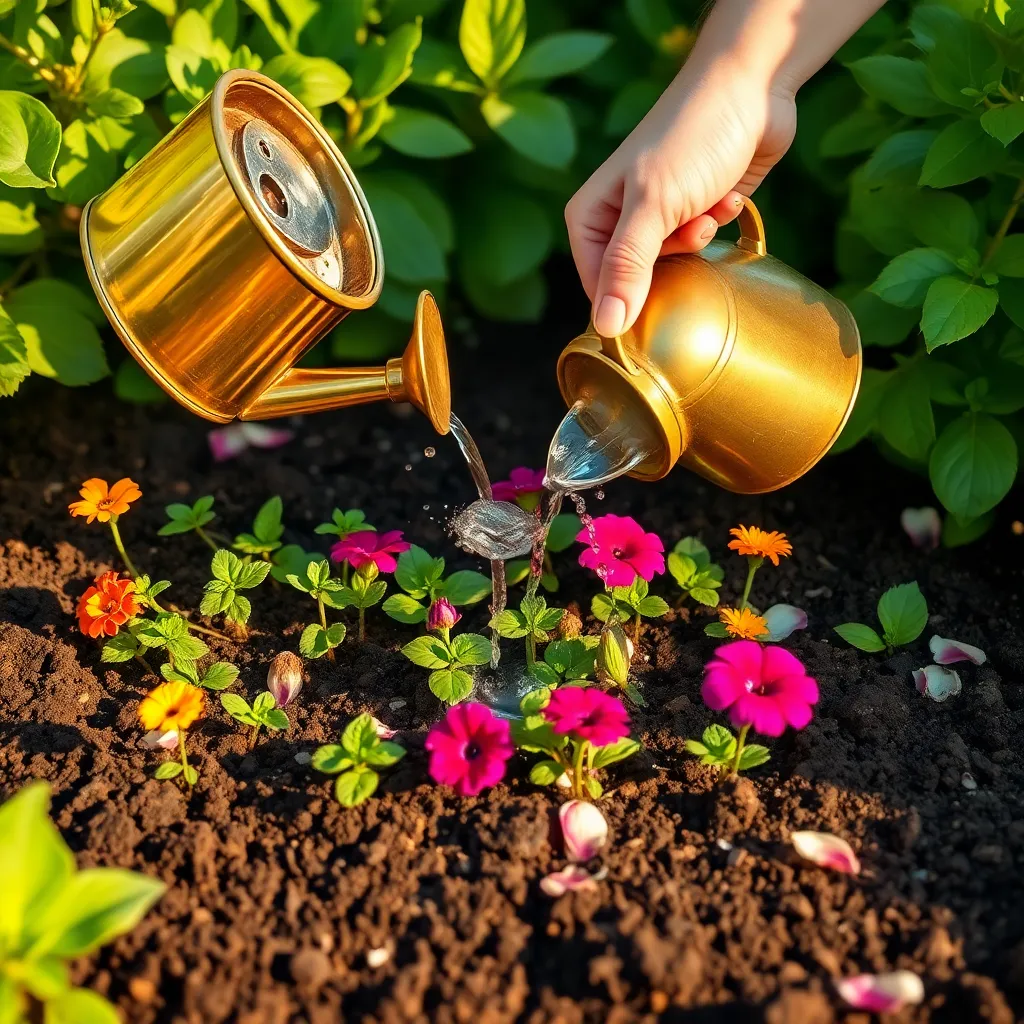
Watering Needs of Native Plants
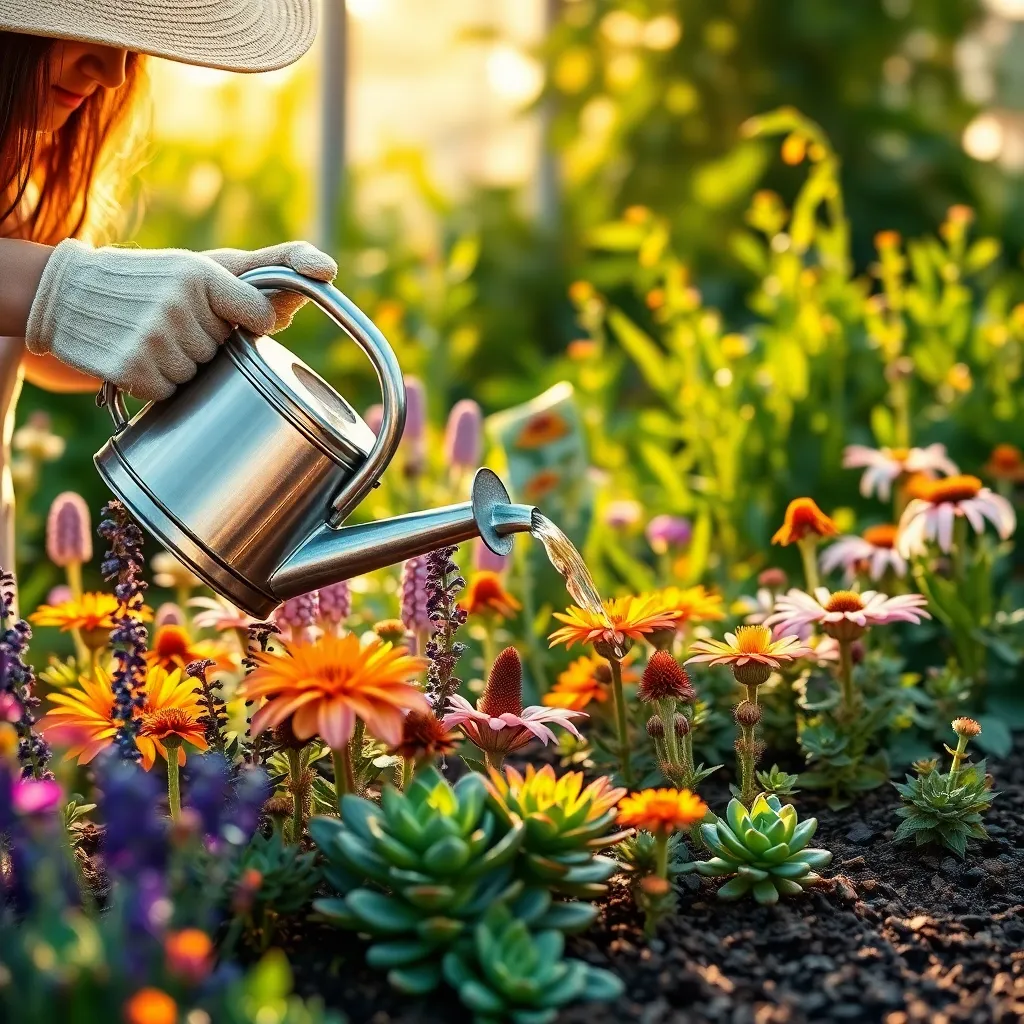
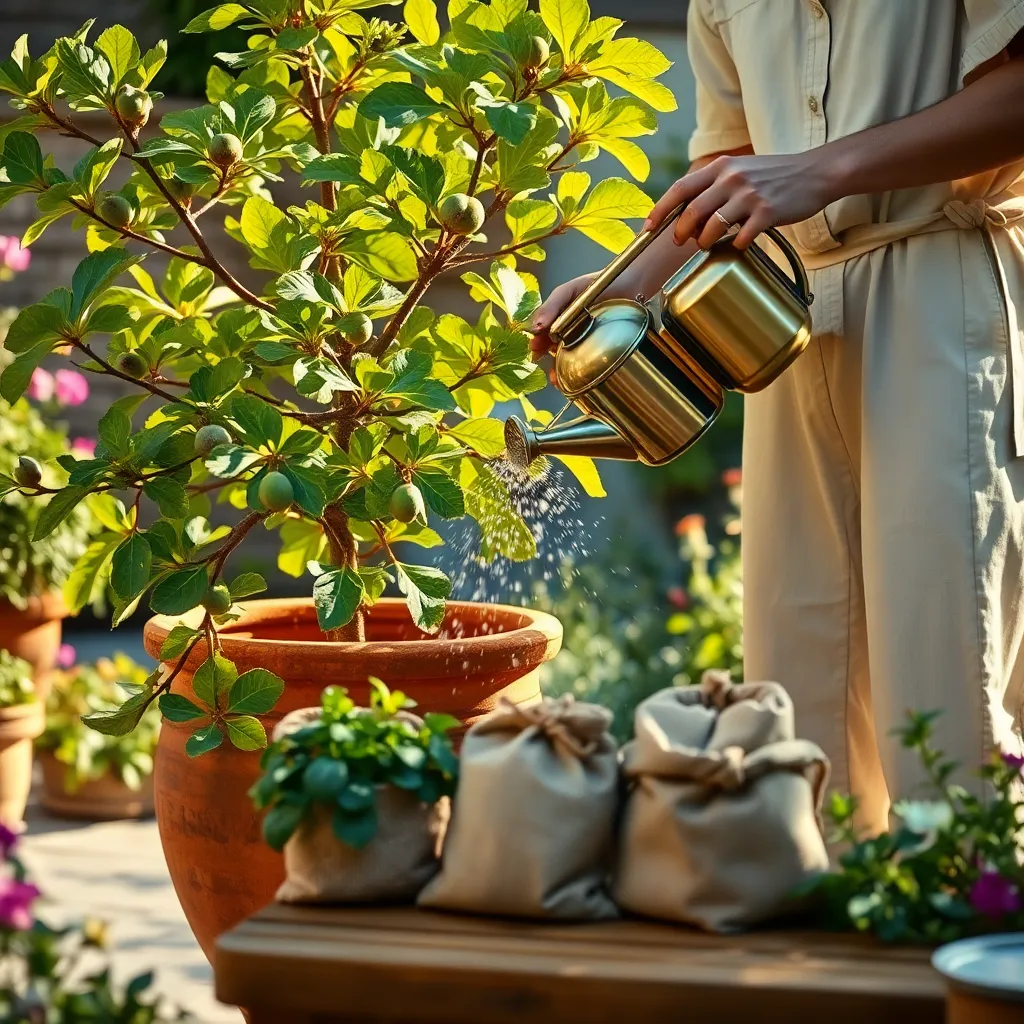
Understanding the watering needs of native plants is crucial for their successful growth. Native plants are typically adapted to the climate of their region, requiring less water once established. It is essential to water deeply but infrequently to encourage deep root systems. This approach mimics natural rainfall patterns and promotes drought resistance.
Begin by identifying the specific native plants in your garden and their natural habitats. Some native plants thrive in dry conditions, while others prefer more moisture; understanding these needs will guide your watering schedule. Generally, young plants need more frequent watering until their roots are established. Once established, many native species require supplemental watering only during extended dry spells.
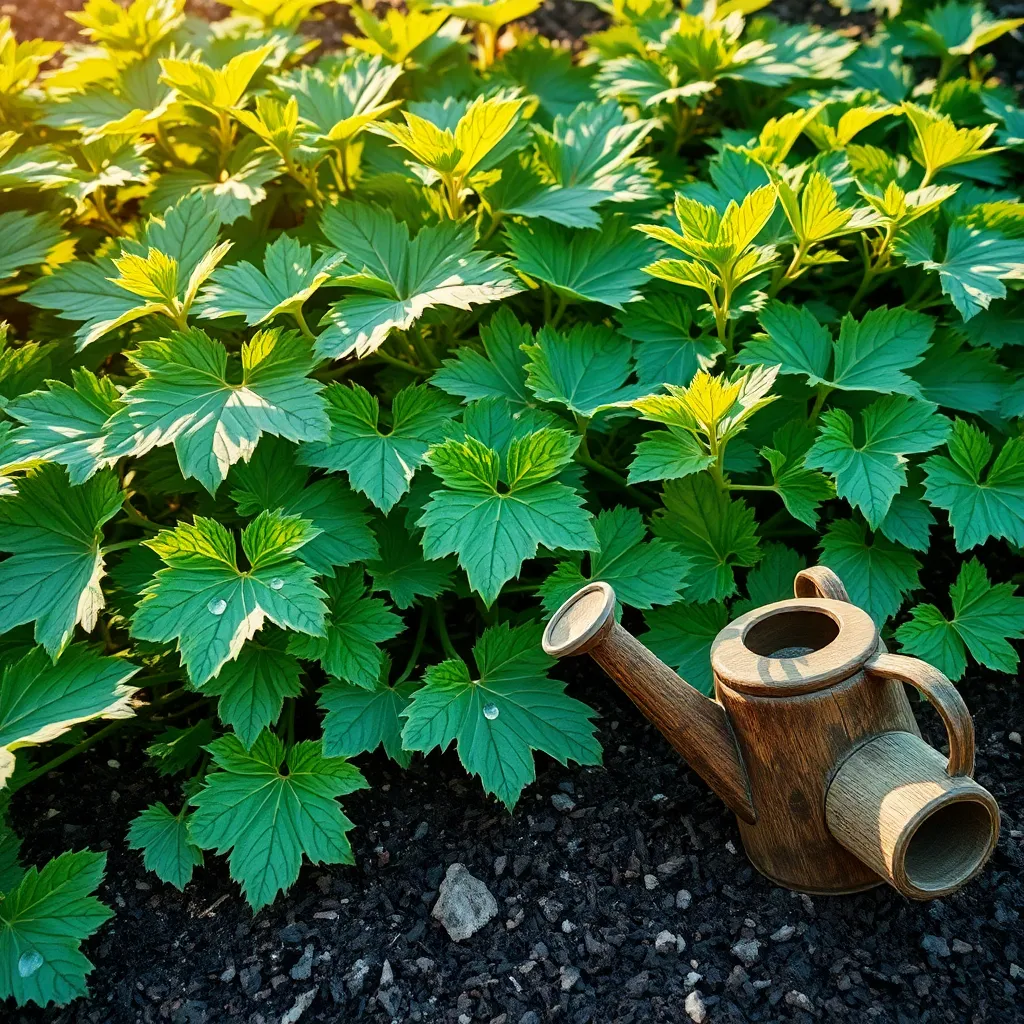
Incorporating mulch around your native plants can greatly assist in moisture retention. Mulch helps reduce evaporation and keeps the soil cooler, benefiting the plant’s root system. Moreover, using a drip irrigation system allows for more efficient water use by delivering water directly to the roots. This method minimizes water wastage and ensures that each plant receives the amount it needs.
For those looking to optimize their watering routine, consider installing a rain gauge and soil moisture sensor. These tools help monitor natural rainfall and soil hydration, preventing overwatering. Always water in the early morning or late afternoon to reduce evaporation and fungal diseases. By tailoring your watering practices to the needs of your native plants, you foster a thriving, sustainable garden environment.
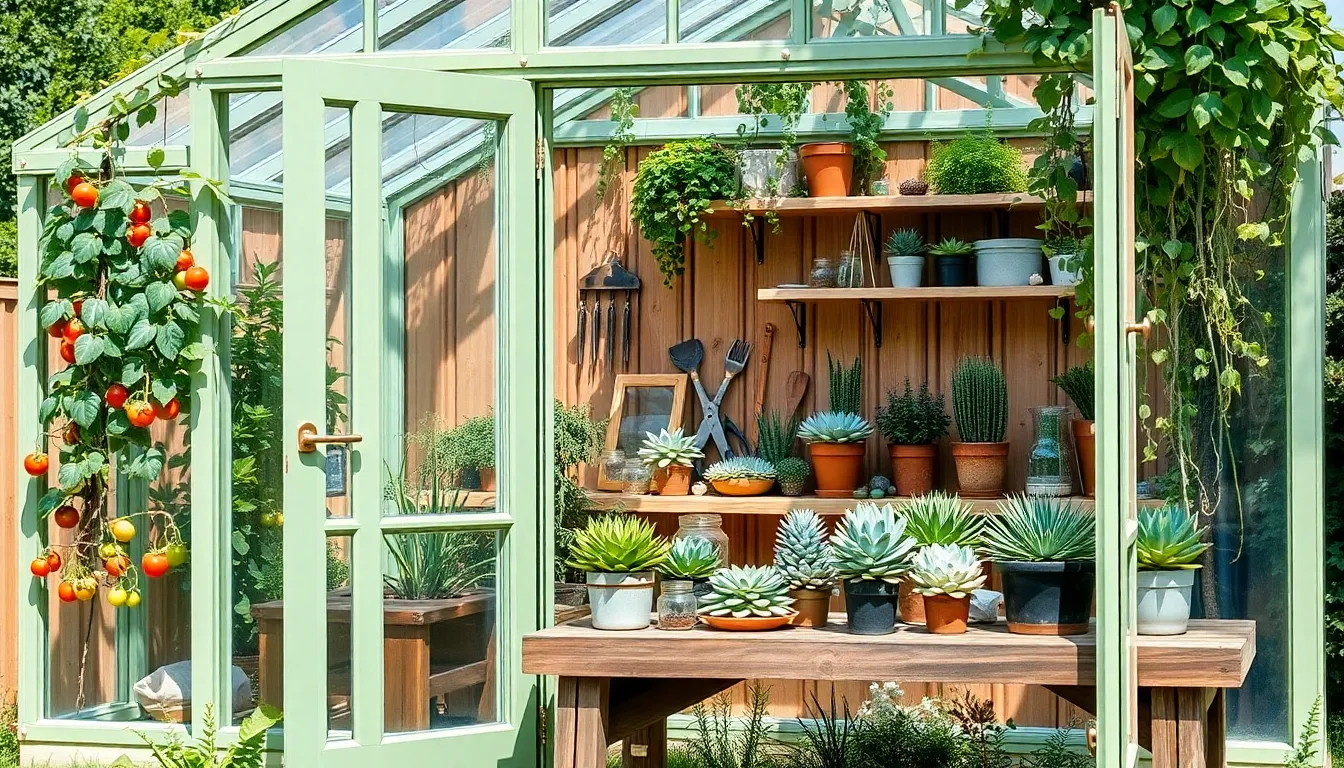
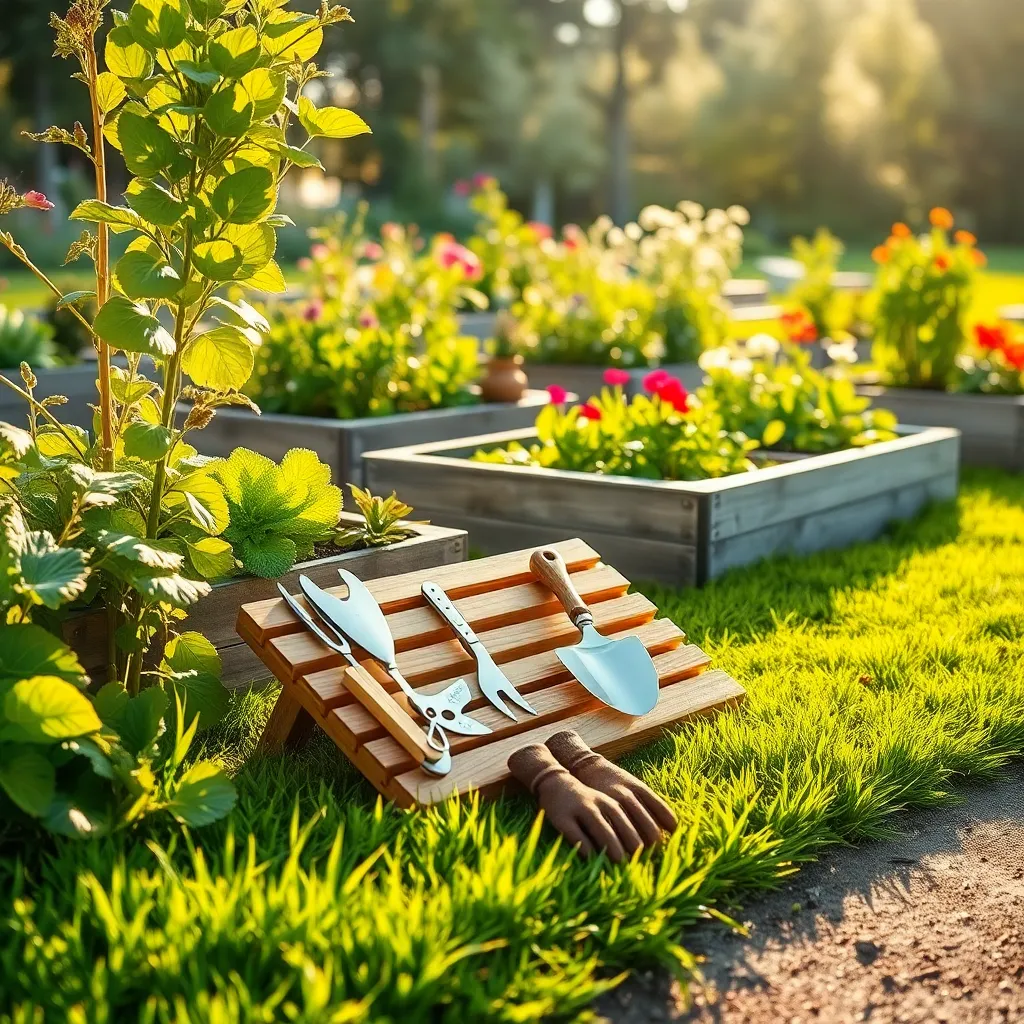
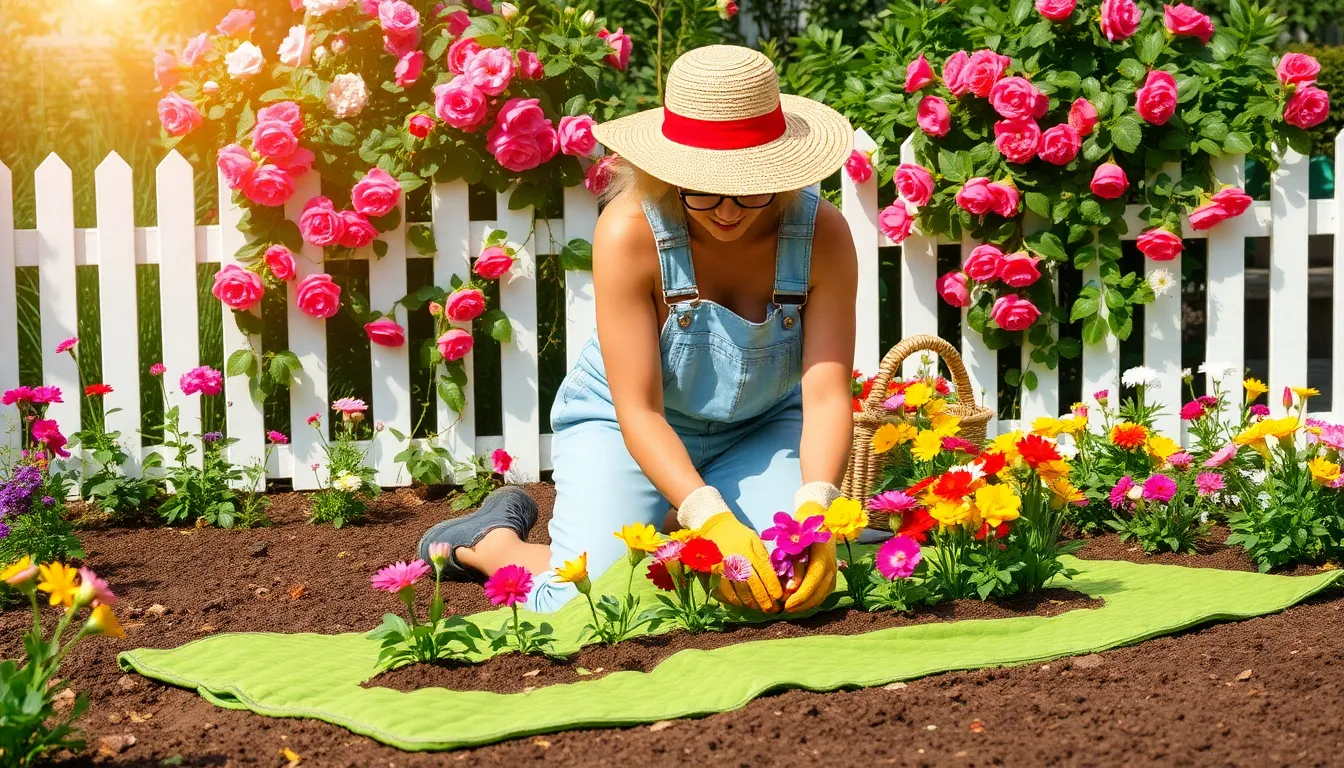
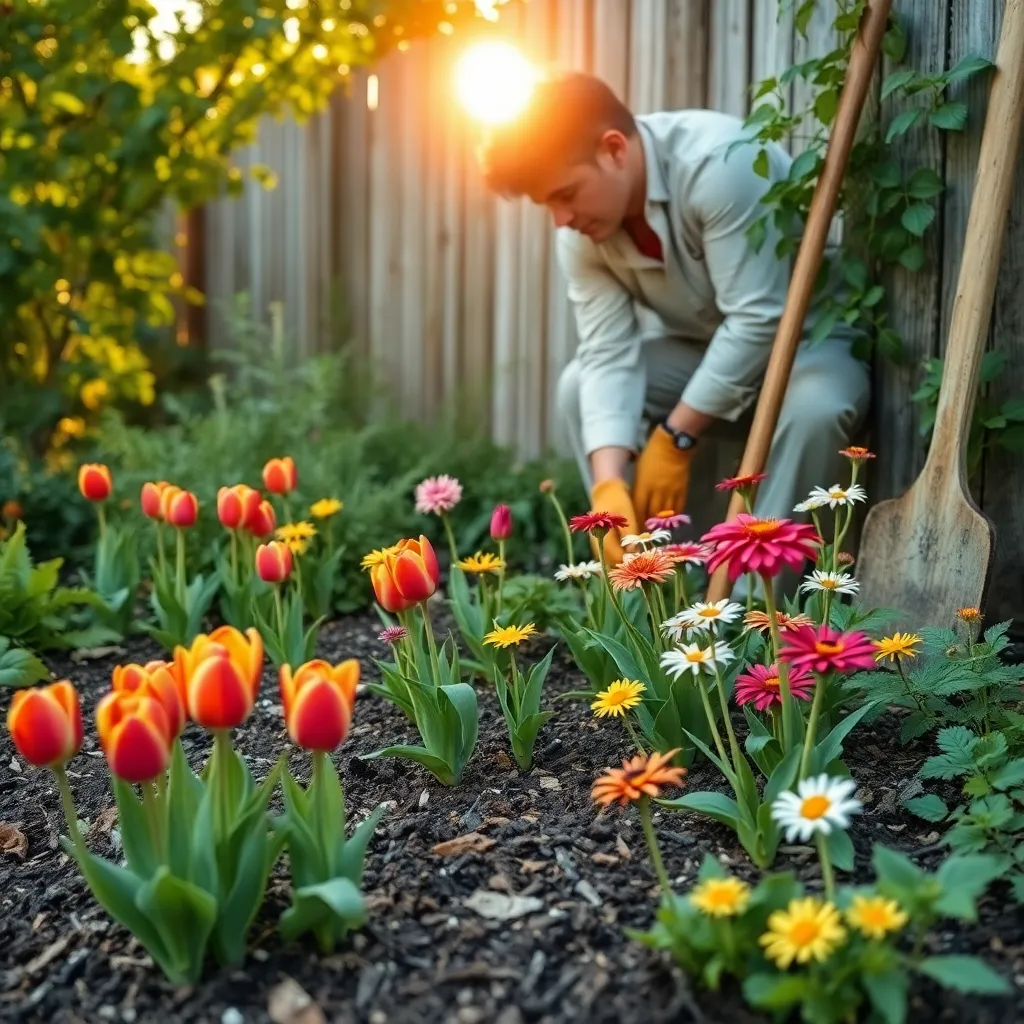
Maintaining a Native Plant Garden
Maintaining a native plant garden requires a thoughtful approach to mimic the natural conditions these plants thrive in. **Regularly observe your garden** to ensure plants are adapting well to their environment, adjusting care as necessary.
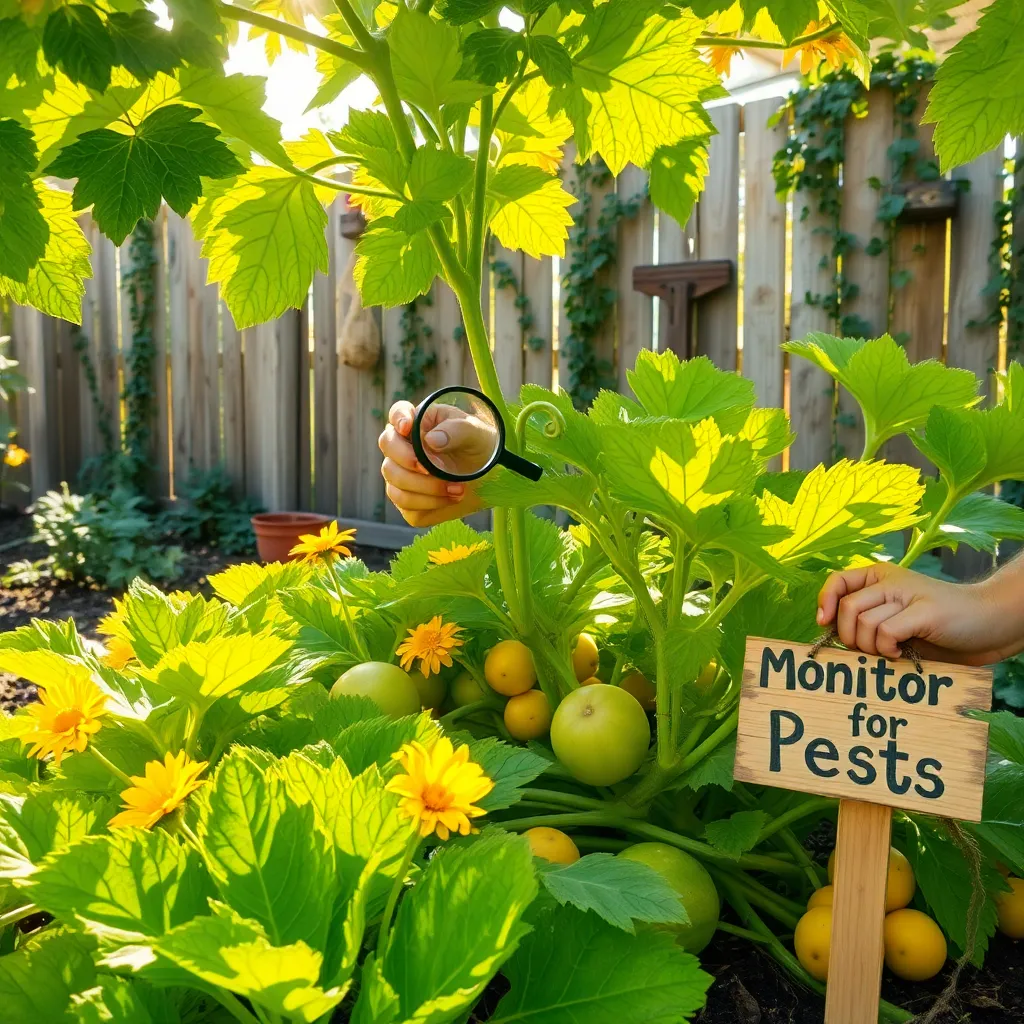
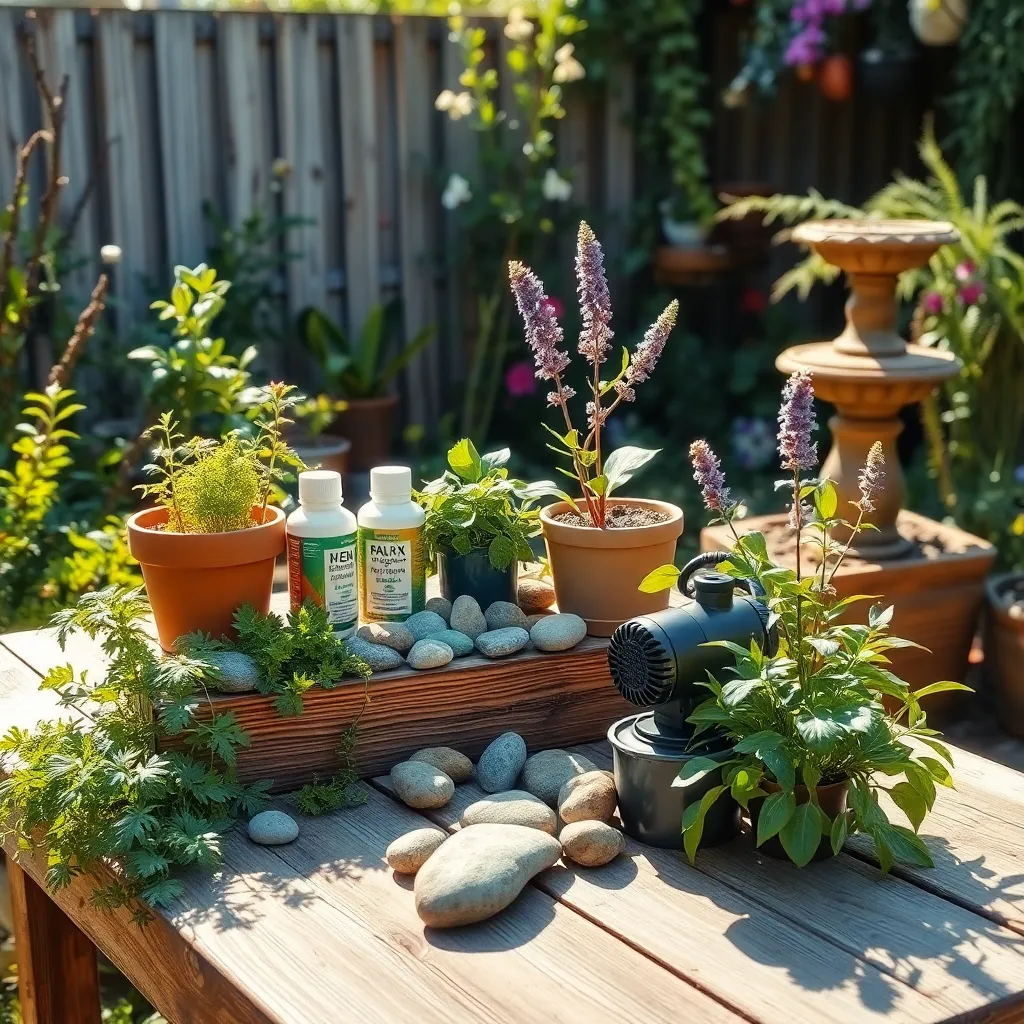
Native plants generally need less intervention, but **monitor them for pests and diseases** that might have adapted to their specific defenses. If you notice an issue, address it promptly with organic and environmentally friendly solutions to maintain the ecological balance.
It’s essential to manage weeds effectively in a native plant garden, as they can compete for nutrients and space. **Mulch generously** with a two to three-inch layer of organic matter, like shredded bark or straw, to suppress weeds and retain soil moisture.
For those looking to encourage biodiversity, consider adding a variety of native species to attract beneficial insects and pollinators. **Group plants with similar water and light needs** to ensure efficient use of resources and to create a harmonious garden design.
As you gain experience, experiment with advanced techniques like **companion planting** to enhance plant growth and reduce pest issues naturally. This involves strategically positioning plants, such as combining nitrogen-fixing species with nutrient-demanding ones, to optimize soil health.
Conclusion: Growing Success with These Plants
In “Gardening with Native Plants,” we explored five essential relationship concepts: nurturing growth through patience, understanding the unique needs of your partner, fostering a supportive environment, appreciating natural beauty in simplicity, and cultivating resilience together. These principles remind us that relationships, much like native plants, thrive when given the right conditions, attention, and care.
As an actionable next step, consider setting aside time this week to have an open conversation with your partner about how you can better support each other’s growth and happiness. Small, consistent efforts can lead to flourishing relationships.
Remember, nurturing love is an ongoing journey. Bookmark this article so you can return to these insights whenever you need a gentle reminder or a fresh perspective. By keeping this resource close, you’ll always have a guide to help you cultivate a thriving relationship garden.
Looking forward, embracing these concepts can lead to profound and lasting success in your relationships. With each step you take, you’re building a stronger foundation for a future filled with mutual growth and joy. You have all the tools you need to nurture and cherish the bonds that matter most.