Creating a garden shed is more than just adding a structure to your backyard; it’s about carving out a personal haven for your gardening tools, supplies, and even your thoughts. Whether you’re a budding gardener just starting to get your hands dirty or a seasoned green thumb with years of nurturing under your belt, a well-crafted garden shed can transform your gardening experience, offering both organization and inspiration. It’s a place where clutter turns into clarity, and chaos into creativity.
The journey to building your own garden shed is as rewarding as the destination, offering an opportunity to blend functionality with your unique style. In this article, you’ll discover how to design a shed that suits your specific needs and space, learn about the best materials to use for durability, and receive step-by-step guidance on construction. By the end, you’ll have the knowledge to create a space that not only houses your garden essentials but also adds a charming touch to your outdoor sanctuary.
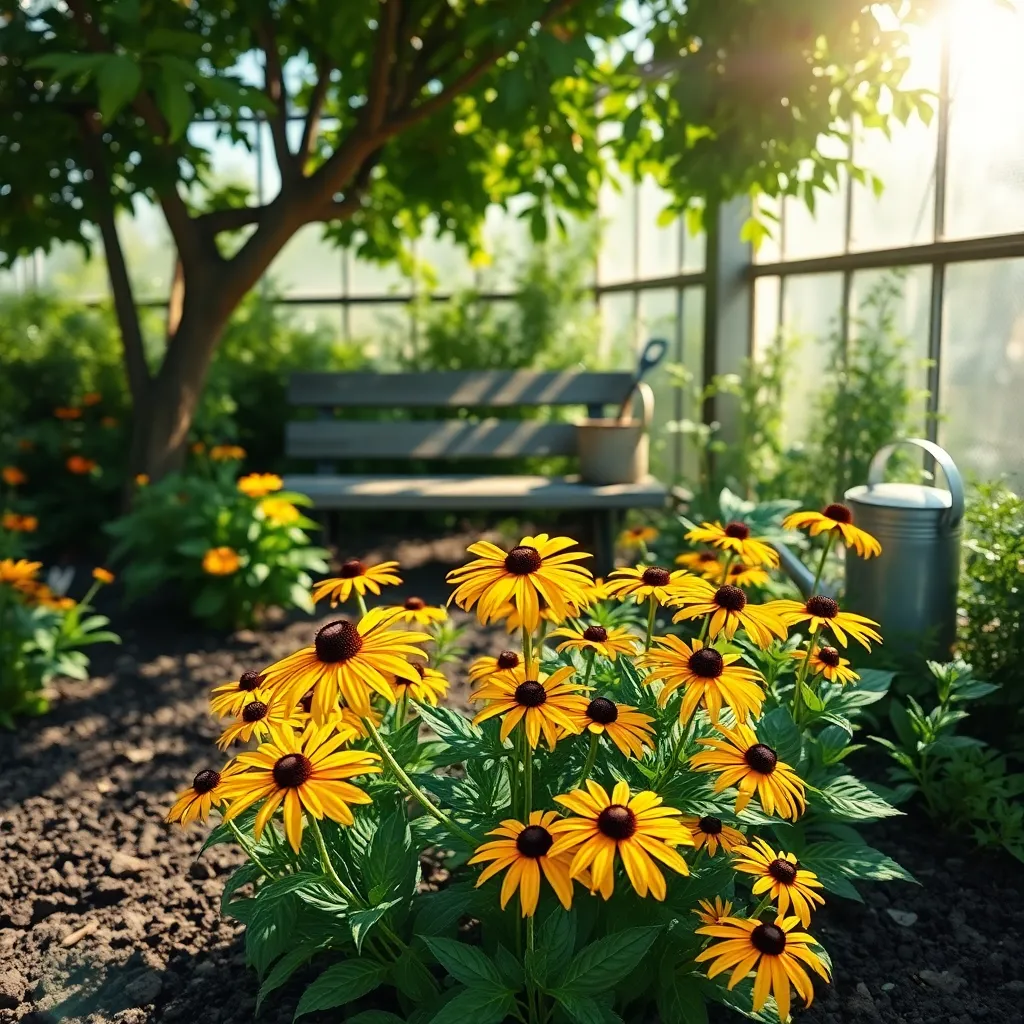
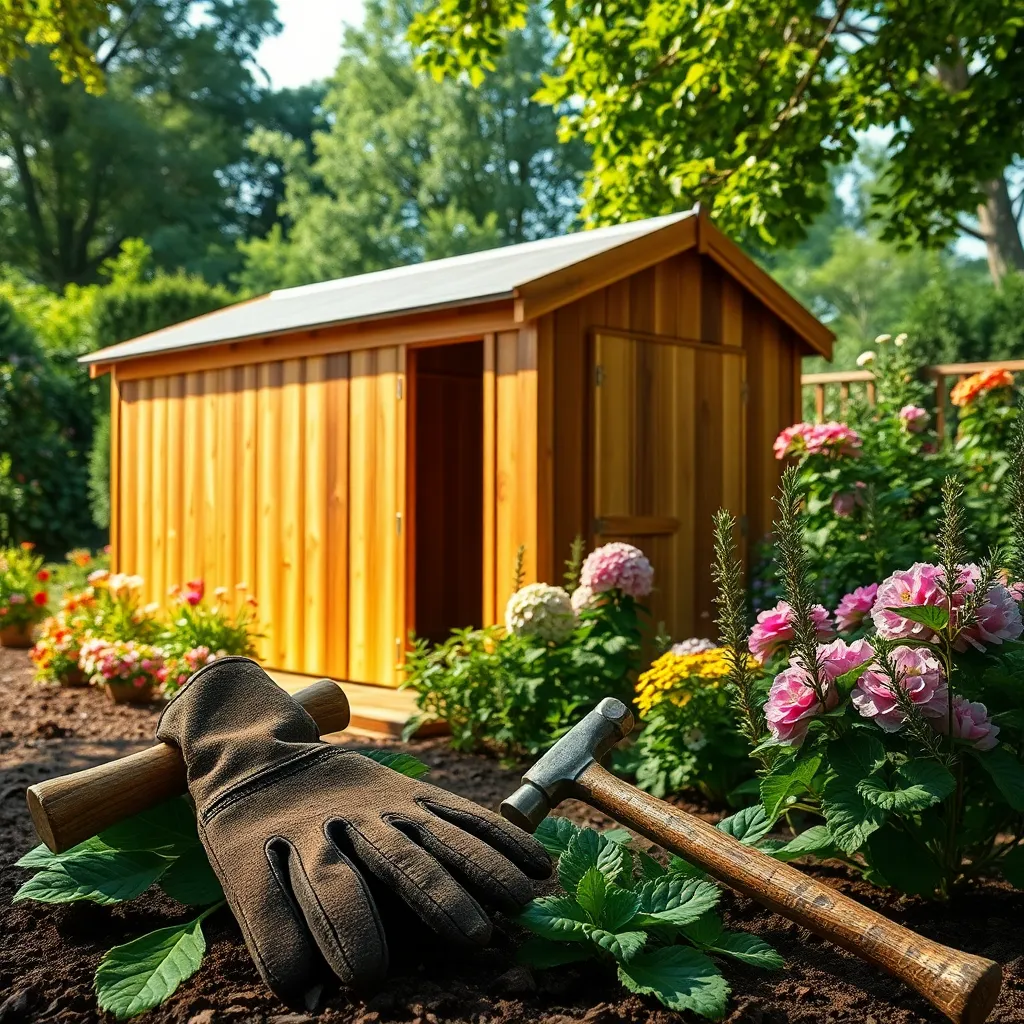
Select an Ideal Location
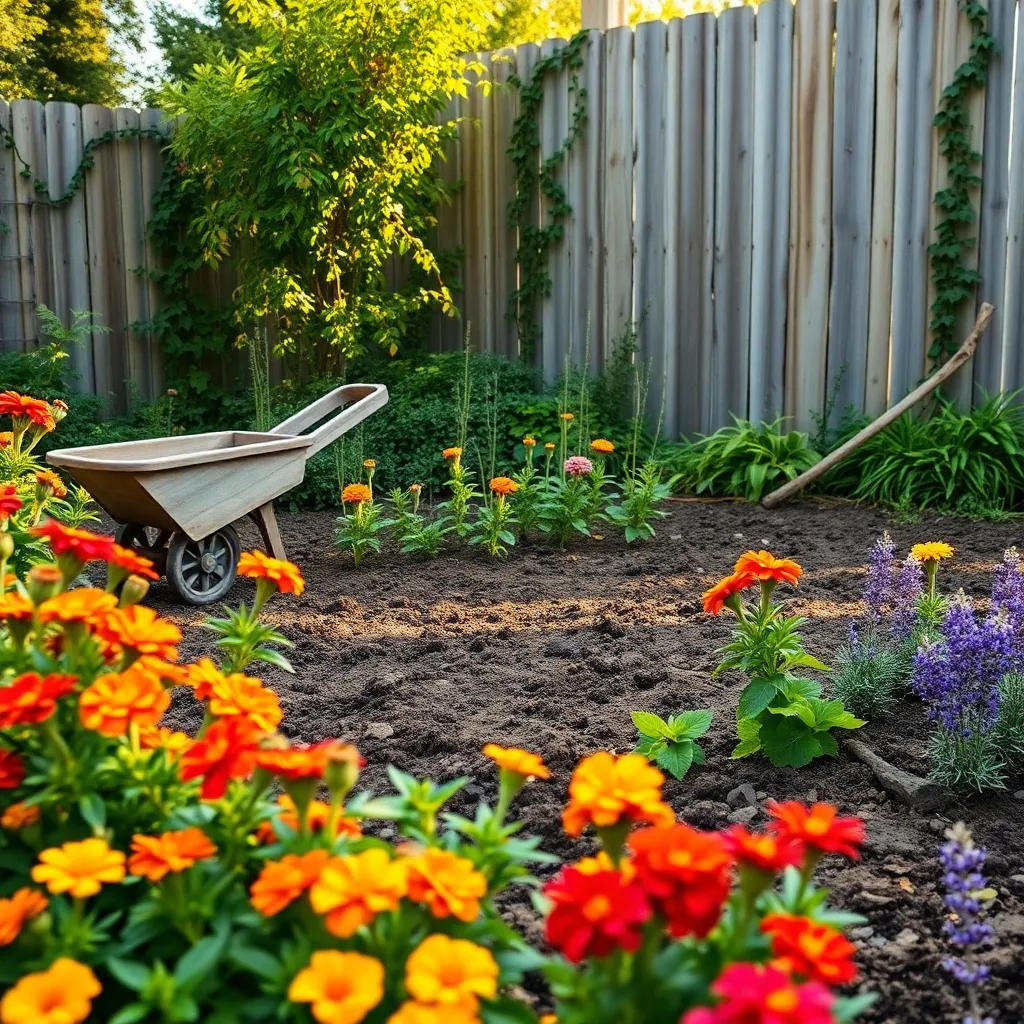
When selecting an ideal location for your garden shed, consider both functionality and convenience. It should be easily accessible from your house and garden, but also positioned to avoid obstructing views or natural light.
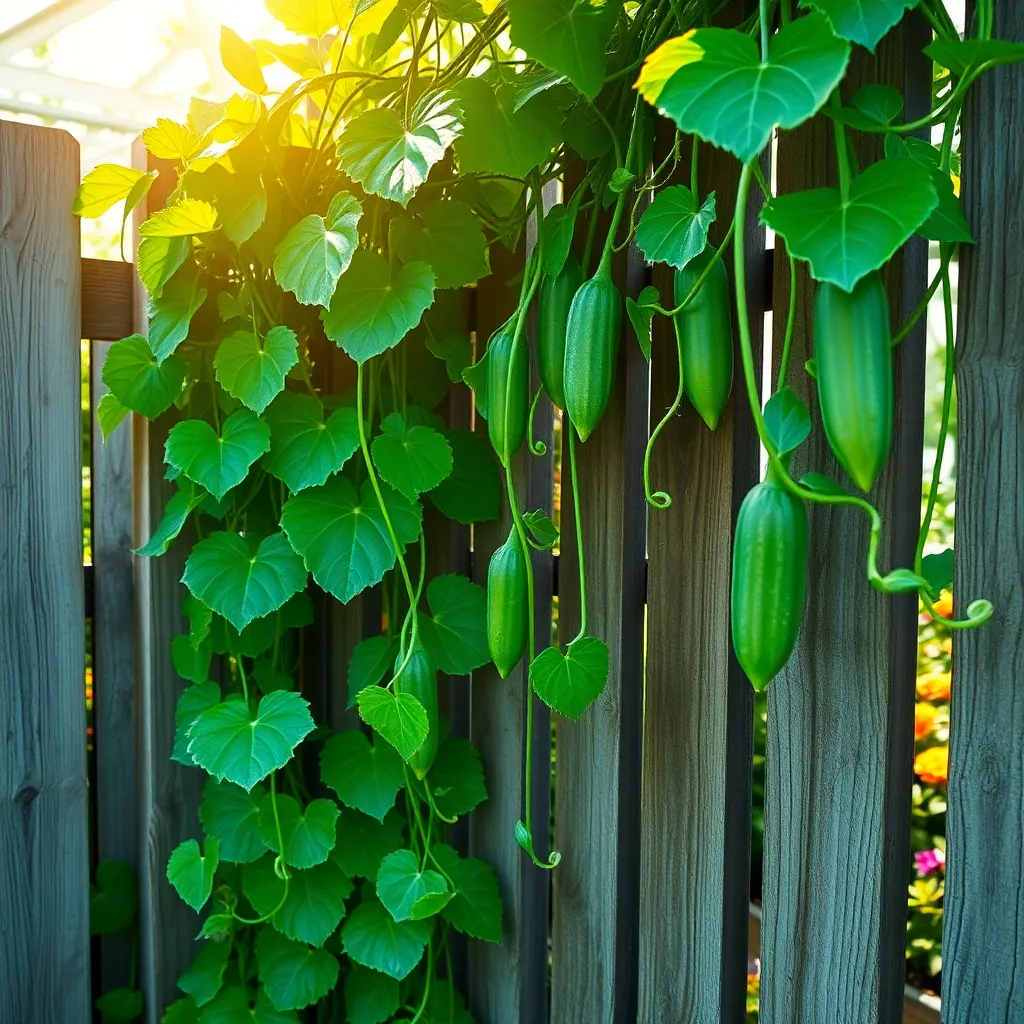
Assess the sun exposure in the area where you plan to place your shed, as this can impact nearby plants. A location that provides partial shade can be beneficial for plants that require protection from the harsh afternoon sun.
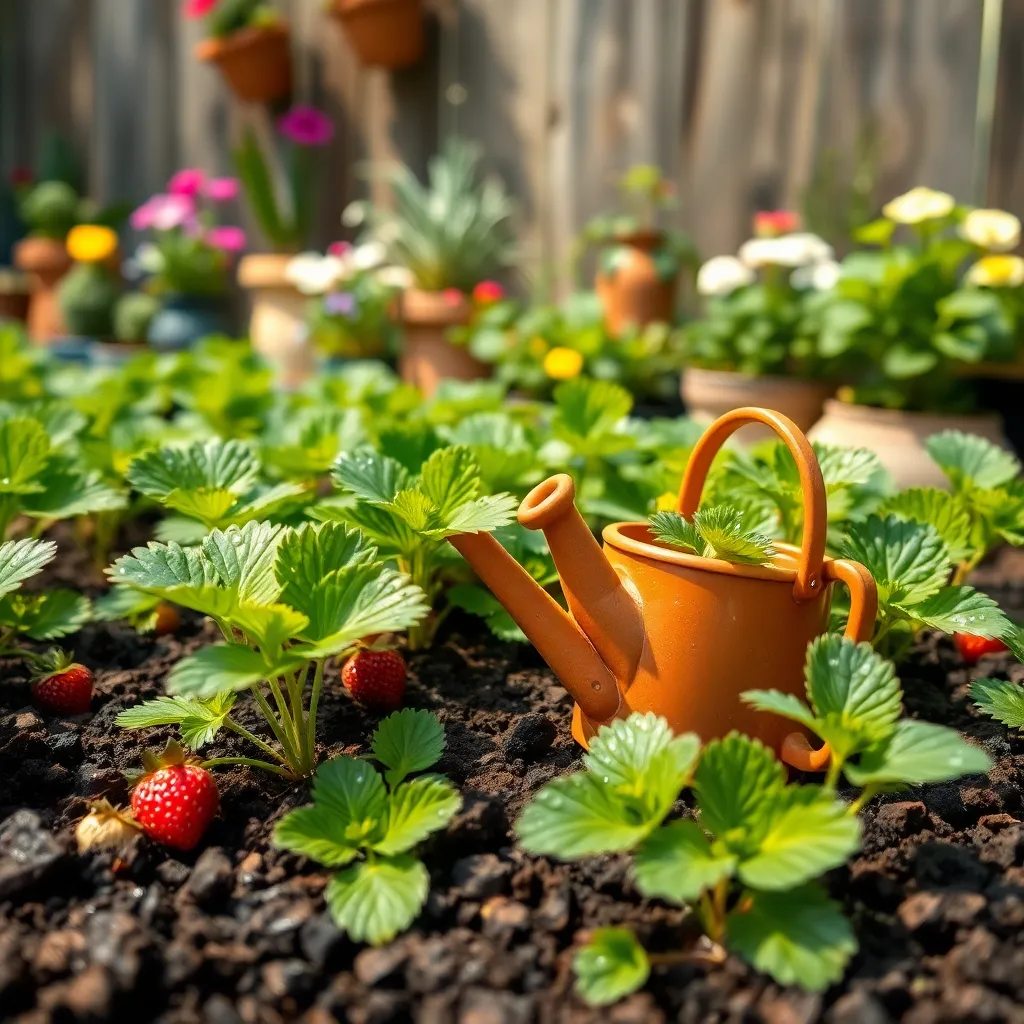
Ensure the ground where you’re placing your shed is level and has good drainage. Poor drainage can lead to water pooling, which may affect the structural integrity of your shed and the health of nearby plants.
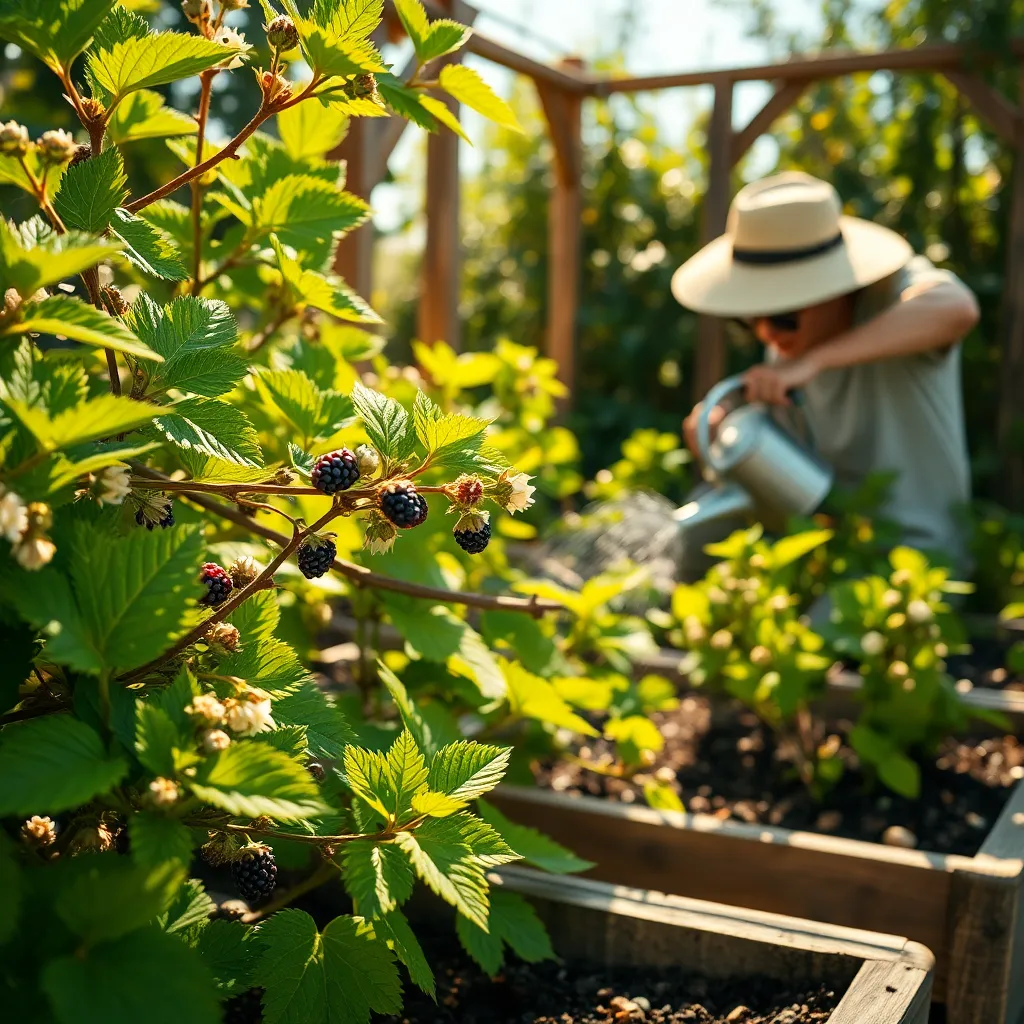
Think about the proximity of water sources and utilities, as these will be important when maintaining your garden. Having a water source nearby makes it easier to water plants consistently, which is crucial for their growth and health.
Design Your Shed Plan
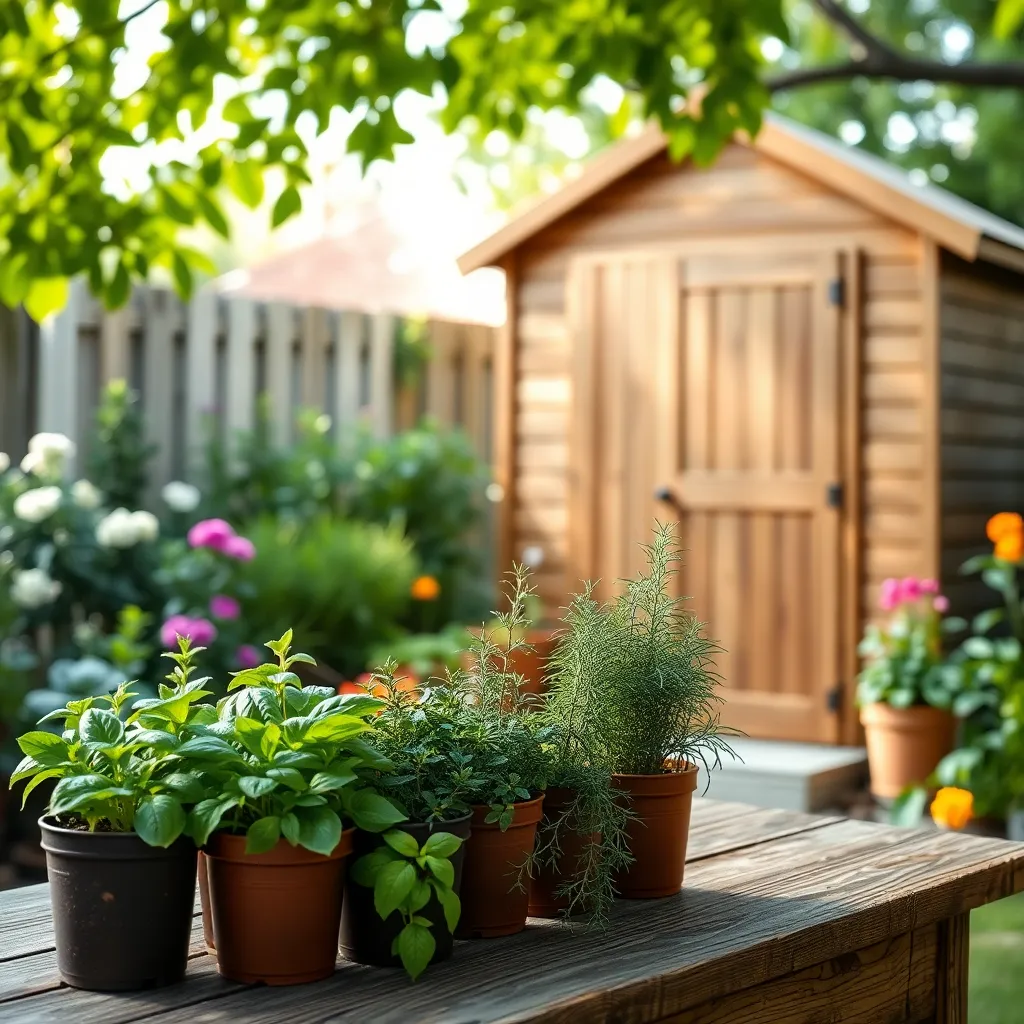
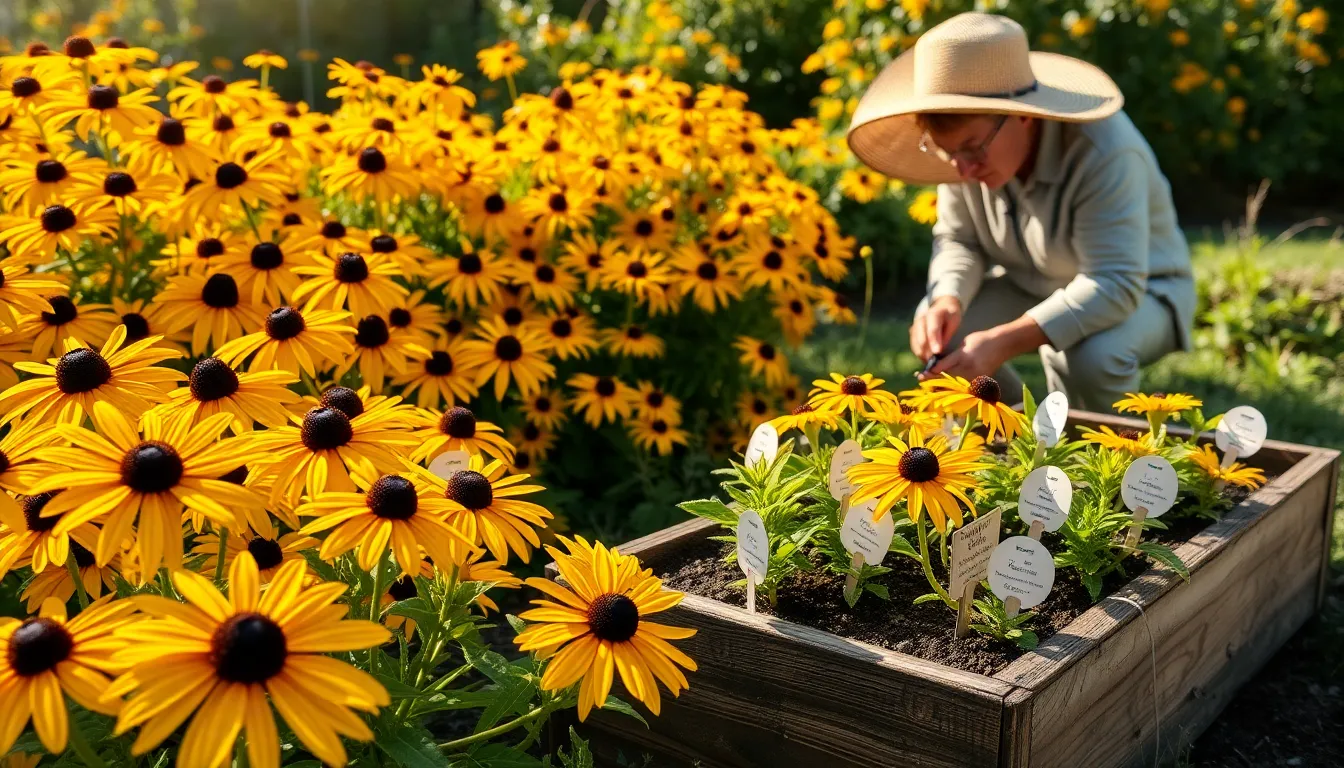
To design your garden shed plan effectively, begin by considering the shed’s primary purpose. Whether it’s for storage, a workshop, or a garden retreat, understanding its use will guide the design process.
Next, think about the size and shape that will best fit your garden space. A compact design may suit smaller gardens, while larger plots can accommodate more expansive structures.
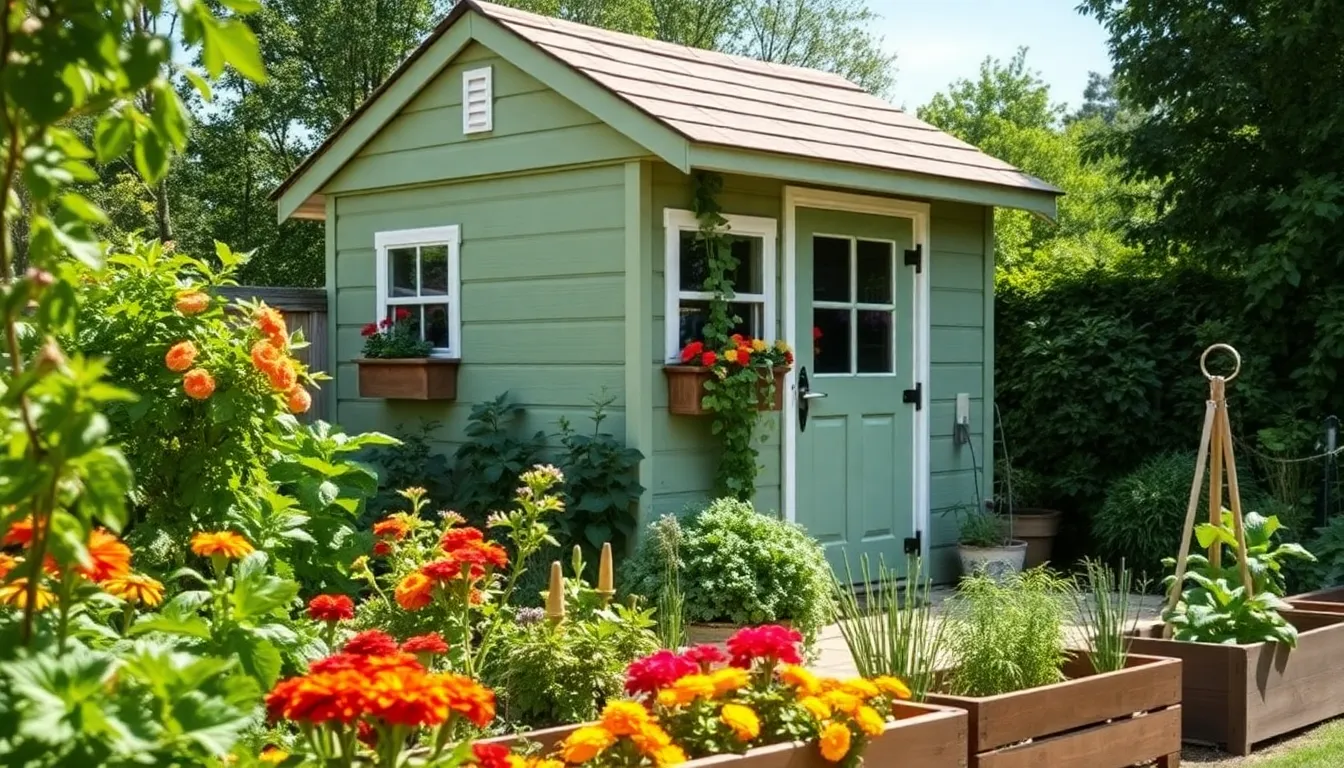
Incorporate elements that blend the shed with your garden environment. Use materials like wood or metal that complement existing garden features and ensure durability.
Consider the shed’s accessibility for ease of use. Ensure there is enough space for doors to open fully and that pathways to the shed remain clear.
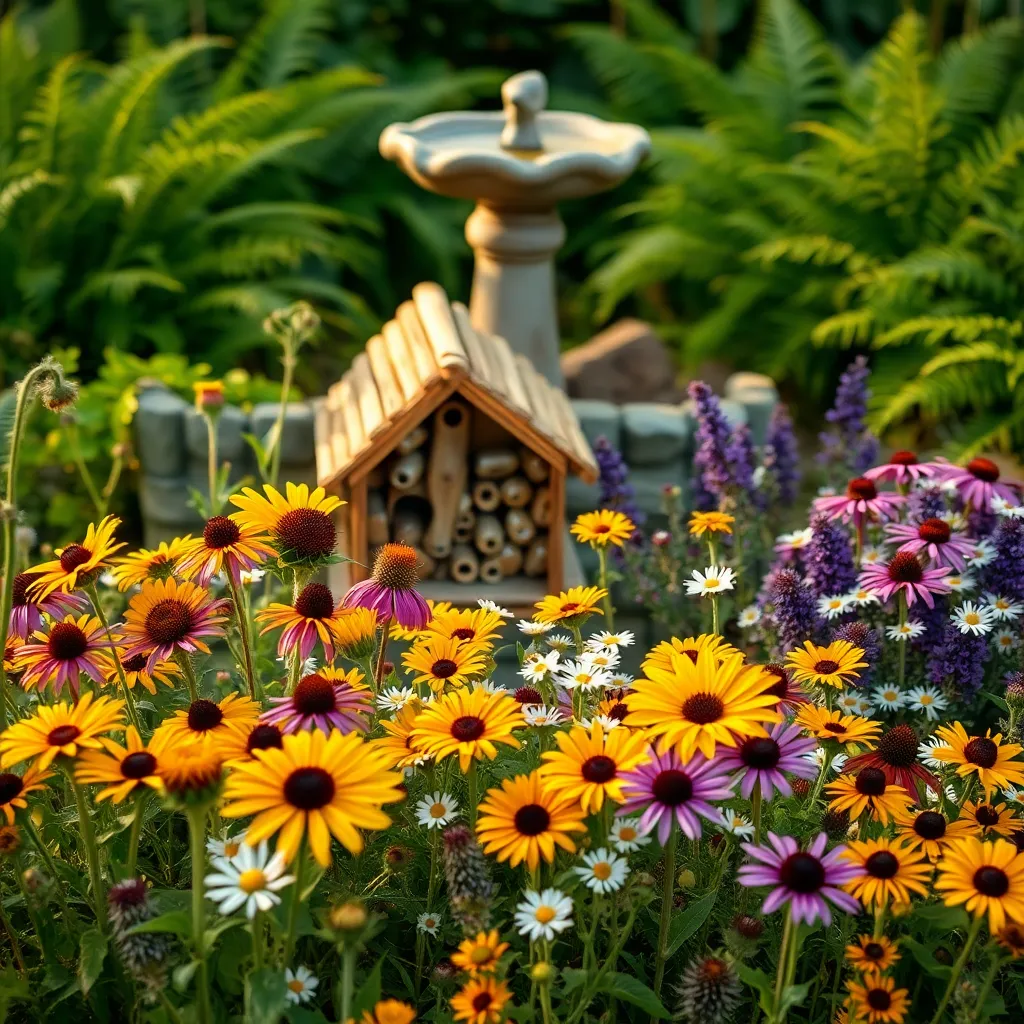
Plan for ventilation and natural light to keep the interior environment pleasant and functional. Windows or skylights can not only provide light but also enhance the aesthetic appeal of your shed.
Finally, think about incorporating sustainable practices into your shed design. Use reclaimed materials where possible and consider installing a rainwater collection system to support your garden.
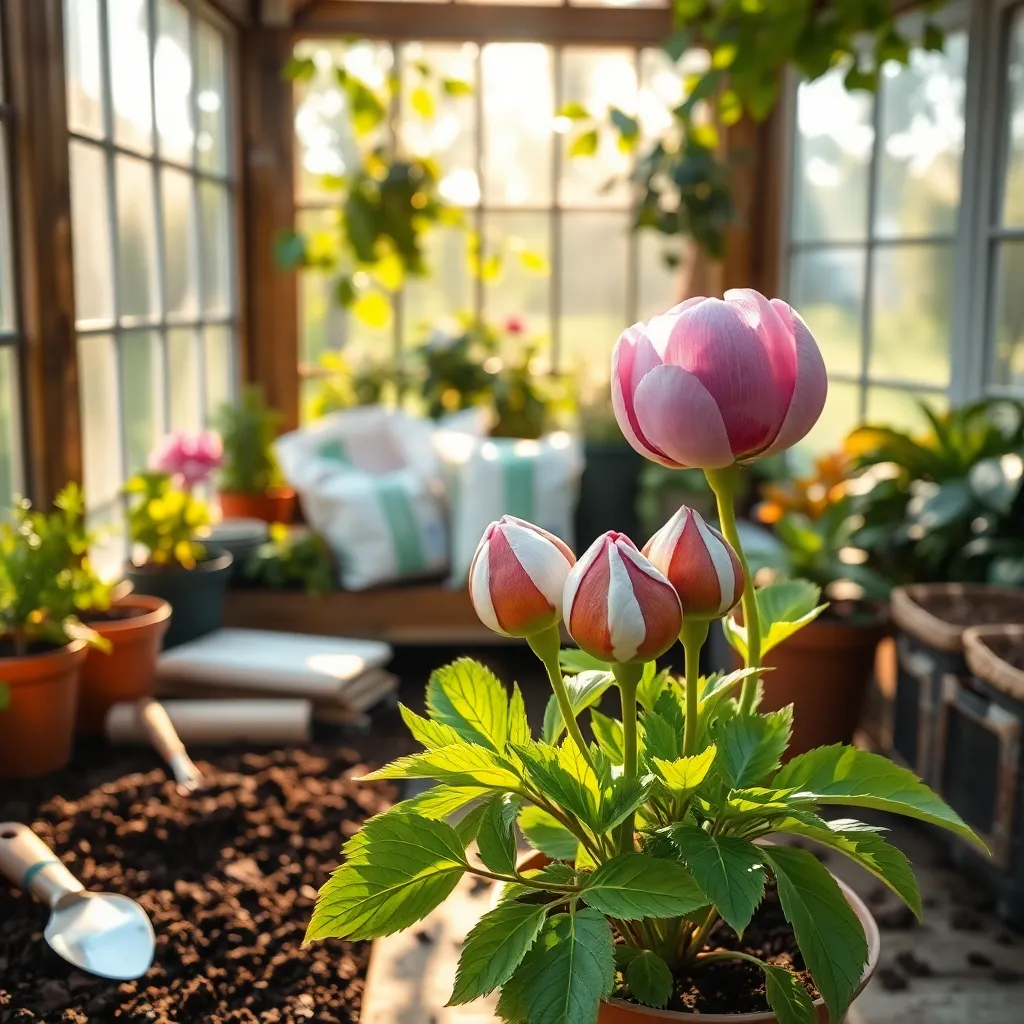
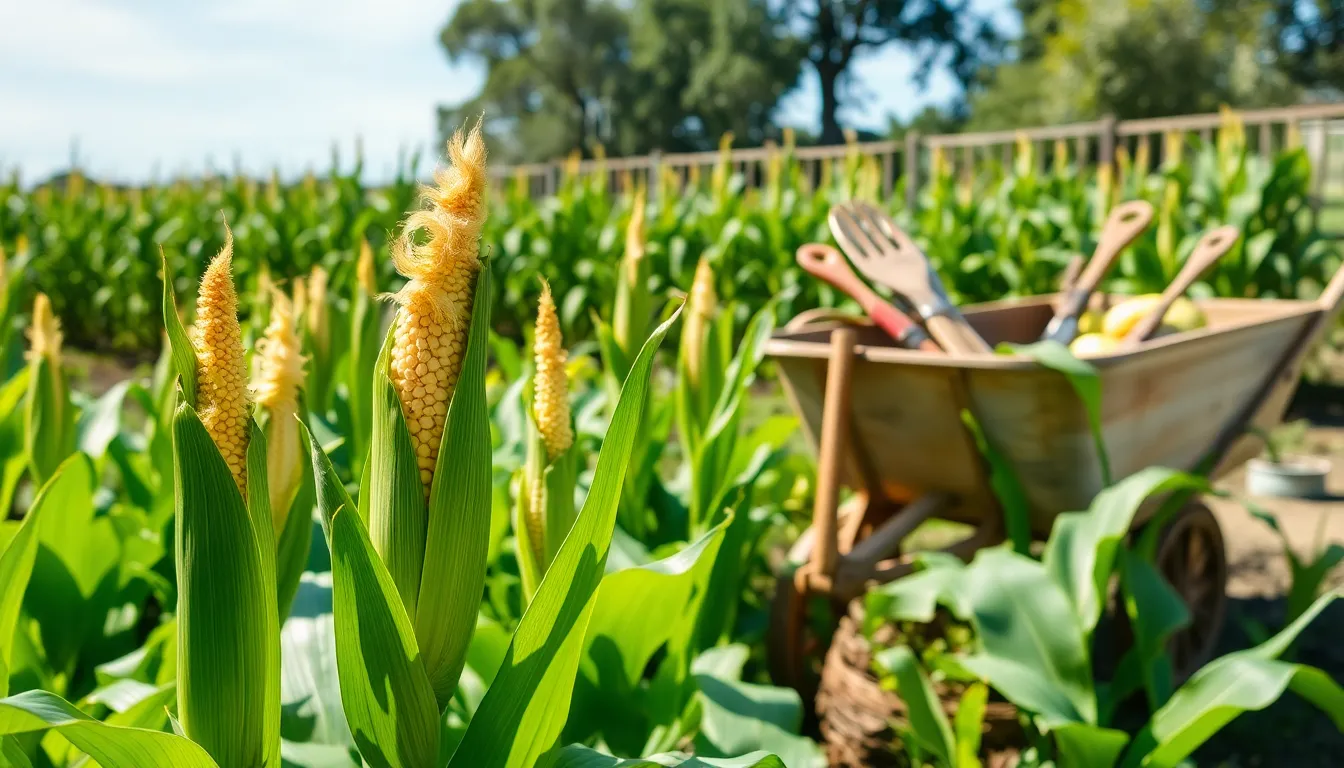
Gather Necessary Materials
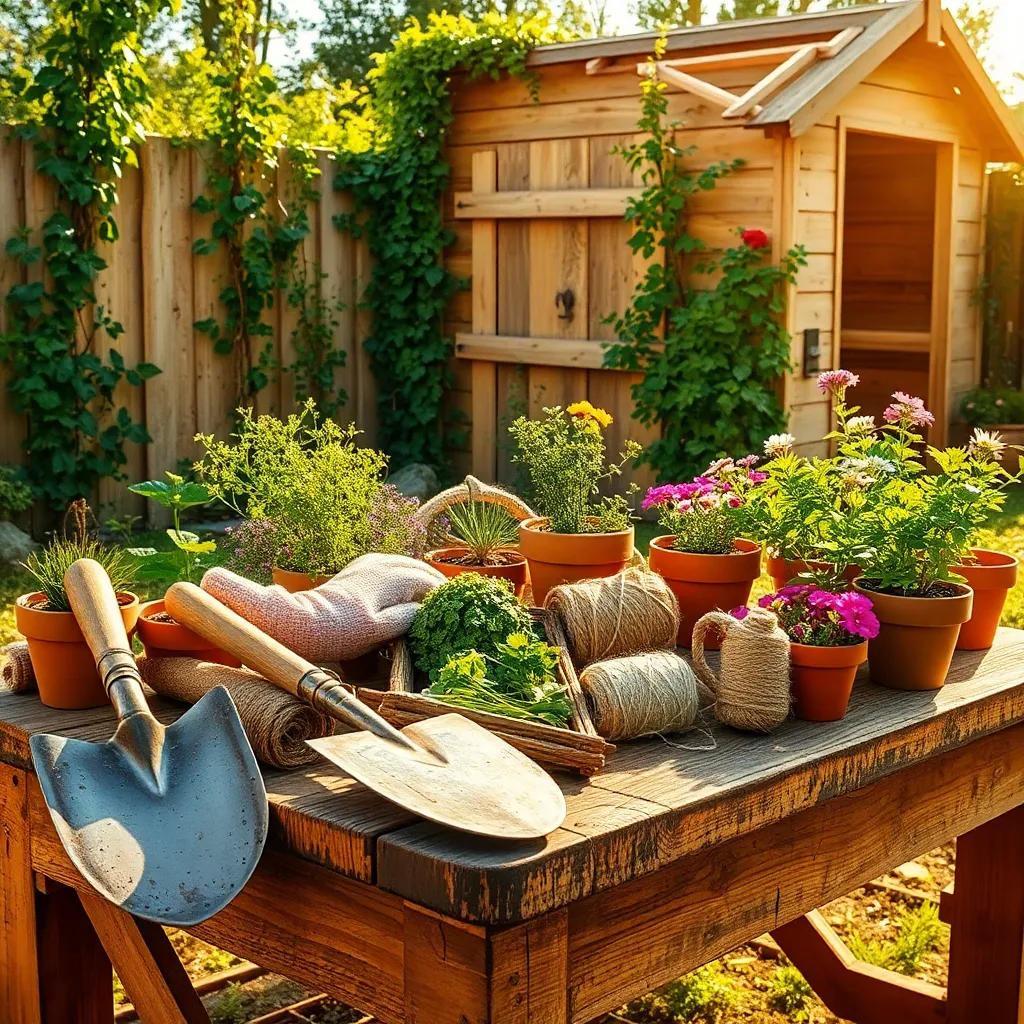
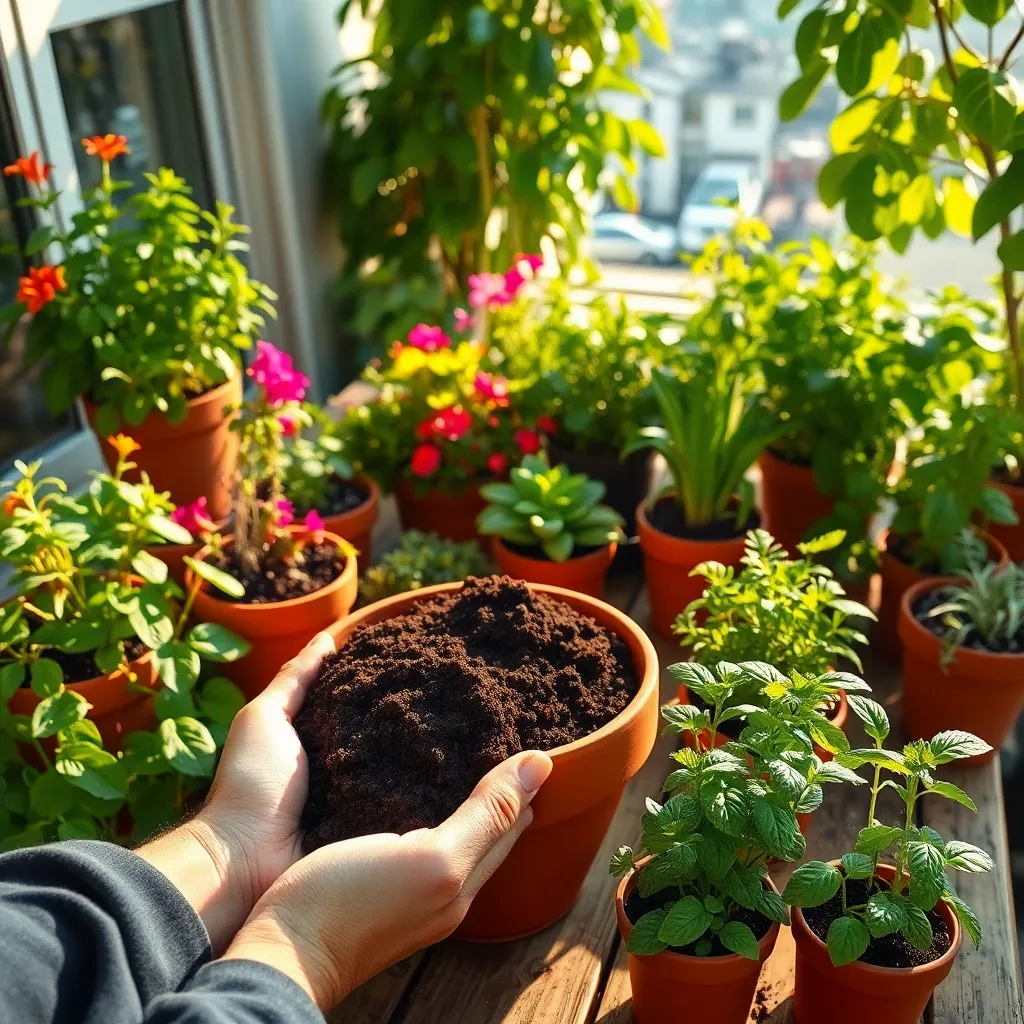
Before you start building your garden shed, it’s essential to gather all necessary materials. Having everything on hand will streamline the construction process and help avoid unnecessary trips to the hardware store. Begin by compiling a list of materials based on your shed design, including lumber, nails, screws, and roofing materials. If you’re new to construction, consider visiting a local hardware store to get advice on the best materials for your climate.
Invest in quality tools to ensure your shed is built to last. A reliable hammer, power drill, and saw are indispensable for this project. Additionally, a level and measuring tape are crucial for ensuring your shed is stable and well-proportioned. For those with more experience, a miter saw can be a time-saver when cutting multiple pieces of wood to the same length.
Don’t forget about the foundation materials, which are critical for the longevity of your shed. You might choose a concrete slab or skids, depending on the permanence and size of your structure. It’s a good idea to consult with a professional if you’re unsure about the best foundation for your location and soil type. This step can prevent future issues with moisture or instability.
Consider gathering additional materials for finishing touches, such as paint or stain, which will protect your shed from the elements. A weather-resistant sealant can also be beneficial, especially in areas prone to heavy rain or snow. If you plan to use electricity in your shed, collect wiring materials and consult with an electrician to ensure everything is safely installed. These details will enhance both the functionality and appearance of your garden shed.
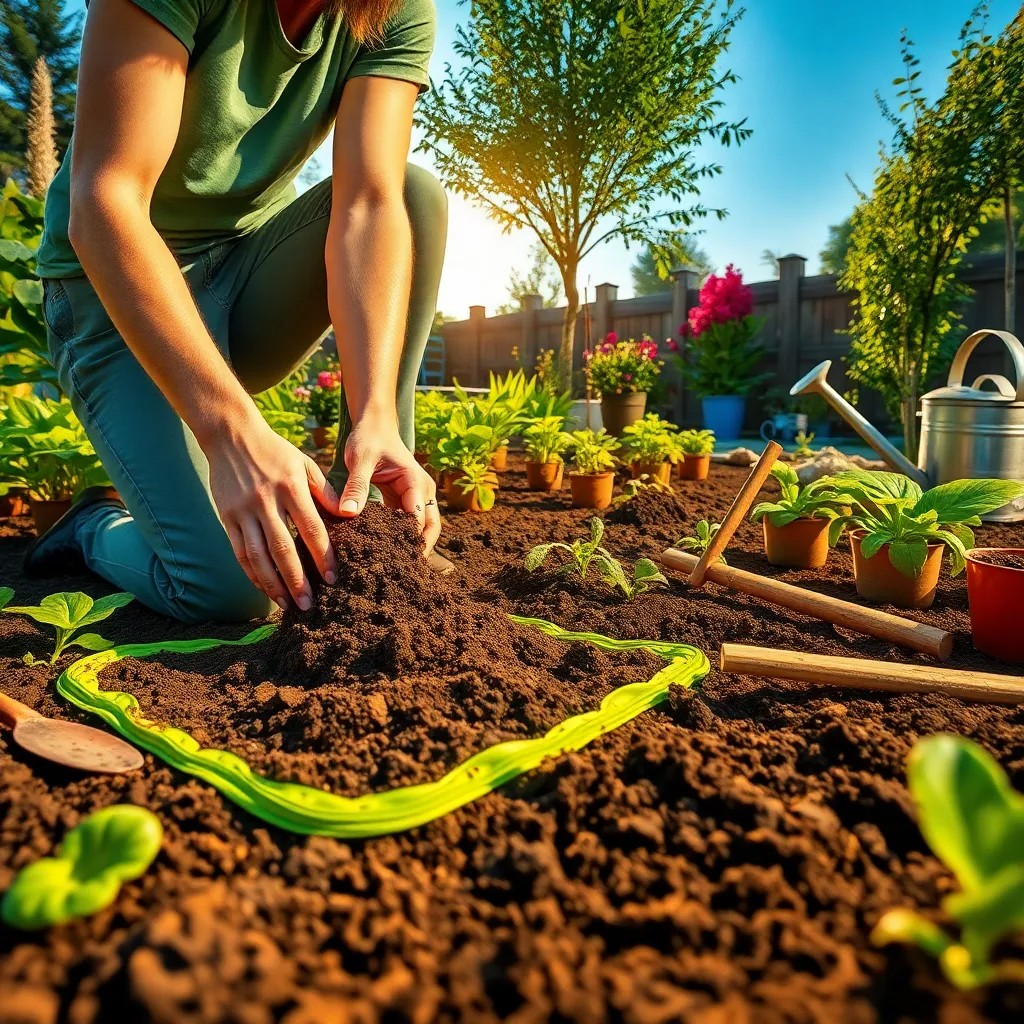
Construct a Solid Foundation
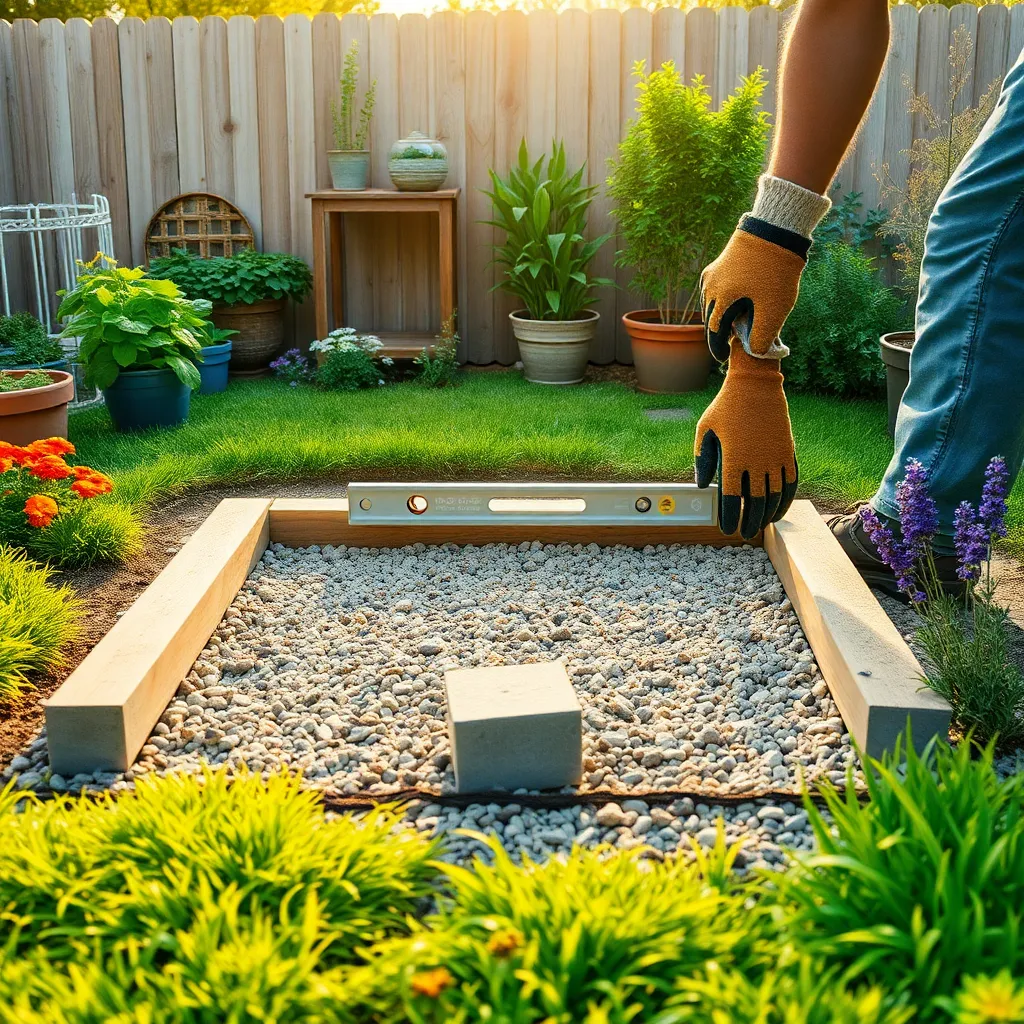
To build a garden shed that stands the test of time, it’s crucial to start with a solid foundation. Begin by selecting a location that is level and well-drained, ensuring that water does not pool around the base of your shed.
A good foundation prevents moisture issues and structural instability. Consider using concrete blocks or a gravel pad as they offer excellent support and drainage, keeping the shed dry and secure.
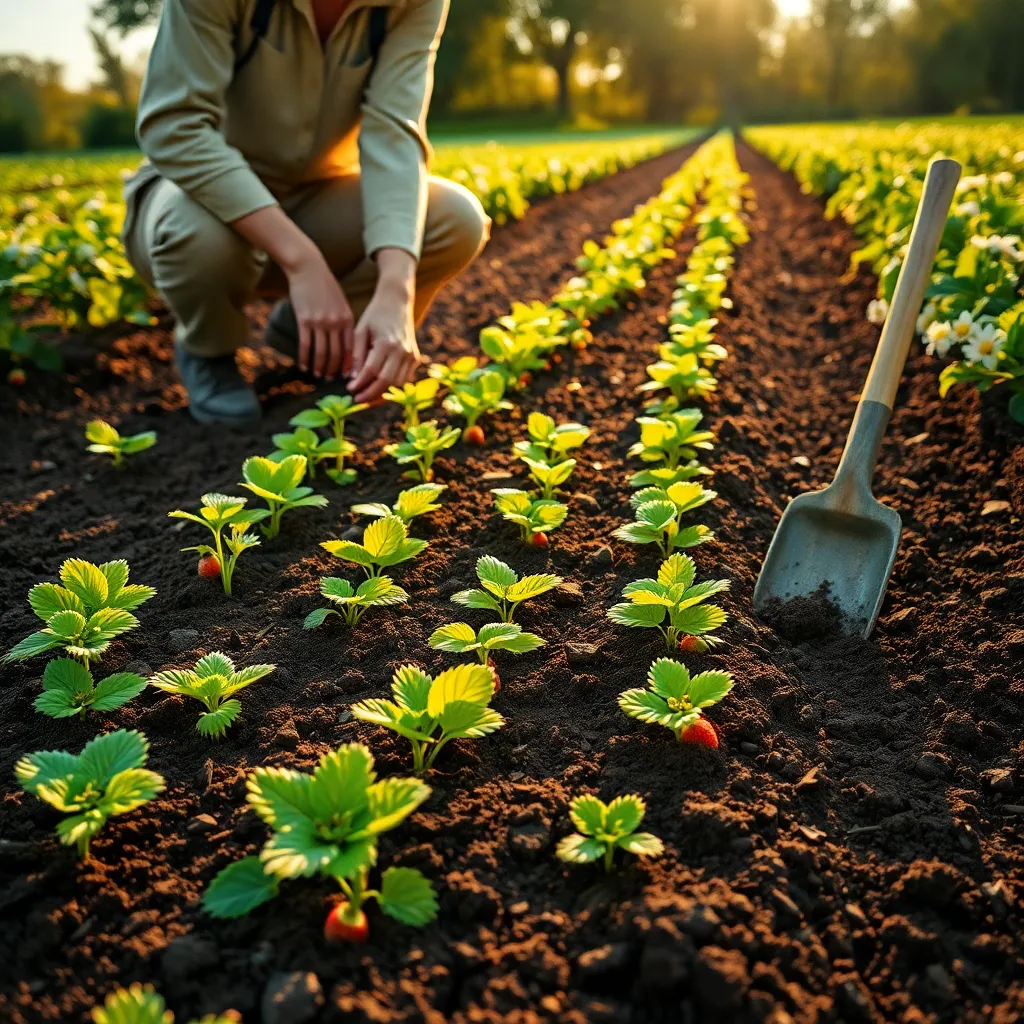
For those with varying soil conditions, it might be wise to test the soil before laying the foundation. You can use a simple soil test kit to determine the pH and composition, which can inform your choice of foundation materials.
Advanced gardeners might want to install a vapor barrier under the foundation to further protect against moisture. This added layer can be especially beneficial in areas with heavy rainfall, ensuring the longevity of your shed.
Assemble and Secure Walls
After establishing a solid foundation, it’s time to assemble and secure the walls of your garden shed. Begin by selecting sturdy materials like treated timber or composite panels, which offer excellent durability and weather resistance.
Use a level to ensure each wall is perfectly vertical as you position it. Accuracy in alignment not only contributes to the structural integrity but also makes adding the roof much easier later.
Secure the walls together using galvanized screws or bolts, which are resistant to rust and can handle outdoor conditions well. If you’re in a windy area, consider adding diagonal braces inside the walls for added stability.
It’s essential to leave space for windows if you want natural light inside your shed. Consider installing vent panels as well, which will improve airflow and keep the shed environment healthy for plant storage or workspace.
For beginners, pre-cut wall kits can save time and ensure precision if you’re not confident in your carpentry skills. Meanwhile, experienced builders might opt to customize wall designs to include shelves or storage spaces tailored to specific gardening tools.
Conclusion: Growing Success with These Plants
In ‘How to Build a Garden Shed,’ we explored five essential relationship concepts that mirror the construction of a sturdy, lasting structure. First, we learned the importance of laying a strong foundation through open communication. Next, we discussed the necessity of choosing the right materials, akin to nurturing trust and respect. Third, we highlighted the value of planning and patience in both relationships and building projects. Fourth, we emphasized the need for regular maintenance, just as relationships require ongoing care and attention. Finally, we explored the power of teamwork, ensuring that both partners are aligned in their goals and efforts.
As your immediate next step, take a moment to evaluate one area of your relationship that could use a little more attention, and discuss it with your partner today. This could be the beginning of a transformative conversation.
Remember to save or bookmark this article as a handy guide for future reference. Each time you revisit these principles, you’ll be reminded of the foundational work that leads to relationship success. Embrace the journey ahead with confidence, knowing that with commitment and care, your relationship can flourish like a well-built garden shed—strong, reliable, and filled with shared joy.