Imagine stepping into your backyard on a warm summer’s day and being greeted by the sight of lush, sprawling vines dotted with plump, ripe melons ready for harvest. For many gardeners, both seasoned and new, the prospect of growing melons can be as sweet as the fruit itself, offering a delightful blend of challenge and reward that invigorates the spirit of cultivation.
Growing your own melons is not just about savoring their succulent taste but also about embracing the joy of nurturing a plant from seed to fruit. Whether you’re planting your first seeds or looking to refine your melon-growing techniques, this guide will equip you with the knowledge to transform your backyard into a fruitful oasis. As you delve into the following sections, prepare to uncover the secrets to selecting the right melon varieties, understanding their unique growing needs, and mastering the art of harvesting for peak flavor.
From the subtle art of soil preparation to the careful dance of pollination, growing melons is a journey that combines science with the blissful unpredictability of nature. We’ll walk you through each step with practical insights and time-tested tips to ensure your melon patch thrives. By the end of this article, you’ll be well-equipped to cultivate a bountiful crop that not only satisfies your taste buds but also enriches your gardening repertoire.
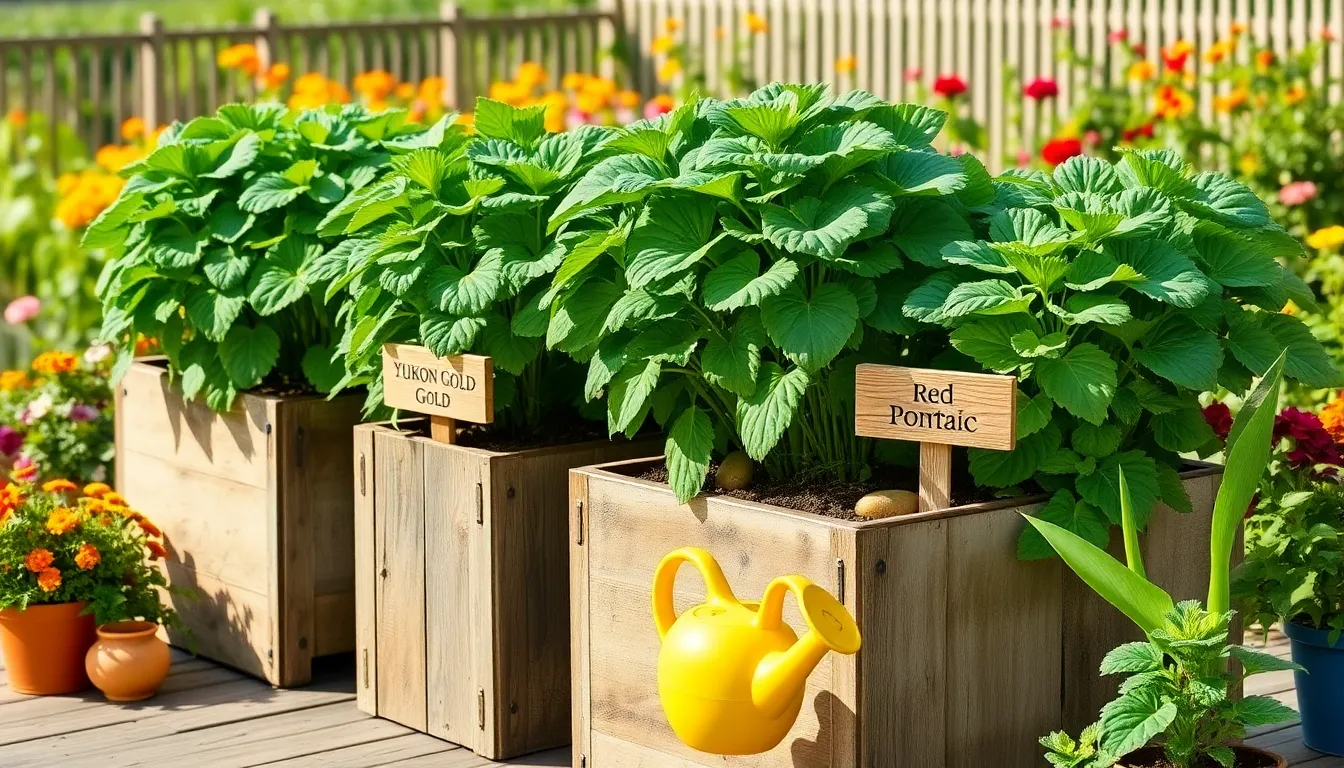
Select Ideal Melon Varieties
Choosing the right melon variety is crucial for a successful harvest in your backyard. Start by considering your climate, as some melons thrive in warm, dry areas, while others perform well in cooler regions.
For beginners, Cantaloupe is a great choice due to its adaptability and sweet flavor. It requires full sun and well-drained soil with a pH between 6.0 and 6.8, making it perfect for most garden conditions.
Watermelon varieties like ‘Sugar Baby’ are compact and ideal for smaller spaces, yet they deliver big on taste. Ensure they have room to sprawl and provide them with consistent watering, especially during fruit development, to prevent splitting.
More experienced gardeners might explore Honeydew melons, which require a longer growing season and careful attention to ripening. They thrive in rich soil with regular feeding, and mulching can help retain soil moisture and warmth.
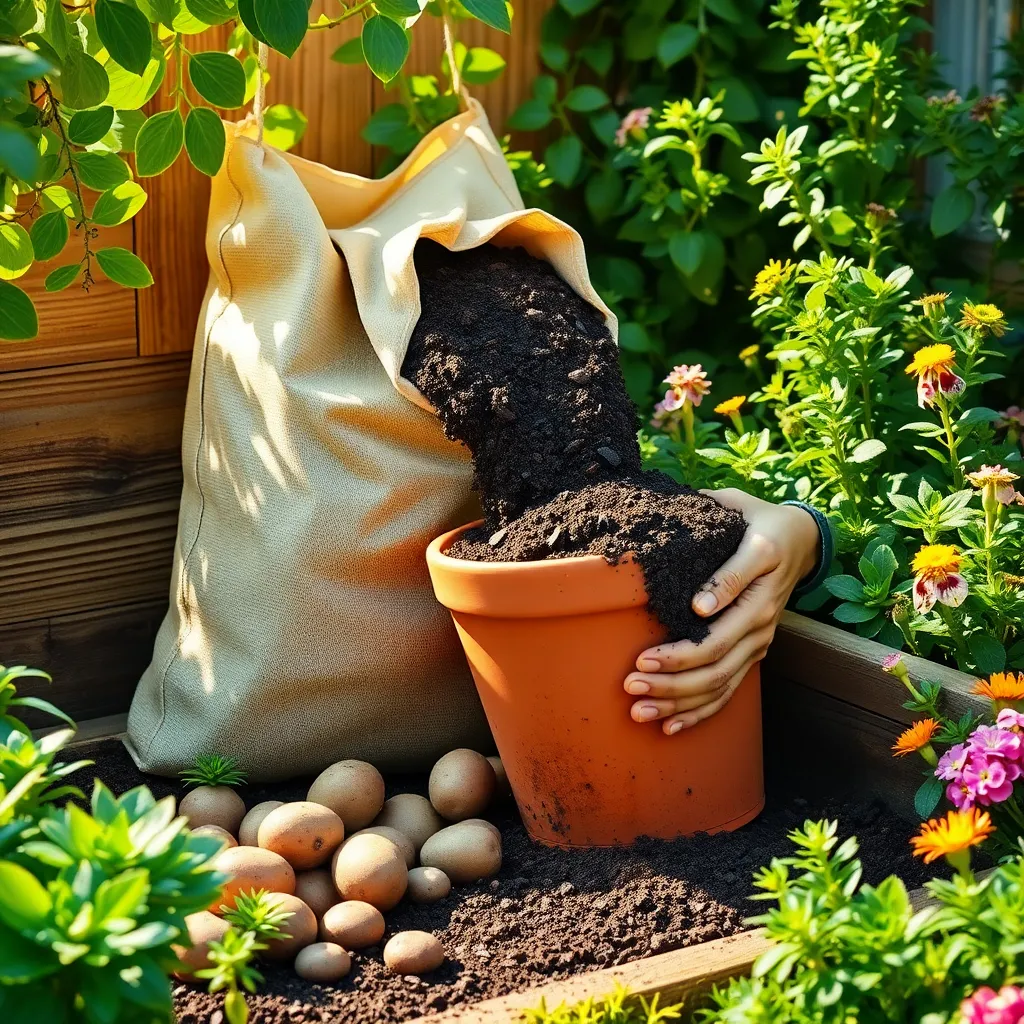
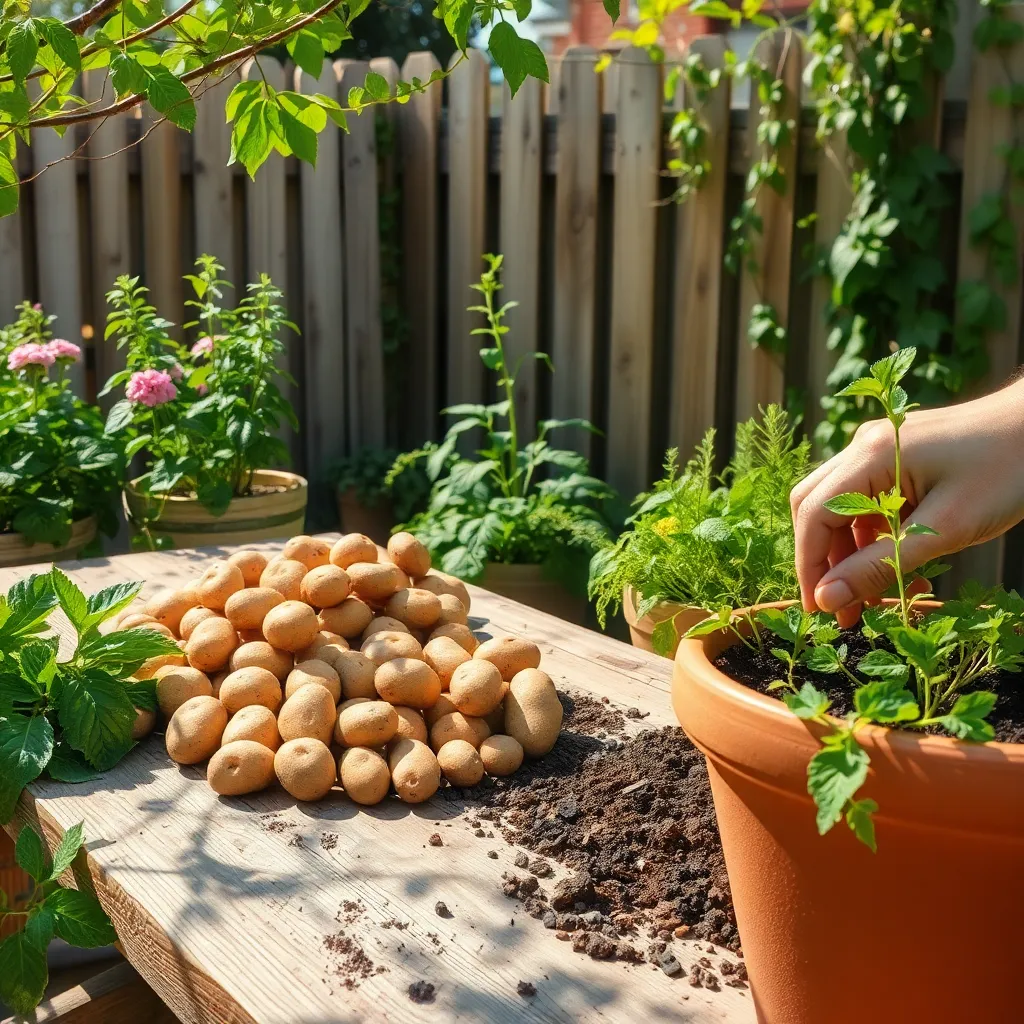
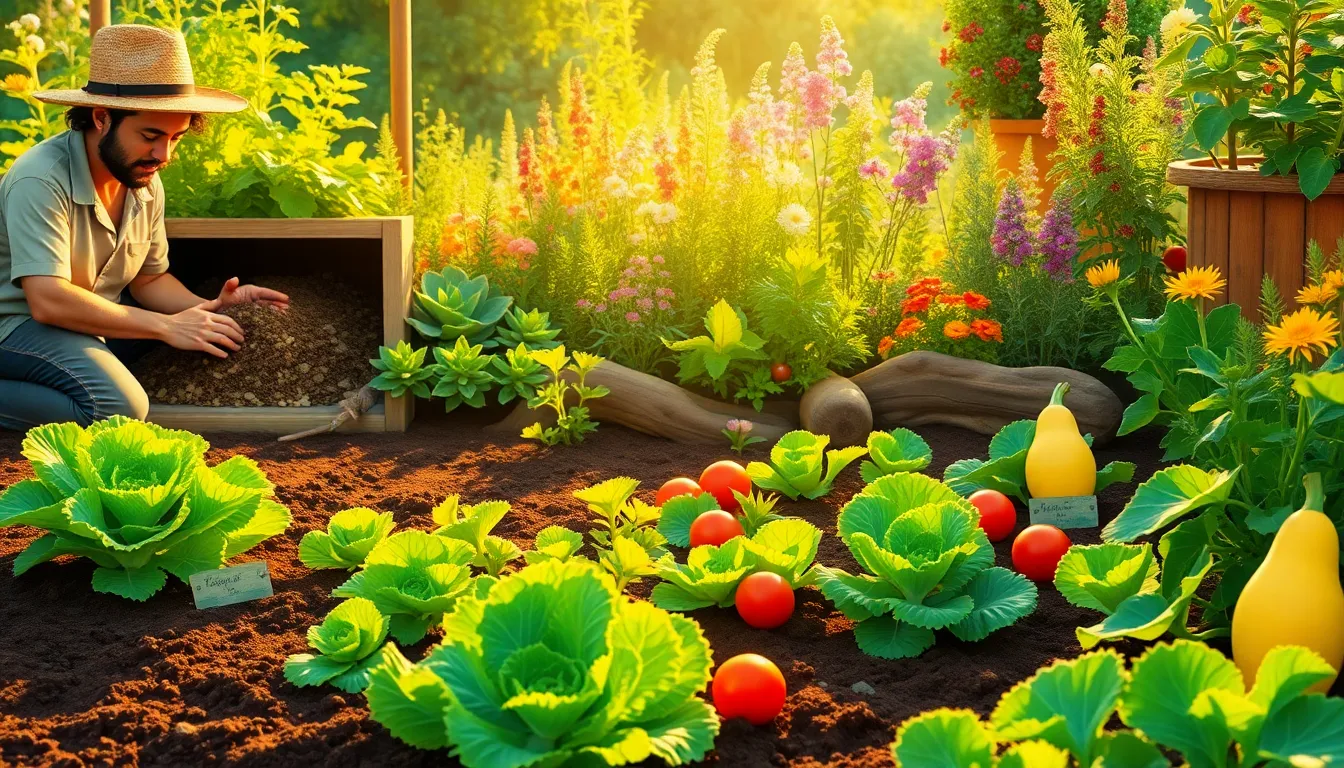
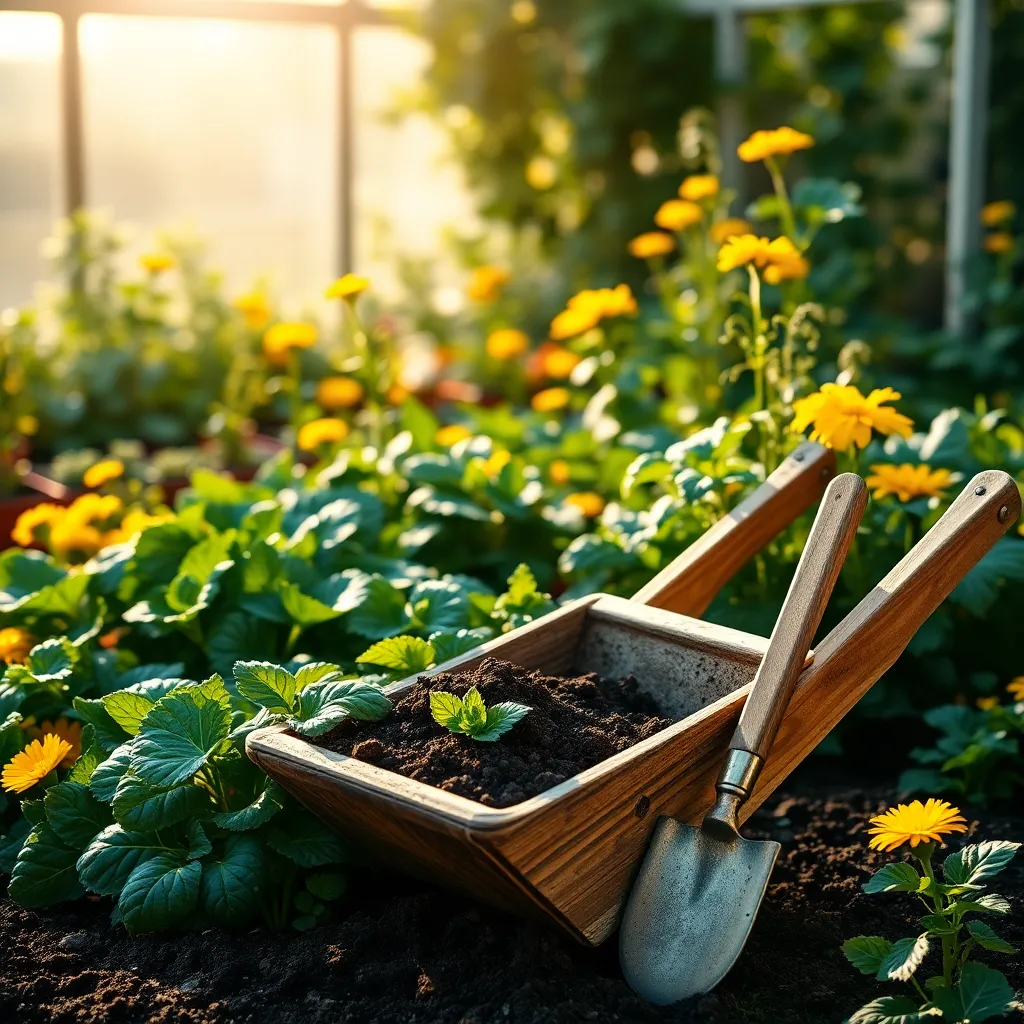
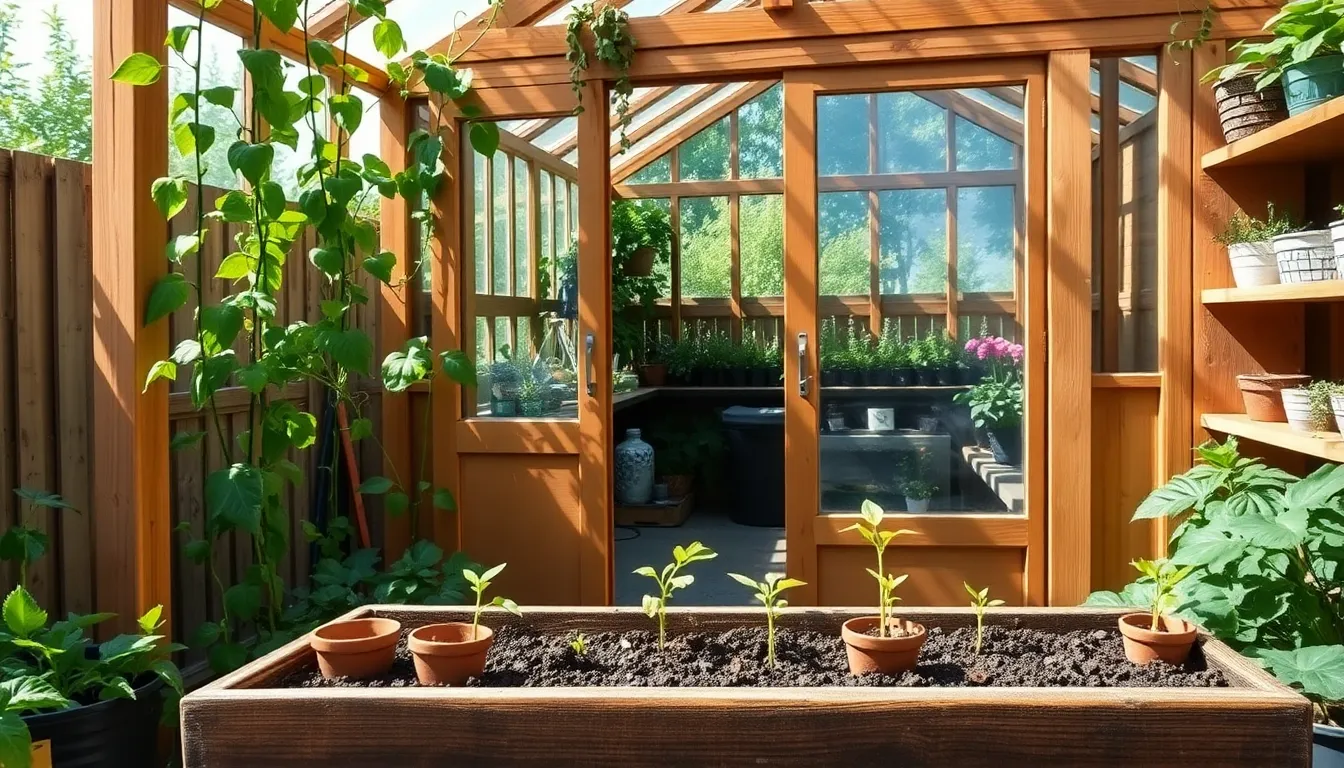
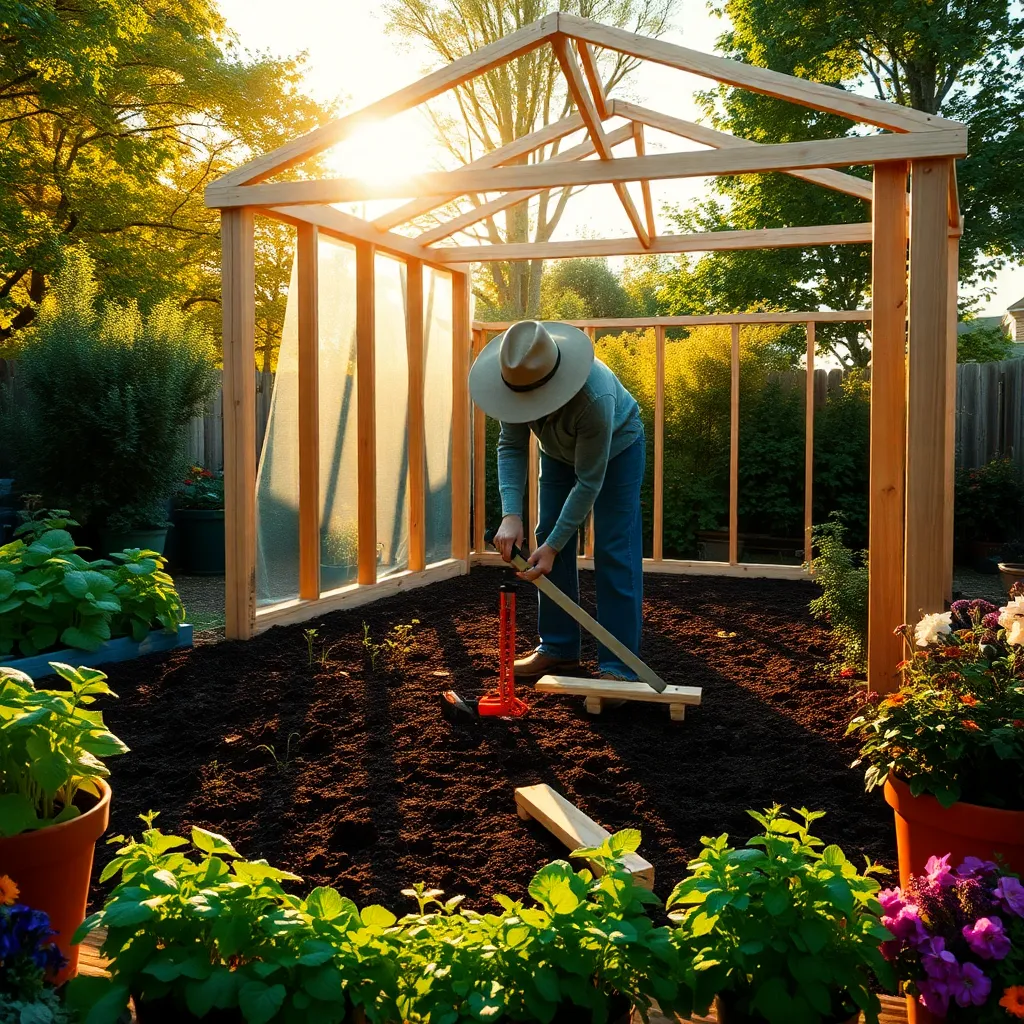
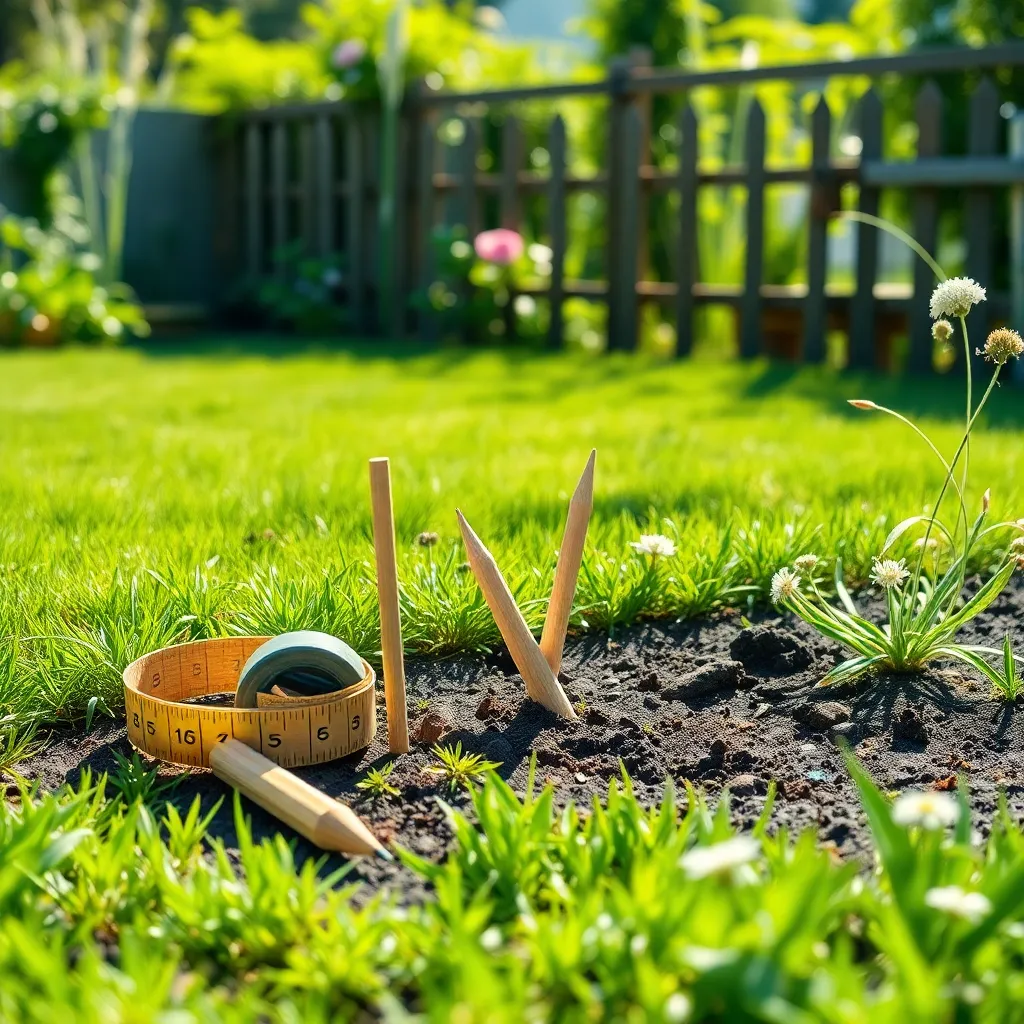
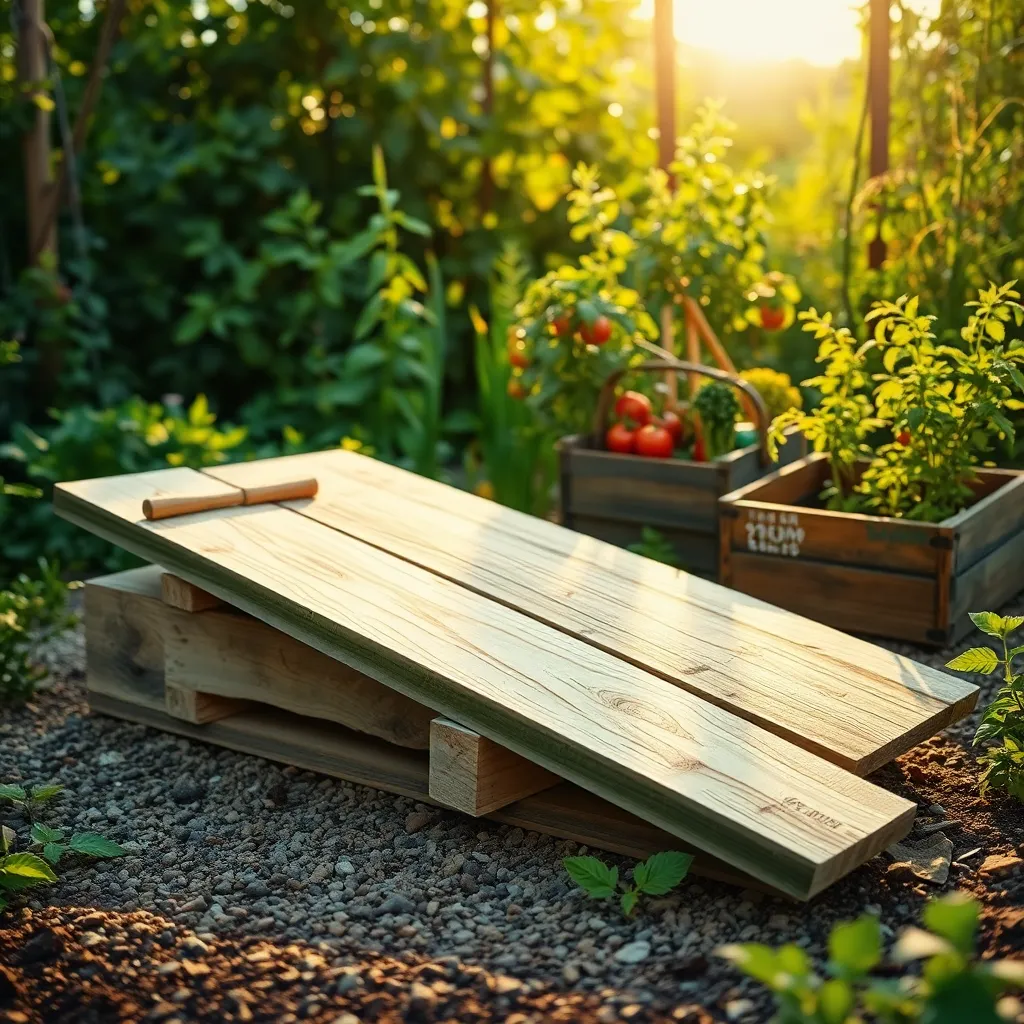
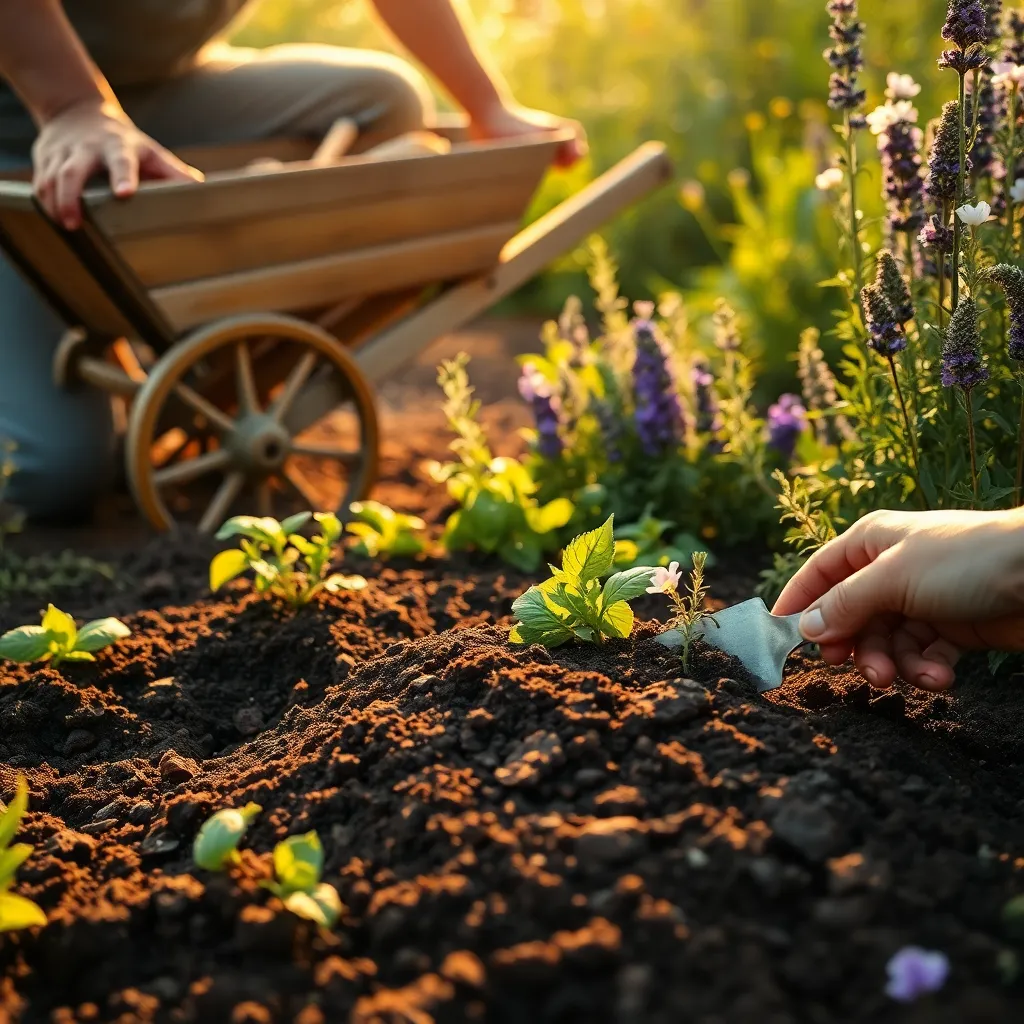
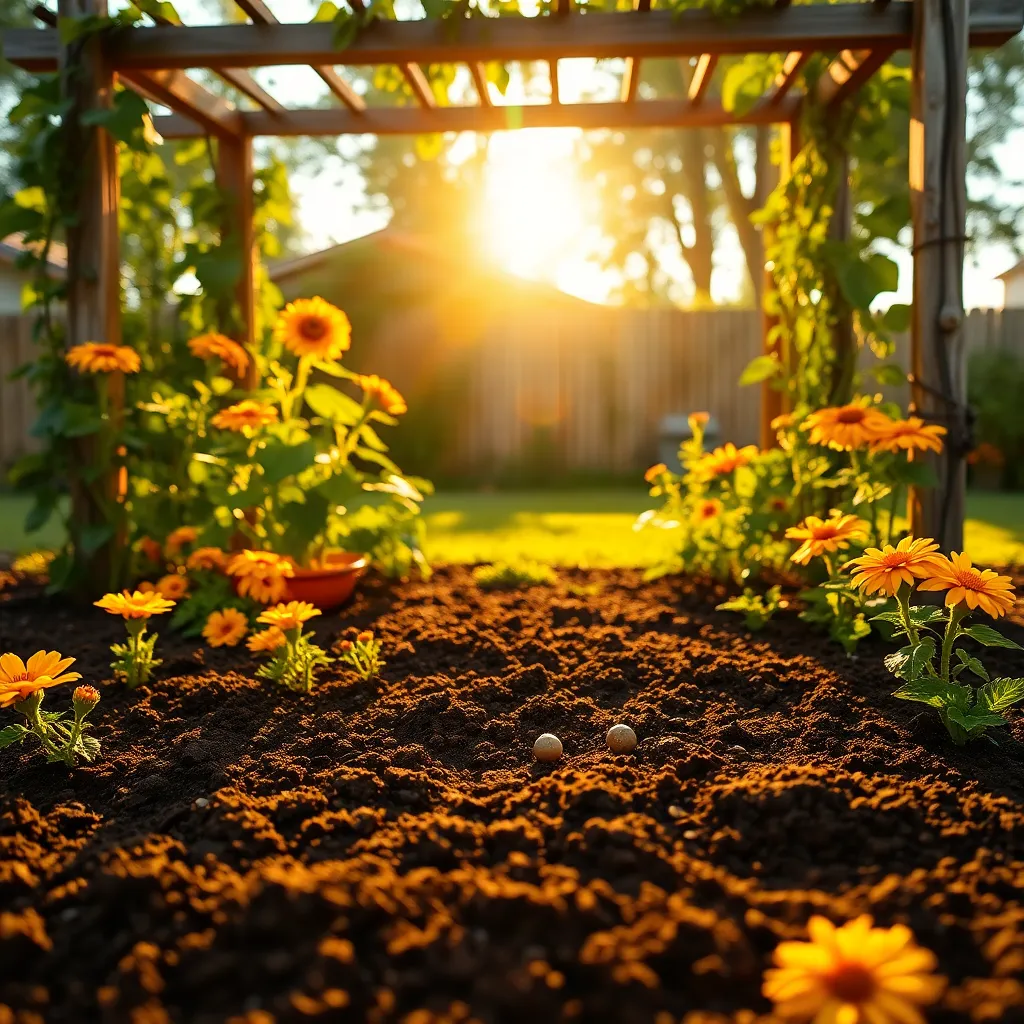
Prepare Sunny Garden Bed
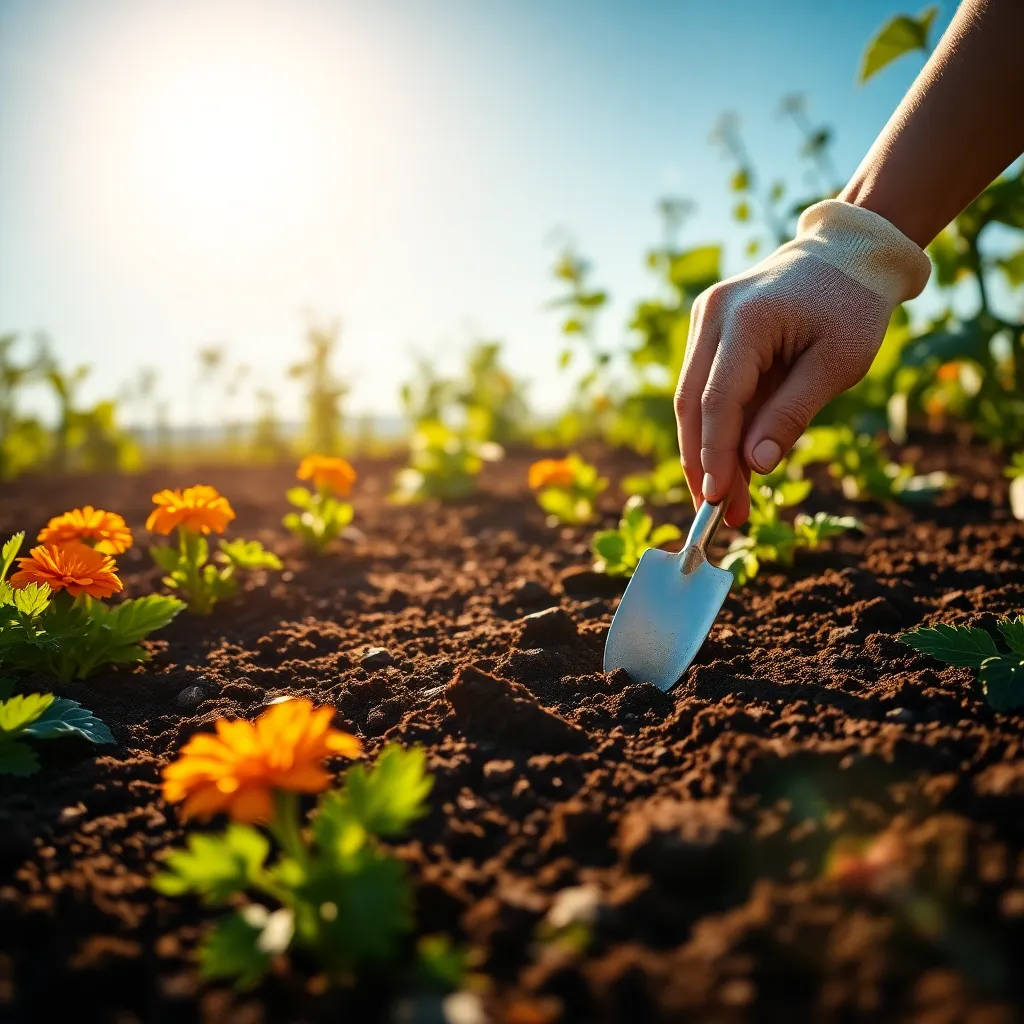
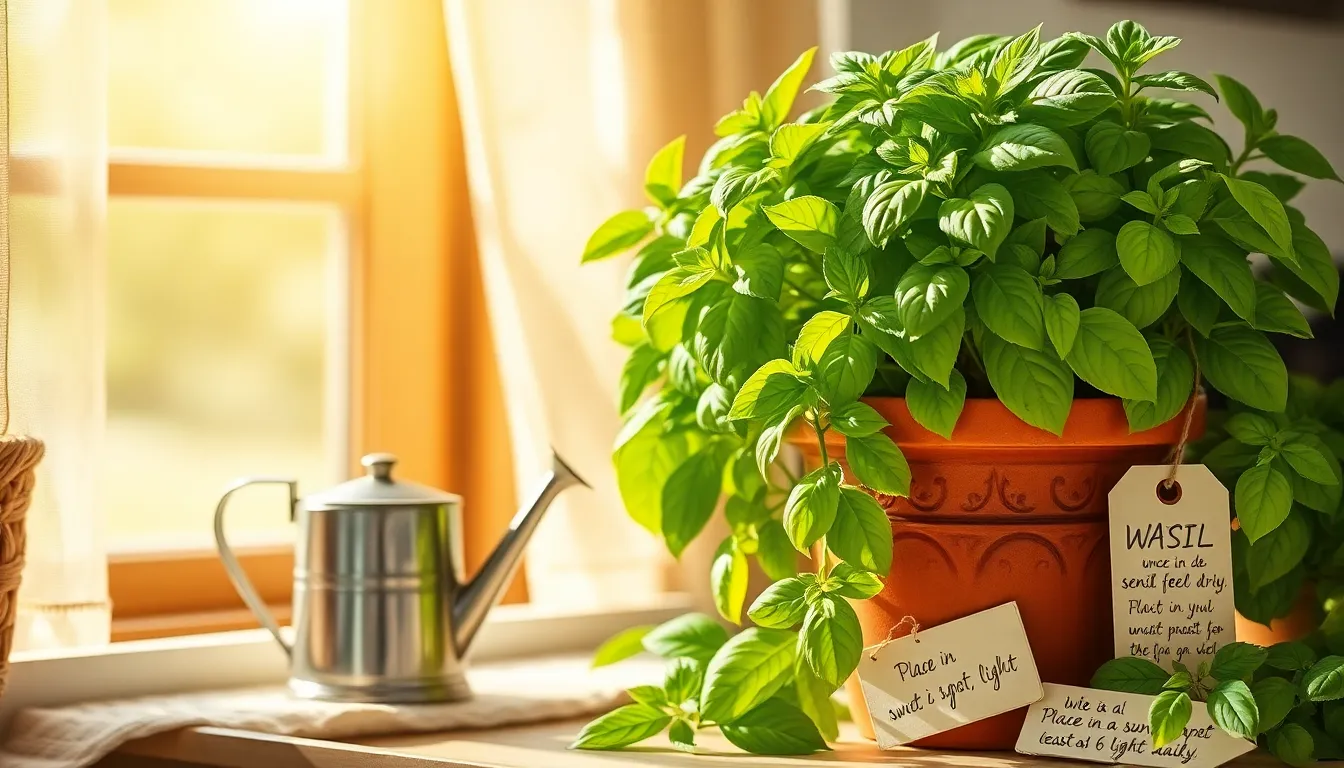
To successfully grow melons, it’s essential to prepare a sunny garden bed that will provide the warmth and light these sun-loving plants crave. Choose a location in your backyard that receives at least six to eight hours of direct sunlight daily, as this will ensure optimal growth and fruit development.
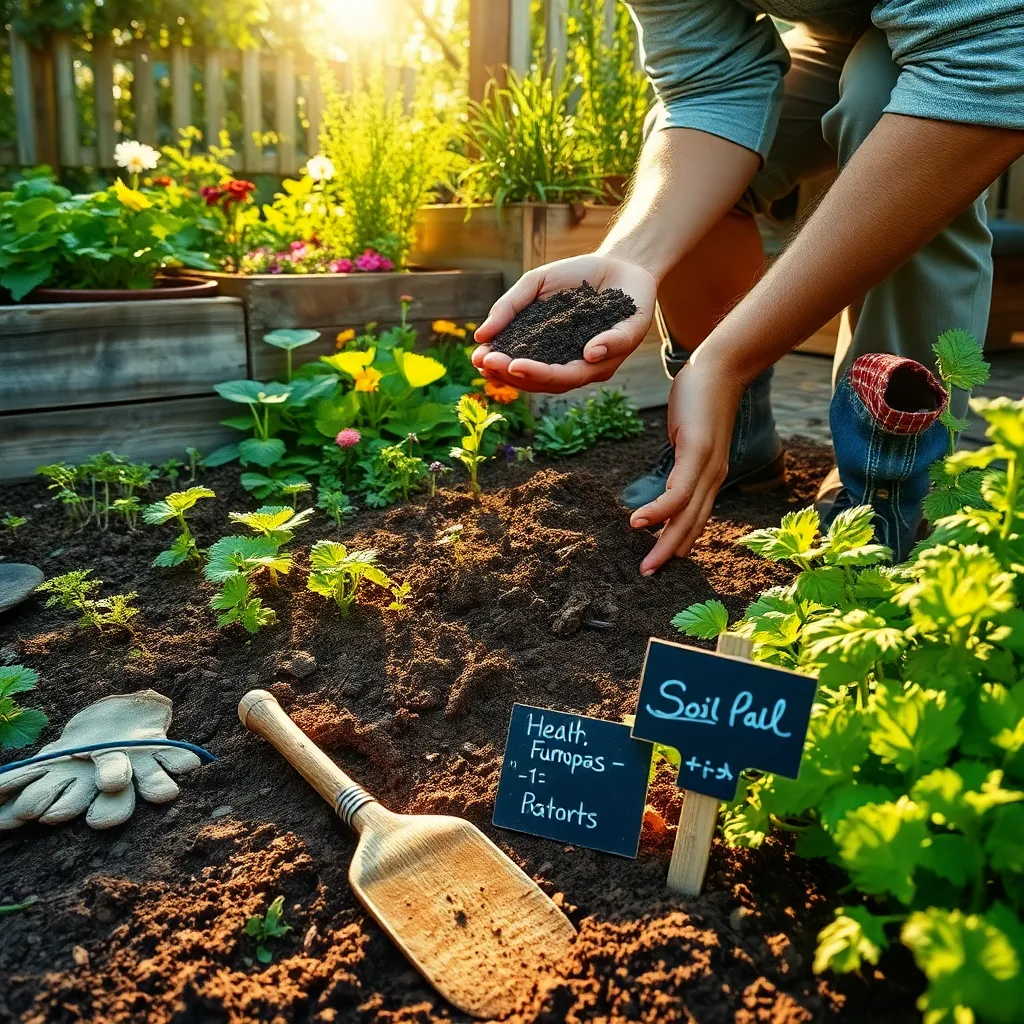
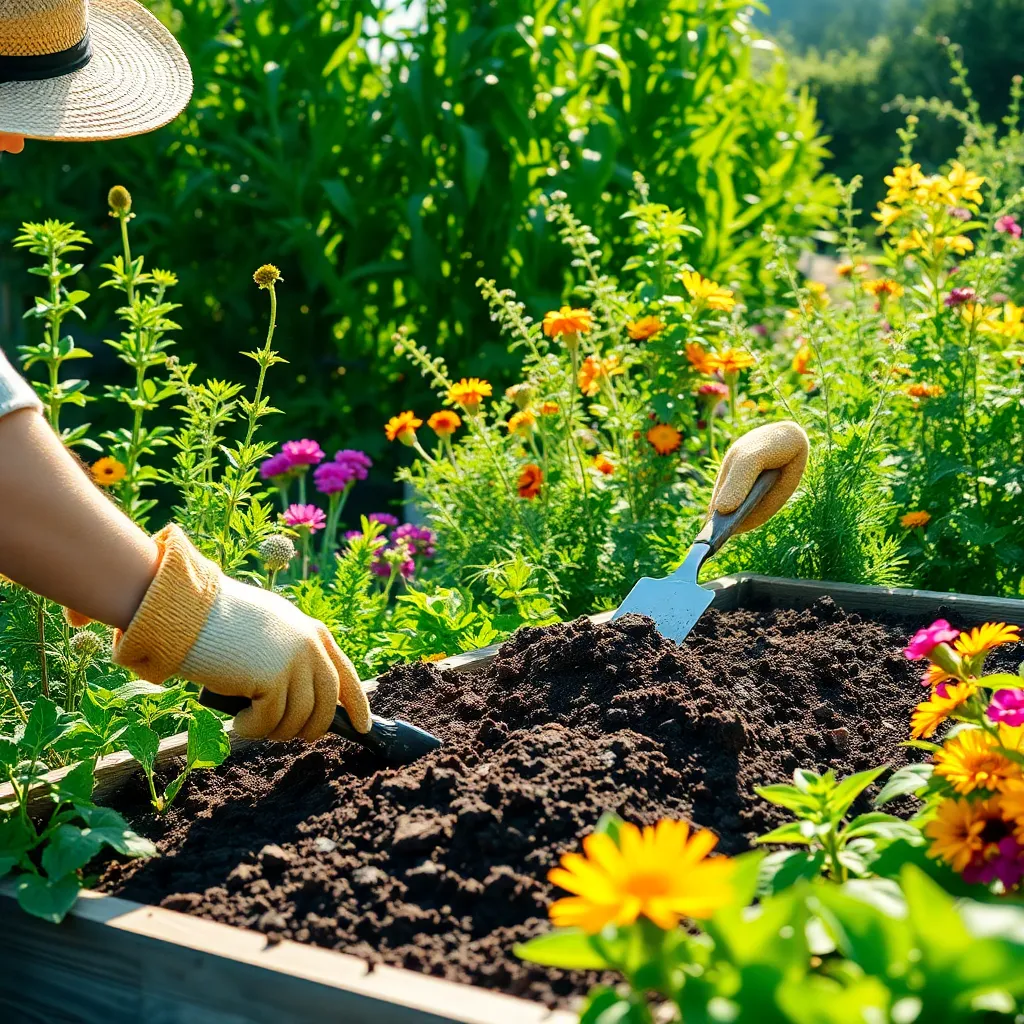
Begin by clearing the area of any weeds, debris, or rocks, as these can hinder melon growth. Use a garden fork or tiller to loosen the soil to a depth of 12 inches, which will help improve drainage and root penetration.
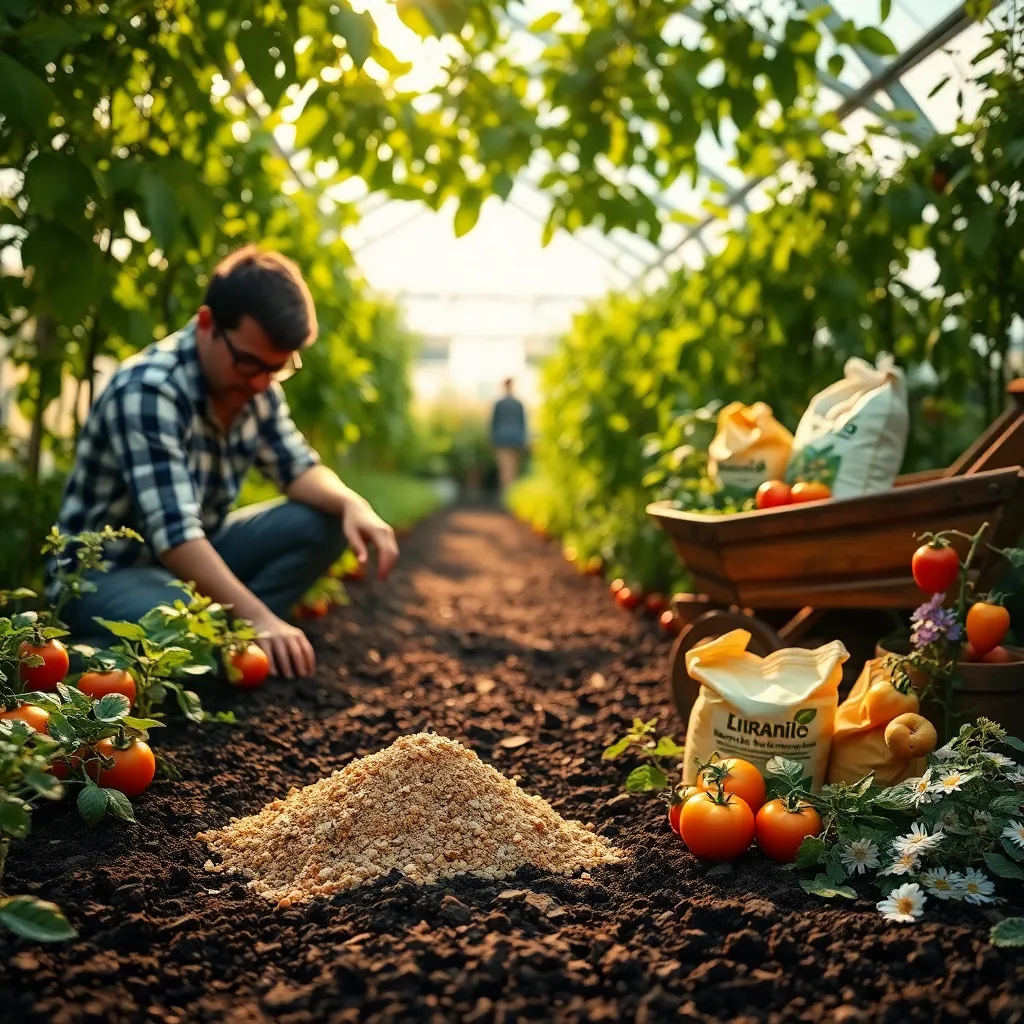
Next, enrich the soil with organic matter to provide the nutrients melons need to thrive. Work in a generous amount of well-rotted compost or aged manure, aiming for about four inches of organic material spread evenly across the bed.
For gardeners aiming for a more abundant harvest, consider adding a balanced fertilizer to the soil. A formula like 10-10-10 or one specifically designed for fruiting plants is ideal, as it will support robust vine and fruit production.
Watering is another crucial factor in preparing your garden bed. Ensure the soil is consistently moist but not waterlogged, as melons are susceptible to root rot if left in soggy conditions.
To enhance your melon-growing success, consider employing advanced techniques like mulching with straw or black plastic. This helps retain soil moisture, suppresses weeds, and can raise soil temperatures, giving your melons a head start in cooler climates.
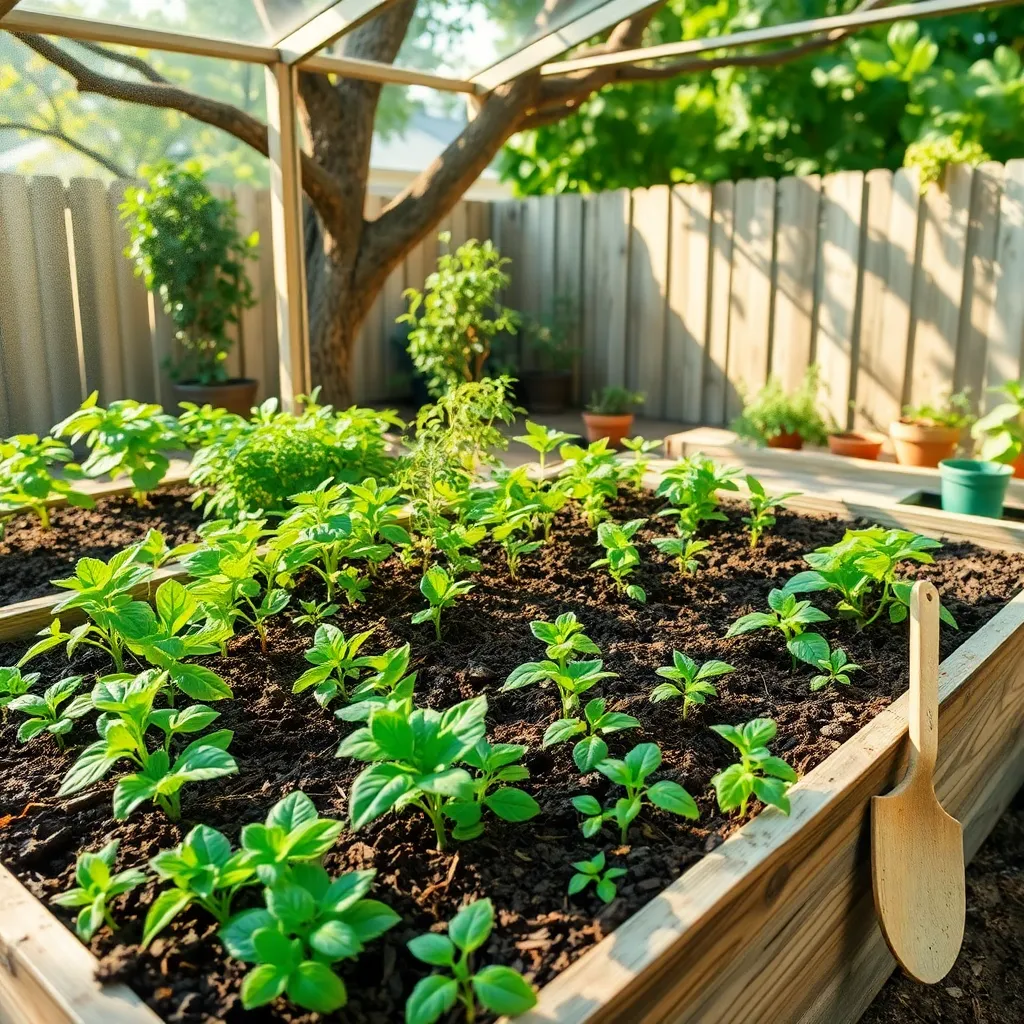
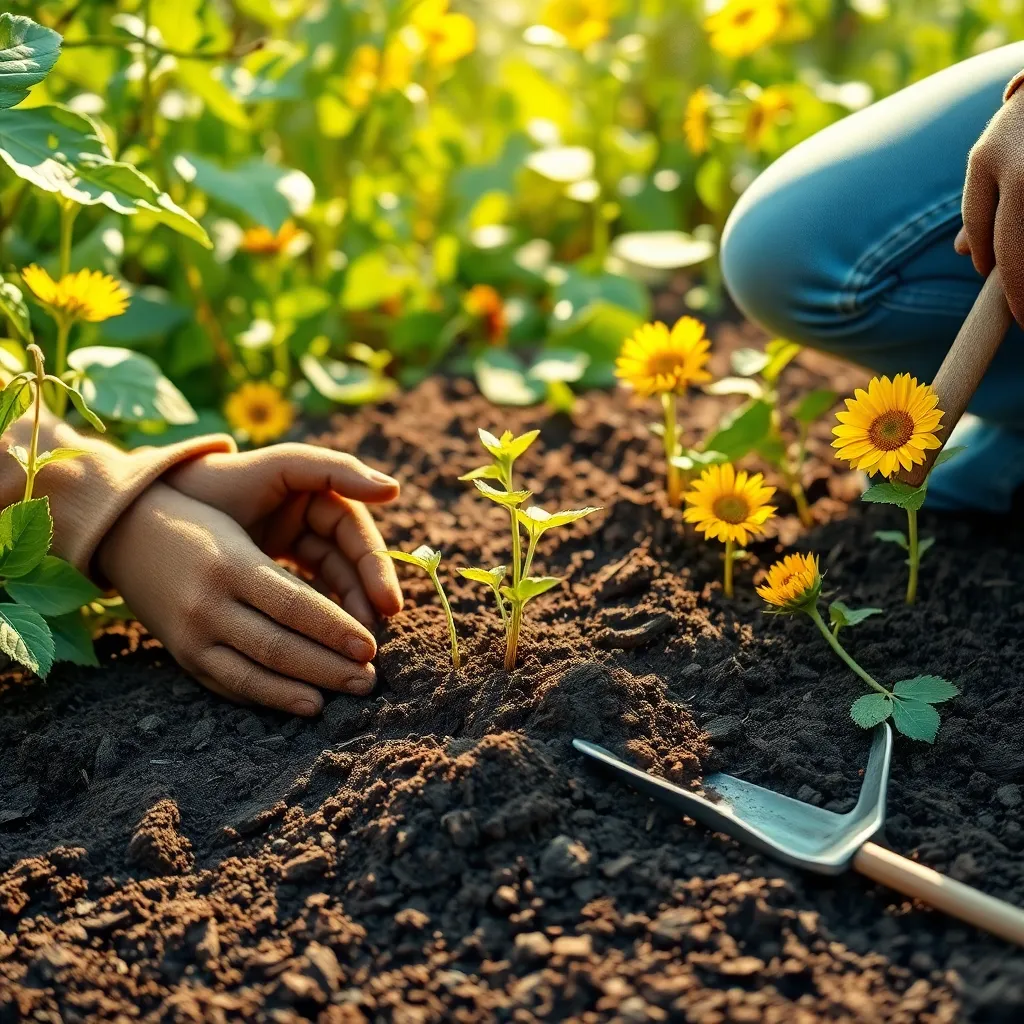
Sow Seeds After Frost
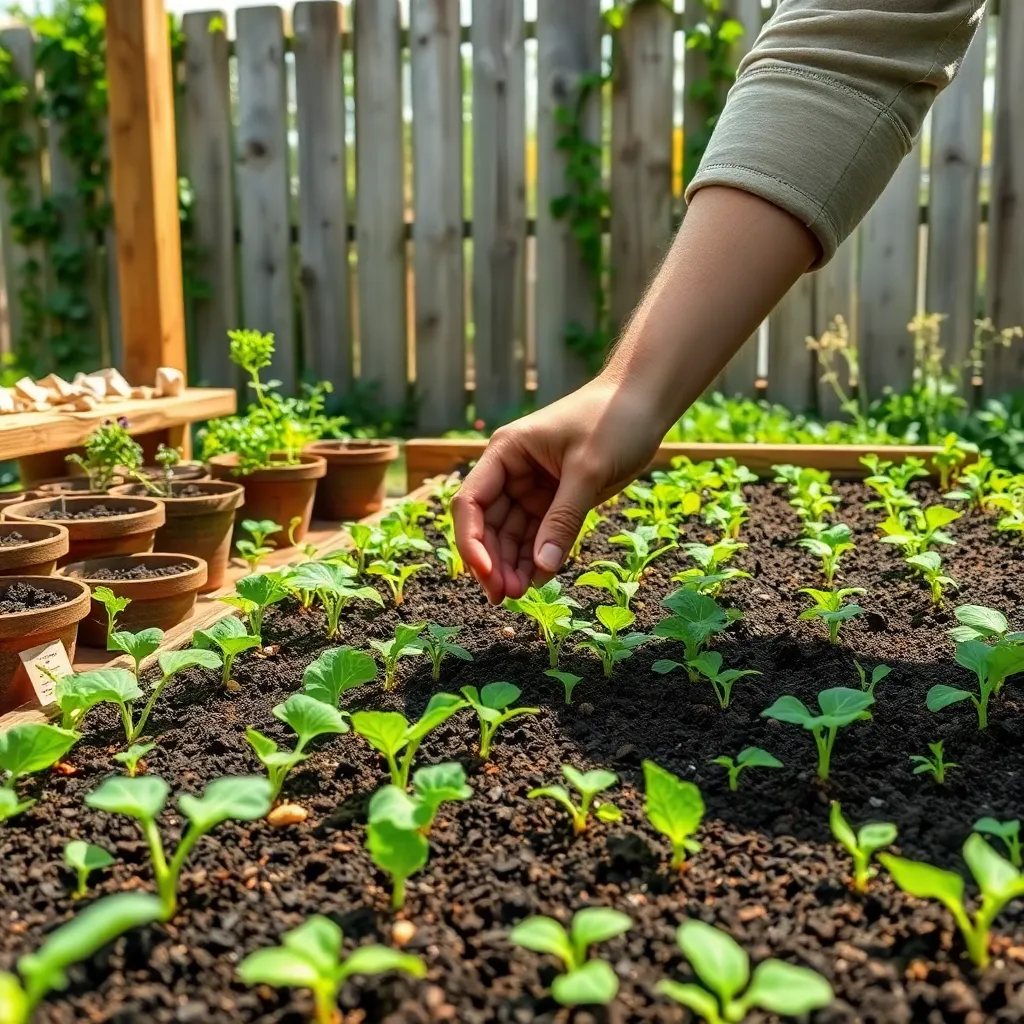
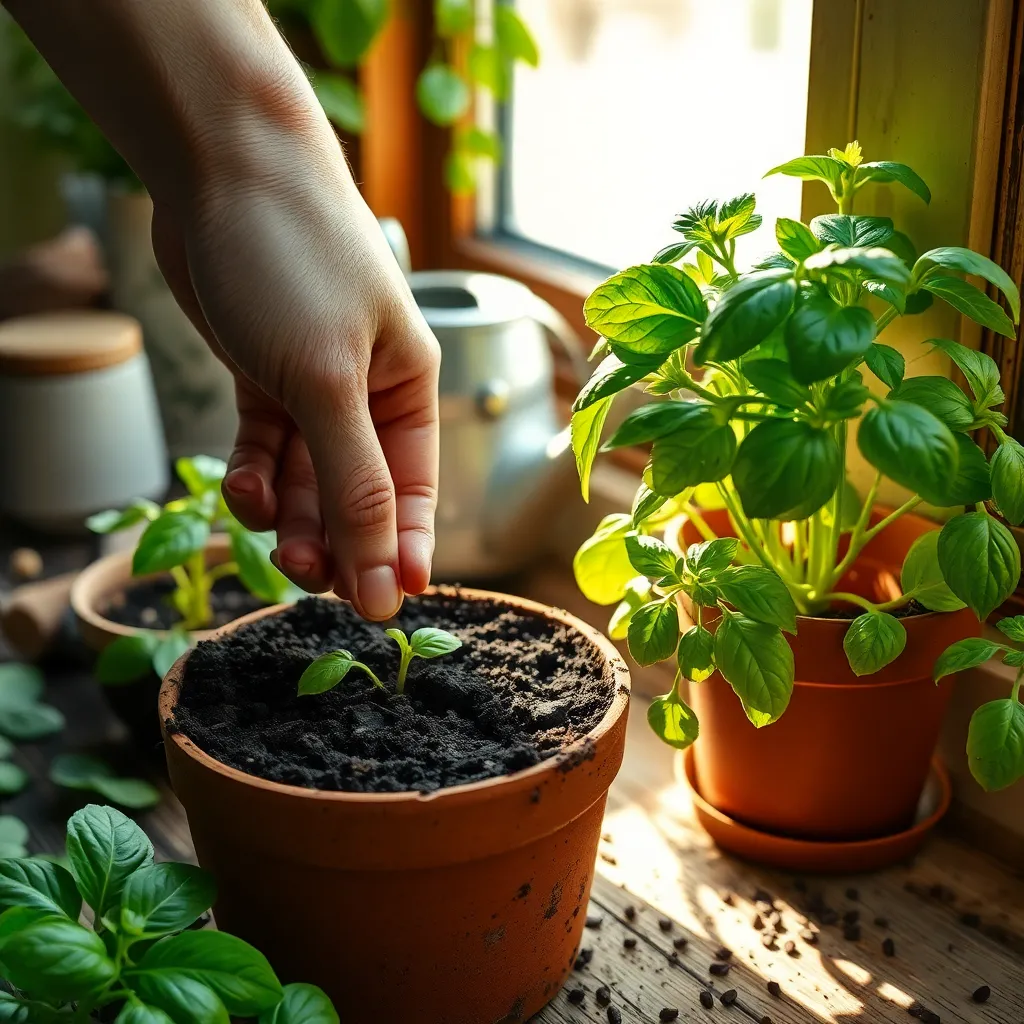
Once the risk of frost has passed, it’s time to sow your melon seeds directly in the garden. Melons thrive in warm soil, so ensure the ground temperature is consistently above 70°F for optimal germination.
For best results, plant the seeds in hills or mounds that improve drainage and soil warmth. Each hill should be spaced about 2 to 3 feet apart, allowing the sprawling vines ample room to grow without crowding.
After planting, water the seeds gently but thoroughly, ensuring the soil remains consistently moist until germination occurs. Avoid overwatering as melons prefer a balance; too much moisture can lead to rot, while too little will hinder seed growth.
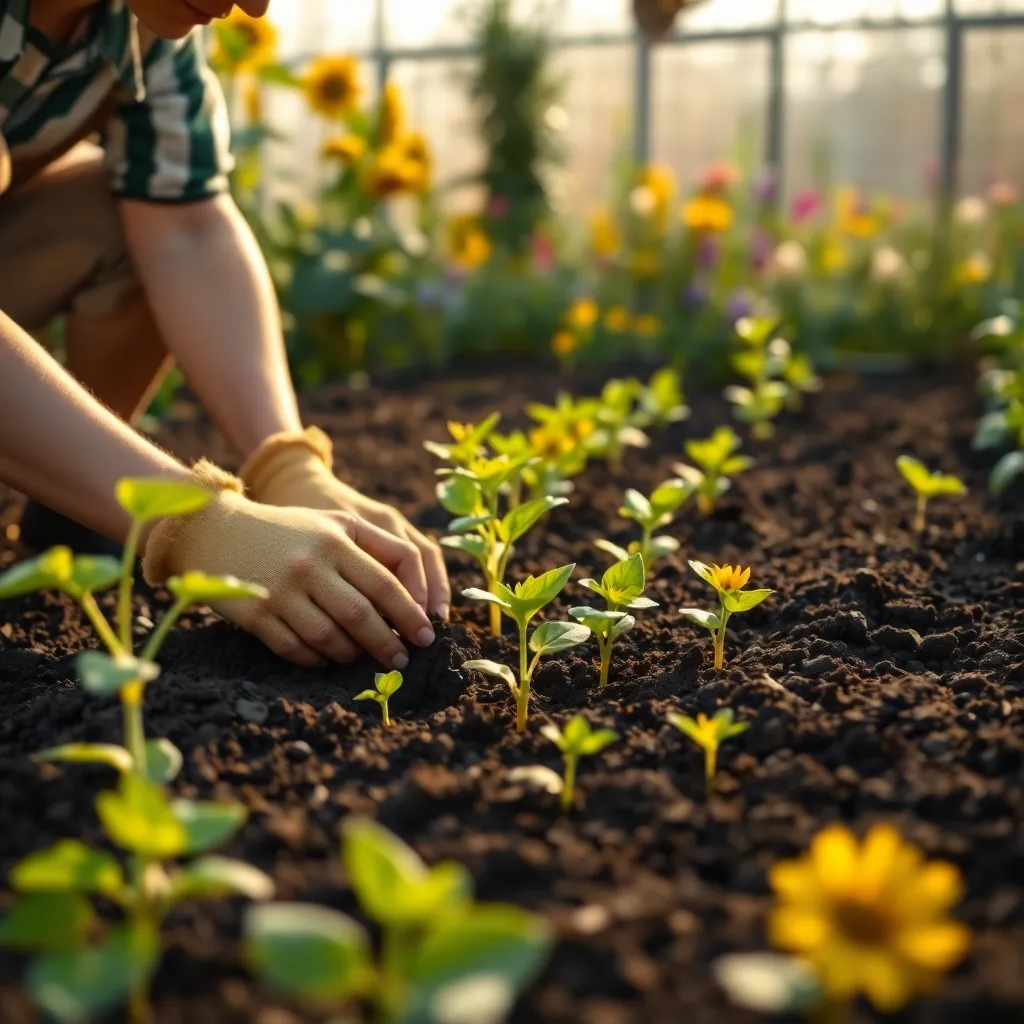
To give your melons a head start, consider covering the planting area with black plastic mulch. This technique helps to retain heat and suppress weeds, offering a controlled environment that promotes healthy development.
As the seedlings emerge, thin them to the strongest two or three plants per hill, which ensures that each has enough resources to thrive. Removing weaker seedlings helps reduce competition for nutrients, leading to more robust growth and a better harvest.
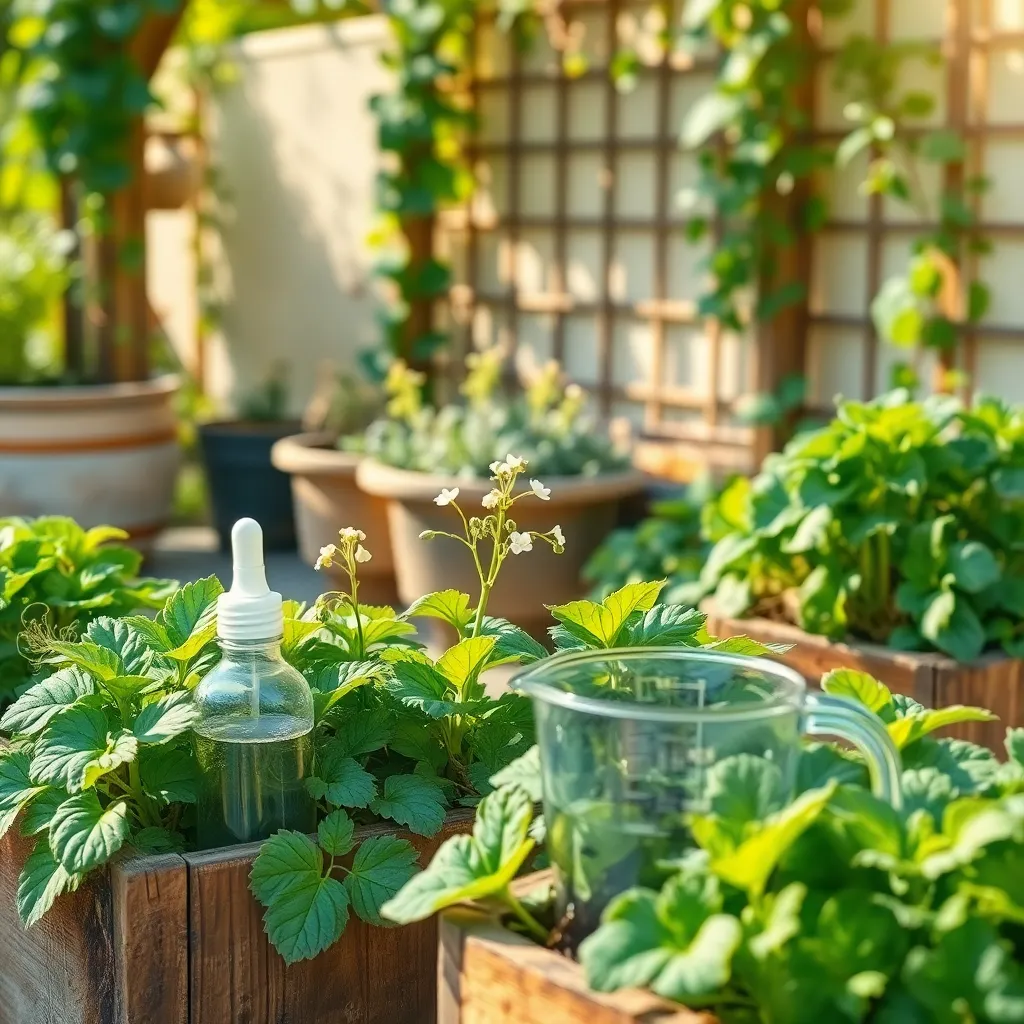
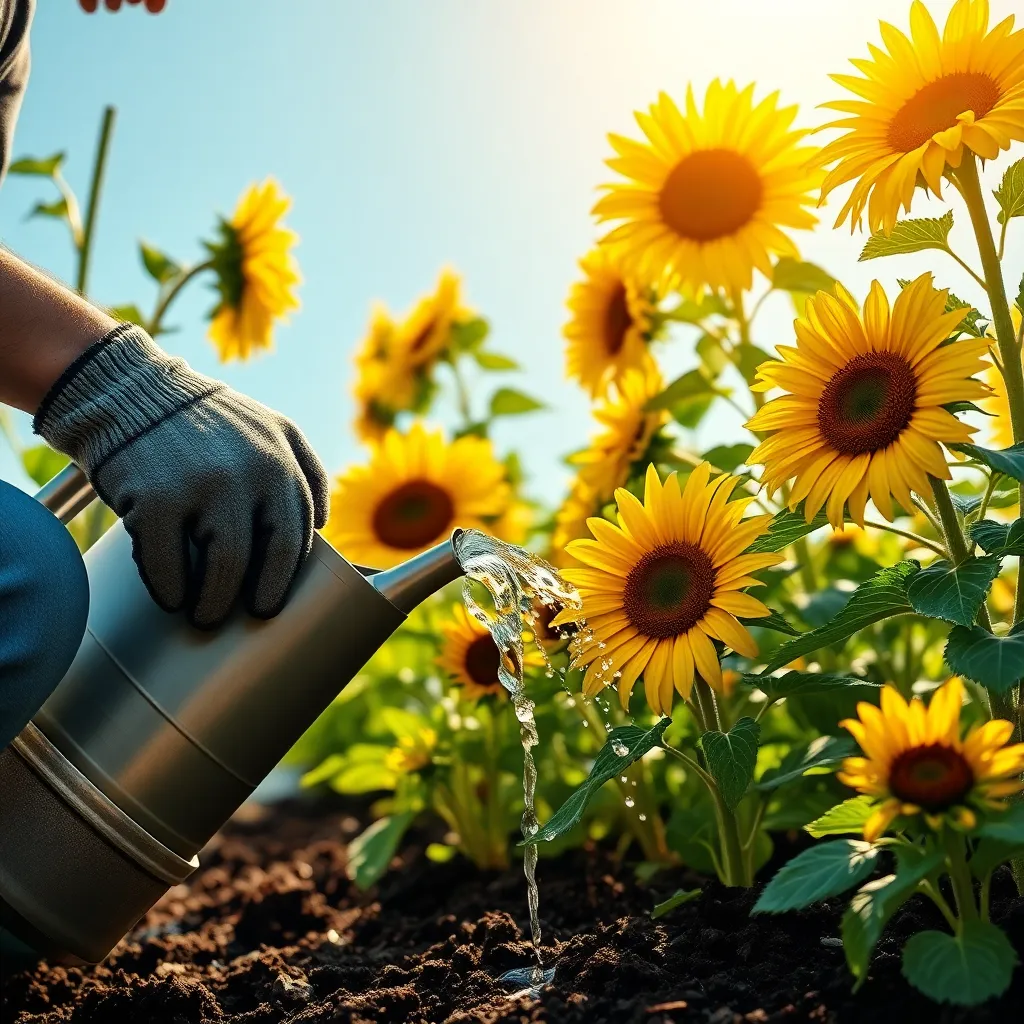
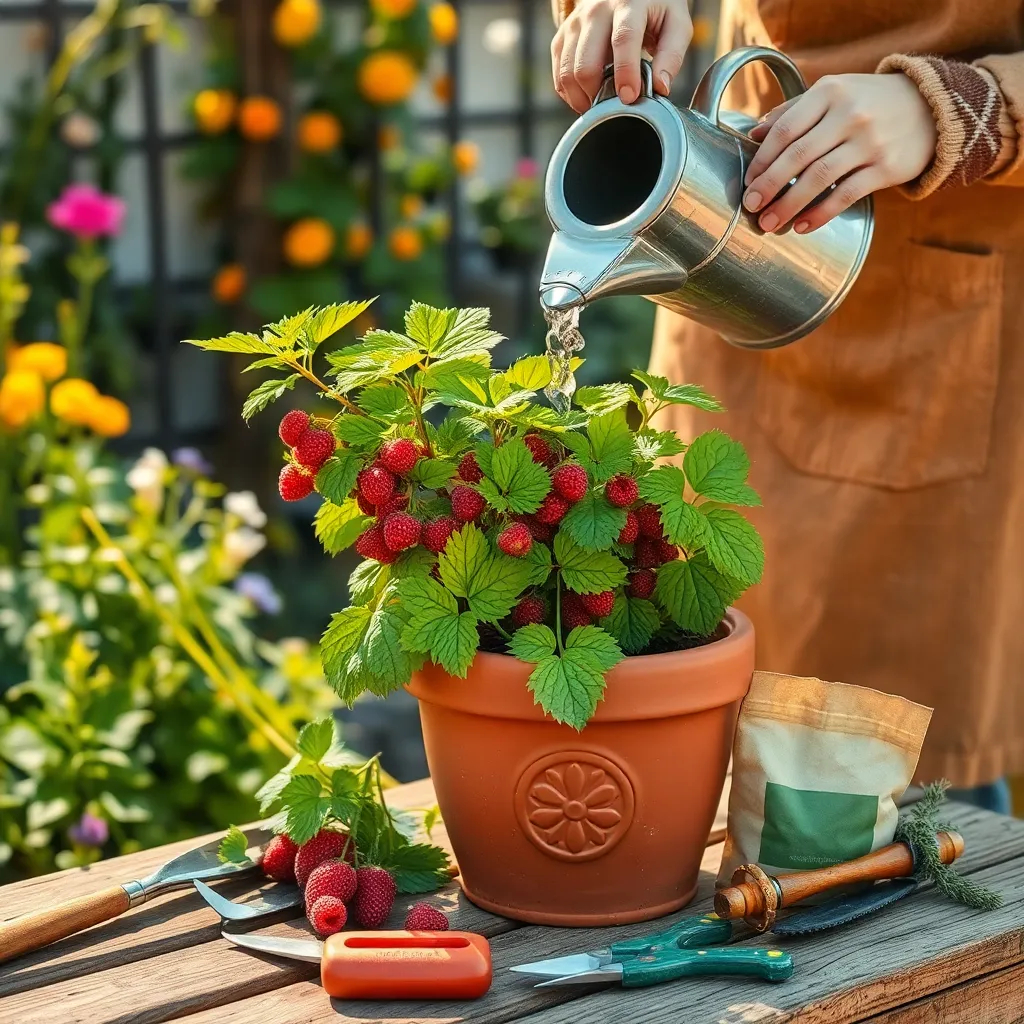
Provide Consistent Watering
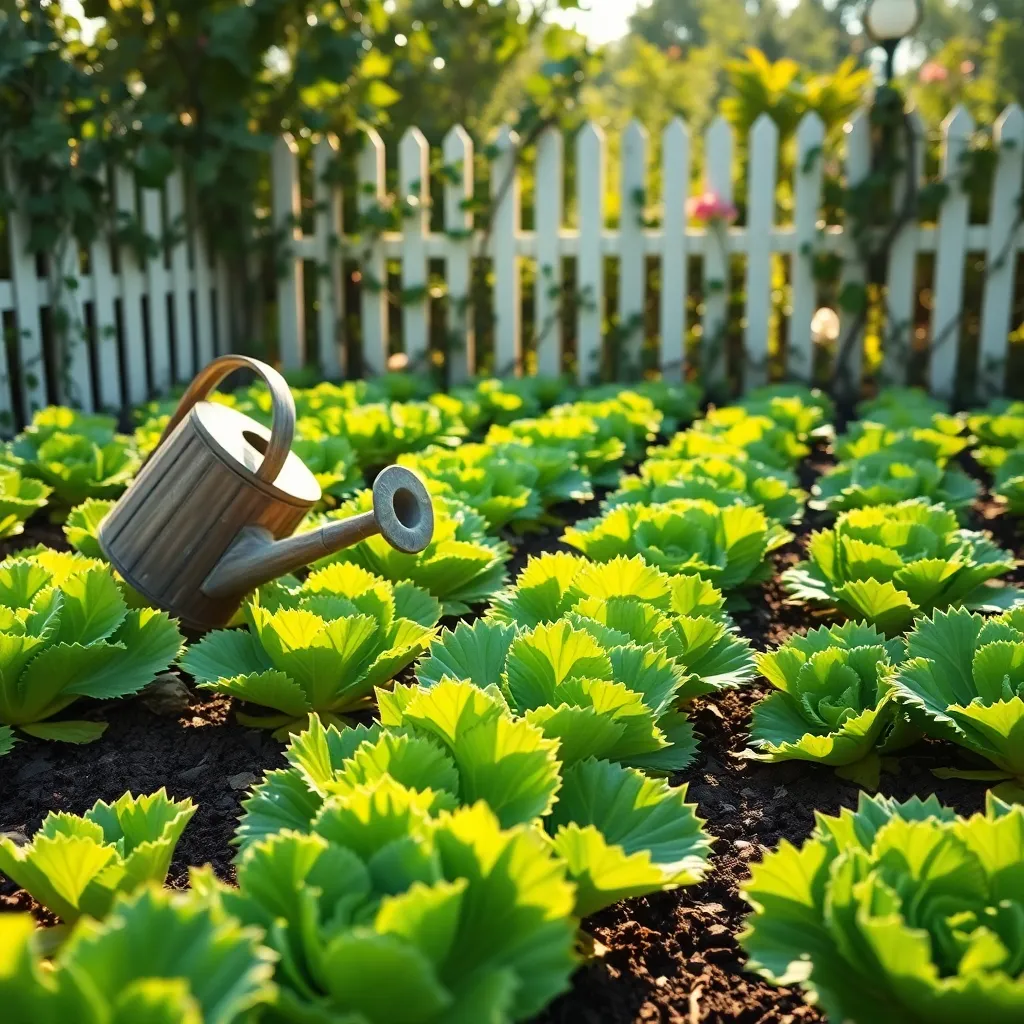
Consistent watering is crucial for healthy melon growth, as it helps maintain the moisture levels that melons require to thrive. Melons are thirsty plants, and they need about 1 to 2 inches of water per week, especially during flowering and fruit development.
Ensure you water your melons deeply and infrequently to encourage deep root growth. This approach not only helps the plants become more drought-resistant but also prevents shallow root systems that are more susceptible to stress.
Consider using a soaker hose or a drip irrigation system to provide consistent moisture while minimizing water waste. These methods ensure that water is delivered directly to the root zone, reducing the risk of fungal diseases that can occur with overhead watering.
It’s important to monitor the soil moisture regularly by checking the top few inches of soil. If the soil feels dry, it’s time to water again, ensuring that the plants receive the consistent hydration they need without becoming waterlogged.
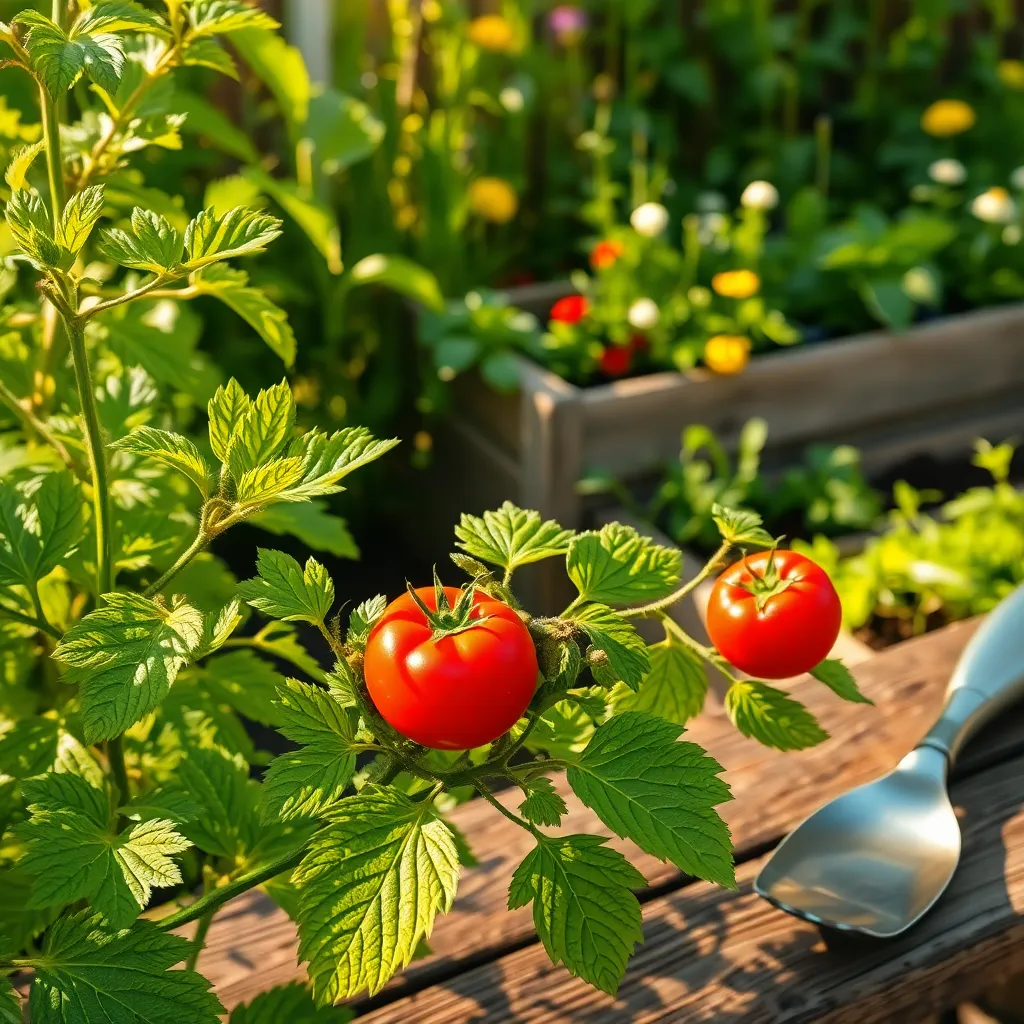
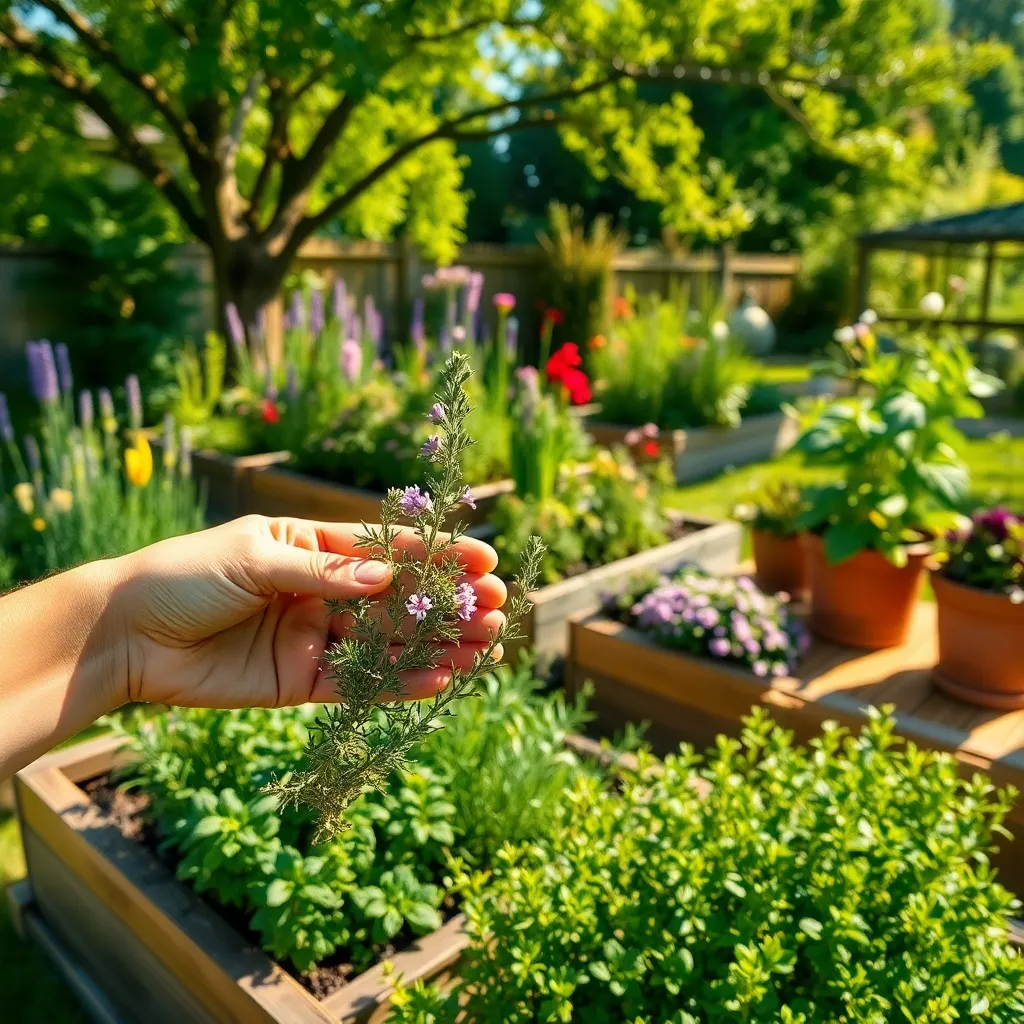
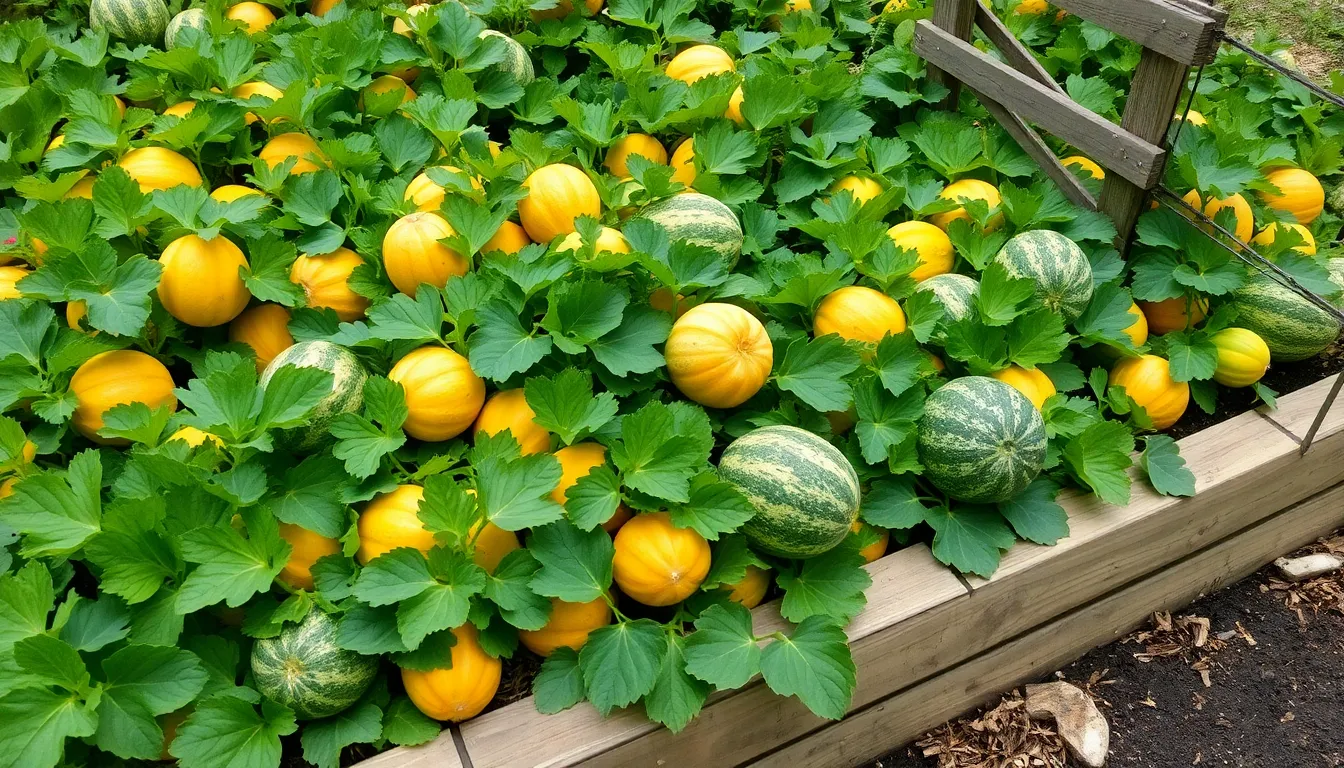
Harvest When Ripe and Ready
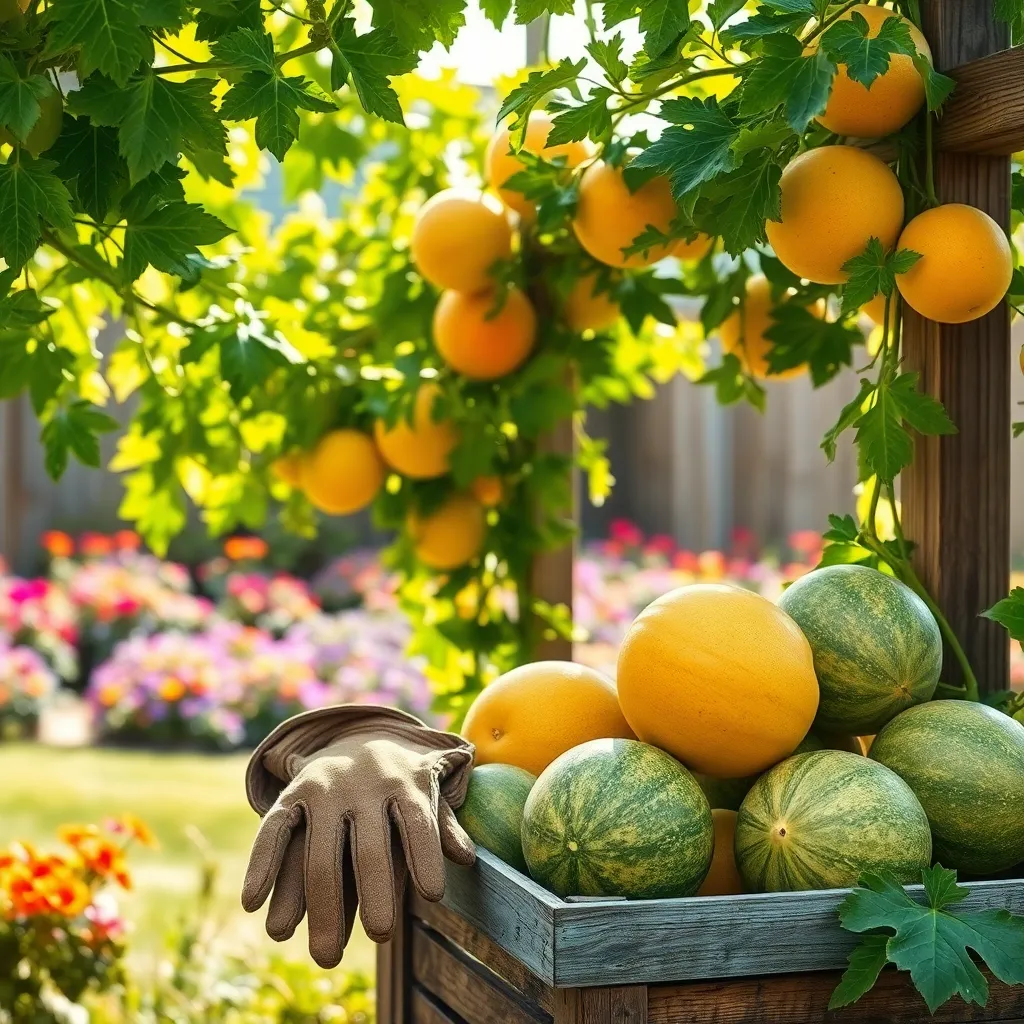
After providing consistent watering, it’s crucial to know when your melons are ripe and ready for harvest. Timing your harvest correctly will ensure you enjoy the melon’s full sweetness and flavor.
Melons typically emit a sweet, fragrant aroma when ripe, which is a key indicator that they are ready to be picked. Additionally, the skin of the melon should change from a bright green to a more muted shade, depending on the variety.
Check the bottom of the melon, also known as the ‘ground spot’, for a creamy yellow color—this is another sign of ripeness. If the ground spot remains white or green, give it more time to mature.
When gently pressing the opposite end of the stem, a ripe melon should have a slight give, indicating juiciness inside. Avoid harvesting if the melon feels too firm, as this may mean it’s not ready yet.
Advanced tip: Experienced gardeners often use the ‘slip test’—when the melon naturally detaches from the vine with minimal effort, it’s likely ready for harvest. This method requires practice but is highly reliable for determining peak ripeness.
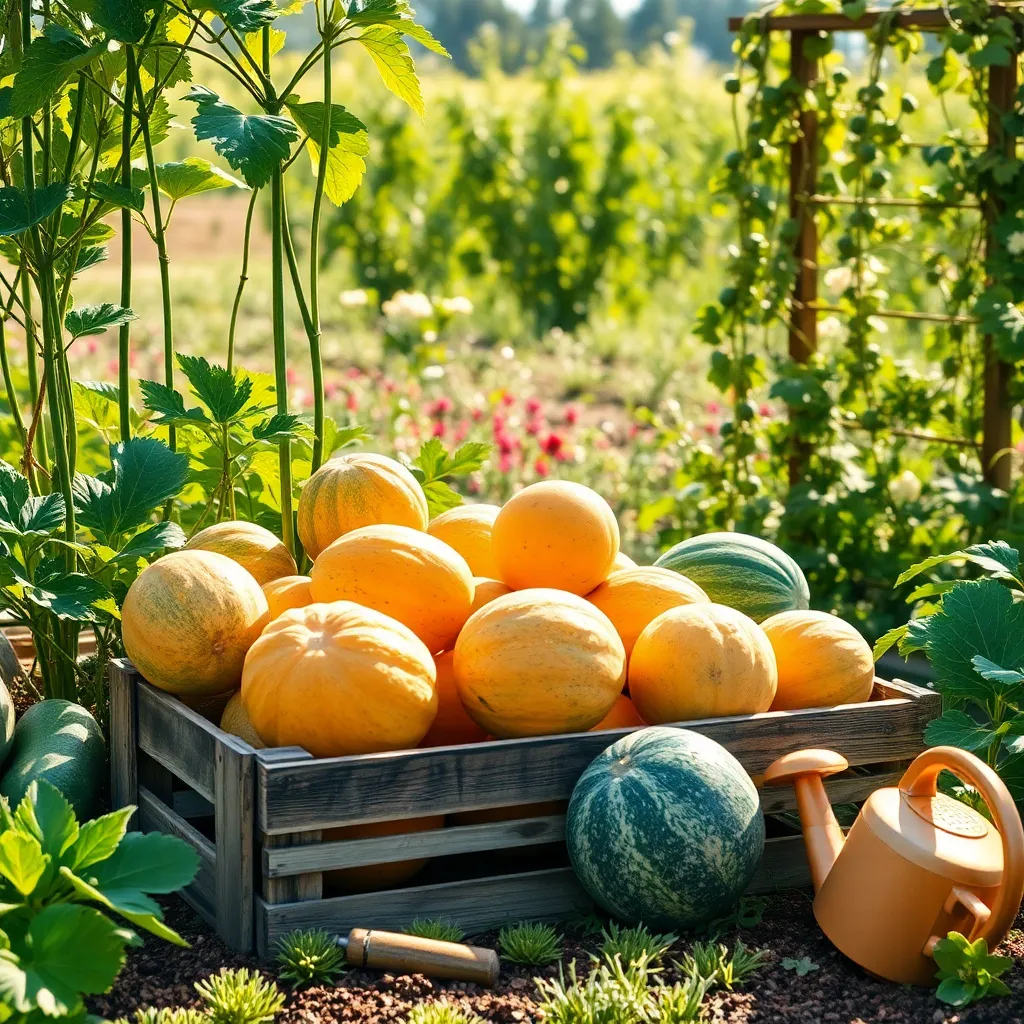
Once harvested, store melons in a cool, dry place and consume them within a week for the best taste and texture. If you have an abundant harvest, consider sharing with friends or using melons in preserves or desserts to extend their enjoyment.
Conclusion: Growing Success with These Plants
In exploring the nurturing journey of growing melons in your backyard, we delved into five key relationship concepts: patience, as you wait for the seeds of your efforts to sprout; communication, akin to understanding the needs of your plants; commitment, the daily care that sustains growth; adaptability, adjusting to the unpredictable nature of weather; and celebration, the joy of harvesting the fruits of your labor. These elements are not just vital for a thriving garden but are essential ingredients for flourishing relationships.
As an actionable step, consider dedicating time this week to nurture one of these concepts, whether it’s setting aside a moment for meaningful communication or showing commitment through a small, thoughtful gesture. By actively investing in these principles, you can cultivate stronger, more rewarding connections.
We encourage you to save this article as a resource for ongoing growth, both in your garden and in your relationships. By referring back to these concepts, you’re setting the stage for lasting relationship success. Remember, just as a garden flourishes with care and attention, so too will your relationships thrive, bringing joy and fulfillment to your everyday life. Bookmark this guide for future reference and watch your personal connections bloom!