There’s something profoundly satisfying about stepping into your kitchen and snipping fresh herbs from a garden you’ve nurtured yourself. Whether you’re a seasoned gardener or a budding enthusiast, creating a herb garden at home offers a delightful blend of practicality and joy, transforming your cooking and enriching your living space with vibrant scents and colors.
For beginners, a herb garden is an excellent foray into the world of gardening, offering a manageable and rewarding project. Meanwhile, experienced gardeners will find the cultivation of herbs a chance to deepen their understanding of plant care and experiment with different varieties and flavors.
In this article, we’ll guide you through every step of establishing your own herb haven, from selecting the right herbs for your climate and taste to mastering the nuances of soil and sunlight. By the end, you’ll be equipped with the knowledge to cultivate a thriving herb garden, along with tips on harvesting and maintaining your plants to ensure a bountiful supply of fresh flavors all year round.
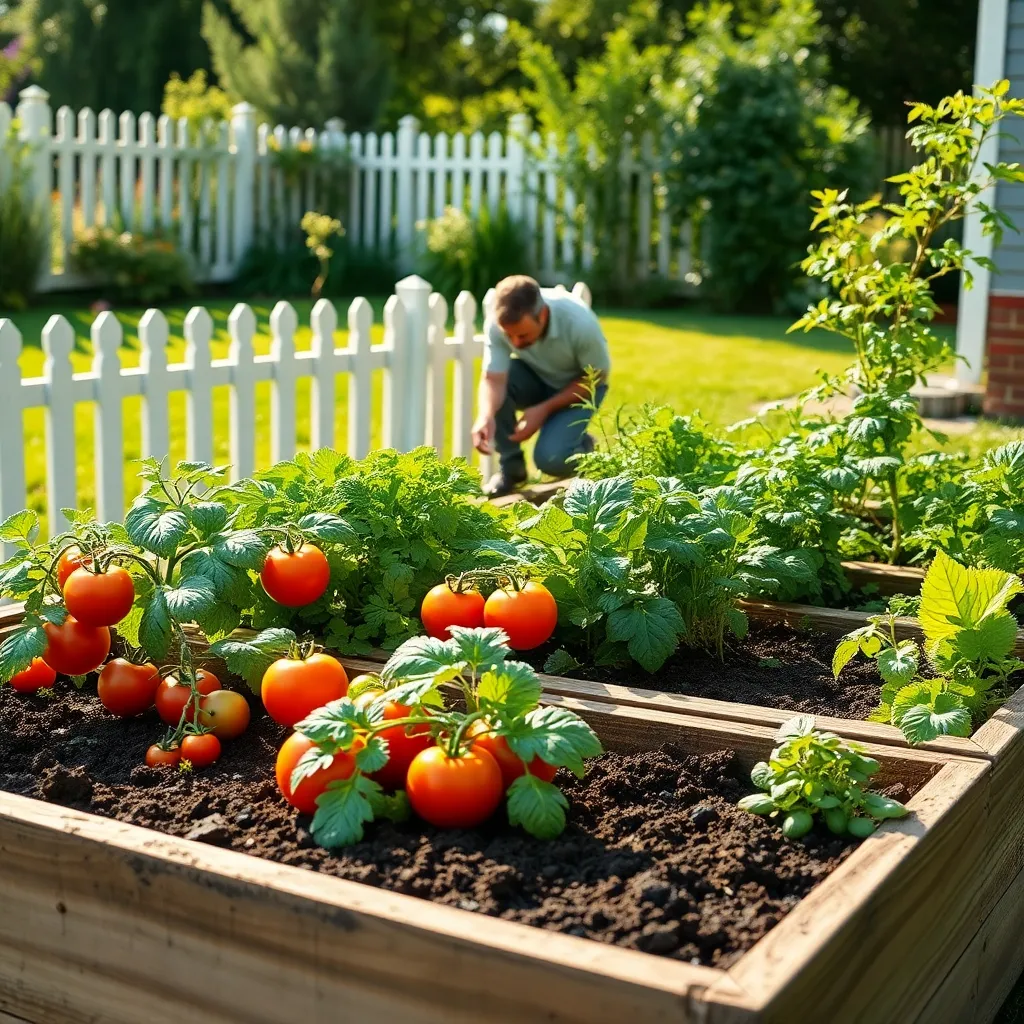
Select Ideal Herb Varieties
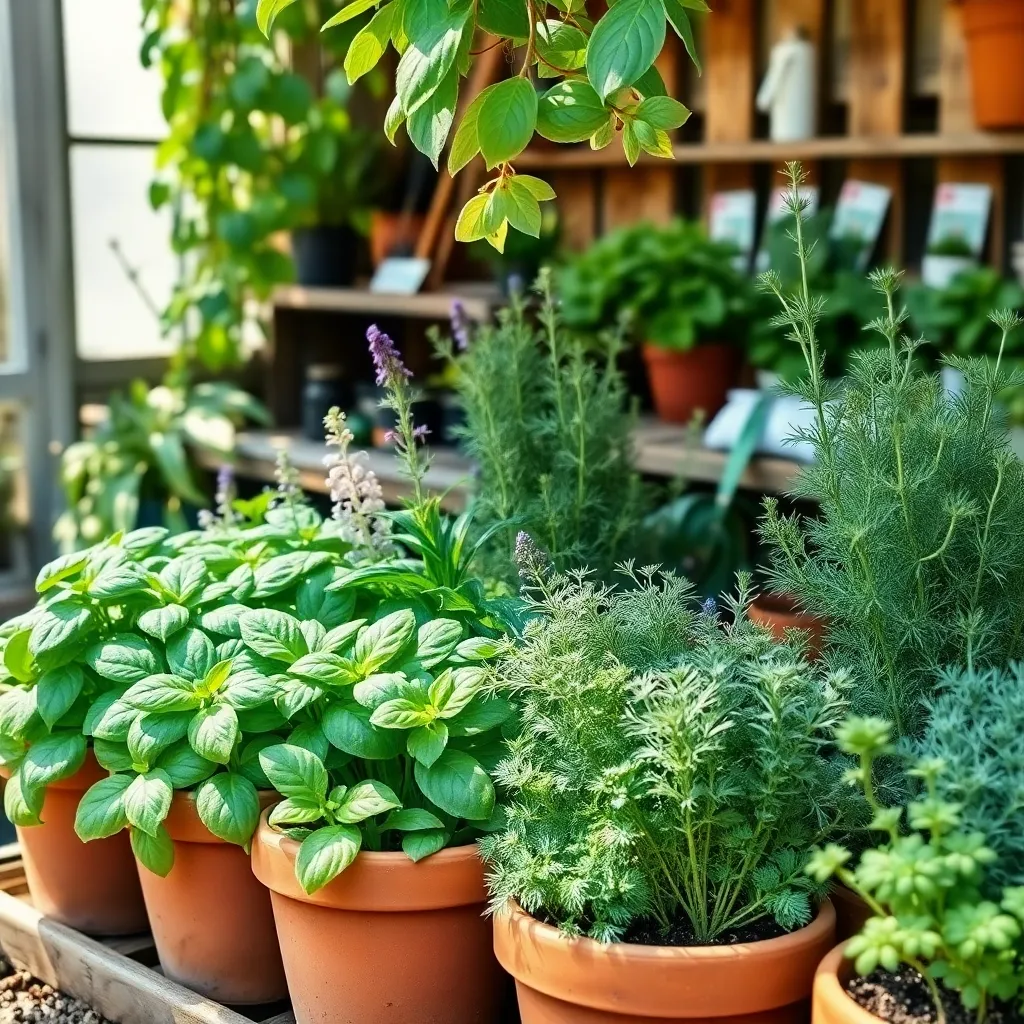
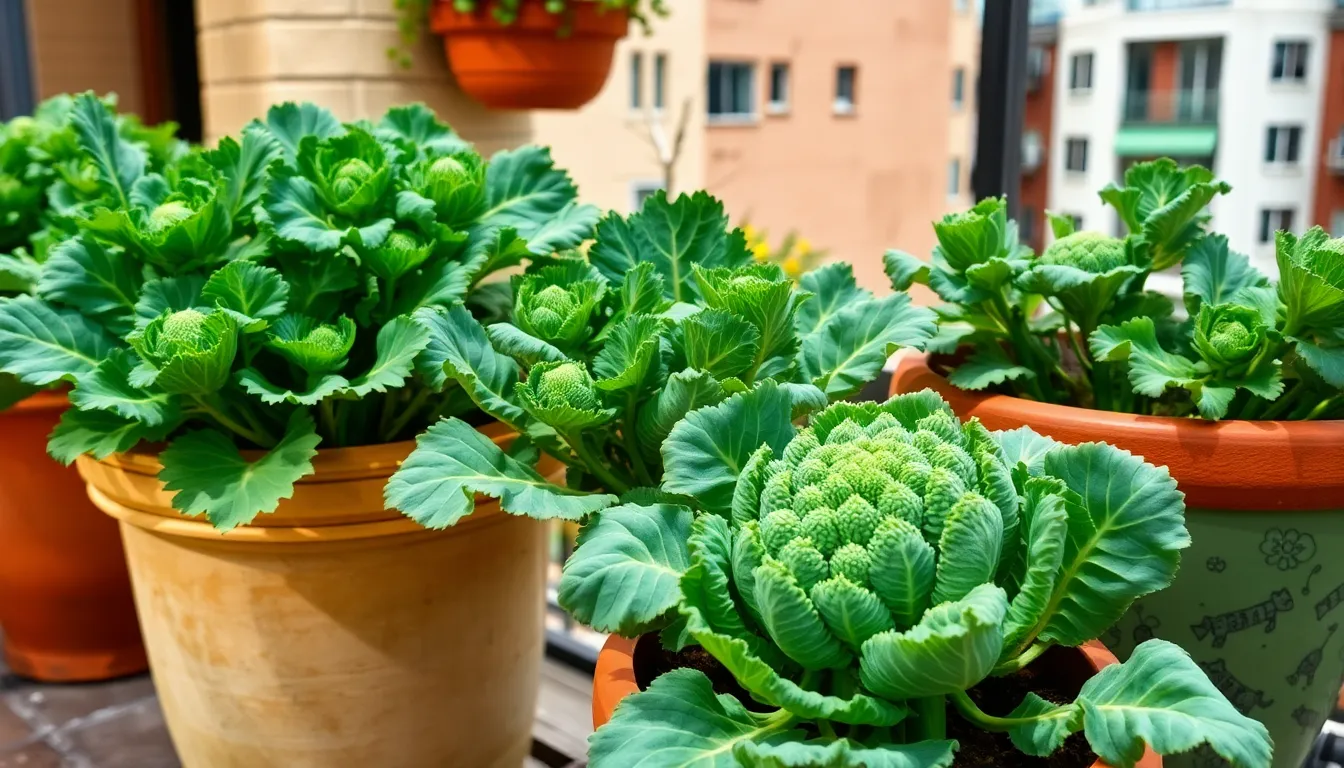
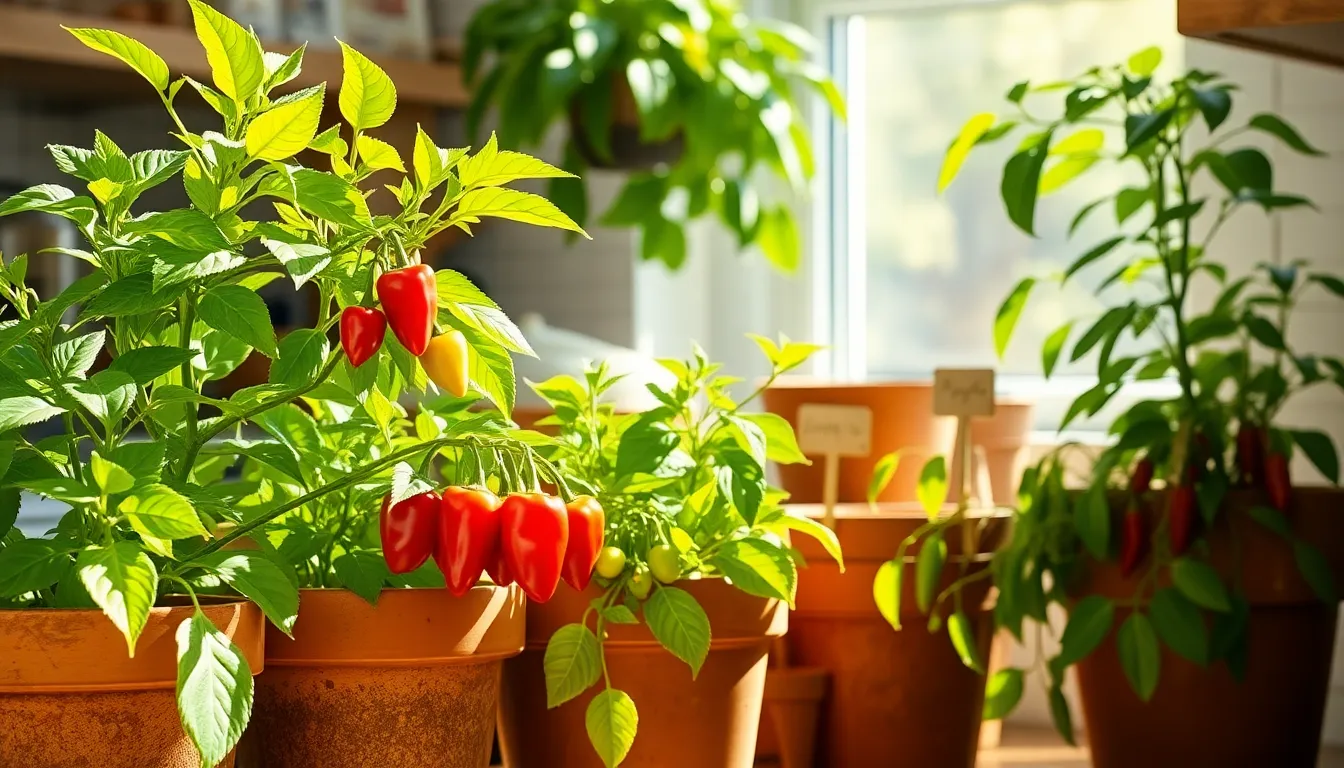
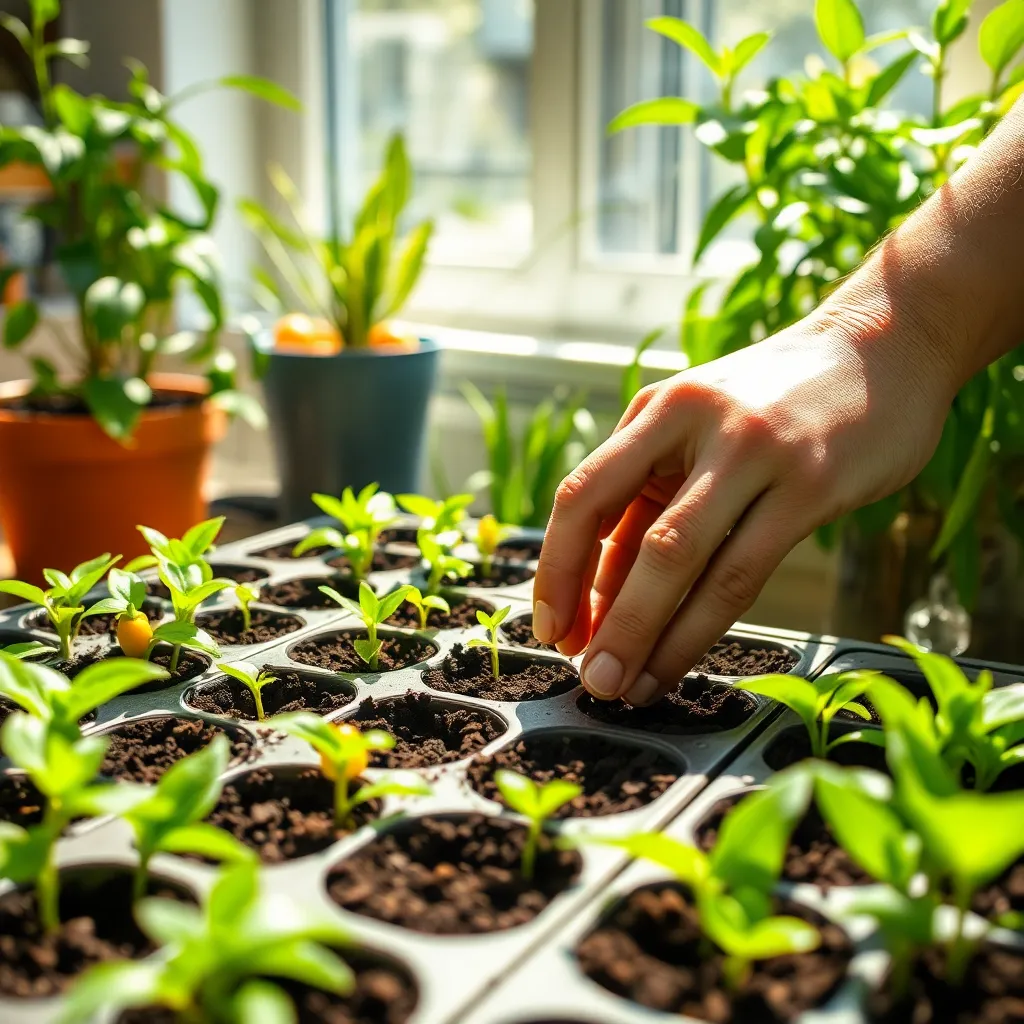
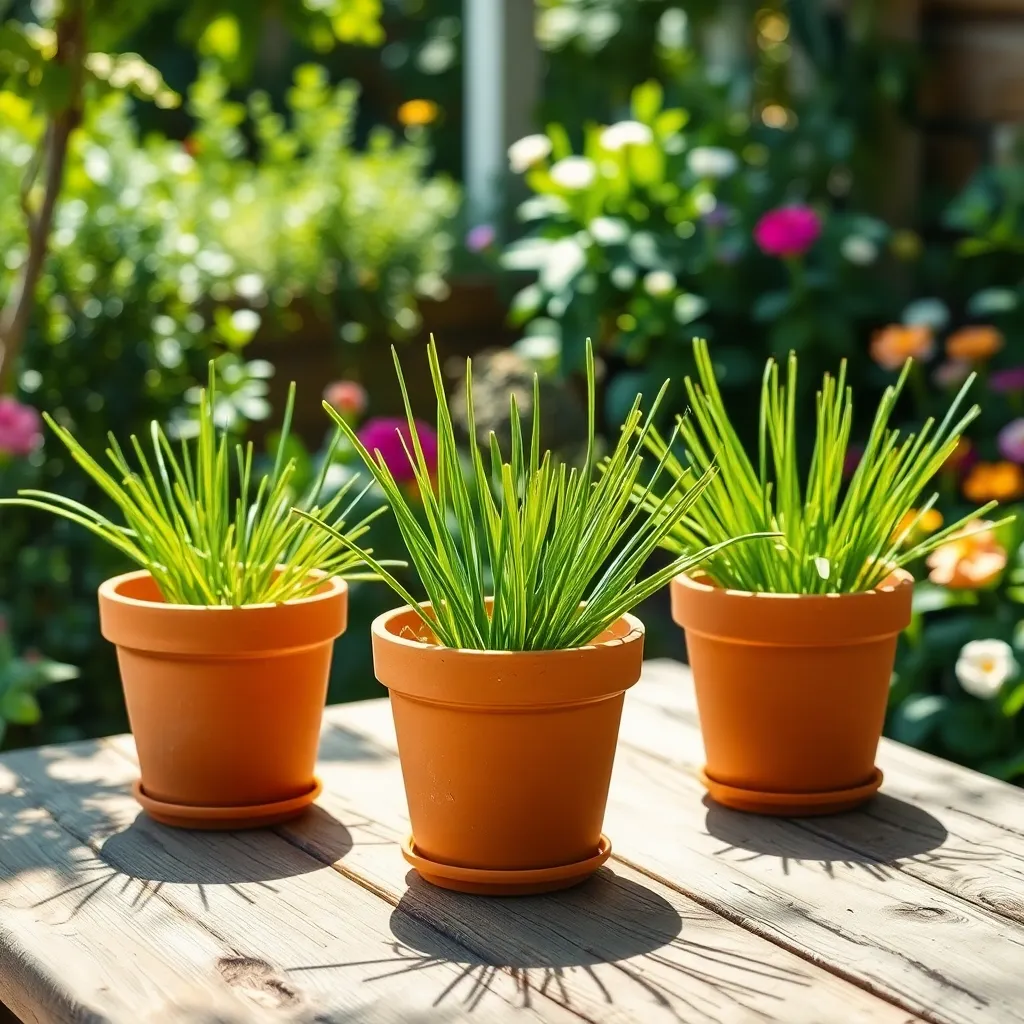
When selecting herb varieties for your garden, consider your local climate and the herbs’ natural growing conditions. Choose hardy herbs like rosemary or thyme if you live in a drier, warmer region, as they thrive with less frequent watering.
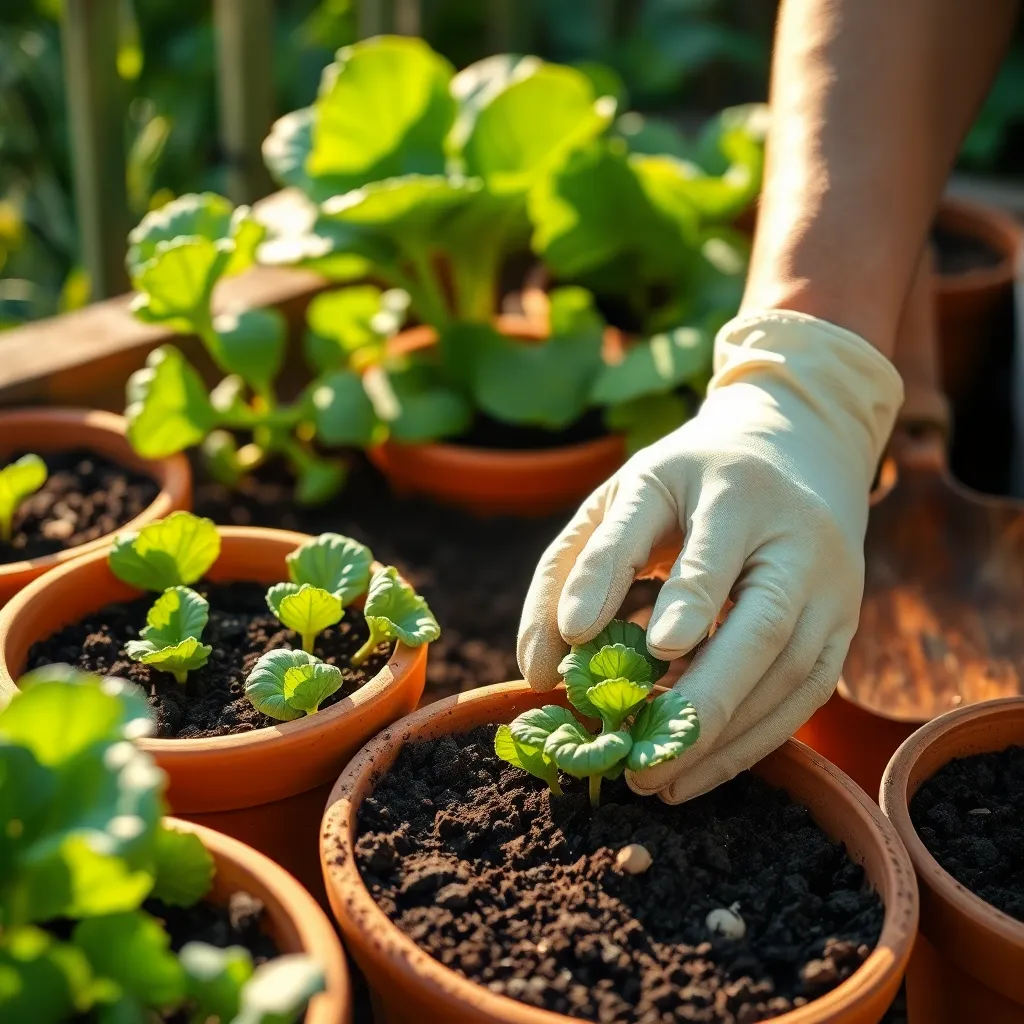
For beginners, starting with easy-to-grow herbs such as basil, mint, and parsley can boost confidence and ensure success. These herbs prefer well-draining soil and need regular watering to keep the soil consistently moist but not waterlogged.
Experienced gardeners might enjoy experimenting with less common herbs like lemon balm or chervil, which add unique flavors to culinary dishes. Both require partial shade and a bit more attention to soil richness, benefiting from organic matter mixed into the planting bed.
Whether you’re a beginner or seasoned gardener, remember that herbs generally prefer sunny spots with at least six hours of sunlight daily. Consider growing more delicate herbs like cilantro in containers, allowing you to move them to shadier locations during peak summer heat to prevent bolting.
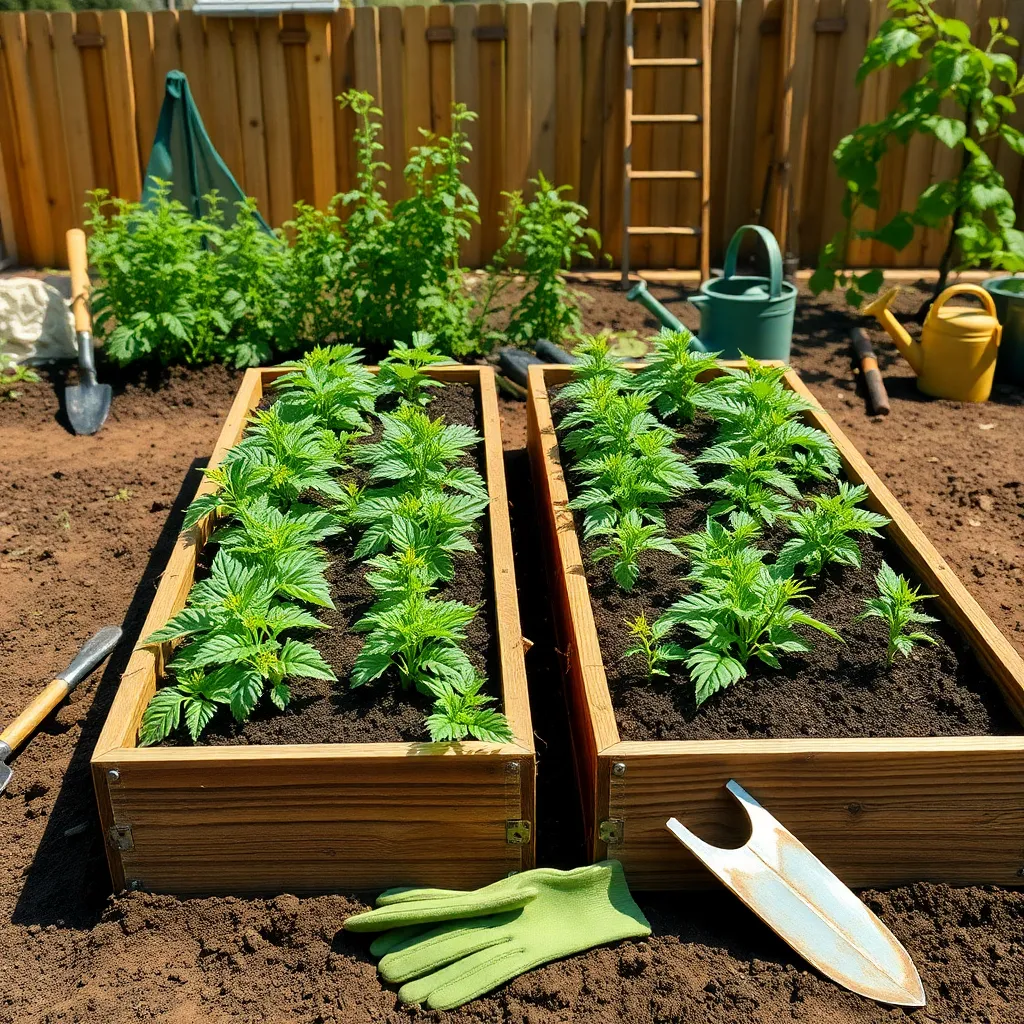
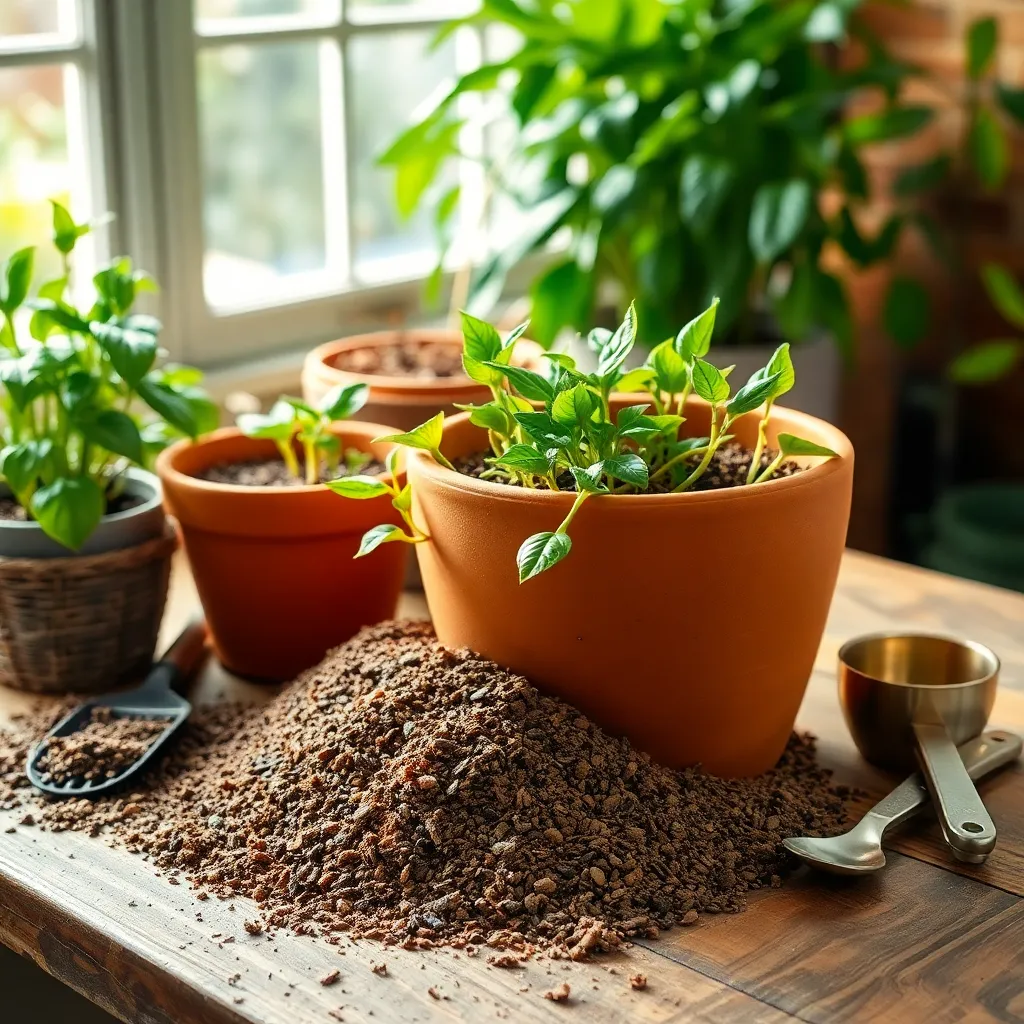
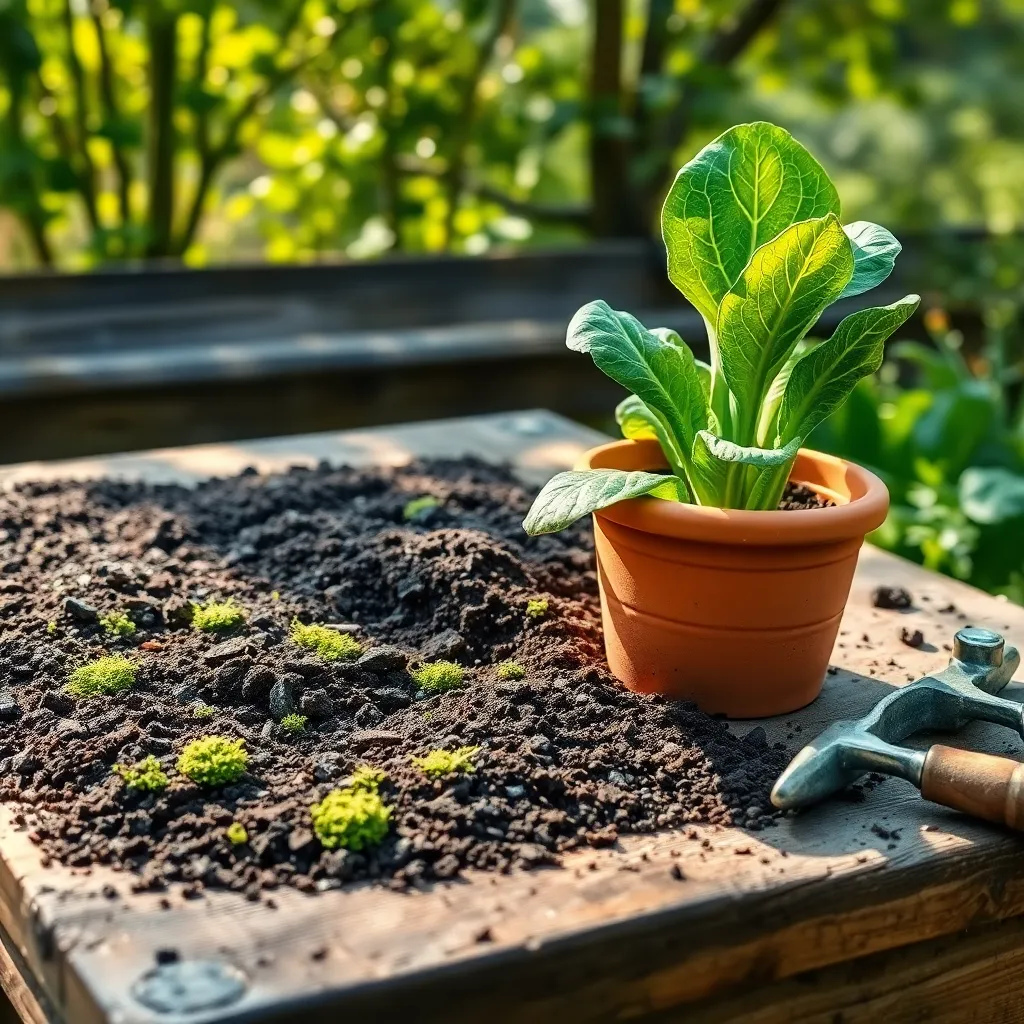
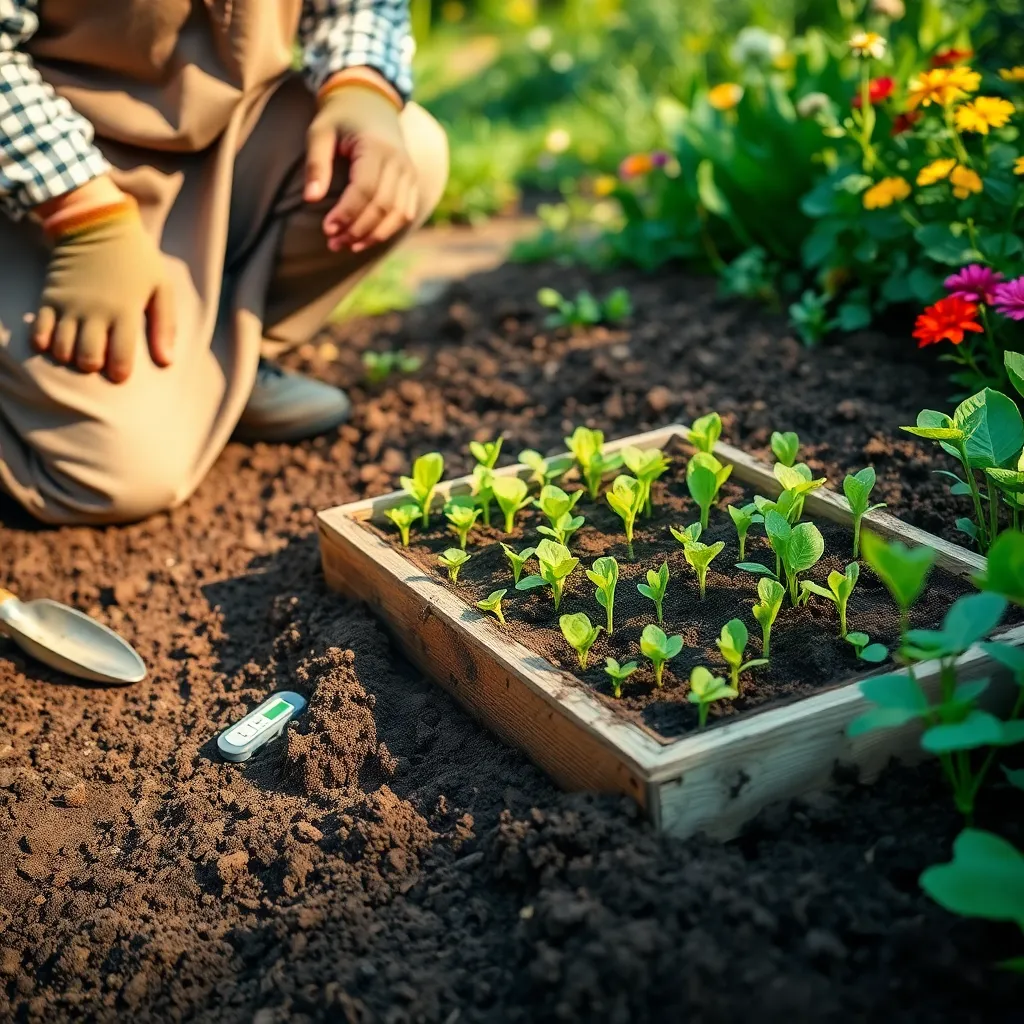
Prepare Well-Draining Soil
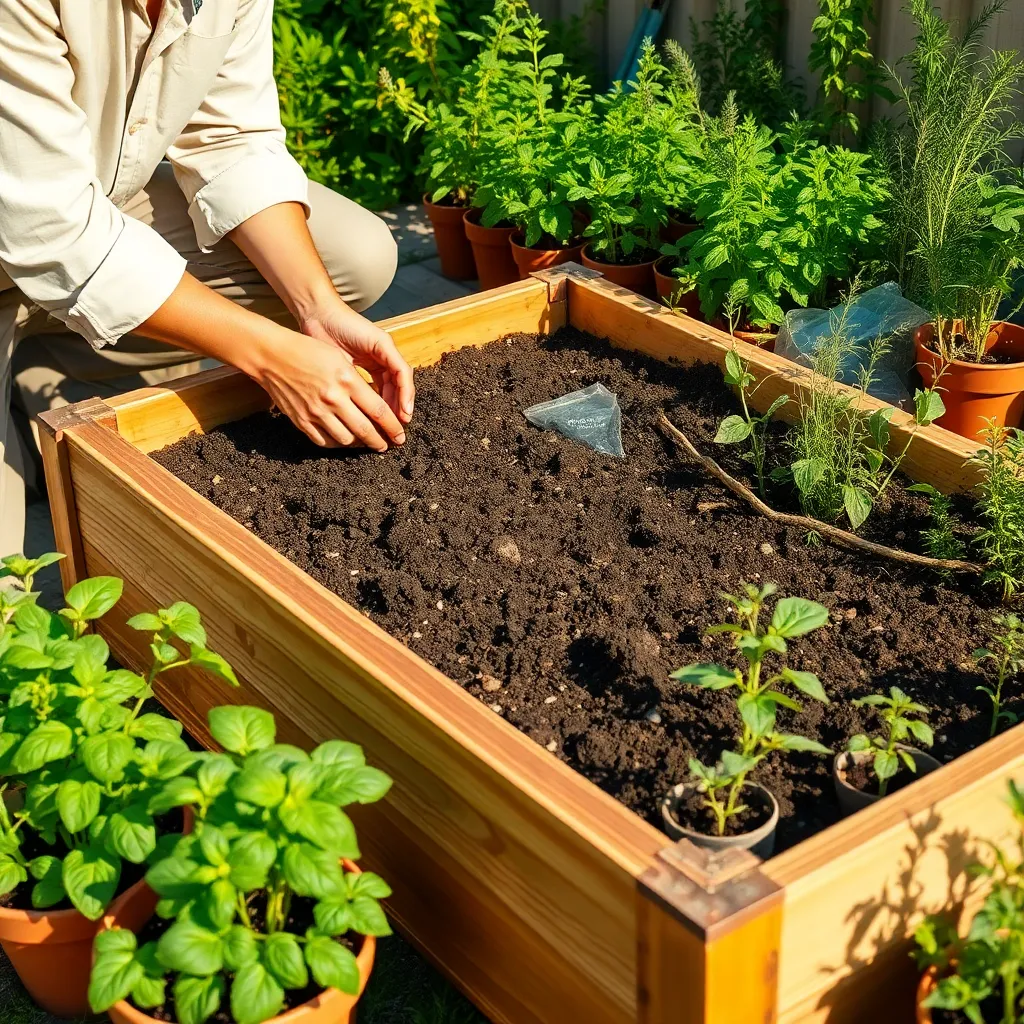
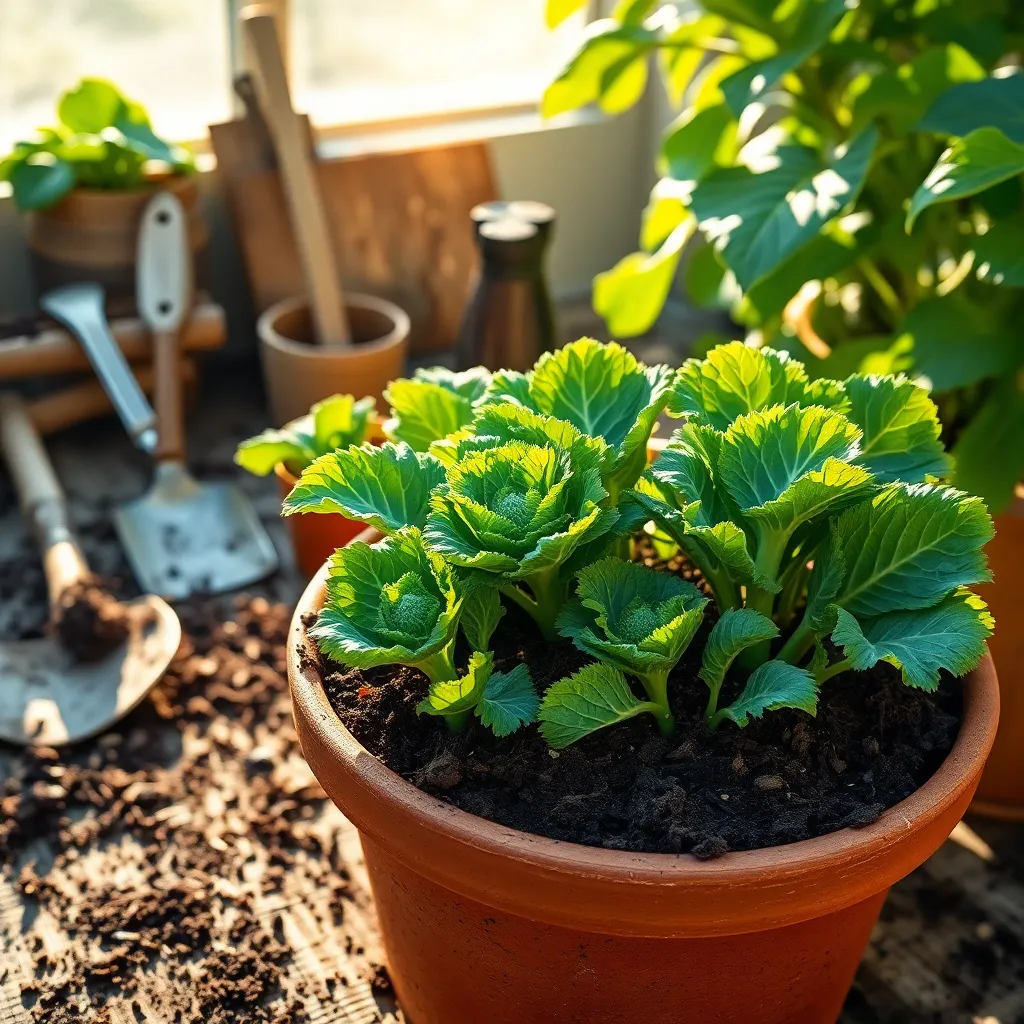
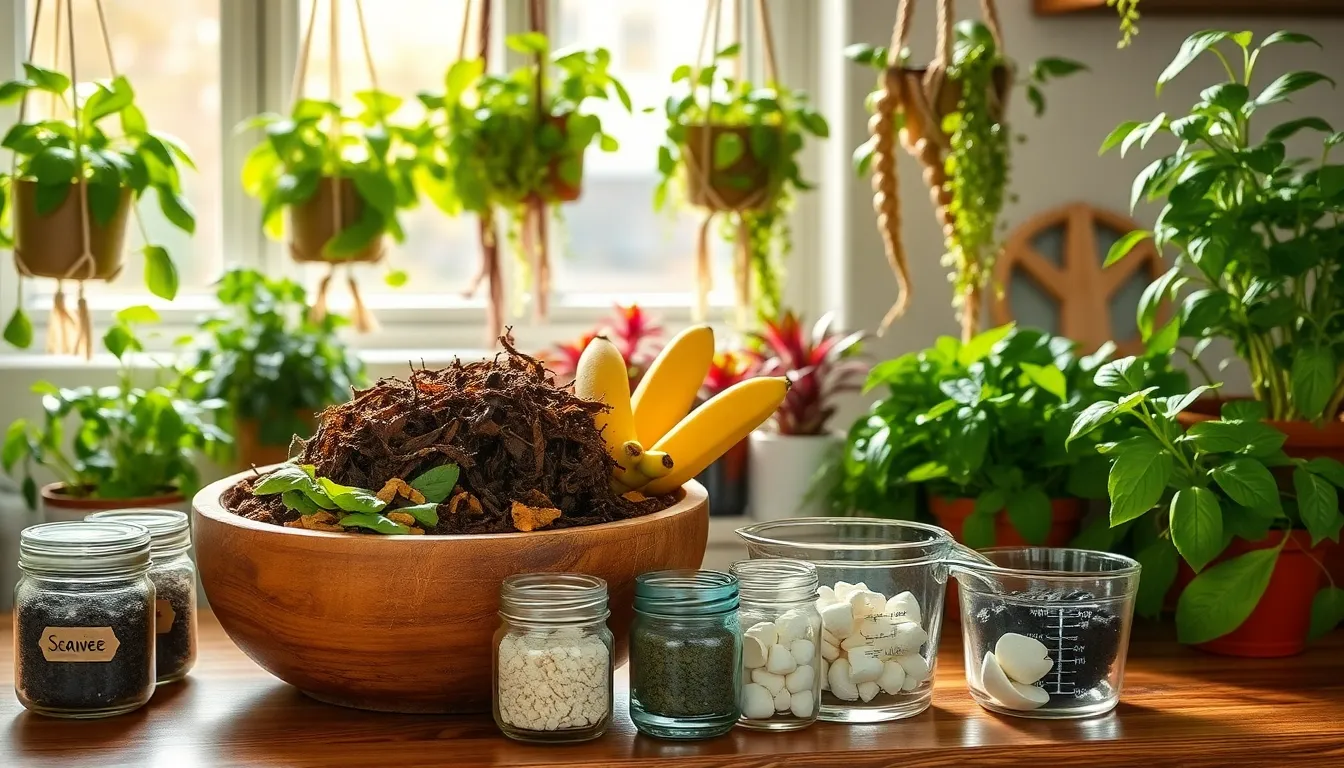
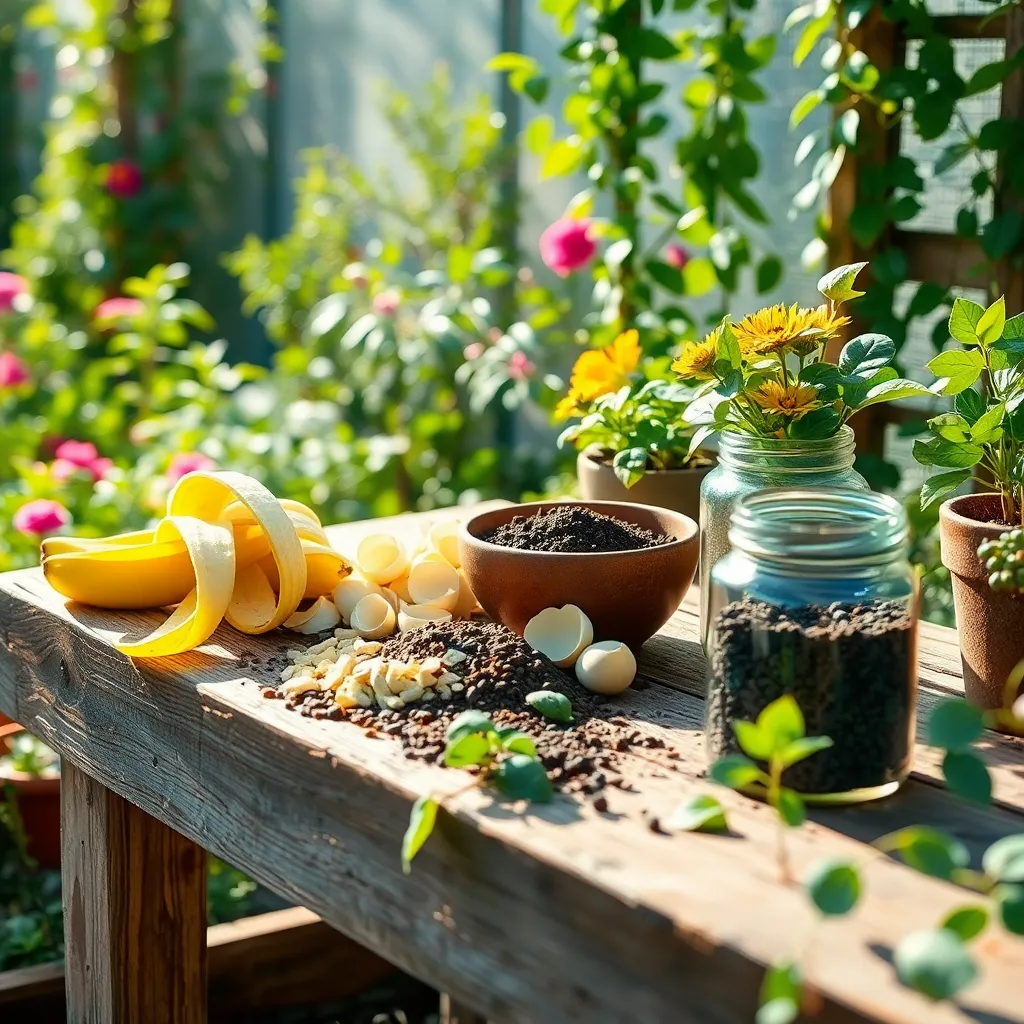
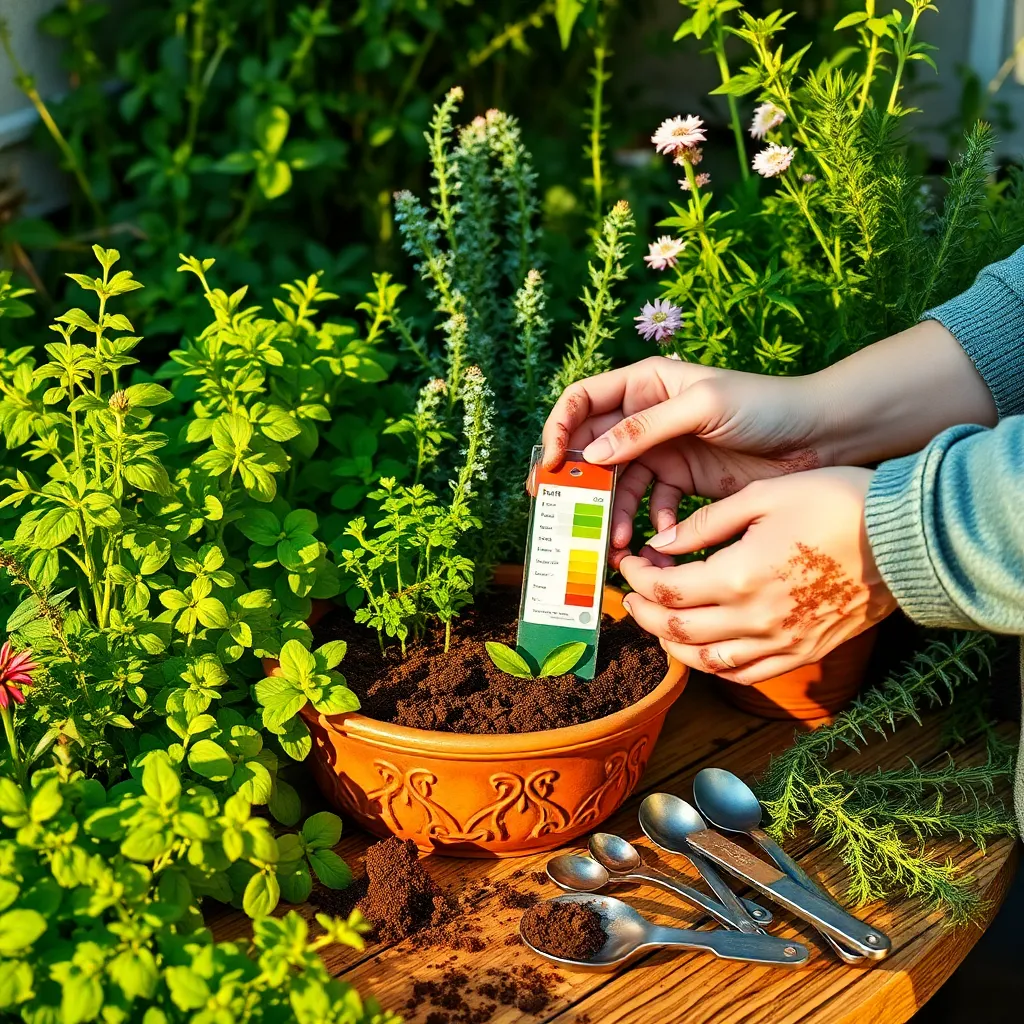
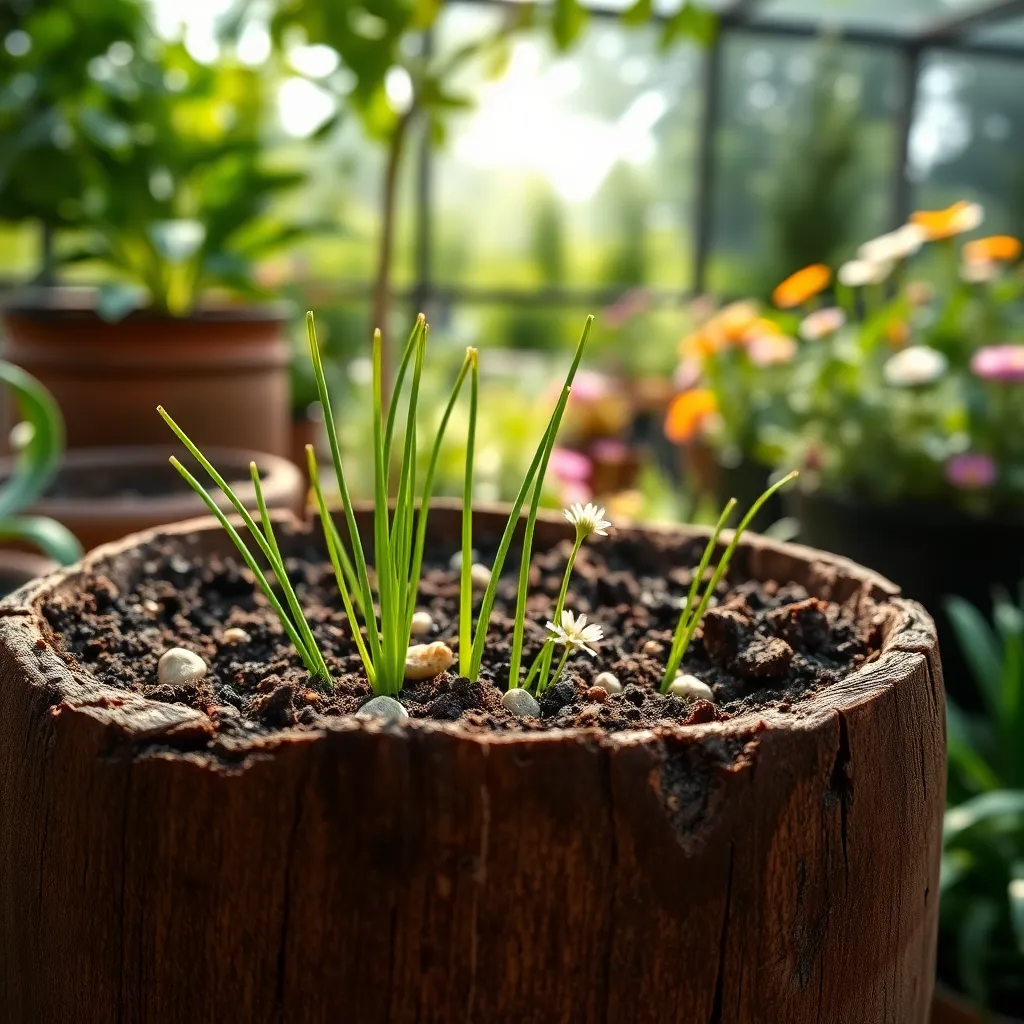
When creating a herb garden, it is essential to start with well-draining soil to ensure your herbs flourish. Good drainage prevents root rot and allows herbs to access necessary nutrients efficiently.
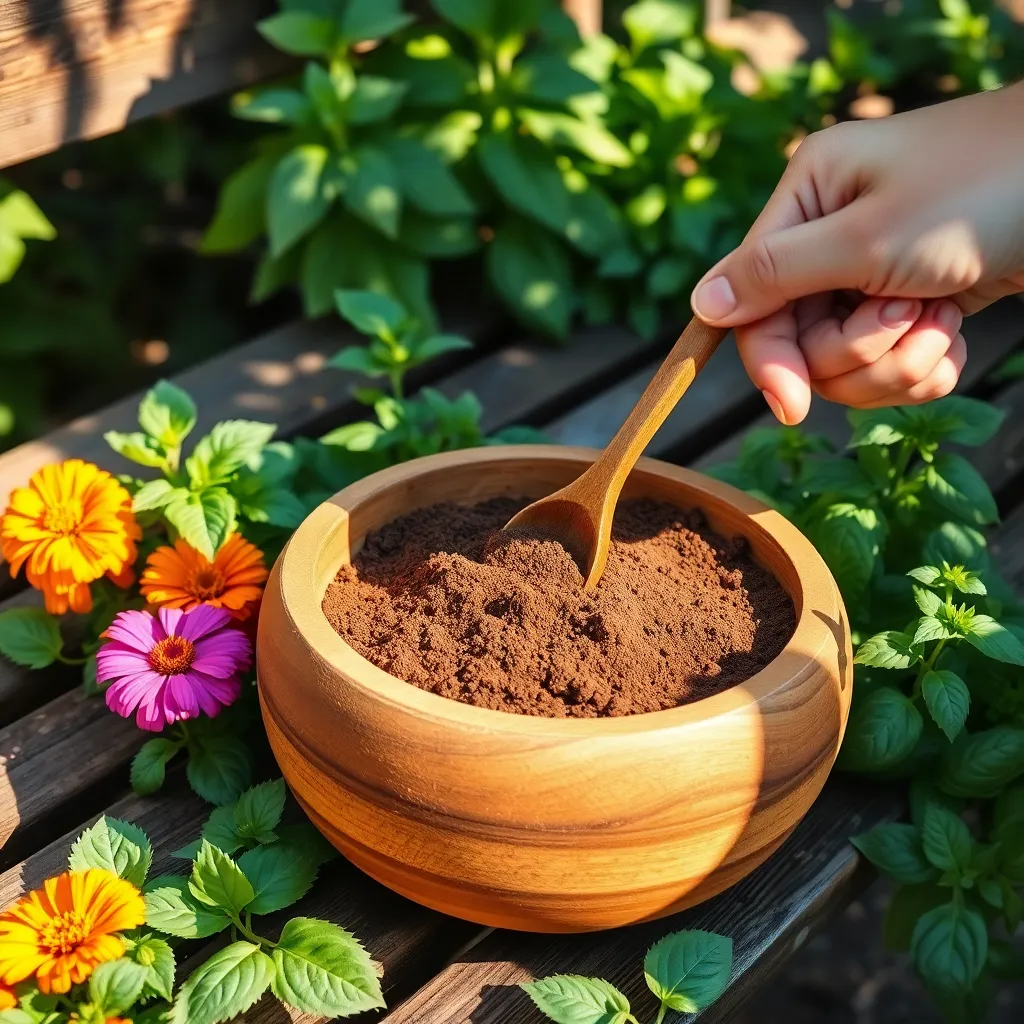
Begin by mixing equal parts of high-quality garden soil, coarse sand, and organic compost. This combination enhances drainage while providing ample nutrients for your herbs.
For gardeners with heavy clay soil, adding extra sand or perlite can significantly improve the soil structure. These amendments increase aeration and aid in water movement, crucial for healthy herb growth.
It’s vital to test the soil’s drainage by watering it and observing how quickly the water is absorbed. If water pools on the surface, consider adding more sand or organic matter to enhance drainage.
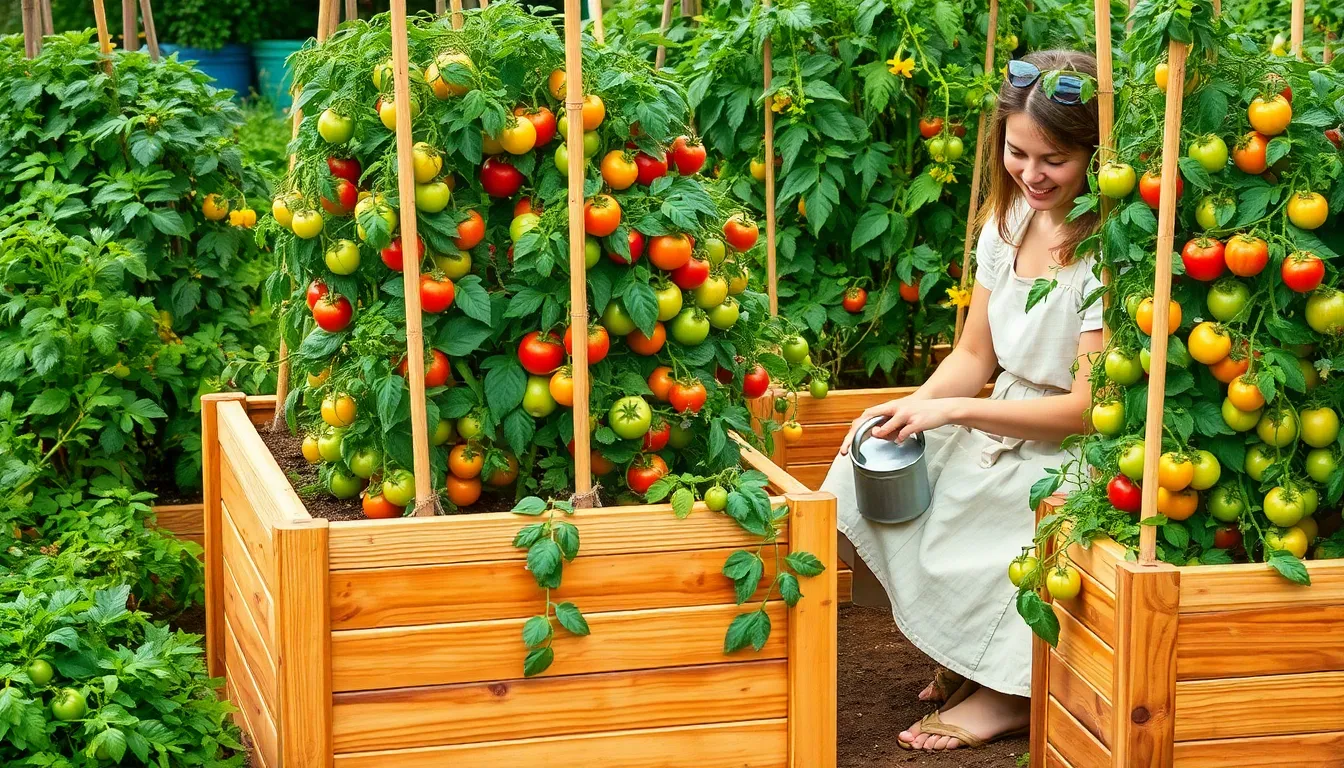
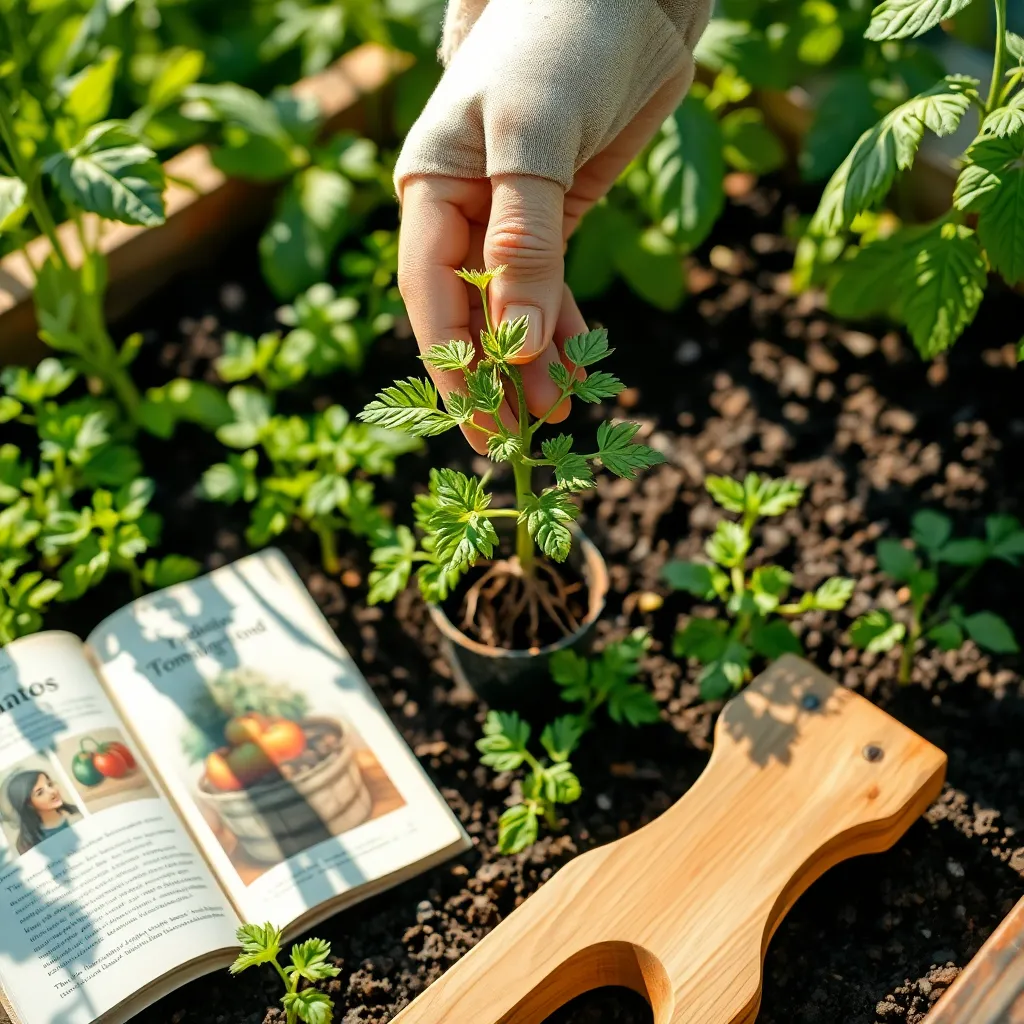
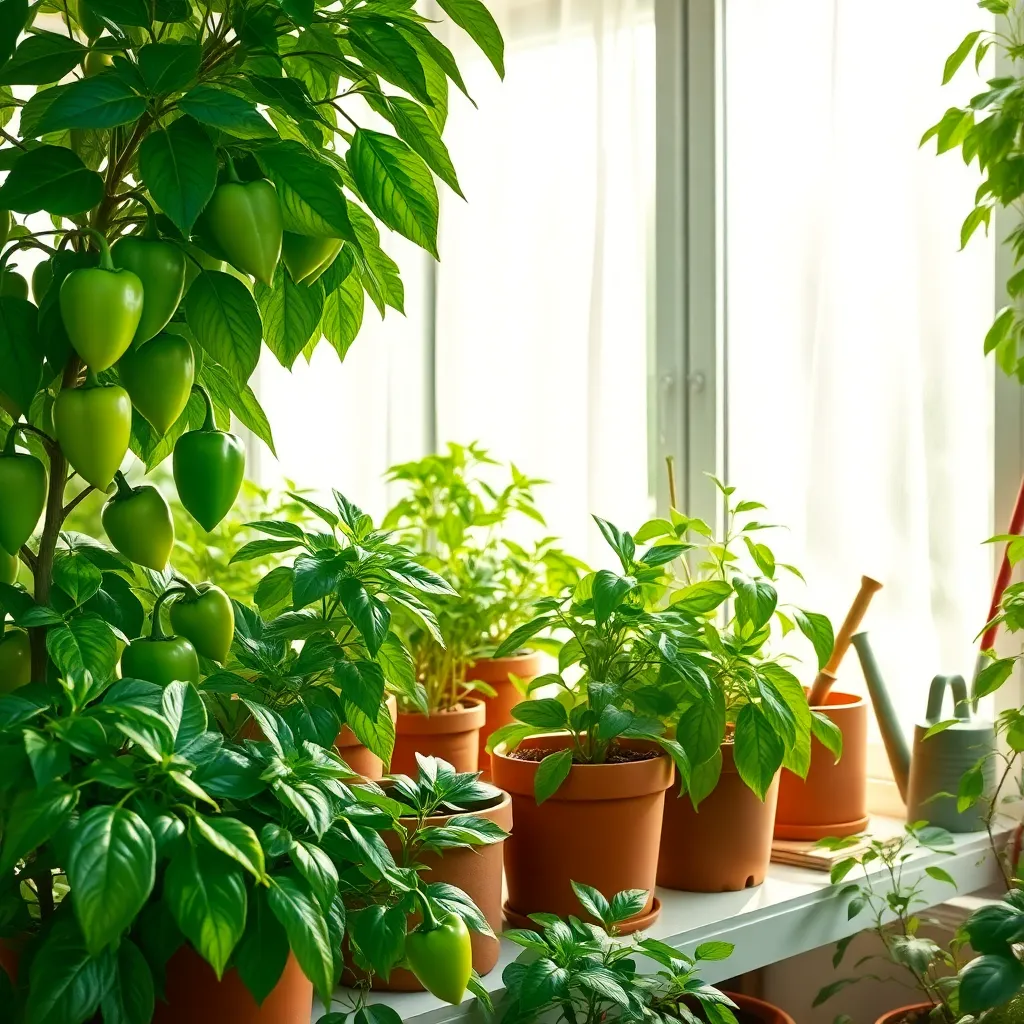
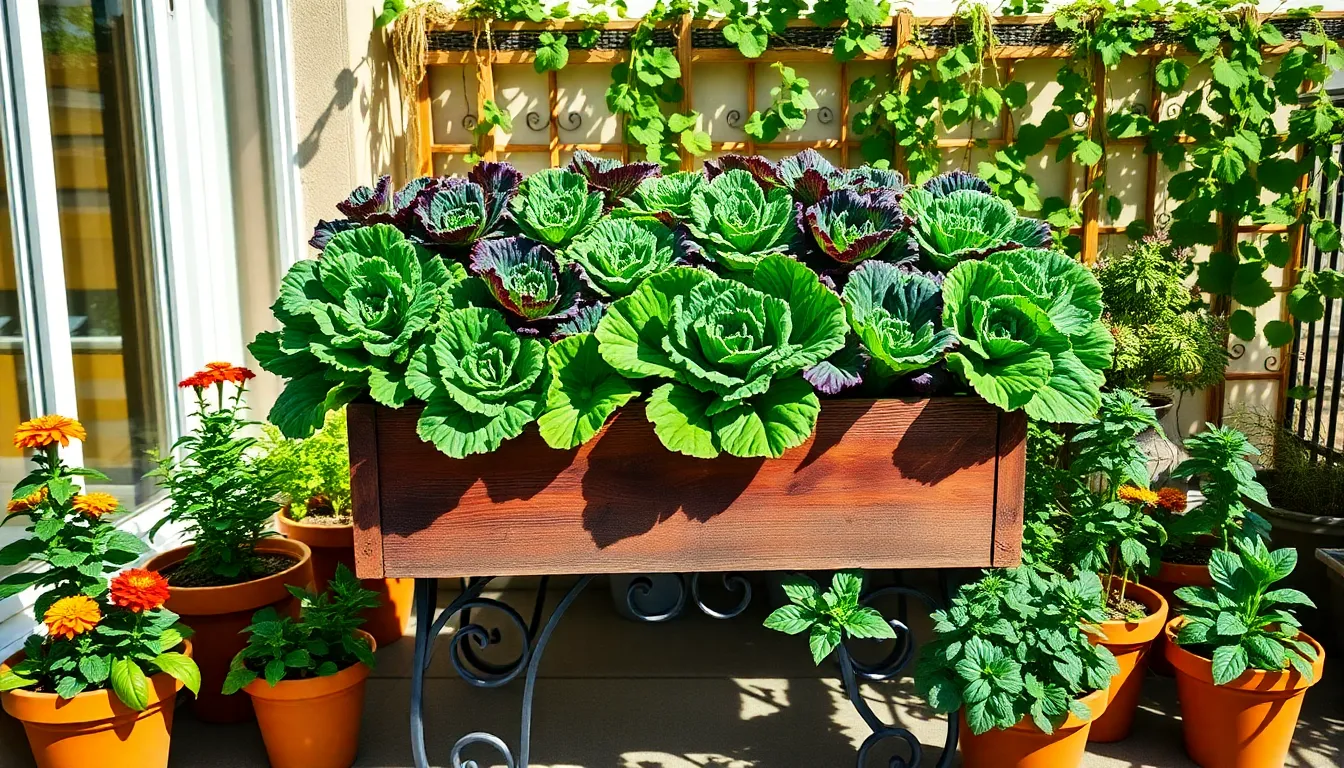
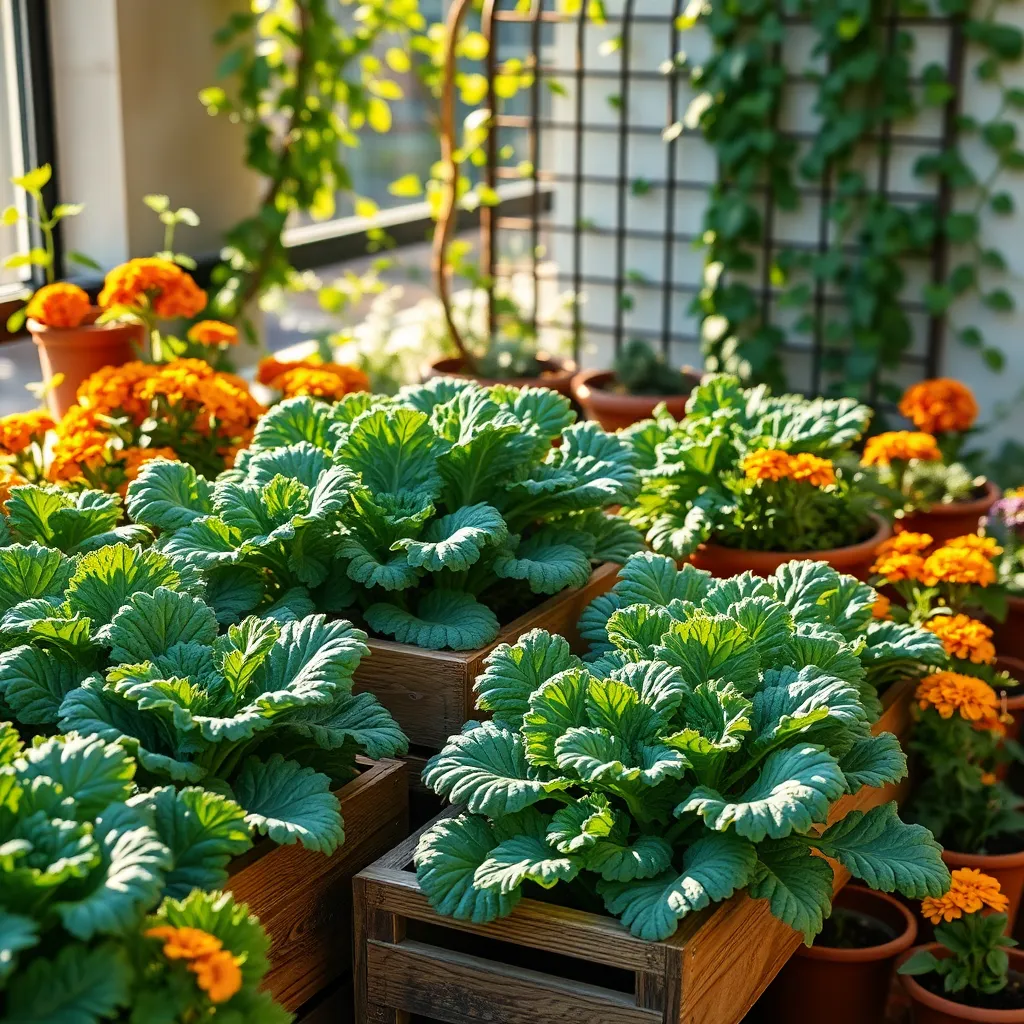
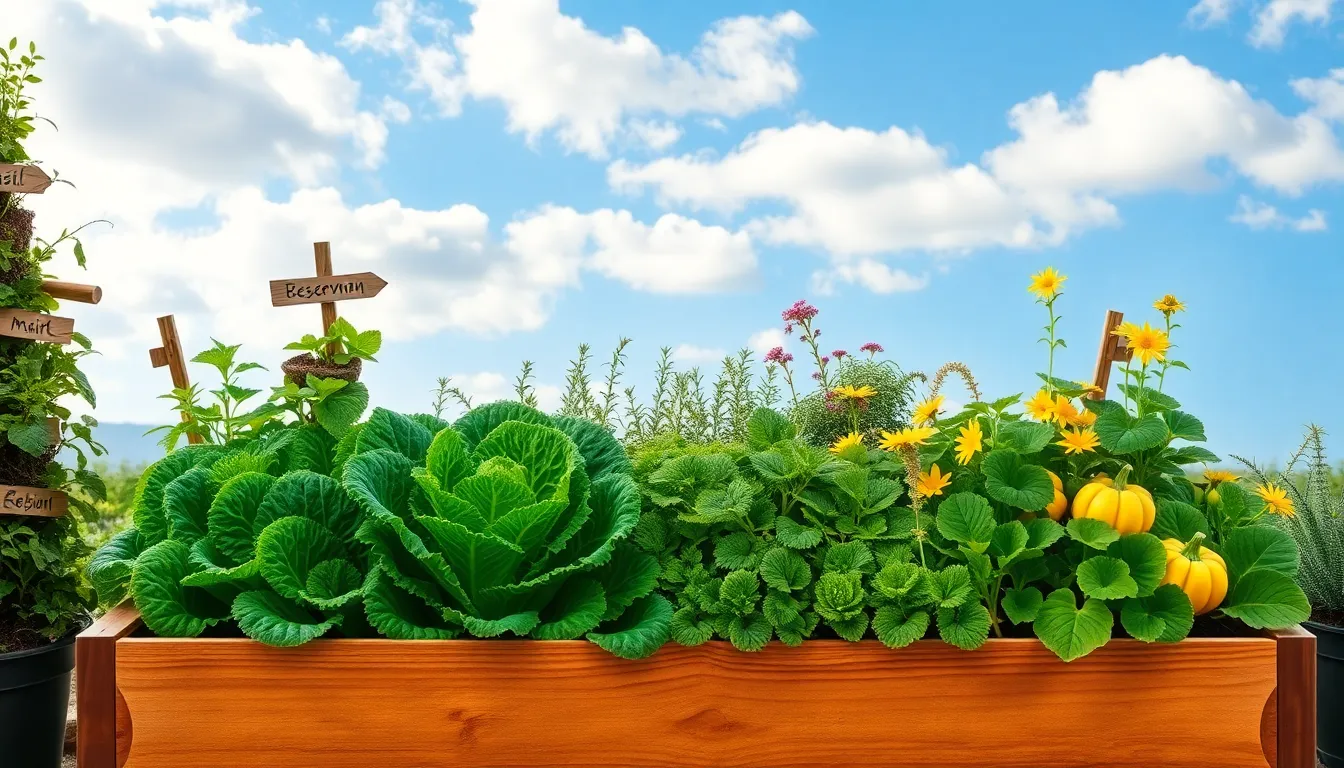
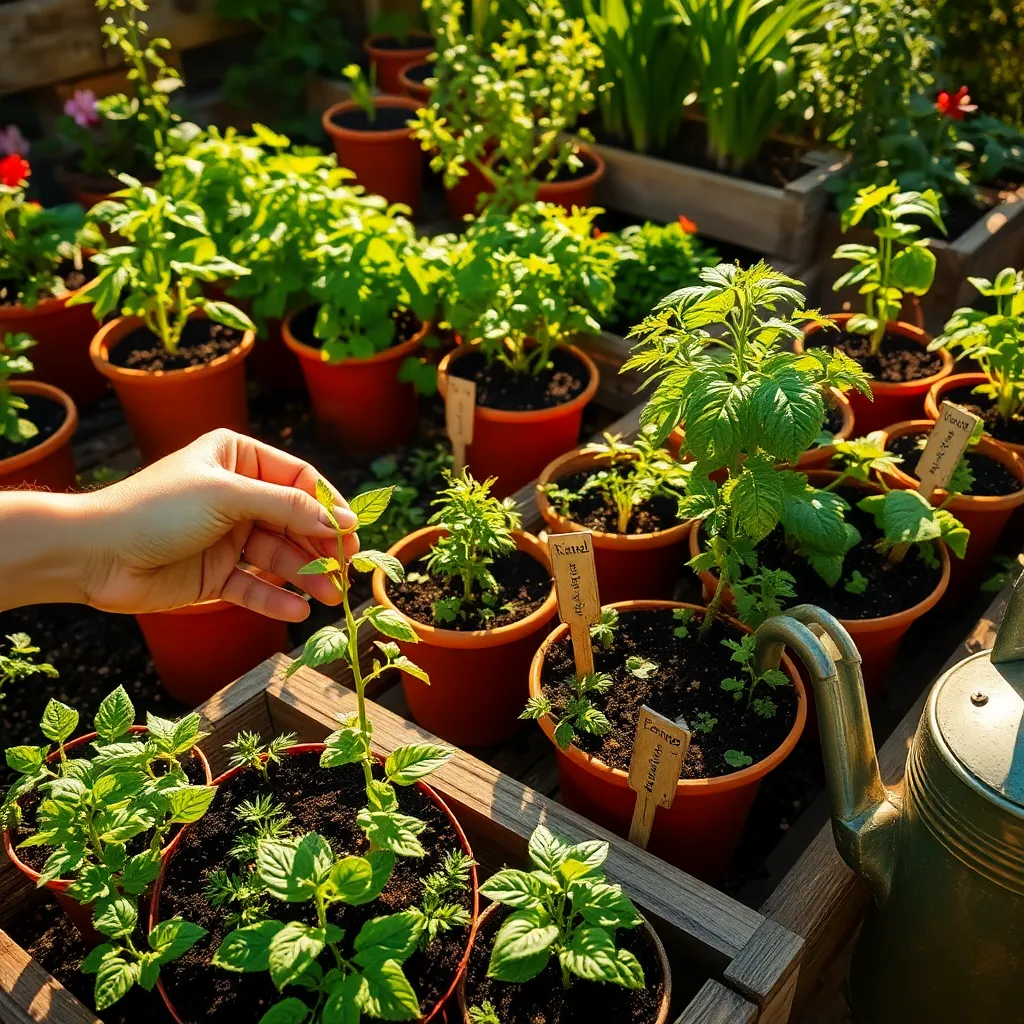
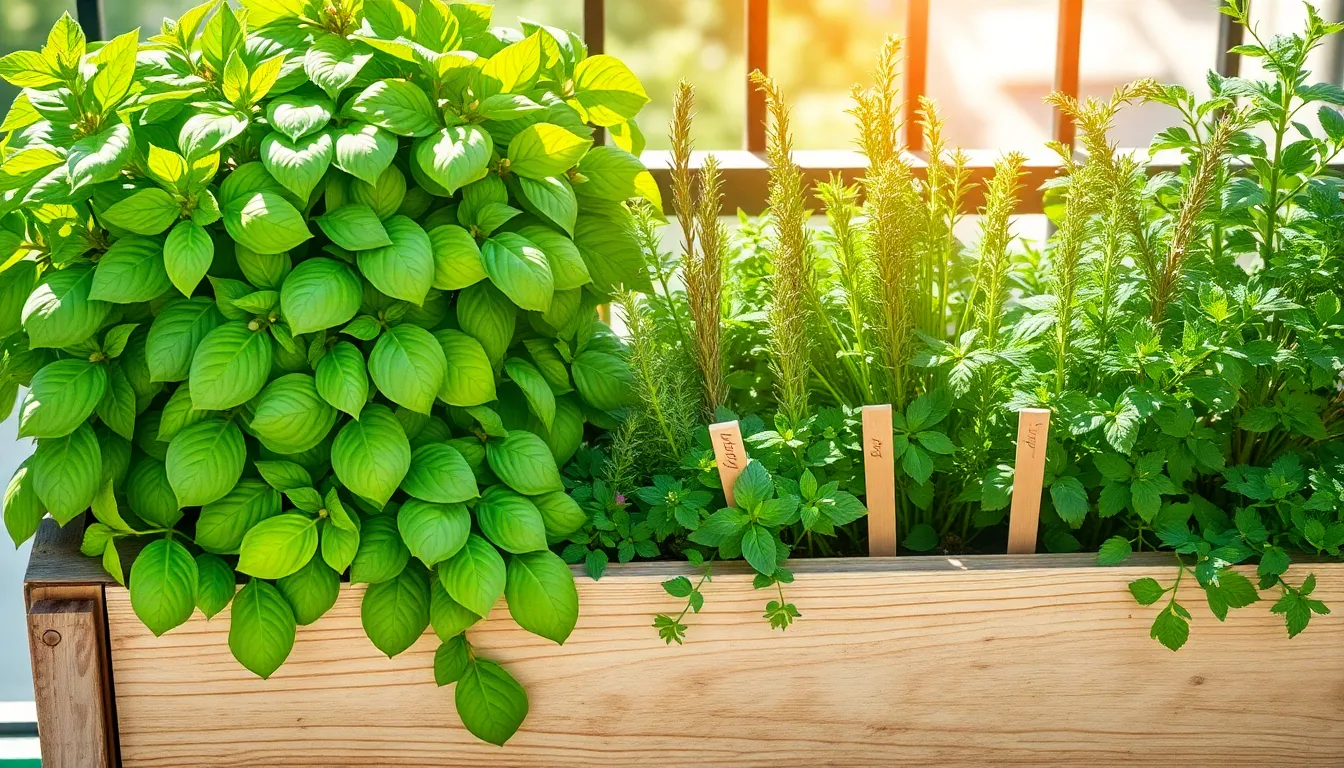
Arrange Herbs Strategically
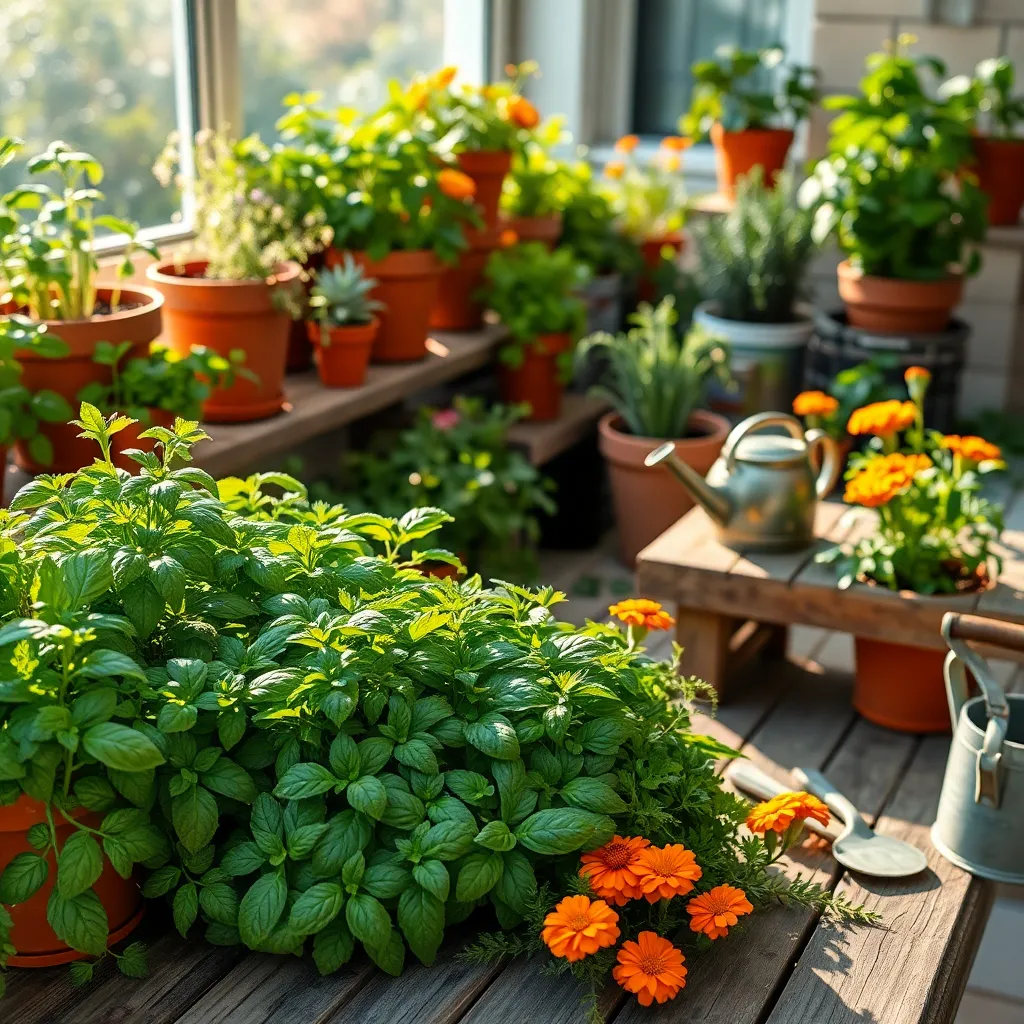
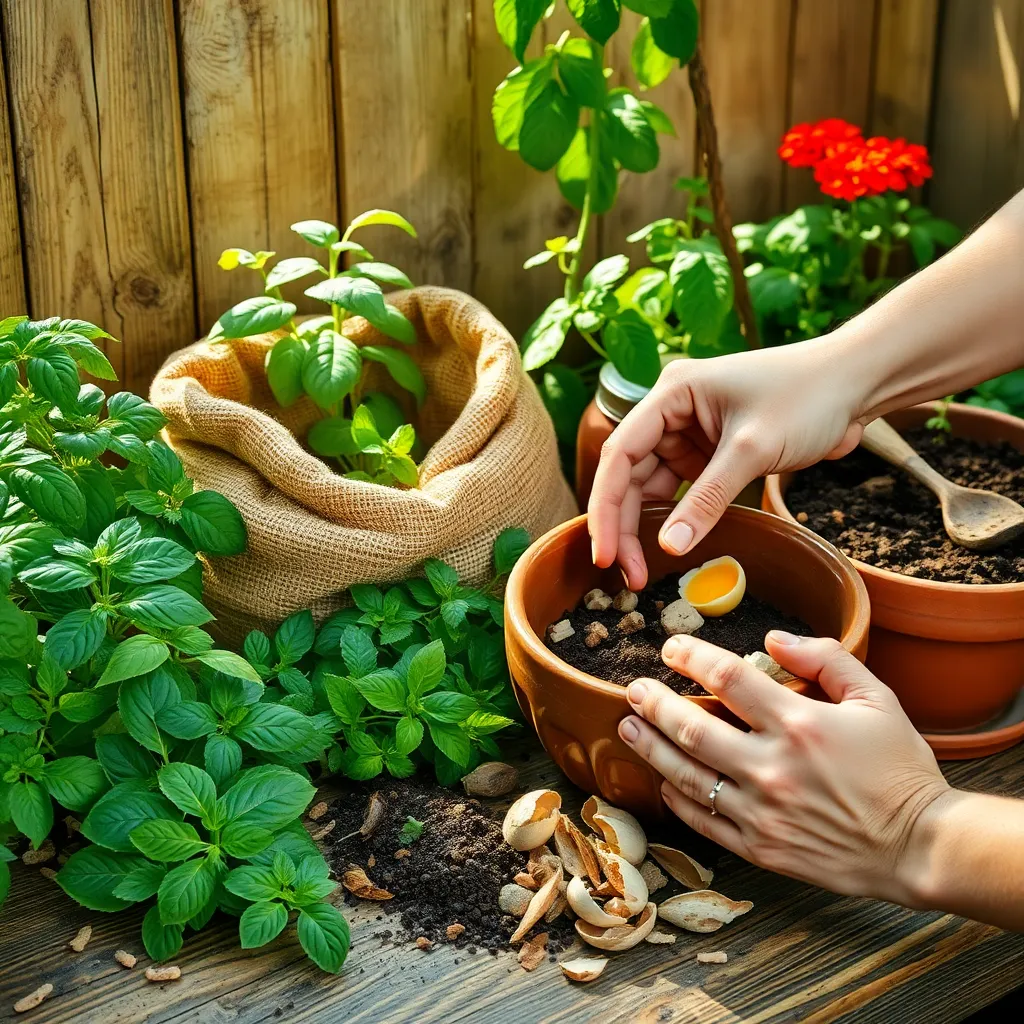
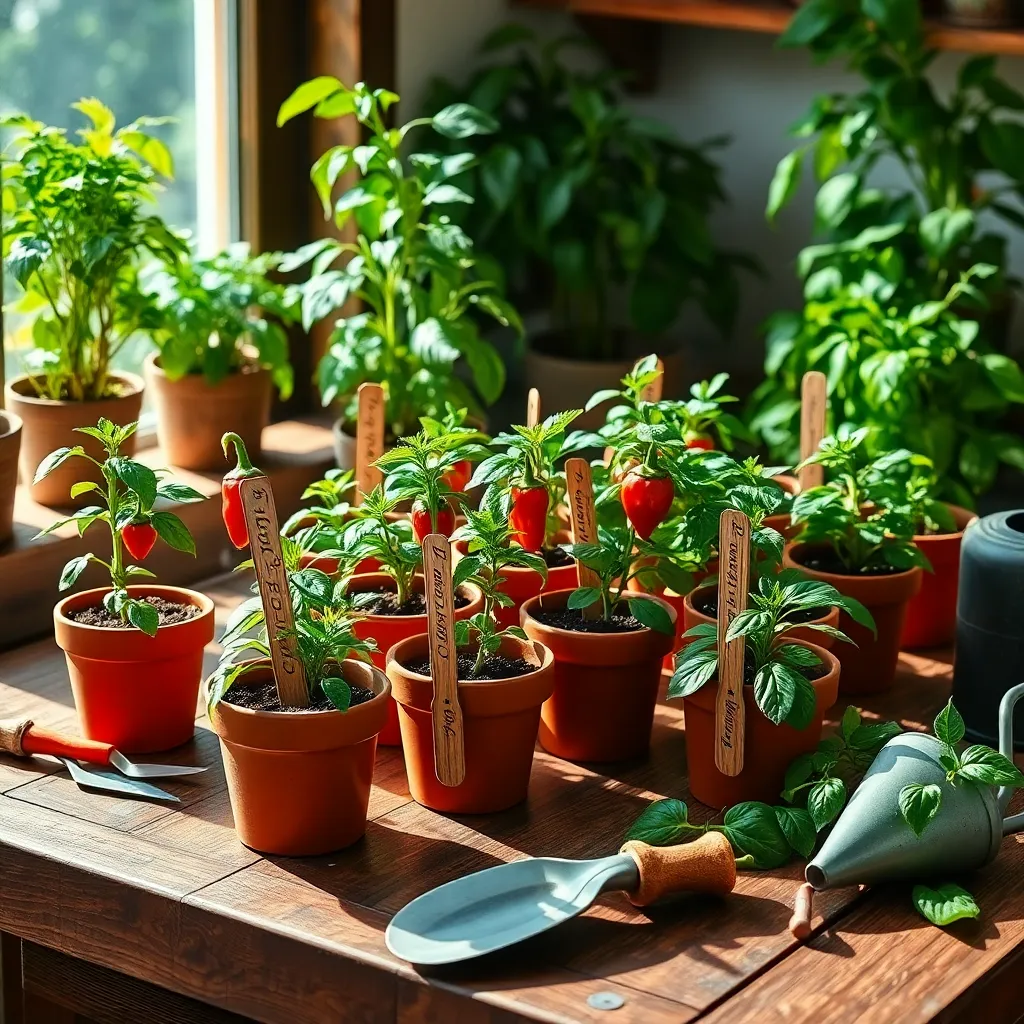
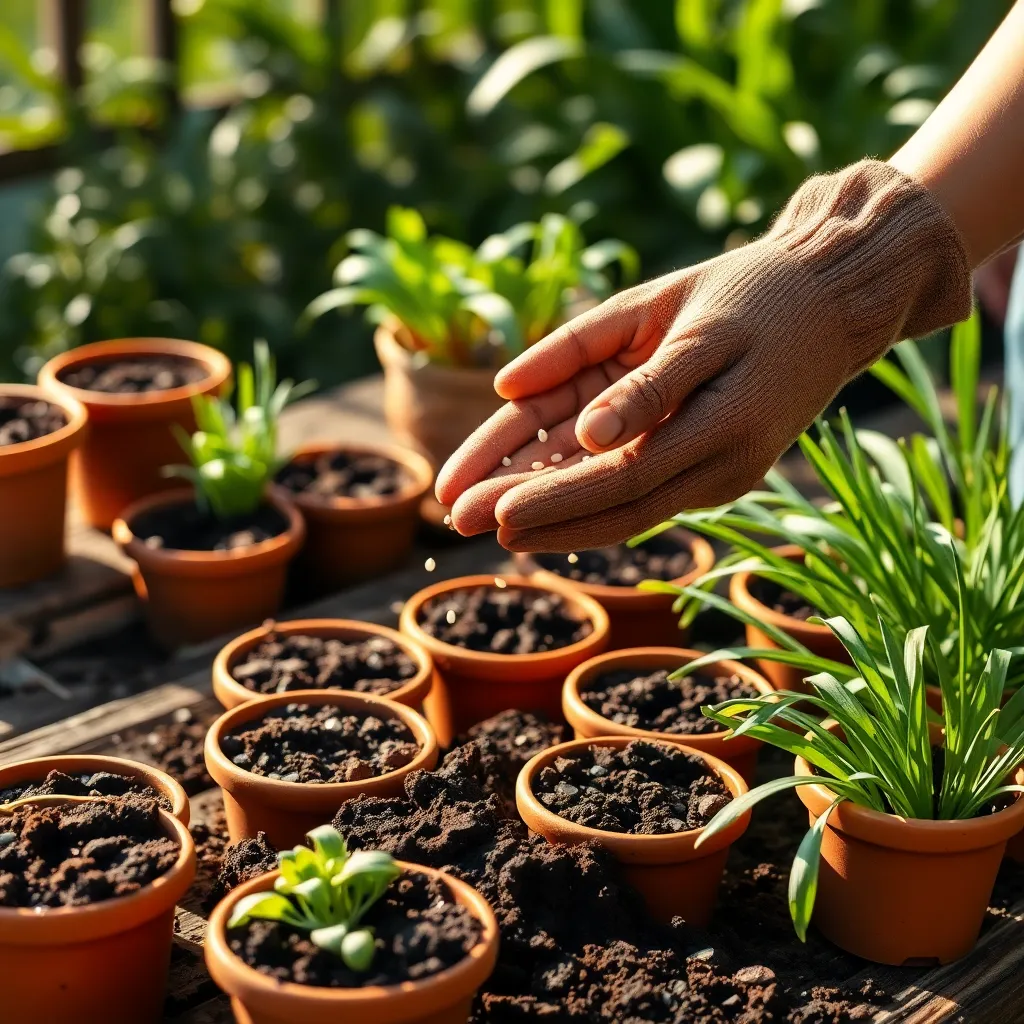
When arranging your herbs, it’s essential to consider their growth habits and space requirements. Place taller herbs like dill and fennel at the back of your garden bed to prevent them from shading shorter plants.
For optimal growth, group herbs with similar sunlight needs together. Mediterranean herbs such as rosemary, thyme, and oregano thrive in full sun, while parsley and mint prefer partial shade.
To improve accessibility and maintenance, plant herbs you use frequently near the edges of your garden. This strategic placement allows for easy harvesting and keeps delicate herbs like basil from being overshadowed by larger plants.
Consider the compatibility of your herbs to promote a healthy growing environment. For instance, keep mint in a separate container as it can spread aggressively and overtake other herbs if planted directly in the garden bed.
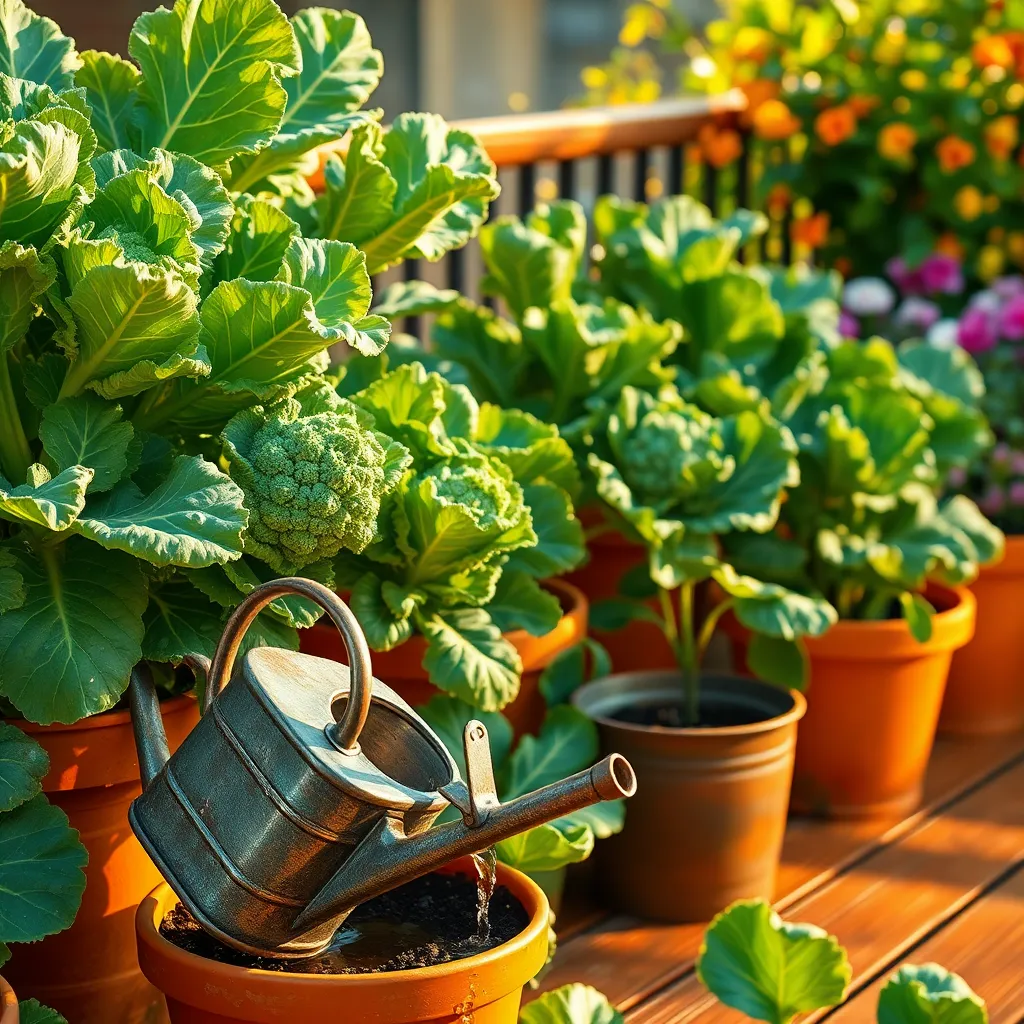
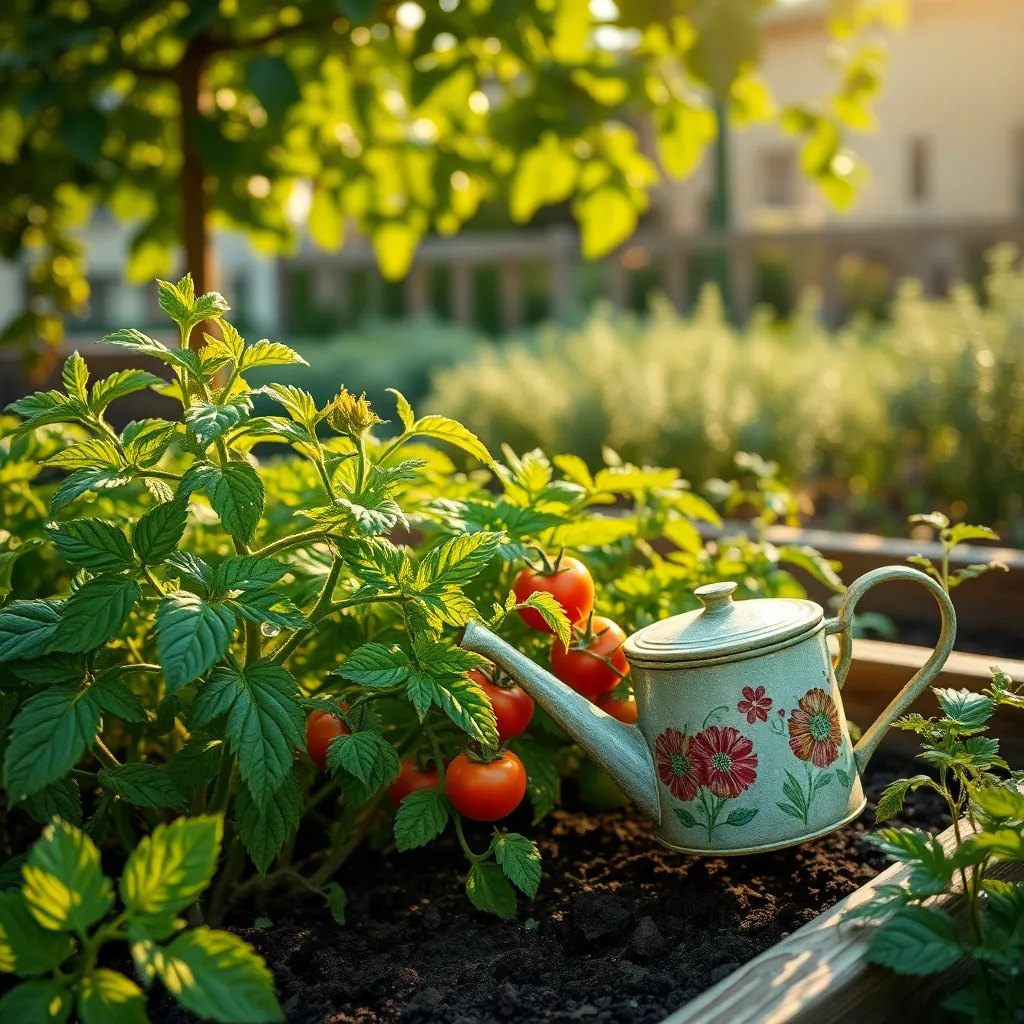
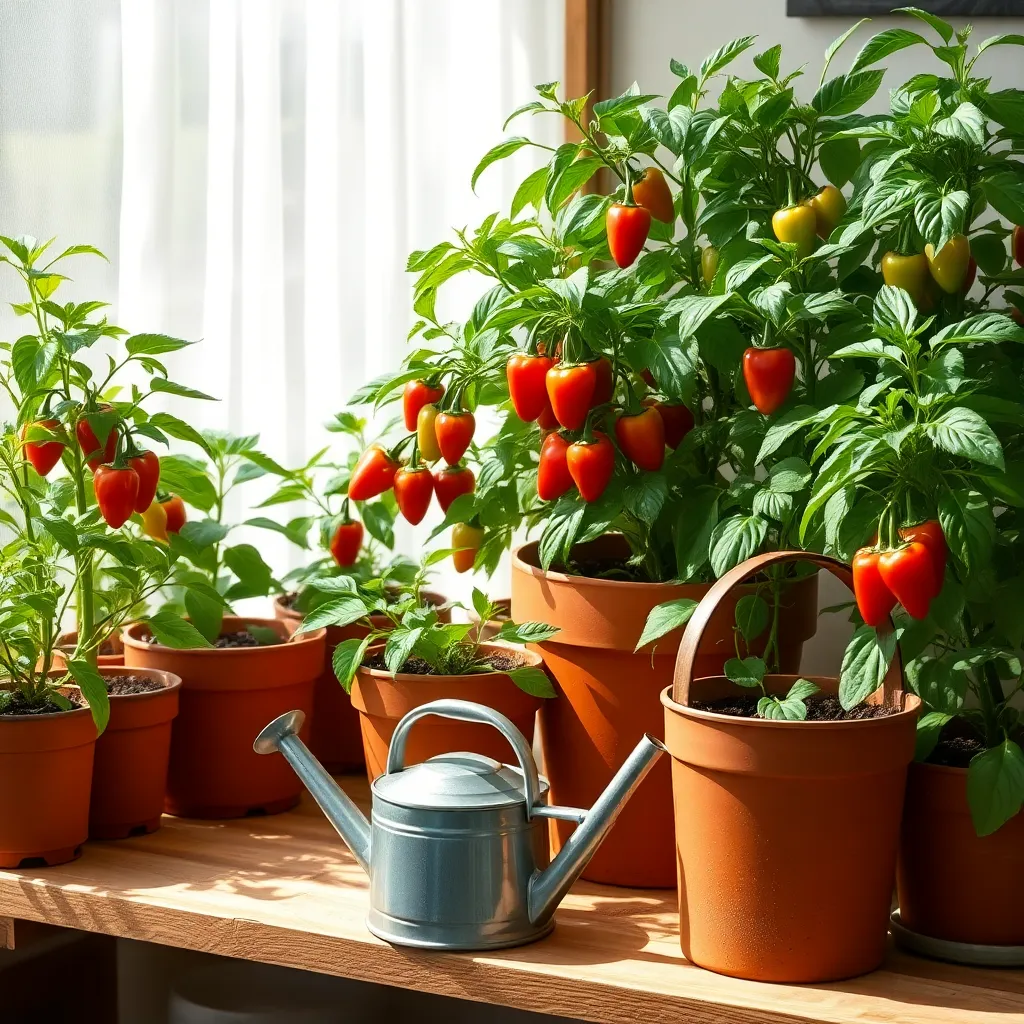
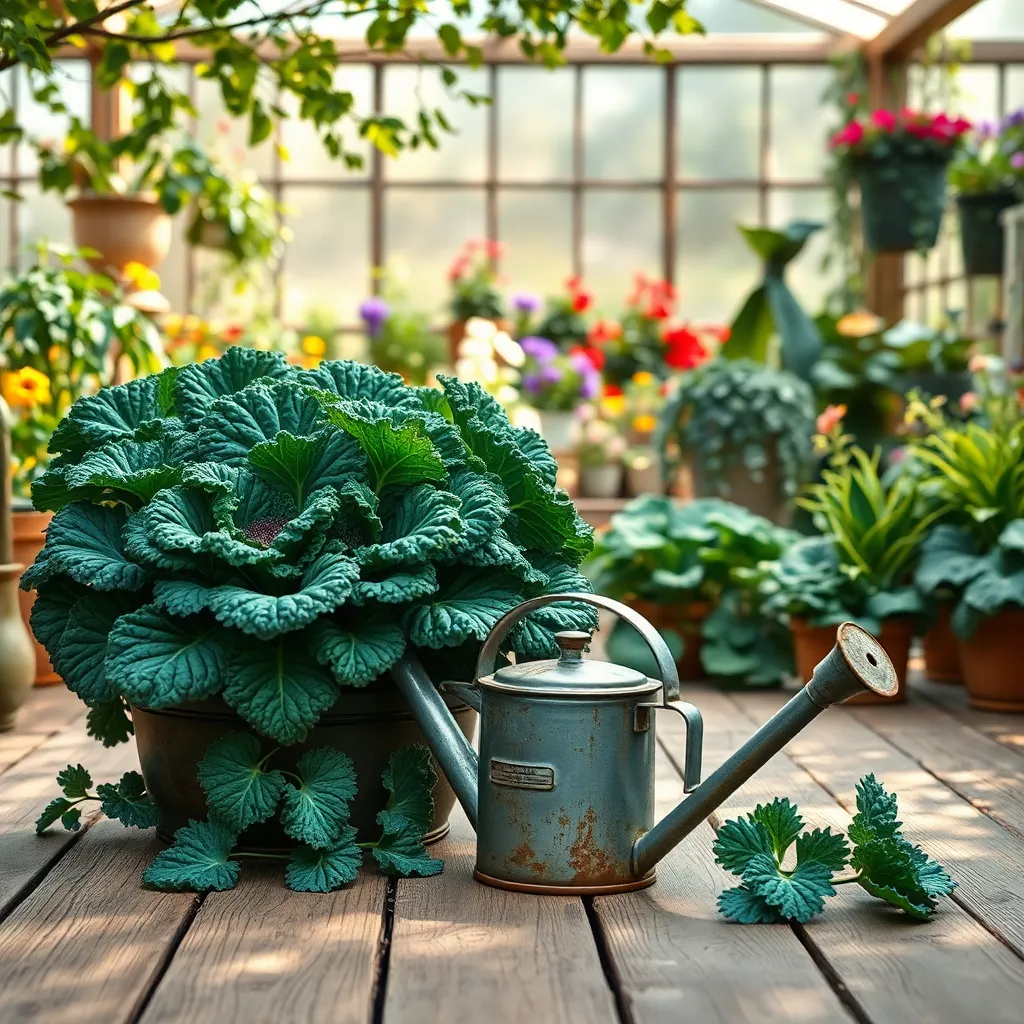
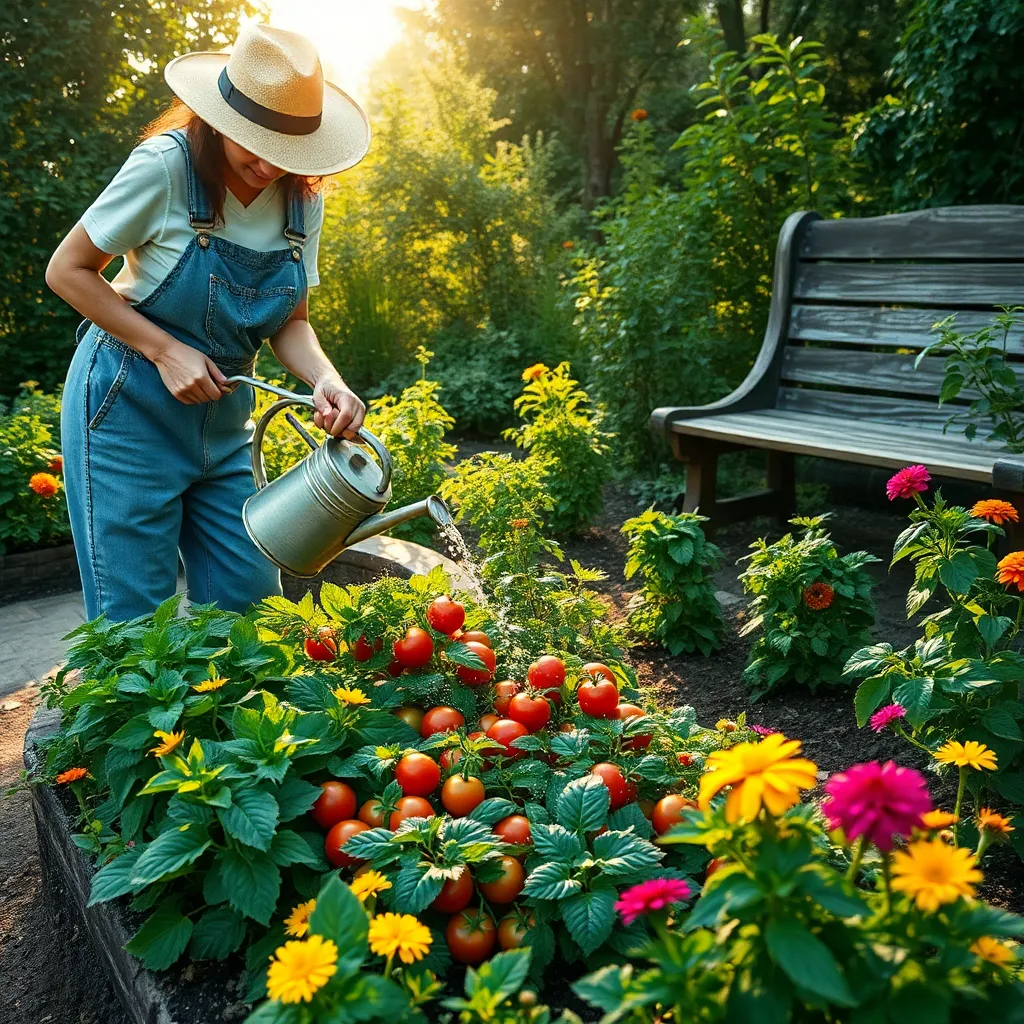
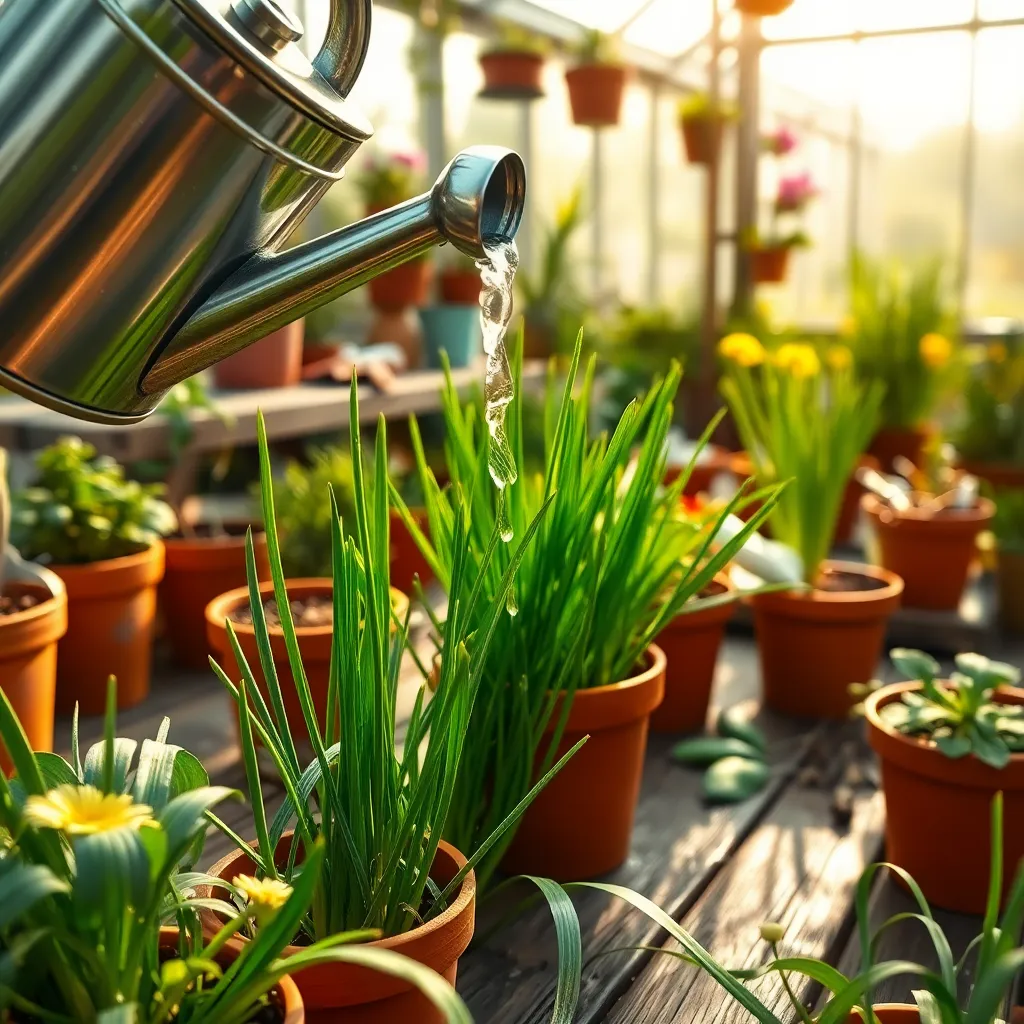
Water Consistently and Carefully
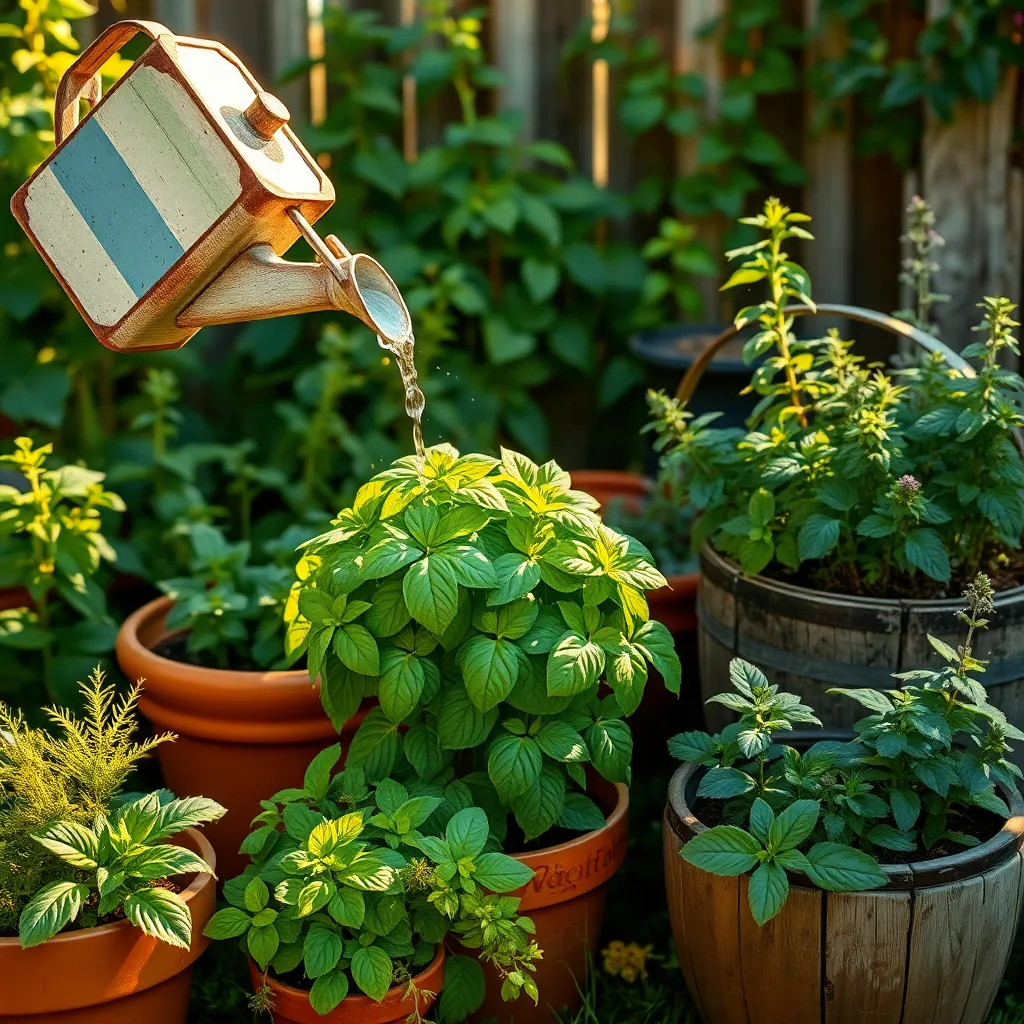
Watering your herb garden consistently is crucial for the health and growth of your plants. Most herbs prefer well-drained soil, so ensure that your pots or garden beds have adequate drainage holes to prevent waterlogging.
Begin by checking the soil moisture before watering; a simple finger test can help determine if your herbs need water. Stick your finger about an inch into the soil—if it feels dry, it’s time to water.
For most herbs, watering once a week is sufficient, but this can vary depending on the climate and season. In hotter months, you may need to increase the frequency to twice a week, while cooler months might require less frequent watering.
Use a gentle watering method, such as a watering can with a fine rose or a drip irrigation system, to avoid disturbing the soil and roots. Water early in the morning or late in the afternoon to minimize evaporation and ensure your herbs get the moisture they need.
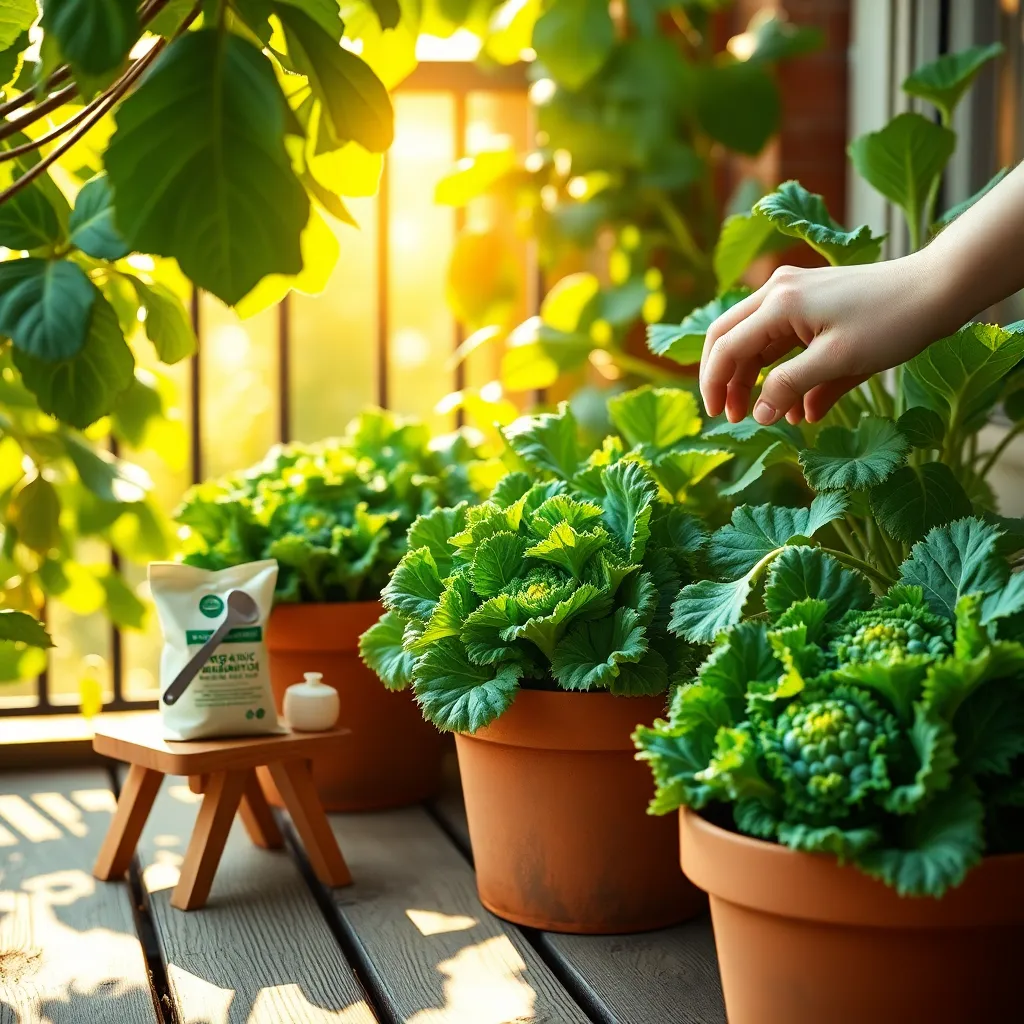
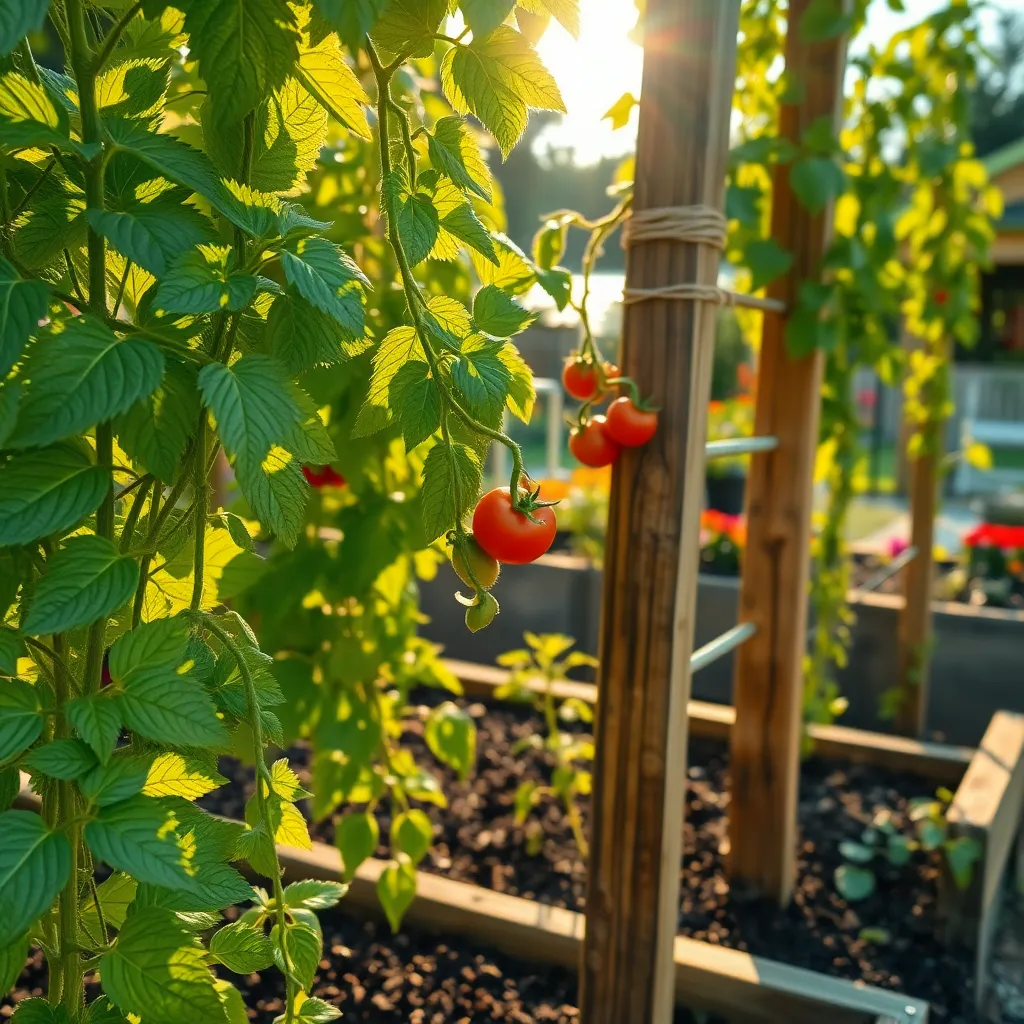
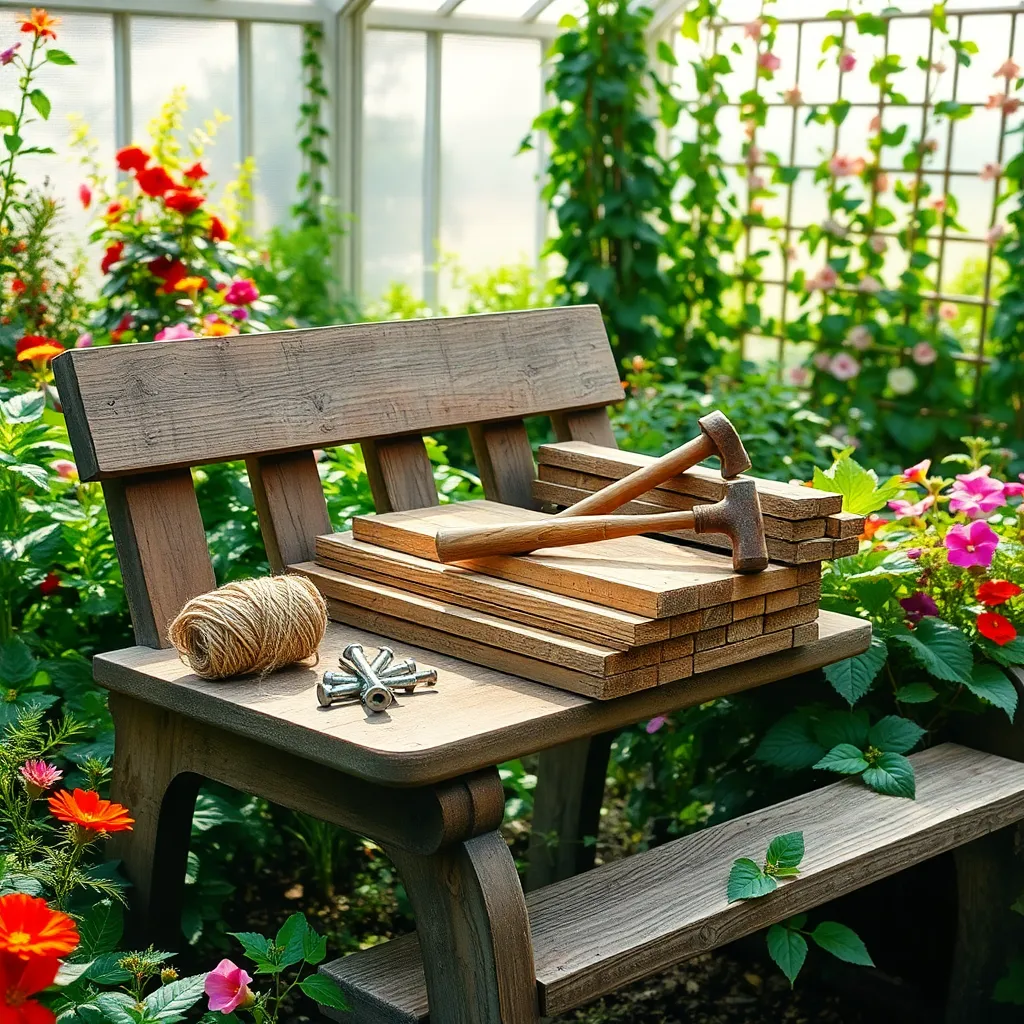
Prune Herbs Regularly for Growth
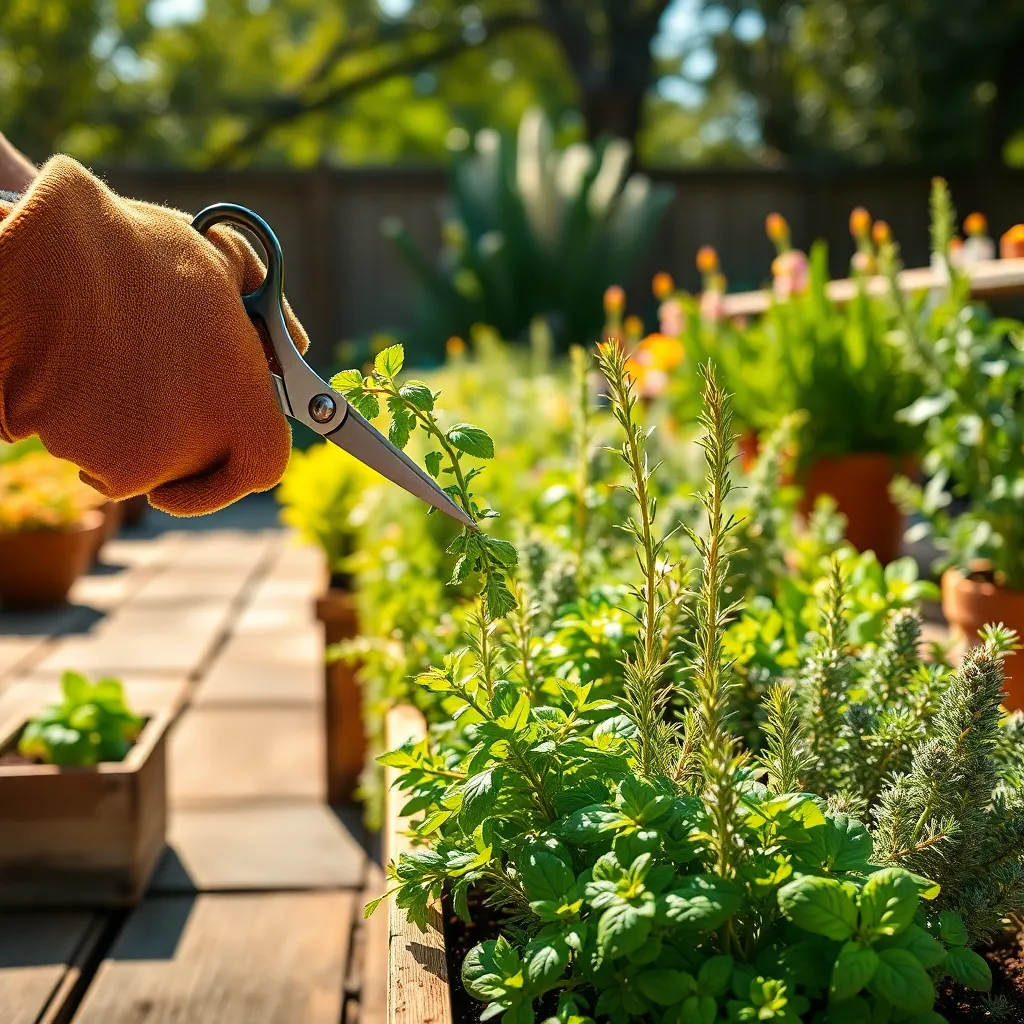
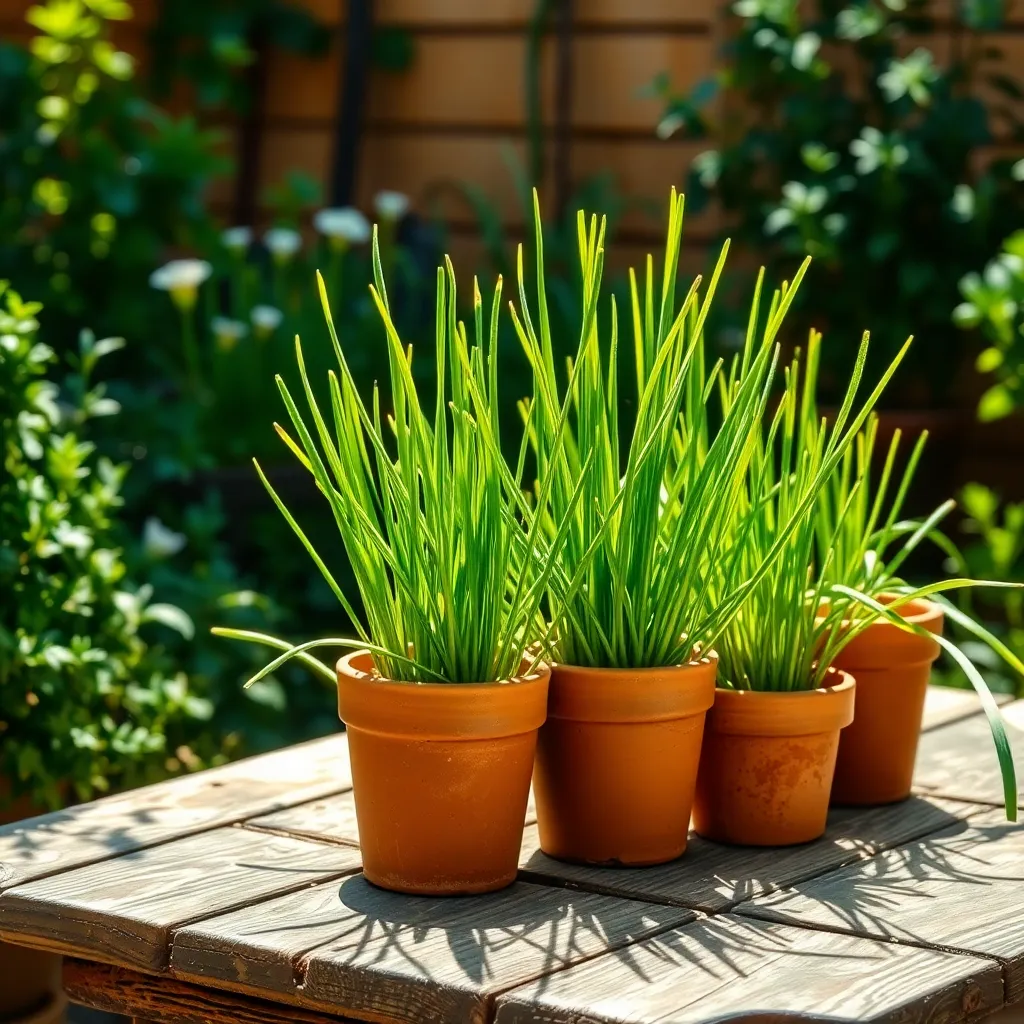
Pruning herbs regularly is a crucial step in ensuring robust growth and maintaining plant health. By cutting back your herbs, you not only encourage bushier growth but also prevent the plants from becoming leggy and unproductive.
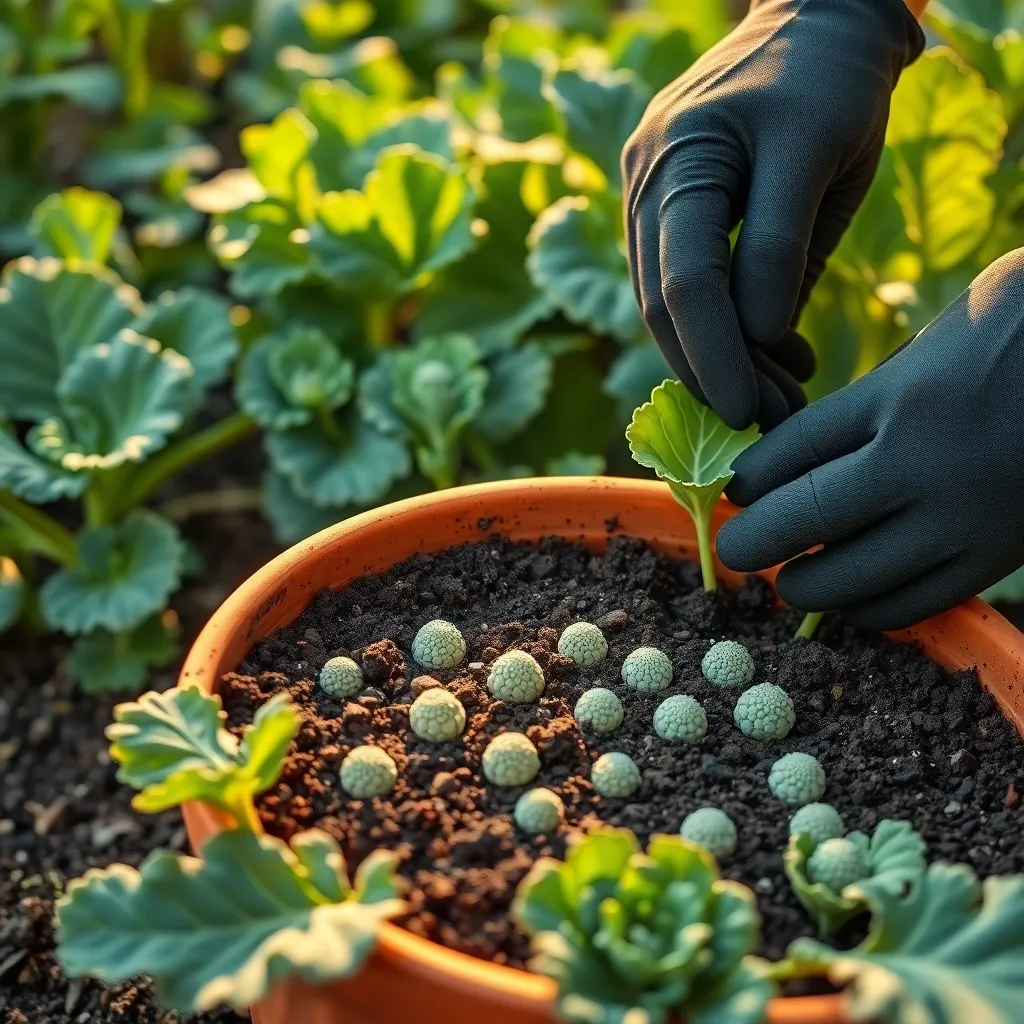
Begin by identifying the growing tips on your plants, which are the young, tender shoots at the end of each stem. Pinching these tips will signal the plant to produce more branches, leading to a fuller and more abundant herb garden.
For beginners, it’s important to use clean, sharp scissors or pruning shears to avoid damaging the plants. Avoid cutting more than one-third of the plant at a time to ensure it remains healthy and can recover quickly.
Experienced gardeners can experiment with more advanced techniques, such as pruning for specific shapes or harvesting leaves at different growth stages for varying flavors. Regular pruning also helps to prevent flowering, which can alter the taste of the herbs and reduce leaf production.
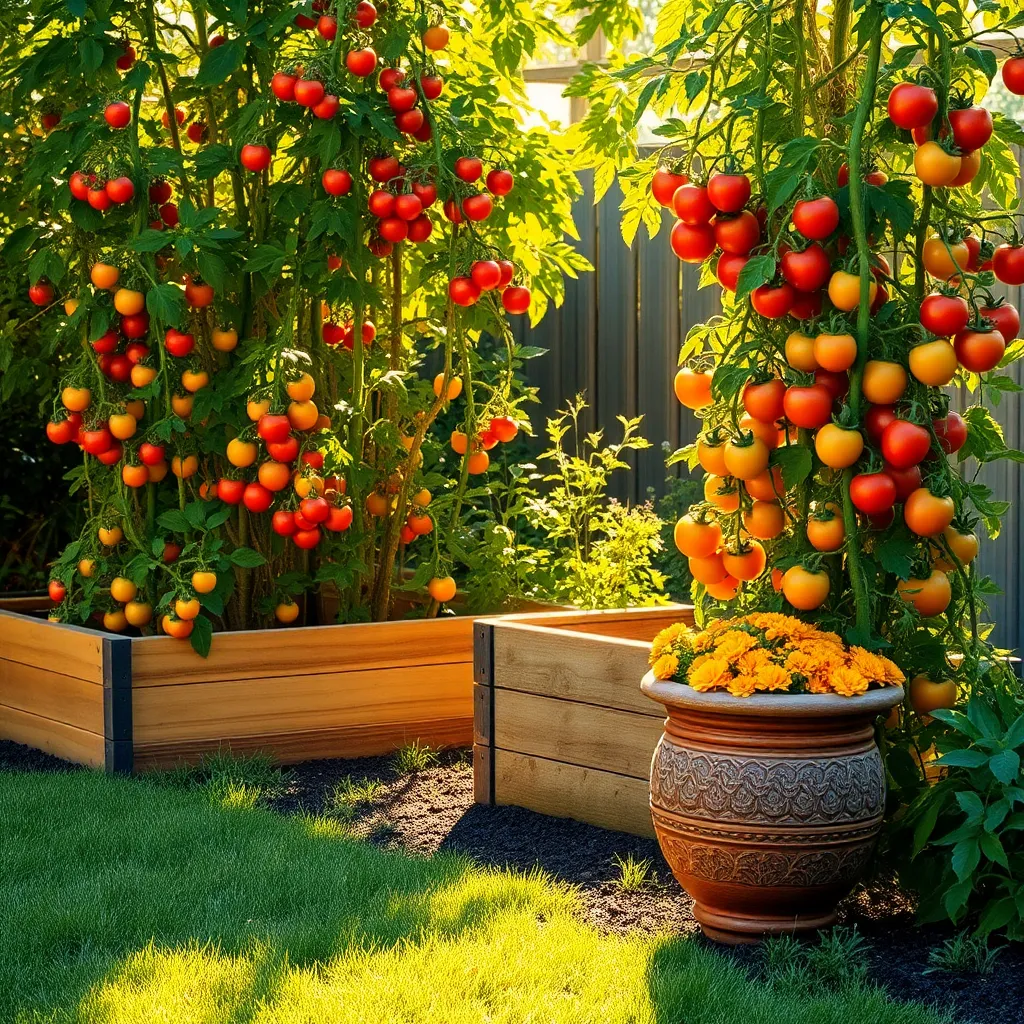
Conclusion: Growing Success with These Plants
In exploring the creation of your own herb garden at home, we’ve delved into five key relationship concepts that can blossom in your life: nurturing growth through patience, understanding diverse needs, fostering consistent communication, embracing adaptability, and cultivating shared responsibilities. These principles, much like a flourishing herb garden, require time, attention, and a loving touch to thrive.
As your actionable next step, choose one herb to plant today—perhaps basil or mint—and commit to nurturing it. This small act will serve as a tangible reminder of the care and effort relationships need to flourish.
Empower your relationship journey by saving or bookmarking this article as a handy guide, ensuring these vital concepts are always within reach to revisit and reflect upon.
Looking forward, remember that every effort you make today lays the foundation for a more resilient and harmonious relationship tomorrow. Embrace this journey with optimism and dedication, knowing that with each step, you are cultivating a bond that is as vibrant and enduring as your garden. Let’s grow together, one seed at a time.