Imagine plucking a sun-kissed, ruby-red strawberry straight from a container on your balcony or patio. The sweet allure of growing strawberries in containers isn’t just a gardener’s dream; it’s a delightful reality ripe for both novices and seasoned green thumbs. Container gardening offers a versatile and rewarding way to cultivate strawberries, allowing you to enjoy the fruits of your labor no matter the size of your outdoor space. Whether you’re new to gardening or have years of experience, container gardening opens up a world of possibilities, making fresh strawberries accessible to all.
The beauty of container gardening lies not just in its flexibility, but in its simplicity. With the right techniques and a bit of care, you can create a thriving strawberry oasis that fits your lifestyle and space. In this article, you’ll discover how to choose the best containers, select the right varieties, and provide the optimal conditions for your strawberries to flourish. From understanding soil composition to mastering watering techniques, you’ll gain valuable insights that ensure your strawberries are as luscious as they are plentiful.
Delving into this guide, you’ll find that growing strawberries in containers is both an art and a science, balancing creativity with practical know-how. We’ll walk you through the essential steps to ensure your strawberries receive the care they need to produce bountiful harvests. Along the way, you’ll learn how to tackle common challenges, such as pests and diseases, with confidence and ease. Whether your goal is a decorative display or a delicious harvest, this article promises to equip you with the tools and knowledge to succeed.
Select Suitable Strawberry Varieties
Growing strawberries in containers offers flexibility and convenience, especially if space is limited. When selecting varieties, it’s important to consider your climate and the type of strawberries that suit container growth.
Ever-bearing strawberries are an excellent choice for container gardening because they produce fruit in several cycles from spring to fall. Varieties like ‘Quinault’ or ‘Ozark Beauty’ are popular among gardeners for their continuous yield and robust growth.
For those seeking a more compact plant, day-neutral strawberries such as ‘Seascape’ or ‘Albion’ provide a consistent harvest throughout the growing season. These varieties are well-suited for smaller containers and are less sensitive to temperature changes.
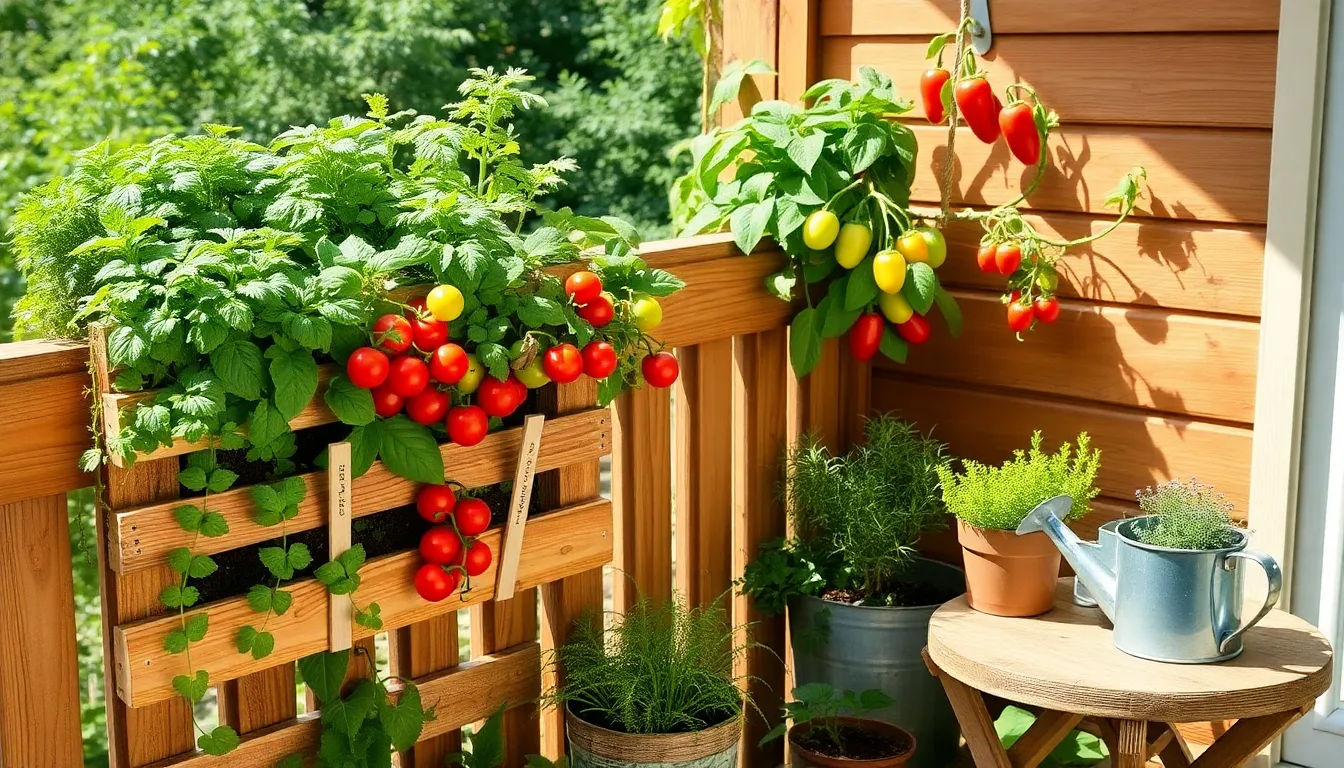
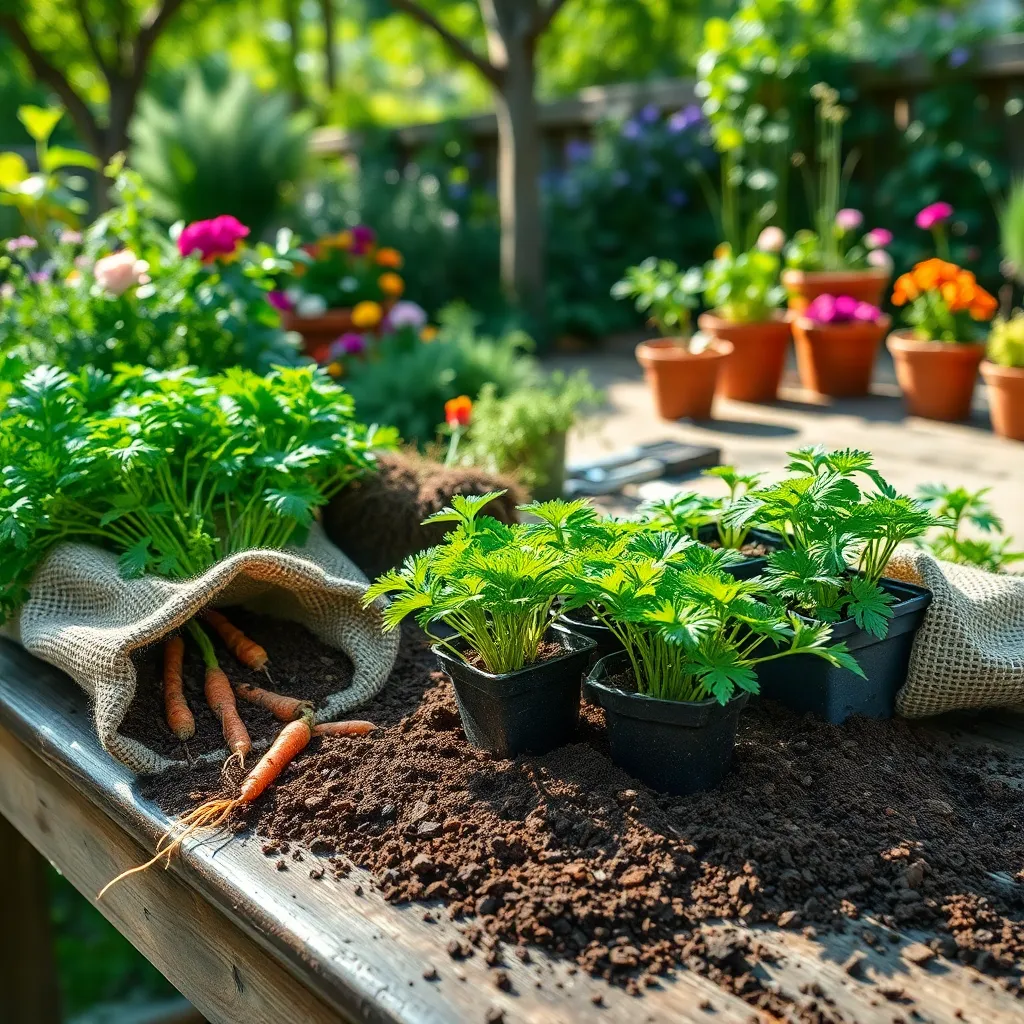
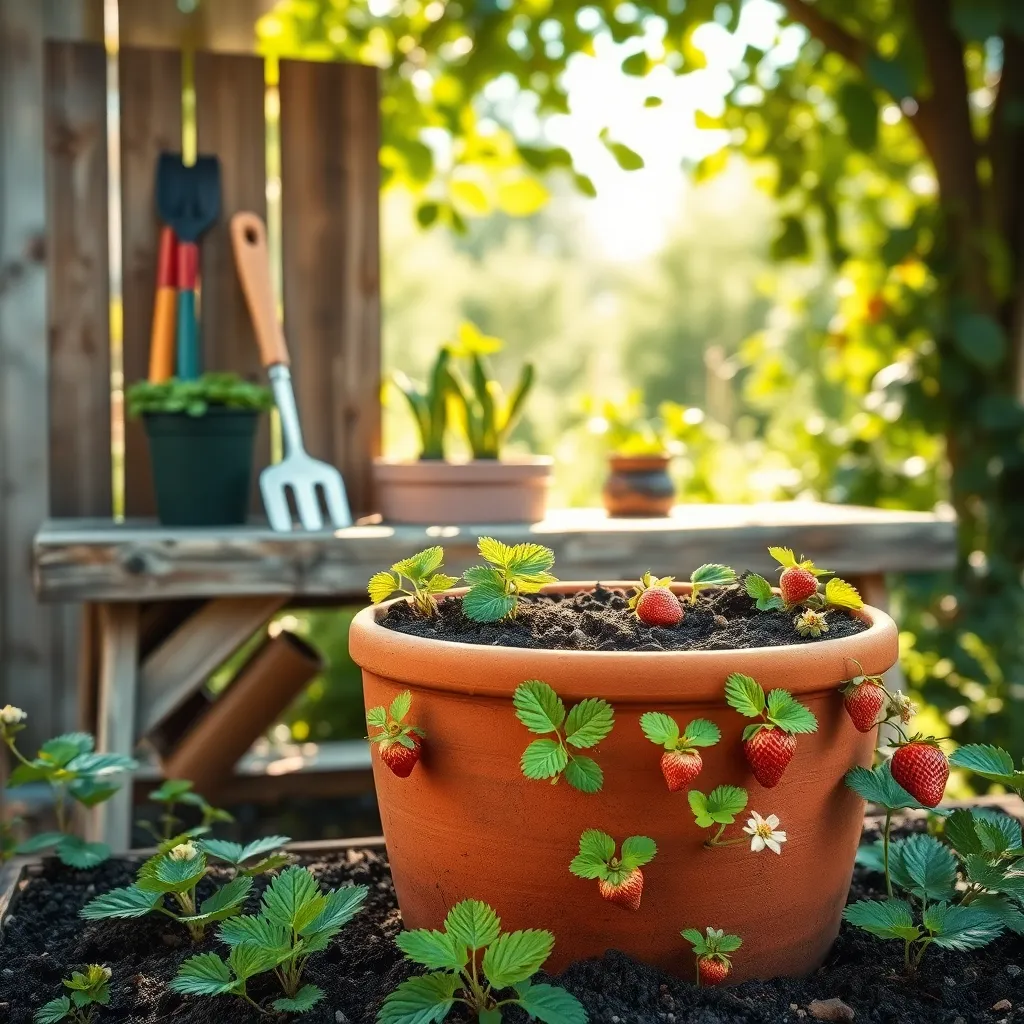
Make sure to select a container that is at least 12 inches deep, allowing enough room for root development. Use a high-quality potting mix enriched with organic material to ensure optimal drainage and nutrient availability.
Providing at least six to eight hours of sunlight daily is crucial for strawberry plants to thrive. Consider placing your containers on a south-facing patio or balcony for maximum sun exposure.
Regular watering is essential, as strawberries in containers dry out more quickly than those planted in the ground. Ensure the soil remains consistently moist but not waterlogged to prevent root rot and encourage healthy growth.
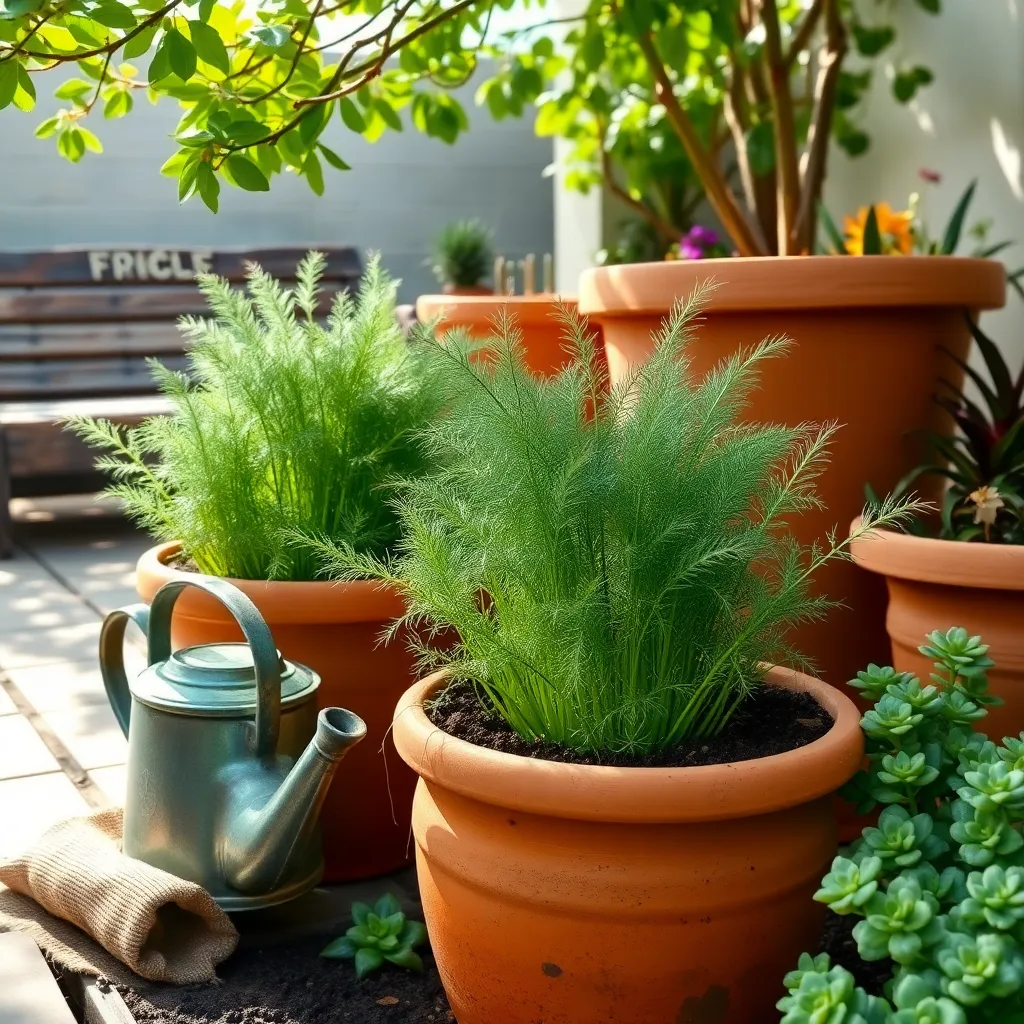
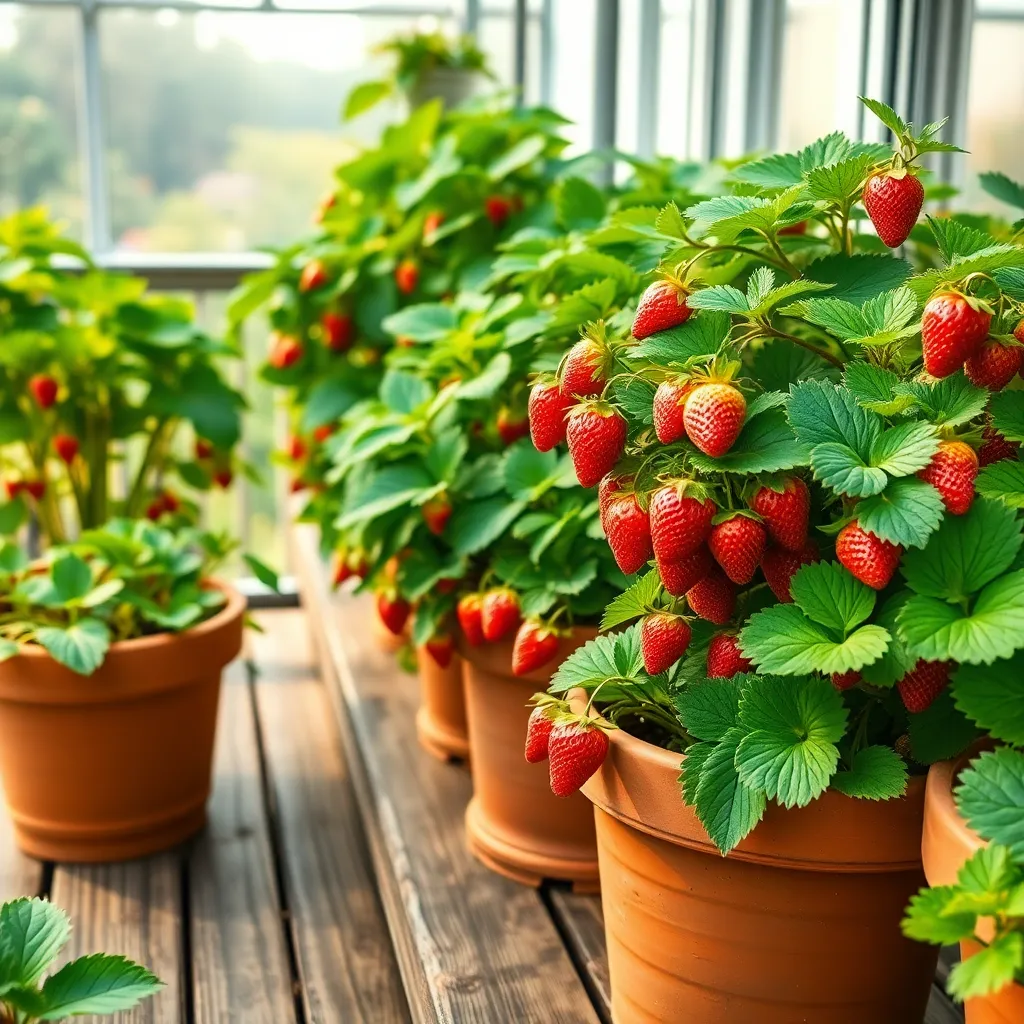
Choose Appropriate Container Size
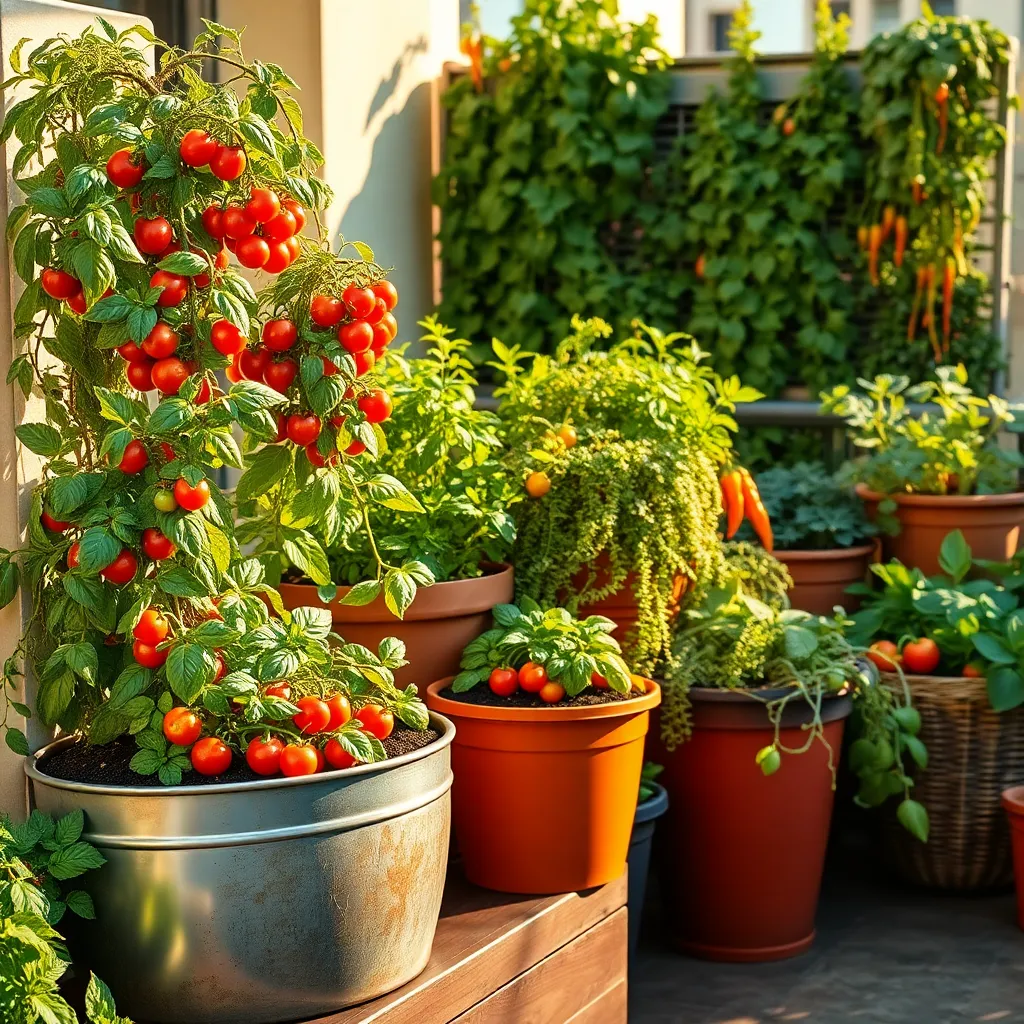
Choosing the right container size is crucial for growing healthy strawberries. A container that is too small can restrict root growth, while one that is too large may retain excessive moisture, leading to root rot.
For each strawberry plant, opt for a container with a minimum diameter of 12 to 18 inches. This size provides ample space for roots to expand and ensures the plant receives adequate nutrients from the soil.
Ensure your container has drainage holes to prevent waterlogging, which is detrimental to strawberry plants. You can add a layer of gravel at the bottom to further enhance drainage, especially if you’re using a container without built-in holes.
Consider using a lightweight potting mix that contains perlite or vermiculite to improve aeration and drainage. These components help maintain the ideal moisture balance in the soil, which is essential for strawberries.
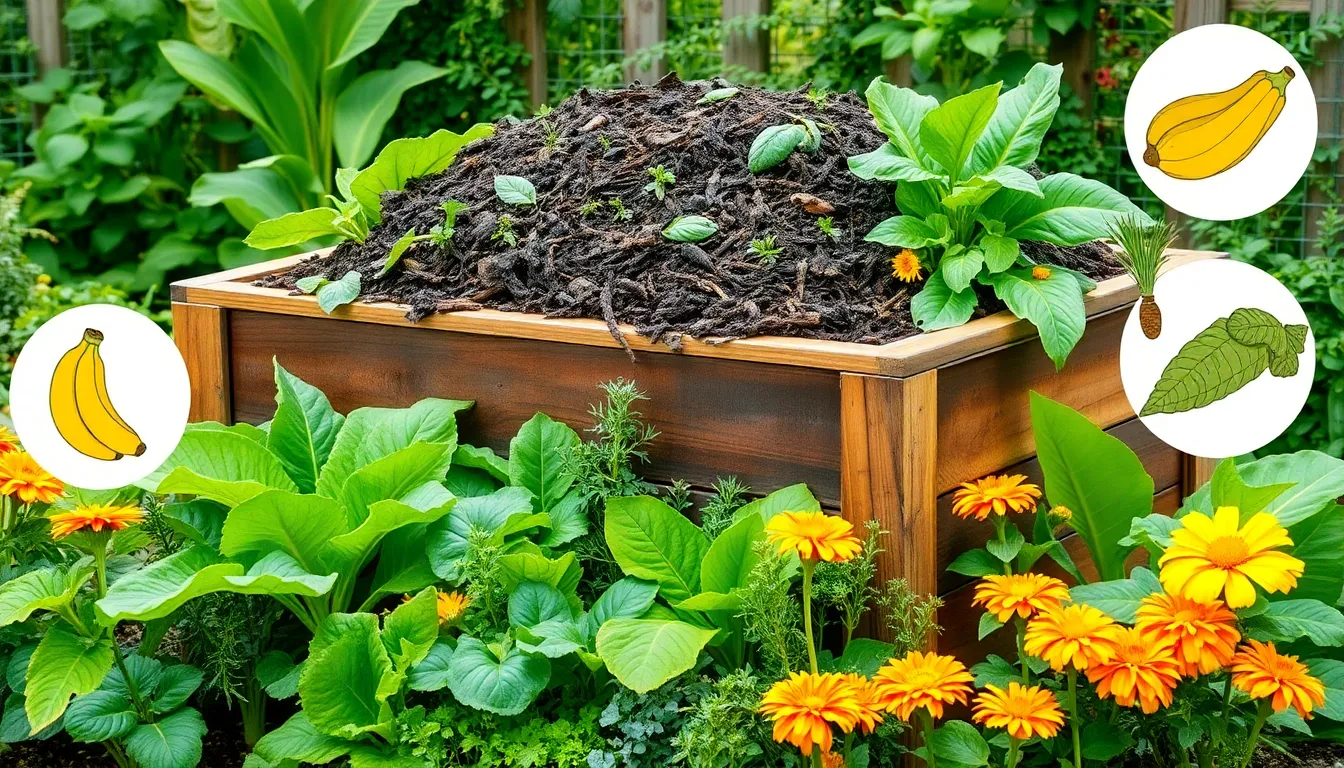
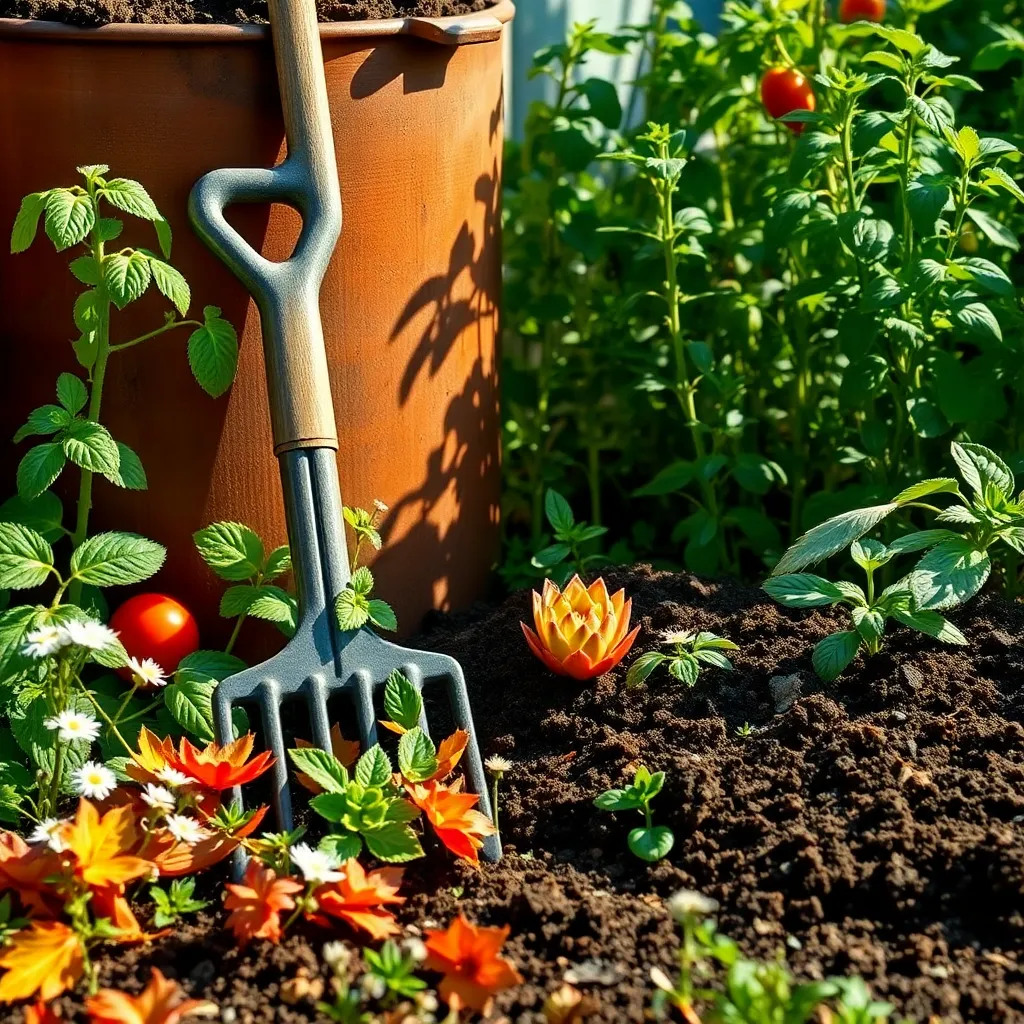
Prepare Well-Draining Soil Mix
For successful strawberry growth in containers, it’s crucial to prepare a well-draining soil mix. Start by using a base of high-quality potting soil that contains organic matter to provide nutrients and improve water retention.
Enhance drainage by adding perlite or coarse sand to the potting mix, which helps prevent water from pooling at the roots. A recommended ratio is about two parts potting soil to one part perlite or sand, ensuring the mix remains light and airy.
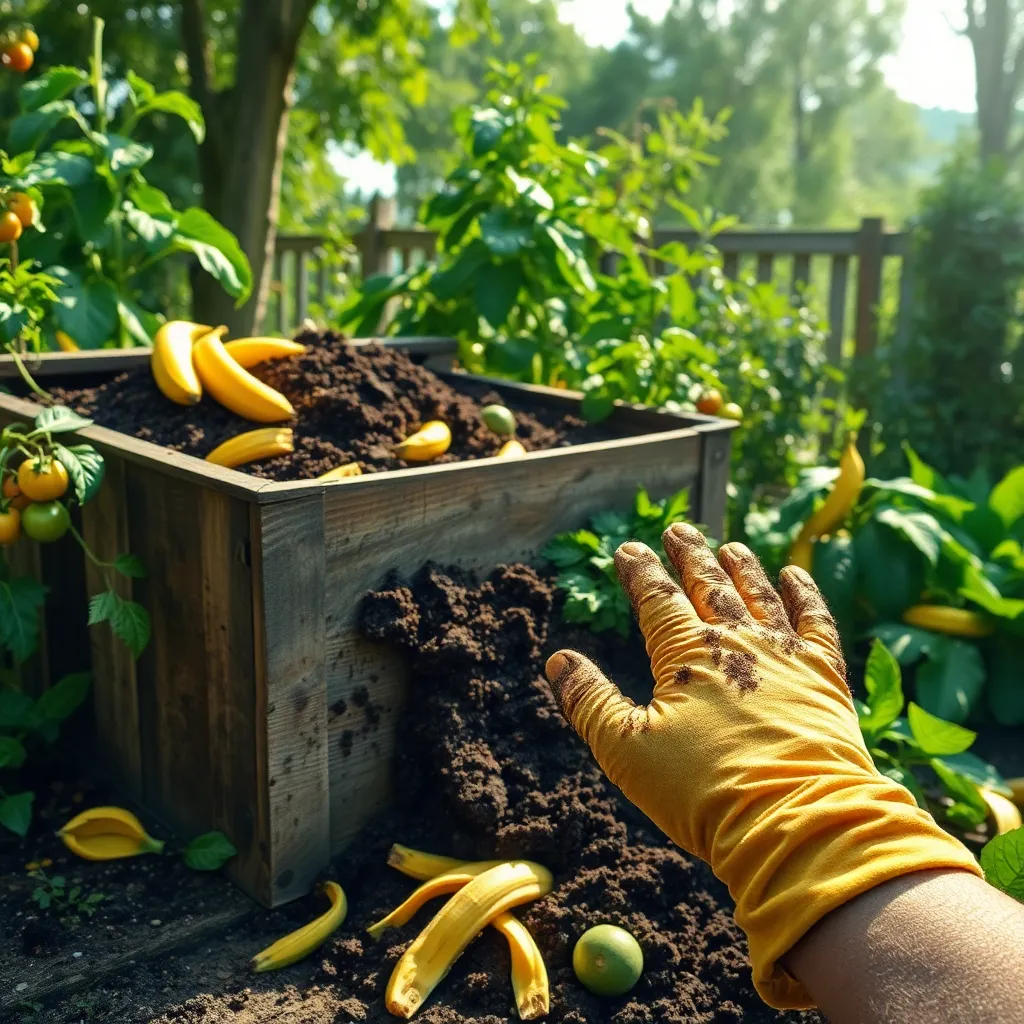
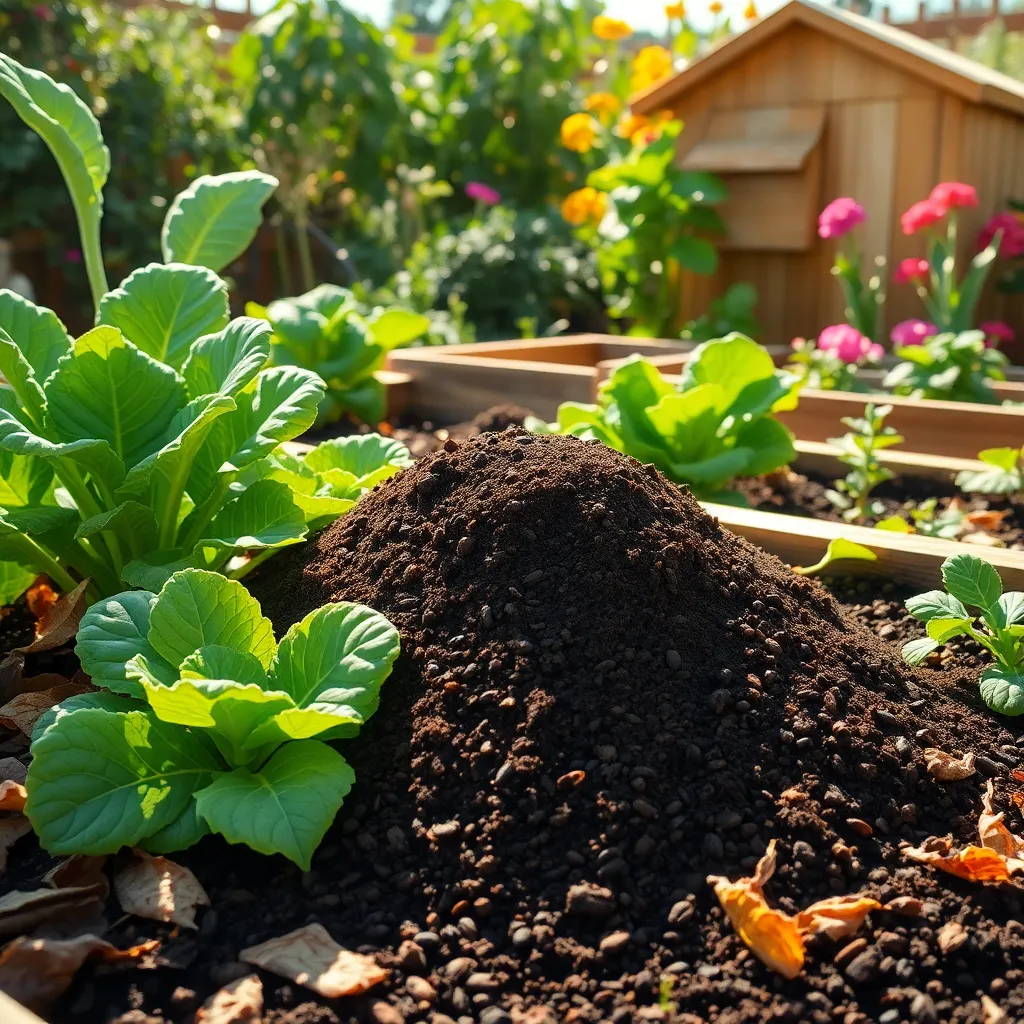
Consider incorporating compost into the soil mix to boost fertility and encourage healthy strawberry plants. Compost not only enriches the soil but also promotes beneficial microbial activity that supports plant health.
For gardeners looking to optimize their soil mix, adding a small amount of slow-release fertilizer can provide a steady nutrient supply. Ensure the fertilizer is specifically formulated for fruits or vegetables to meet the nutritional needs of strawberries.
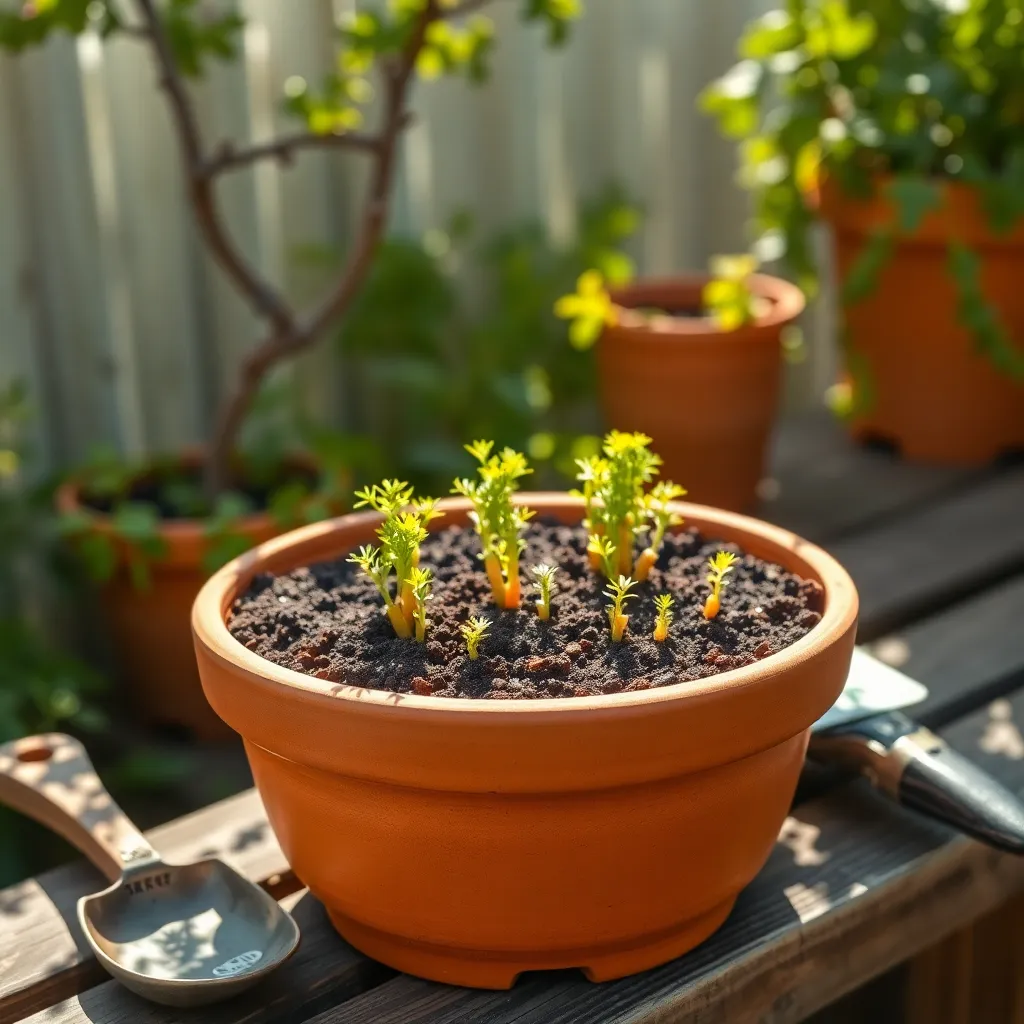
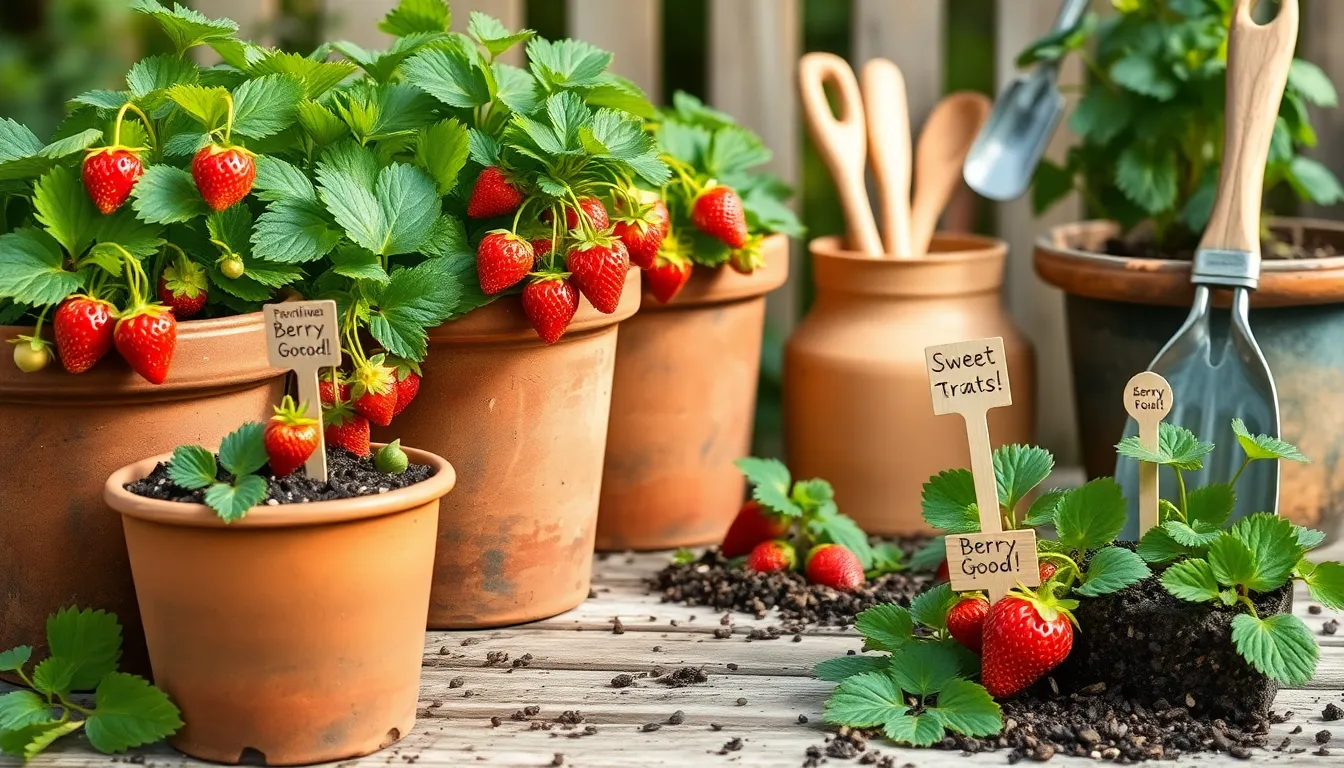
Plant Strawberries Correctly
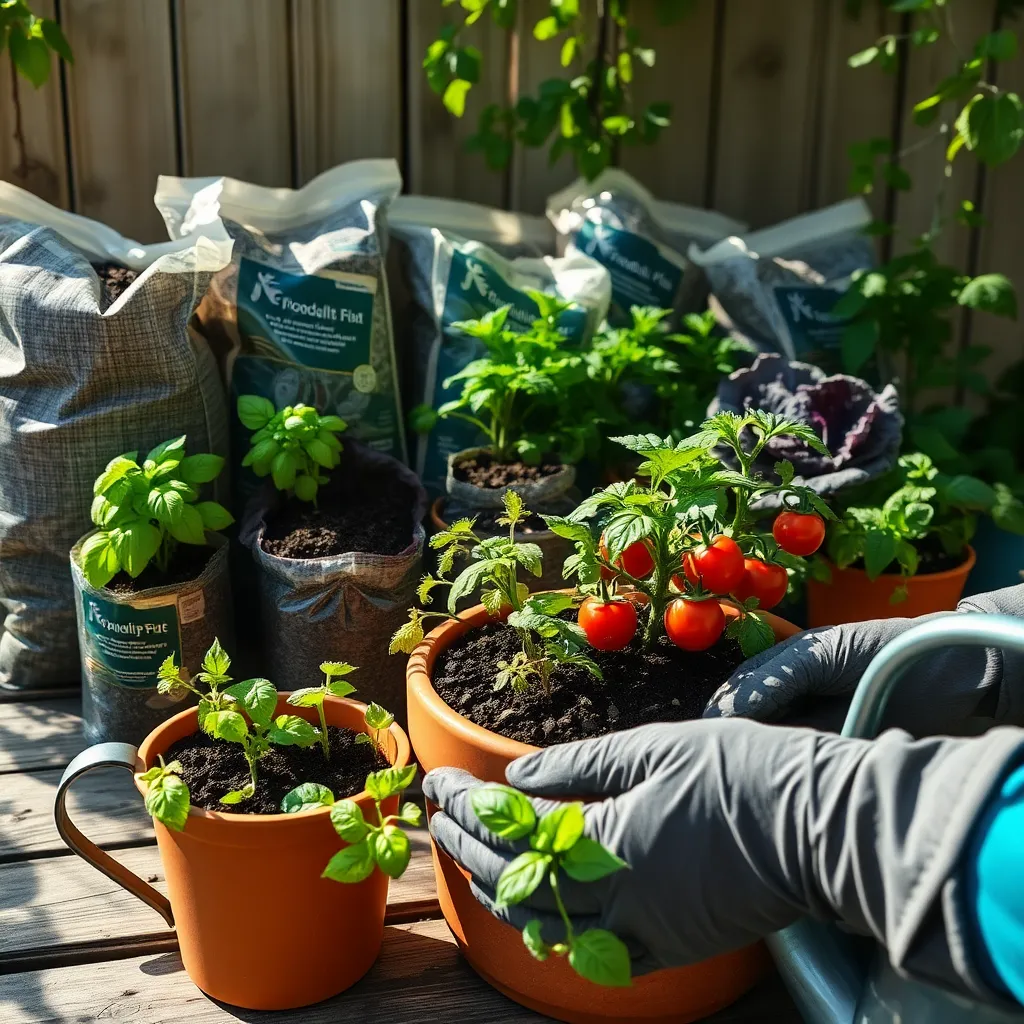
When planting strawberries in containers, it’s crucial to ensure that the crowns are positioned correctly above the soil. Plant the crowns so that they sit just at the soil surface, ensuring the roots are well-covered but the crowns are not buried. This prevents rot and promotes healthy growth. Additionally, leaving about a 1-inch space between the soil surface and the container rim helps with watering and reduces overflow.
Before planting, moisten the soil mixture slightly to help the roots settle in. Avoid overly wet soil, as strawberries prefer slightly drier conditions to prevent fungal diseases. After planting, water the strawberries thoroughly to eliminate air pockets around the roots. Consistent moisture is key, so consider using a drip irrigation system or a watering can with a narrow spout for even hydration.
Strawberries thrive with ample sunlight, so place your containers in a location that receives at least 6 to 8 hours of direct sun daily. For those in areas with intense heat, consider providing afternoon shade to protect the plants from scorching. Regularly rotate the containers every few days to ensure all sides of the plant receive equal sunlight, promoting even growth and fruit development.
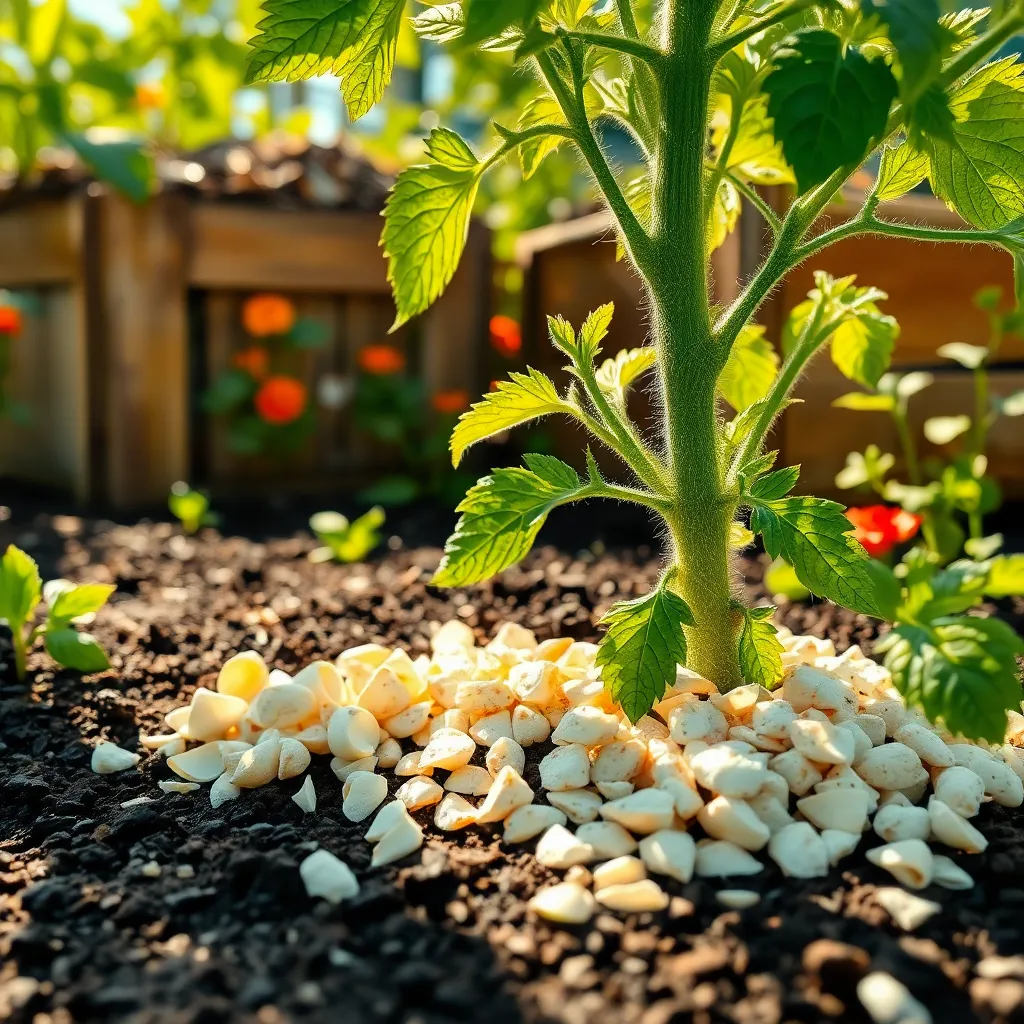
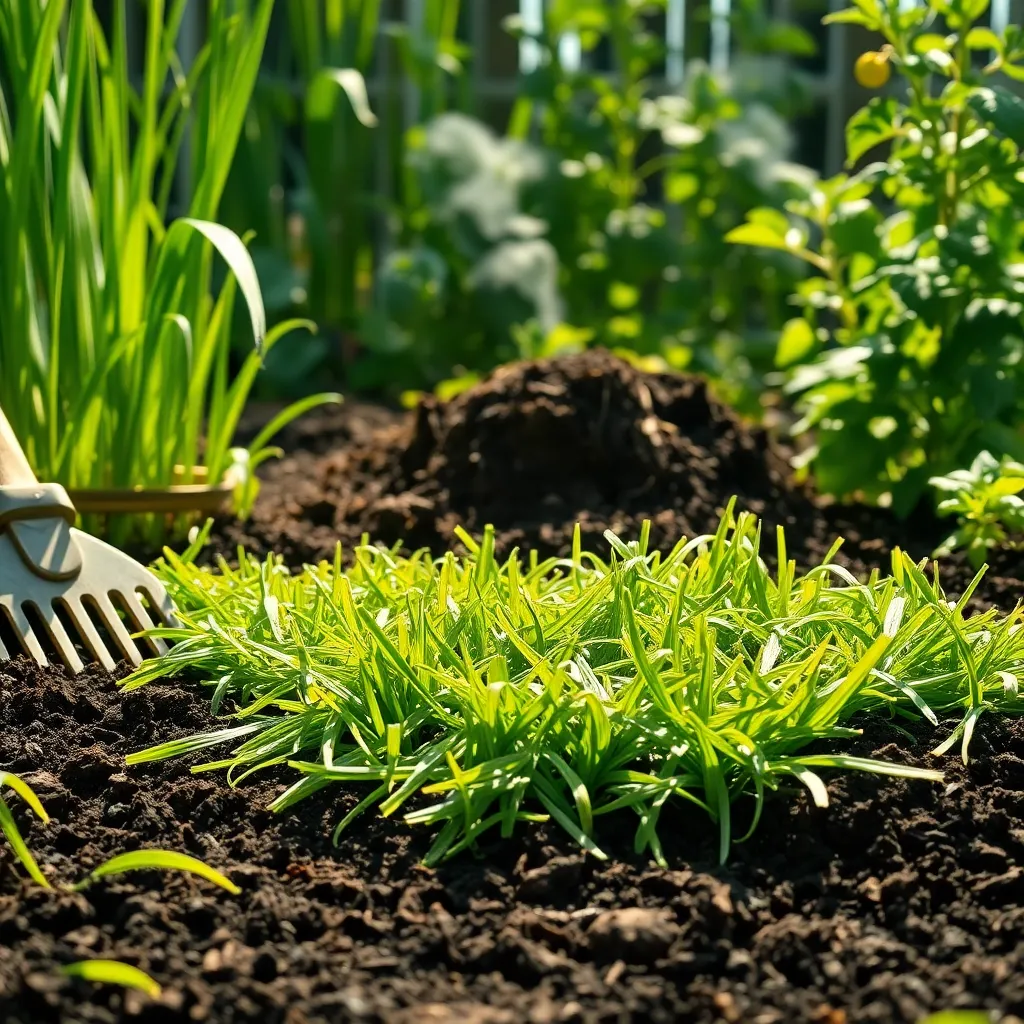
For optimal growth, fertilize your strawberries with a balanced liquid fertilizer every two weeks during the growing season. Choose a fertilizer with a higher potassium content to support fruit production, such as one with an N-P-K ratio of 5-10-10. Applying compost or a slow-release organic fertilizer can also enhance soil fertility, and mulching with straw or pine needles helps retain moisture and suppress weeds. This care routine will set your strawberries up for a bountiful harvest.
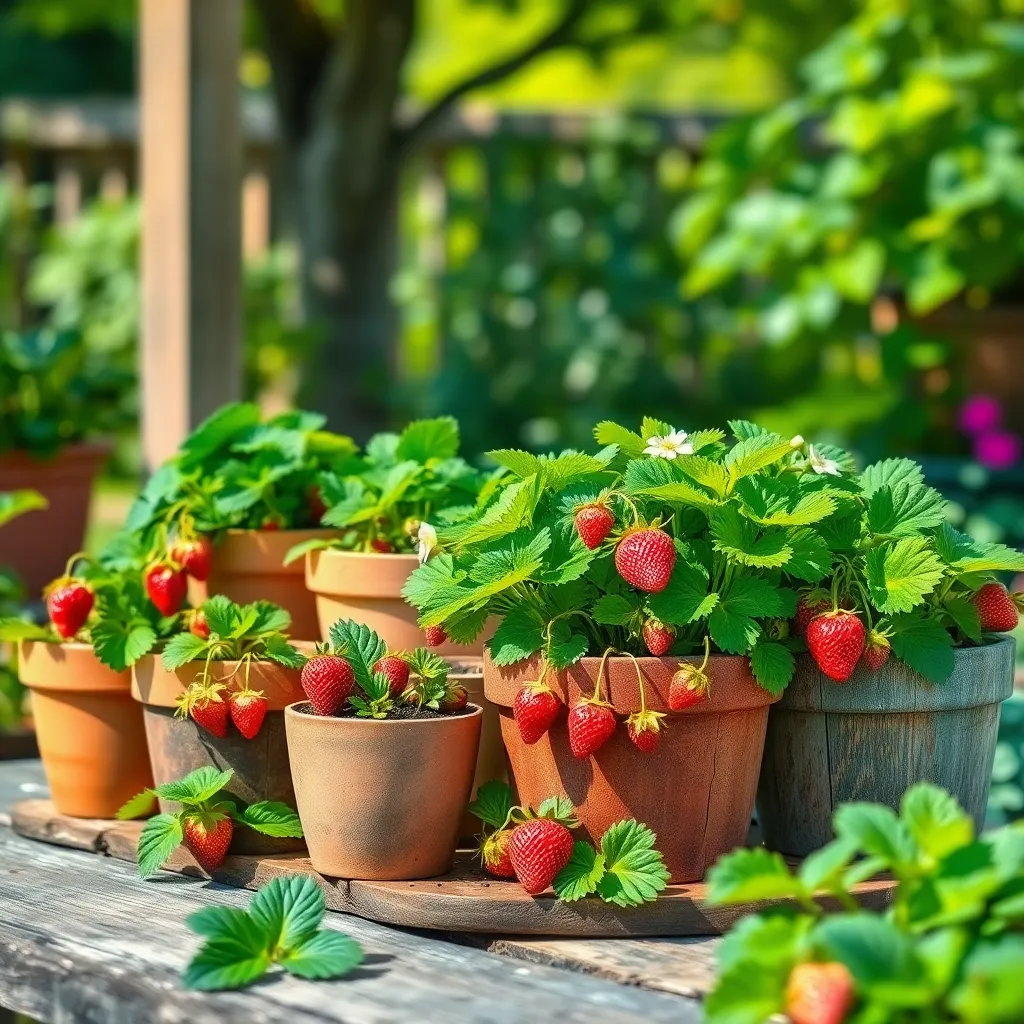
Ensure Adequate Water and Sunlight
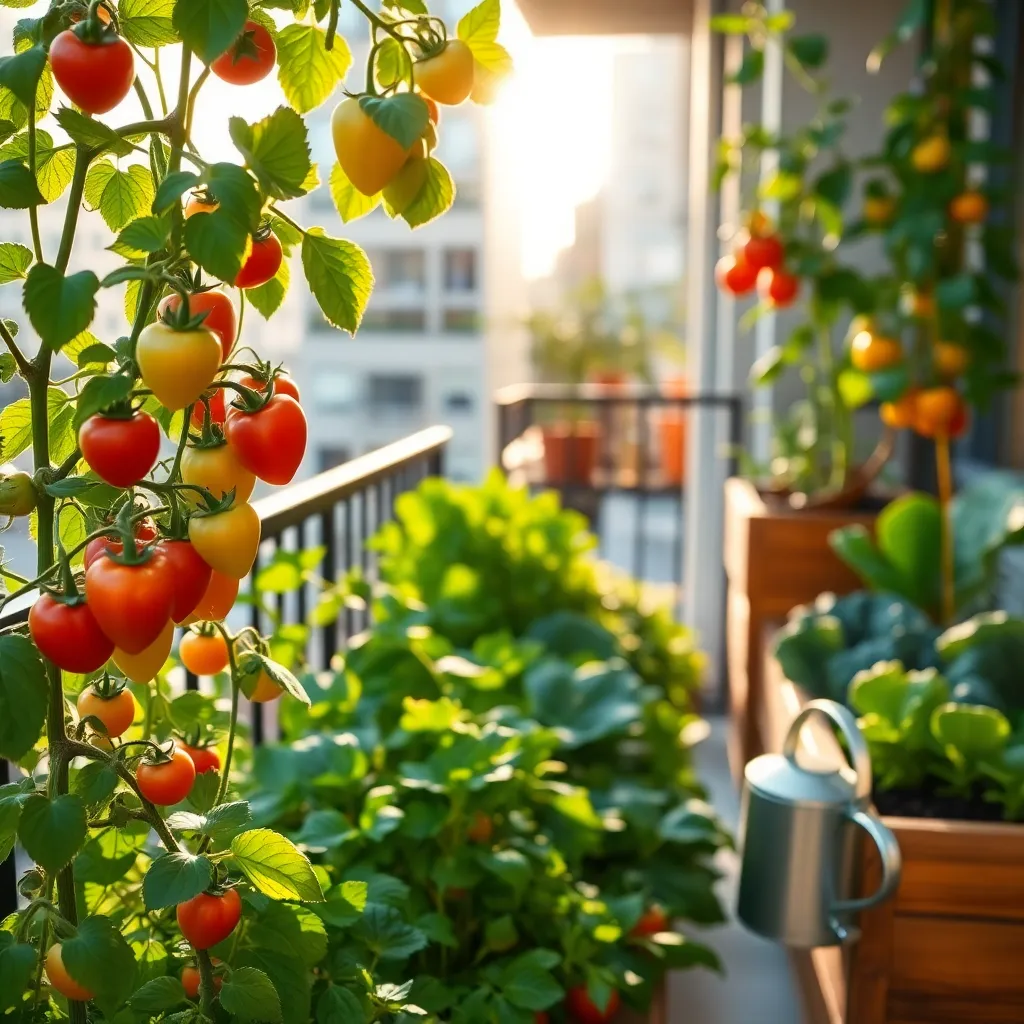
Strawberries thrive when they receive ample sunlight, so position your containers where they can soak up at least 6 to 8 hours of direct sunlight daily. If you’re short on sunny spots, consider using reflective surfaces or grow lights to enhance light exposure.
Watering is another critical factor for successful strawberry growth. Ensure your containers have good drainage to prevent waterlogging, and aim to keep the soil consistently moist but not soggy.
To determine the right watering schedule, check the soil moisture regularly by inserting your finger into the soil up to an inch deep. If it feels dry at that depth, it’s time to water the plants; otherwise, wait a bit longer to avoid overwatering.
For gardeners looking to optimize growth, consider using self-watering containers that regulate moisture more effectively. These containers can help maintain the perfect water balance and reduce the frequency of watering.
Conclusion: Growing Success with These Plants
Growing strawberries in containers can be a delightful adventure, much like nurturing a healthy relationship. Throughout this exploration, we’ve uncovered five essential concepts: choosing the right companion—selecting the perfect container, laying a strong foundation—using quality soil, nurturing with patience—consistent watering, providing room to grow—adequate sunlight, and regular check-ins—routine pruning and care. Just as these steps ensure a bountiful strawberry harvest, they also mirror the key components of a thriving relationship.
As your next step, why not start a conversation with your partner about a shared goal, much like planting your first strawberry seed? This small action can cultivate shared interests and strengthen your bond.
Remember to bookmark this article to revisit these nurturing concepts anytime you need a gentle reminder. With dedication, your relationships can flourish as beautifully as your container garden. The journey to relationship success is ongoing, and each step forward brings you closer to a more fulfilling connection. Embrace these insights, and you’ll find that both your strawberries and relationships can thrive with care and attention.