In the heart of every fruitful garden lies the art and science of pruning fruit trees—a practice that promises to transform tangled branches into a thriving orchard. Whether you’re a novice gardener just beginning your horticultural journey or a seasoned green thumb, understanding how to prune effectively is essential for the health and productivity of your trees. This task, often viewed with apprehension, is your gateway to a bountiful harvest, breathing life into each branch with precision and care.
Pruning is not merely about cutting away; it’s about nurturing growth and guiding nature’s course. By strategically removing specific limbs, you enhance sunlight penetration and air circulation, which are crucial for fruit development and disease prevention. In this article, we will demystify the pruning process, offering you step-by-step guidance that respects both the beauty and biology of your trees. You’ll discover the best tools for the job, the perfect timing for different fruit varieties, and techniques that will empower you to shape your trees confidently.
Imagine your garden as a canvas, with each cut of the pruner a brushstroke that reveals the potential within. While the task may seem daunting at first, together we’ll explore how each snip contributes to a healthier, more productive tree. This journey will equip you not just with knowledge, but with the assurance to embrace pruning as a rewarding and transformative gardening skill. So, roll up your sleeves, and let’s embark on this horticultural adventure that promises to enrich both your garden and your soul.
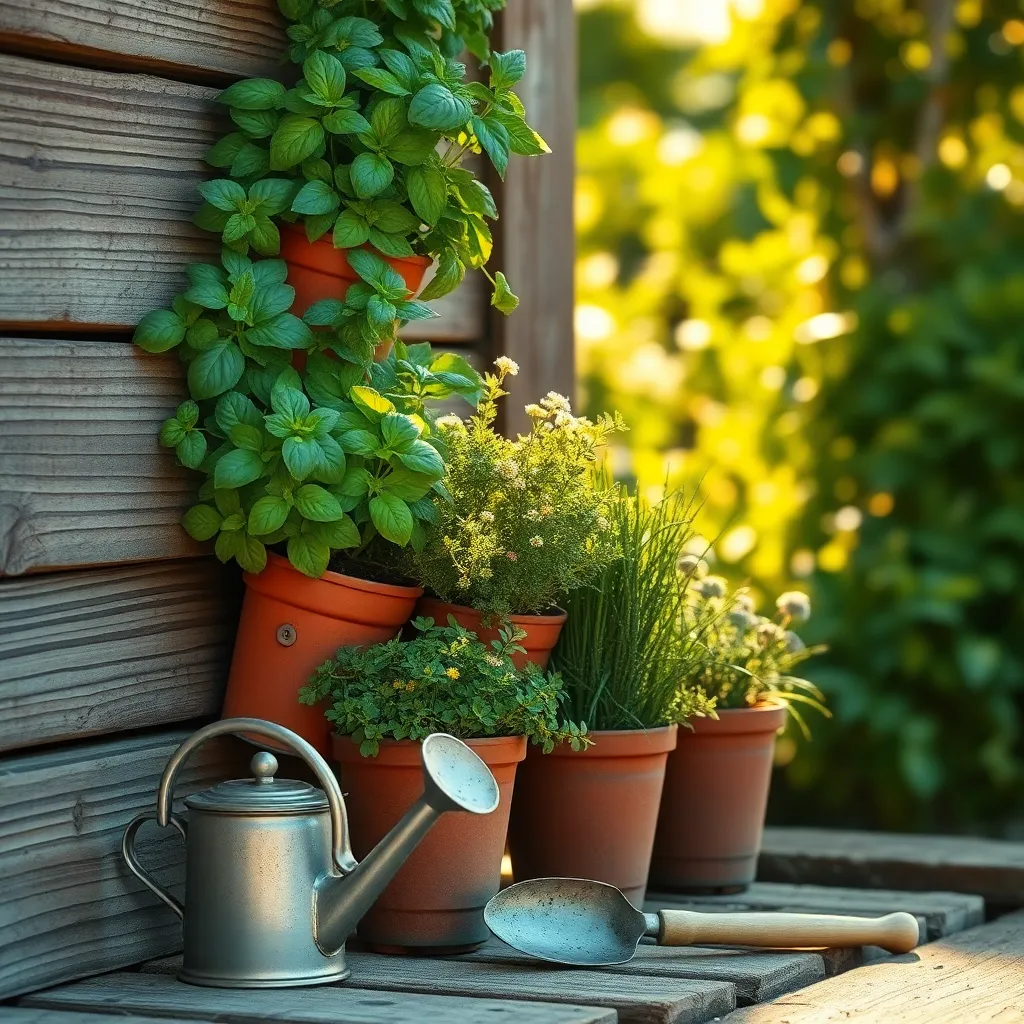
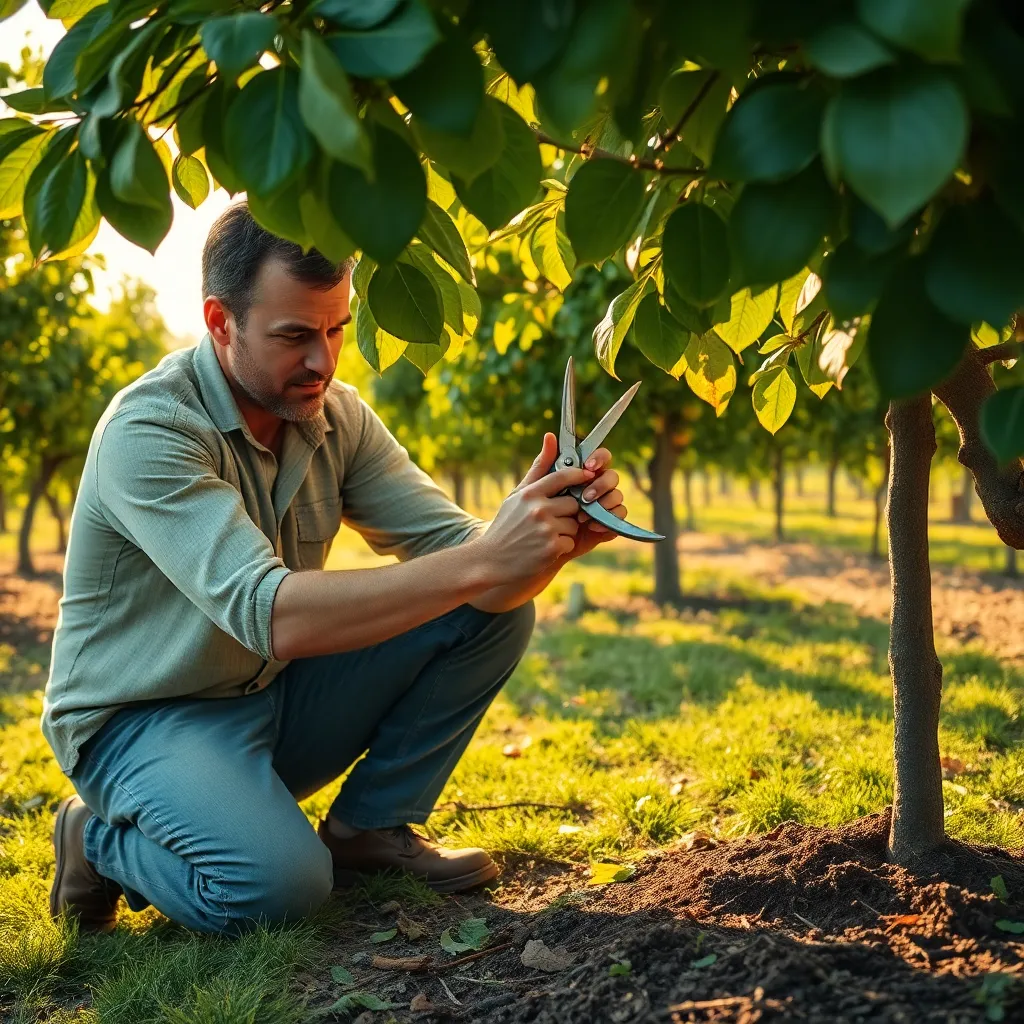
Select Appropriate Pruning Tools
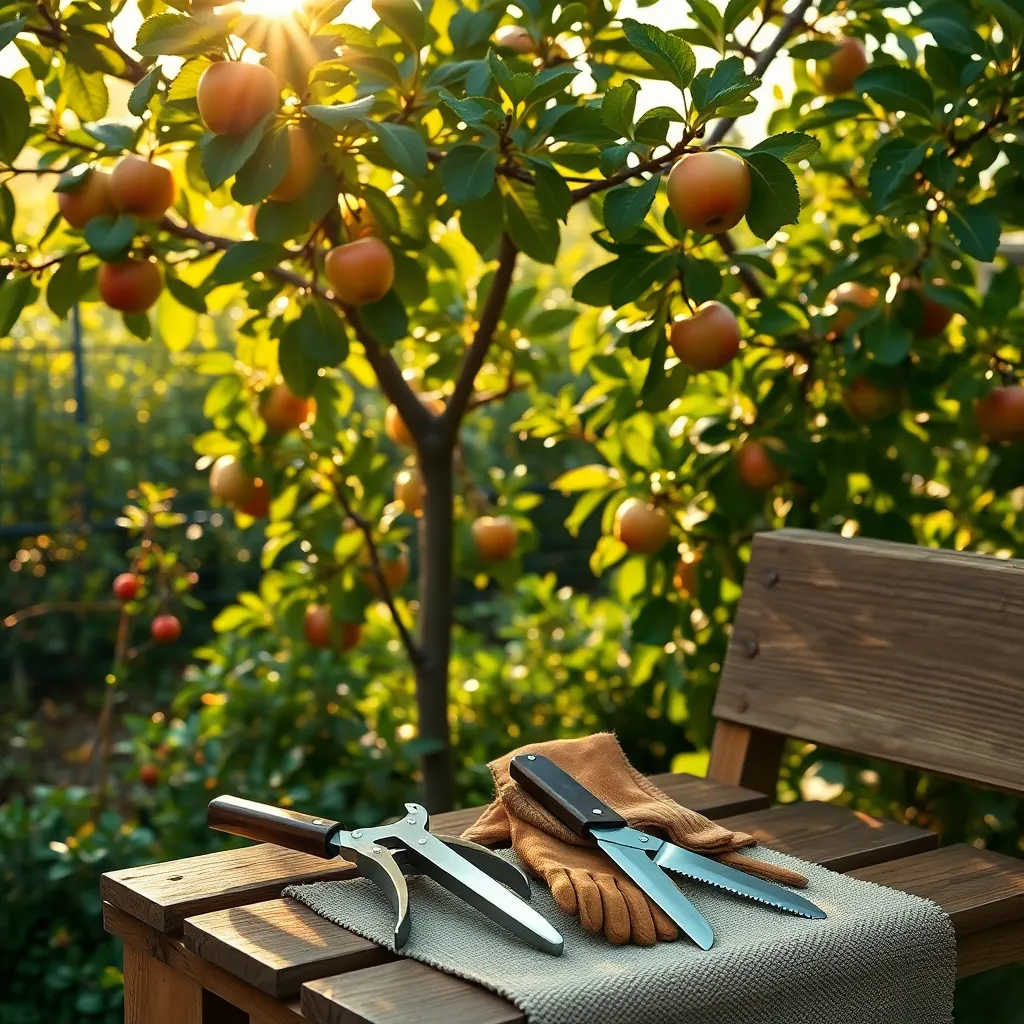
Choosing the right pruning tools is essential for maintaining the health and productivity of your fruit trees. Well-maintained tools not only make the job easier but also prevent damage to the trees.
Start with a pair of high-quality bypass pruners, which are perfect for cutting small branches and stems. Ensure they are sharp and clean to make precise cuts that heal quickly, reducing the risk of disease.
For thicker branches, anvil pruners or a pruning saw may be necessary. Anvil pruners work well for cutting dead wood, while a pruning saw can handle branches up to a few inches thick.
Gardeners should also consider the comfort and ergonomics of their tools, especially for extended pruning sessions. Look for models with cushioned grips and lightweight materials to reduce fatigue.
- Regularly oil and sharpen your tools to keep them in optimal condition.
- Disinfect tools with a bleach solution or rubbing alcohol between cuts to prevent the spread of disease.
- Store tools in a dry place to avoid rust and ensure longevity.
Investing in quality tools can save you time and effort in the long run, making your pruning tasks more enjoyable. As you gain experience, consider expanding your collection to include specialty tools for specific tasks, such as pole pruners for high branches.
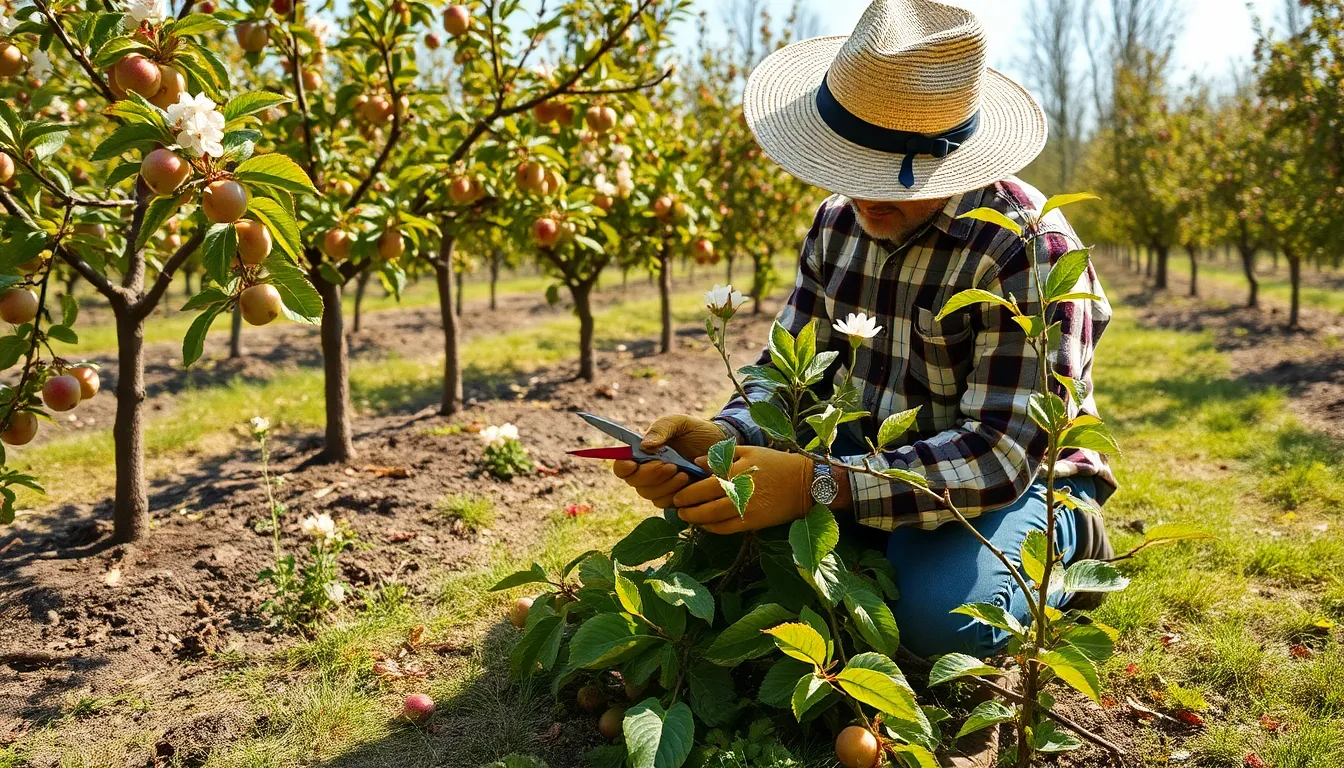
Identify Dead or Diseased Branches
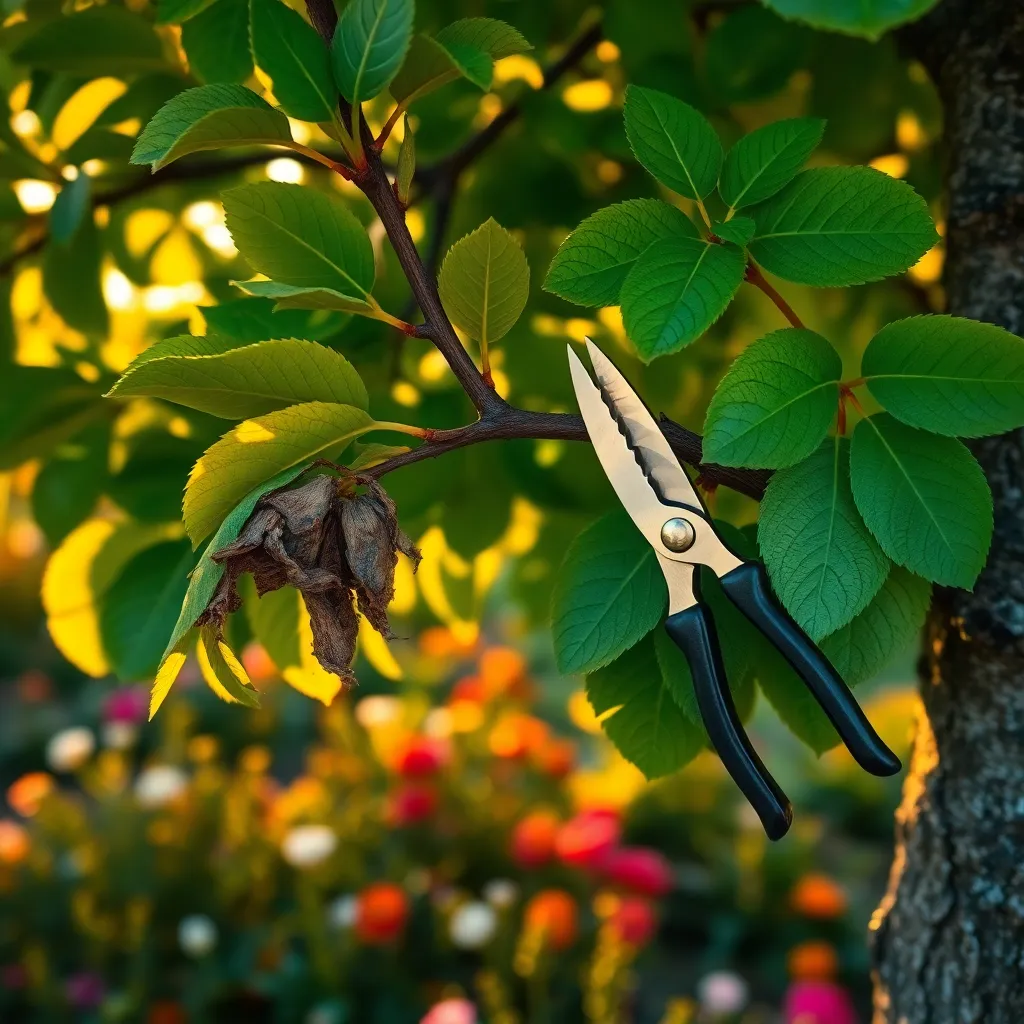
To begin identifying dead or diseased branches, closely examine your fruit tree for signs of distress. Look for branches that are brittle, have no new growth, or exhibit unusual discoloration, as these are clear indicators of potential issues.
Healthy branches should show signs of life, such as vibrant leaves and flexible wood. If a branch snaps easily or appears to have fungal growth, it’s likely dead or diseased and should be pruned away to maintain the tree’s health.
It’s important to check for symptoms of disease, such as cankers, which are sunken areas of bark that may ooze sap. These areas can spread infection to other parts of the tree, so removing them promptly is crucial.
Inspecting your tree regularly helps prevent the spread of disease, especially during the dormant season when the tree’s structure is more visible. By consistently monitoring and pruning unhealthy branches, you encourage stronger, more productive growth in your fruit trees.
Remove Suckers and Water Sprouts
Once you’ve identified and removed dead or diseased branches, it’s crucial to address the growth of suckers and water sprouts. Suckers are shoots that emerge from the base of the tree or below the graft union, while water sprouts are vigorous shoots that grow vertically from branches or the trunk.
Removing these unwanted growths helps direct the tree’s energy towards producing fruit, rather than excessive foliage. To effectively remove suckers, use sharp pruning shears and cut them as close to the point of origin as possible to prevent regrowth.
Water sprouts can be pruned during the tree’s dormant season in winter or early spring, which minimizes stress on the tree. While cutting, ensure you make a clean cut at the base of the sprout to avoid leaving stubs that can lead to disease.
For gardeners with more experience, consider using a pruning saw for thicker water sprouts on mature trees. Regularly inspect your fruit trees throughout the growing season, as suckers and water sprouts can grow rapidly and may require additional attention.
Thin Out Overcrowded Branches
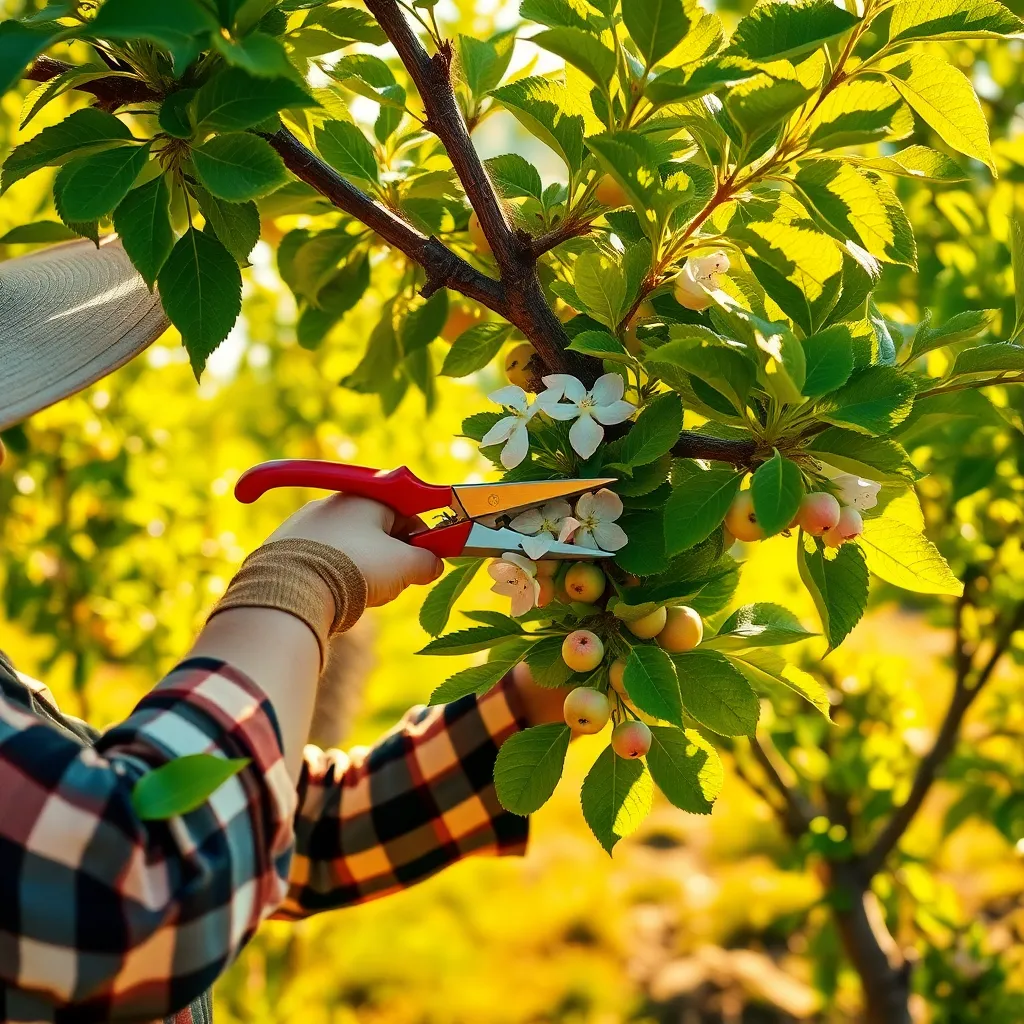
Thinning out overcrowded branches is a crucial step in maintaining healthy fruit trees. When branches are too close together, they can restrict air circulation and sunlight penetration, leading to diseases and poor fruit production.
Begin by identifying branches that cross or rub against each other, as these can cause wounds that invite pests and diseases. Use clean, sharp pruning shears to make precise cuts, ensuring you cut just above a bud to promote new growth.
For beginners, focus on removing the smaller, weaker branches first to open up the tree’s canopy. This will help increase airflow and sunlight exposure, which are essential for healthy fruit development.
Experienced gardeners can take it a step further by thinning out the center of the tree to create a “vase” shape. This advanced technique maximizes light penetration and makes harvesting easier by keeping the tree’s height manageable.
It’s best to thin overcrowded branches during the dormant season, typically late winter, to minimize stress on the tree. Always dispose of pruned branches appropriately to prevent disease spread and keep your garden tidy.
Shape Tree for Optimal Growth

Shaping your fruit tree for optimal growth involves understanding the natural growth pattern and working with it rather than against it. Start by identifying the central leader or main trunk, which should remain dominant to encourage a strong, upright growth habit.
To promote a balanced shape, prune the branches that compete with the central leader, allowing light and air to penetrate the canopy. Light and air circulation are essential for reducing disease risk and promoting even fruit ripening.
When shaping your tree, aim for a structure that resembles an open vase with evenly spaced branches. This formation not only enhances sunlight exposure but also makes harvesting easier and more efficient.
For trees in their early stages, focus on removing any suckers and water sprouts that divert energy from productive growth. As the tree matures, continue to shape it by pruning back any branches that cross or rub against each other, preventing potential damage and disease entry points.
Regularly assess the growth of your tree to ensure that its shape facilitates healthy development and fruit production. Keep in mind that different fruit tree species may have specific preferences, so research your particular tree type for optimal shaping techniques.
Incorporate these strategies into your regular pruning routine to maintain a healthy and productive fruit tree. With patience and practice, you will develop the skills to shape your trees effectively, ensuring bountiful harvests for years to come.
Conclusion: Growing Success with These Plants
In “How to Prune Fruit Trees,” we explored five key relationship concepts: clear communication, setting boundaries, nurturing growth, addressing conflicts, and maintaining balance. These principles are akin to pruning a tree; each cut is intentional, fostering a healthier, more fruitful relationship. Clear communication opens channels for honest dialogue, while setting boundaries ensures mutual respect. Nurturing growth encourages shared goals and dreams, while addressing conflicts prevents misunderstandings from taking root. Finally, maintaining balance between self-care and togetherness keeps the relationship thriving.
As an immediate next step, consider having an open conversation with your partner about one area where you both can focus on nurturing growth. This can be a small step, like setting aside time each week for a shared hobby or discussing long-term aspirations.
Remember, like a well-pruned tree, relationships require ongoing care and attention. Save or bookmark this article now to serve as your guide when you need a reminder of these essential practices. With dedication and mindful effort, relationship success is not just possible—it’s within your reach. Embrace these concepts, and watch your relationship flourish.