
Gardening is a journey that begins with a single seed and a nurturing touch, and for many, the ideal starting point is a raised garden bed. Whether you’re a seasoned gardener looking to optimize your green space, or a newcomer eager to cultivate your first harvest, raised garden beds offer an accessible and versatile solution that can transform any patch of land into a thriving oasis. Their elevated structure not only alleviates the strain of bending over but also allows for better control over soil quality and drainage, vital components for a successful garden.
Embarking on the creation of a raised garden bed opens a world of possibilities, from growing vibrant vegetables to fragrant herbs or dazzling flowers. In this article, you will discover the essential steps to design, build, and maintain your own raised garden bed, tailored to fit your gardening goals and space. We’ll explore the best materials to use, how to select the perfect location, and tips for choosing the right plants to maximize your garden’s potential. Join us as we delve into the art and science of raised bed gardening, empowering you to cultivate a lush, productive garden that suits both your needs and your dreams.
Select the Perfect Location
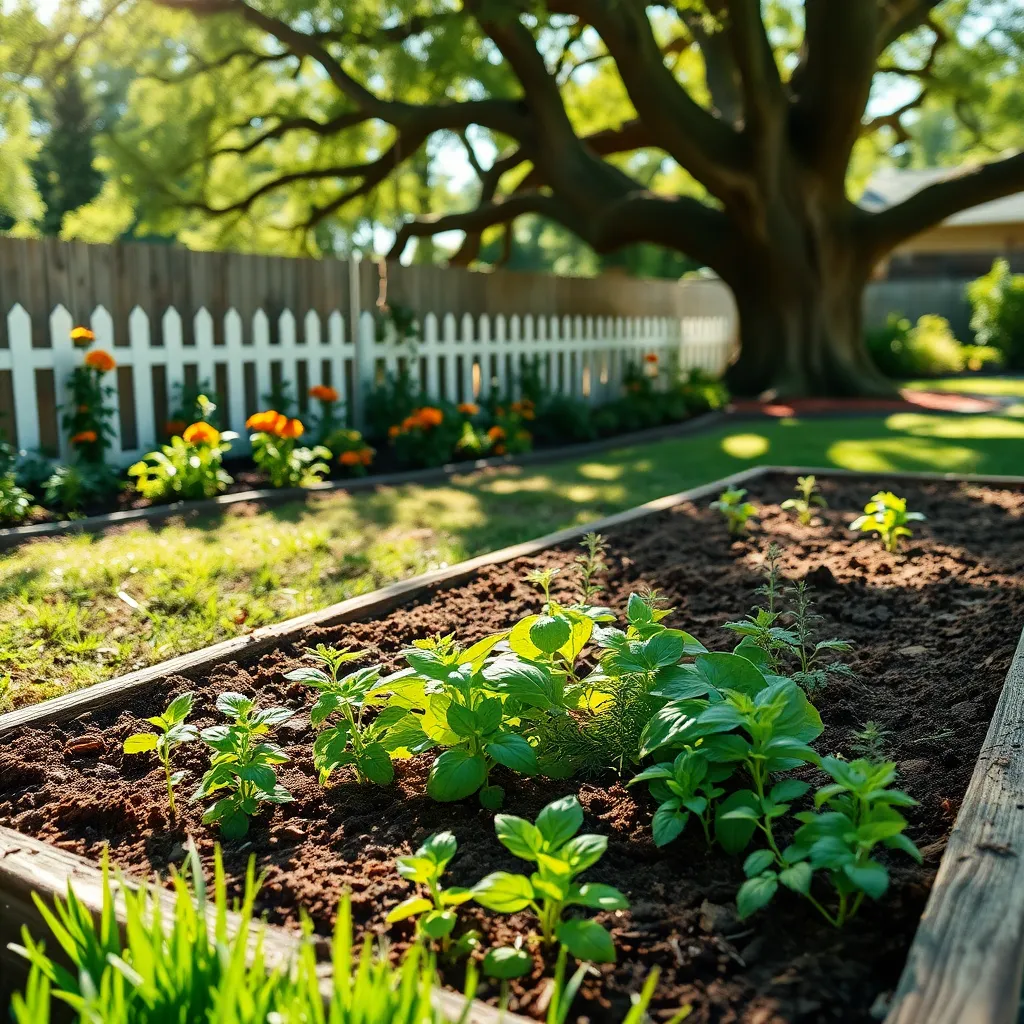
Choosing the right location for your raised garden bed is crucial for success. The first step is to identify a spot that receives at least six to eight hours of sunlight daily, as most vegetables thrive in full sun.
It’s also important to ensure the area has good drainage to prevent waterlogging. If the soil in your chosen spot tends to stay wet, consider adding drainage solutions like gravel under the bed or installing a raised platform.
Wind protection is another factor to consider, as strong winds can damage delicate plants. You can create a natural windbreak by planting shrubs or installing a fence nearby to shield your garden bed.
For those with limited space, consider vertical gardening solutions to maximize your growing area. Using structures like trellises or vertical planters can help you make the most of a small plot while adding visual interest to your garden.
Build a Sturdy Frame
After choosing the perfect location, it’s time to build a sturdy frame for your raised garden bed. The frame provides the necessary support and structure to hold the soil and plants securely in place.
For beginners, using untreated cedar or redwood is a great option since these woods naturally resist rot and pests. Cut the wood to your desired dimensions, ensuring the height is at least 12 inches to accommodate deep plant roots.
Position the wood pieces to form a rectangle, and use galvanized screws or nails to fasten the corners tightly. This method ensures the frame remains intact despite weather conditions and soil pressure.
More experienced gardeners might consider adding corner brackets for extra stability, especially for larger beds. Additionally, lining the bottom with landscape fabric can help prevent weeds while allowing water to drain effectively.
Before filling the frame with soil, consider adding a layer of coarse gravel to improve drainage. This step is crucial in preventing waterlogged soil, which can lead to root rot in many plants.
Fill with Quality Soil Mix

Once your sturdy frame is in place, it’s time to focus on filling it with the right soil mix. A quality soil mix is crucial for the health and productivity of your plants, providing the necessary nutrients and good drainage.
Begin by selecting a soil mix that combines equal parts of topsoil, compost, and peat moss. This combination will ensure that your plants have access to a balanced mix of nutrients, moisture, and air.
For beginners, pre-packaged raised bed soil mixes are available and can save time while providing a good foundation for your plants. Experienced gardeners might prefer to create their own mix, adjusting components to suit specific plant needs or local conditions.
Water retention is another critical factor to consider when filling your raised bed. Adding organic materials like coconut coir or vermiculite can help maintain soil moisture, ensuring your plants stay hydrated without overwatering.
Ensure the soil is well-aerated by blending in coarse sand or perlite, which prevents compaction and promotes healthy root growth. As a more advanced tip, consider incorporating soil amendments such as bone meal or worm castings for added fertility.
Once the soil is in place, water it thoroughly to settle it and eliminate any air pockets. This step also allows you to check the drainage of your raised bed, ensuring it is adequate for plant health.
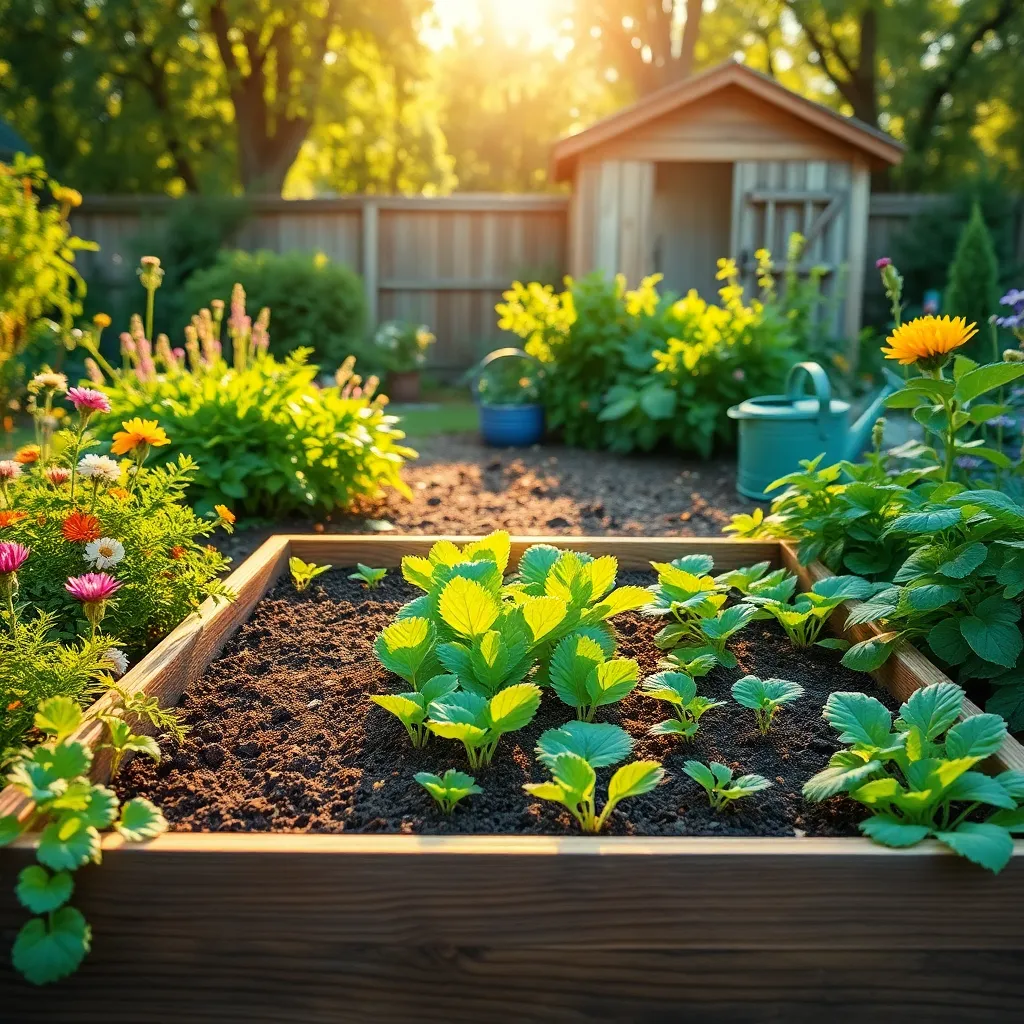
Plan Your Plant Layout

Before planting, take time to sketch a layout for your raised garden bed. This helps ensure that each plant has enough space and the right conditions to thrive.
Consider the light requirements of each plant, as some prefer full sun while others do well in partial shade. Position sun-loving plants like tomatoes and peppers where they’ll receive six to eight hours of sunlight daily.
Think about plant height to prevent taller plants from shading shorter ones. Place taller plants, such as corn or sunflowers, on the northern side of the bed to avoid blocking sunlight.
Arrange plants based on their watering needs to optimize growth and efficiency. Group plants with similar moisture requirements, such as lettuce and spinach, to streamline your watering routine.
For beginners, starting with simple companion planting can boost success rates. Pair plants like basil and tomatoes together, as they enhance each other’s growth and repel pests.
Advanced gardeners might experiment with intercropping to maximize space and harvests. This technique involves planting fast-growing crops like radishes alongside slower ones like carrots.
Water and Maintain Regularly

To ensure your raised garden bed thrives, it’s essential to water your plants consistently. Generally, aim to provide about one inch of water per week, which can vary based on your climate and plant types.
Evaluate the soil moisture by inserting your finger about an inch deep; if it feels dry, it’s time to water. Consider investing in a soaker hose or drip irrigation system for efficient water delivery directly to the plant roots.
Regular maintenance is crucial for a healthy garden. This includes tasks like weeding, mulching, and pruning, which help prevent pests and diseases while promoting robust plant growth.
For beginners, mulching can significantly reduce water evaporation and keep the soil temperature consistent. More experienced gardeners might explore companion planting to naturally manage pests and enhance plant health.
Conclusion: Growing Success with These Plants
In our exploration of “How to Start a Raised Garden Bed,” we unearthed five key relationship concepts that parallel the nurturing of a thriving garden. First, we emphasized the importance of strong foundations, just as relationships need trust and communication. Next, we highlighted how choosing the right environment—be it soil for plants or a supportive space for partners—ensures growth. We also discussed the significance of regular maintenance, akin to consistent effort and attention in relationships. Understanding and respecting unique needs, whether plant-specific or personal, fosters deeper bonds. Lastly, we celebrated the joy of harvesting, drawing parallels to cherishing relationship milestones.
As an actionable next step, take a moment today to reflect on one area in your relationship that could benefit from a little extra care, just like a garden needing a bit more watering.
Remember, nurturing relationships, like gardens, requires ongoing effort and love. Bookmark this article now to keep these insights handy for future reference. By committing to these principles, you’re sowing the seeds for enduring relationship success. Let’s cultivate vibrant and fulfilling connections, where love grows as abundantly as the most bountiful garden.