
There’s a certain magic to a well-tended garden, where each plant stands proudly in its own space, nurtured and thriving. Whether you’re a budding gardener or a seasoned green thumb, finding a way to identify your plants is essential to both the beauty and functionality of your garden. Garden markers serve this vital role, acting as silent sentinels that remind us of the names and needs of our leafy companions. Crafting your own garden markers not only adds a personal touch to your garden but also enhances your connection to the plants you lovingly care for.
Understanding and implementing creative garden markers can transform your gardening experience into an even more rewarding endeavor. In this article, we’ll explore a variety of DIY ideas that cater to different styles and materials, ensuring you find the perfect fit for your garden’s personality. You’ll learn how to turn everyday items into charming and practical markers, adding style and organization to your outdoor sanctuary. Whether you’re looking to recycle materials or indulge in a crafty project, this guide will offer insights that make the process both enjoyable and fulfilling.
As you delve into the world of DIY garden markers, you’ll discover that they are more than just labels; they are expressions of your style and ingenuity. We’ll guide you through techniques that range from the elegantly simple to the delightfully intricate, ensuring you have all the tools to create markers that are as durable as they are beautiful. By the end of this article, you’ll have the knowledge and inspiration to design markers that not only enhance your garden’s aesthetics but also simplify your gardening tasks. So, gather your materials, roll up your sleeves, and let’s embark on this creative journey to personalize your garden like never before.
Select Durable Marker Materials
Choosing the right materials for your garden markers is essential to ensure they withstand the elements. Wood, metal, and plastic are popular choices due to their durability and ease of use, with each offering distinct advantages for different gardening needs.
For those seeking an eco-friendly option, consider using untreated wood, which can blend naturally into your garden environment. Make sure to apply a waterproof sealant to protect the wood from moisture and extend its life.
Metal markers, such as those made from aluminum or stainless steel, are excellent for long-term use. These materials resist rust and corrosion, making them ideal for gardens exposed to rain and humidity.
Plastic markers are another practical choice, especially for those on a budget. Opt for UV-resistant plastic to prevent discoloration and brittleness from prolonged sun exposure.
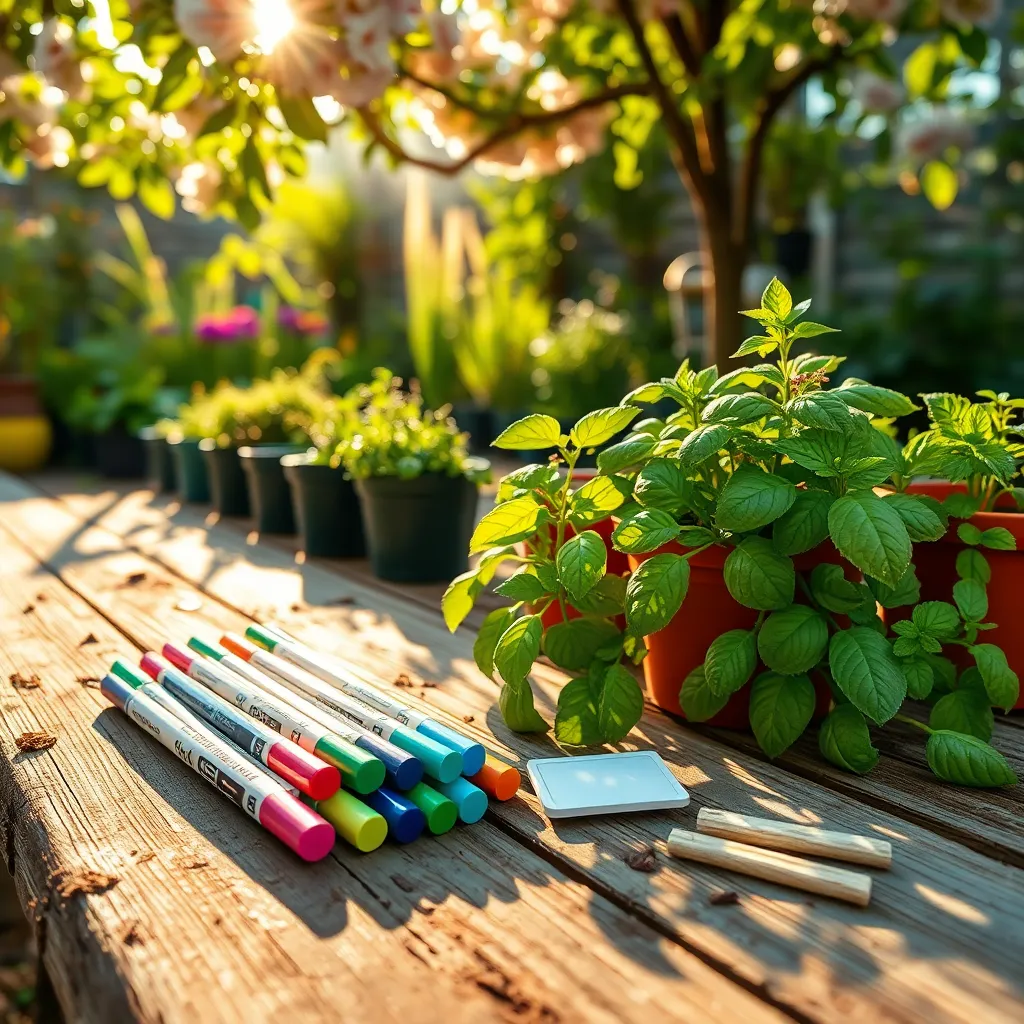
Regardless of the material, ensure your markers have a smooth surface for easy labeling. Use a permanent marker or paint pen to write plant names clearly, so they remain legible throughout the growing season.
Cut Materials to Desired Size
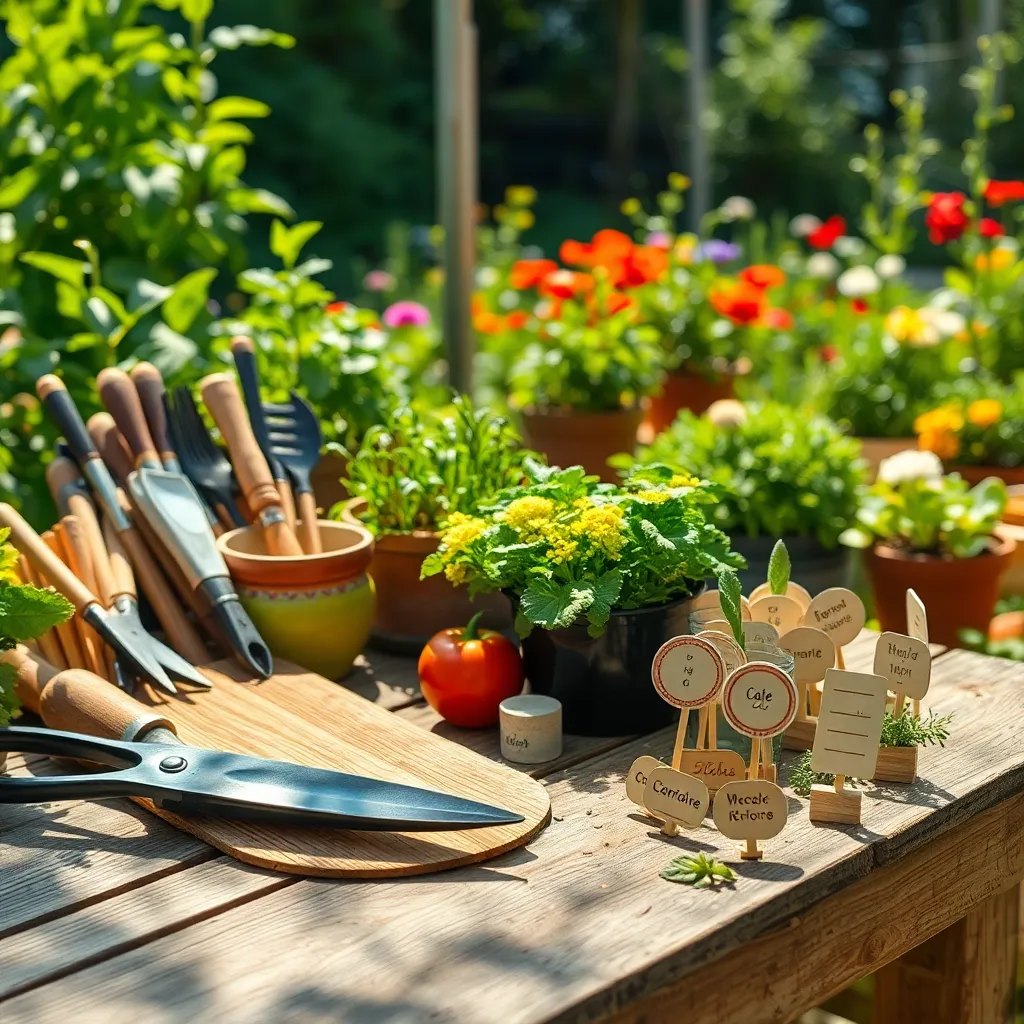
Once you’ve selected durable materials for your garden markers, the next step is to cut them to the desired size. Using a sharp utility knife or a pair of heavy-duty scissors can make the cutting process smoother and safer.
Before cutting, measure and mark the length you need for each marker. A typical garden marker is about 6 to 8 inches tall, which provides enough space for writing and easy visibility in your garden.
If you’re using wood for your markers, consider the grain direction to prevent splitting. Cutting against the grain can lead to breakage, so always cut along the grain for a cleaner finish.
For beginners, starting with simpler shapes like rectangles or squares is advisable. More advanced gardeners might experiment with creative shapes, like leaves or arrows, to add a personal touch to their gardens.
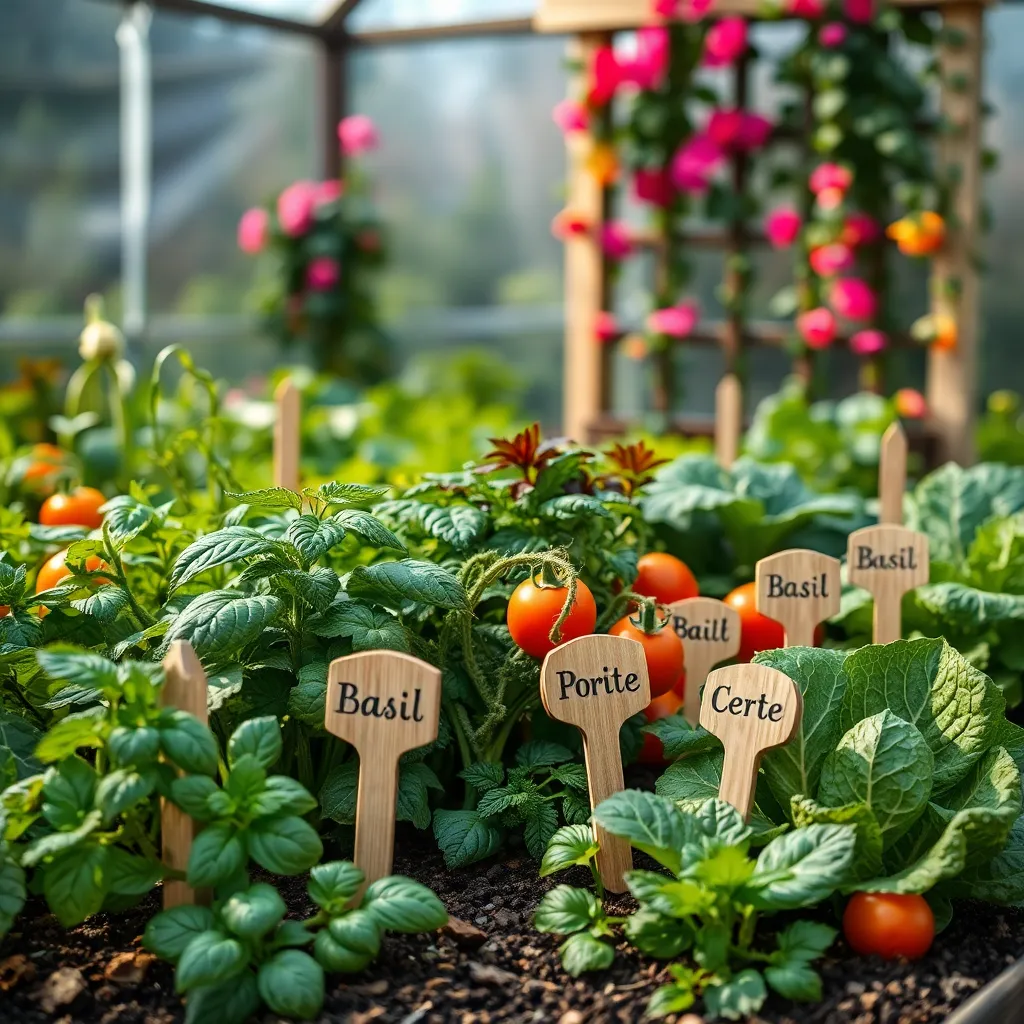
Label with Plant Names
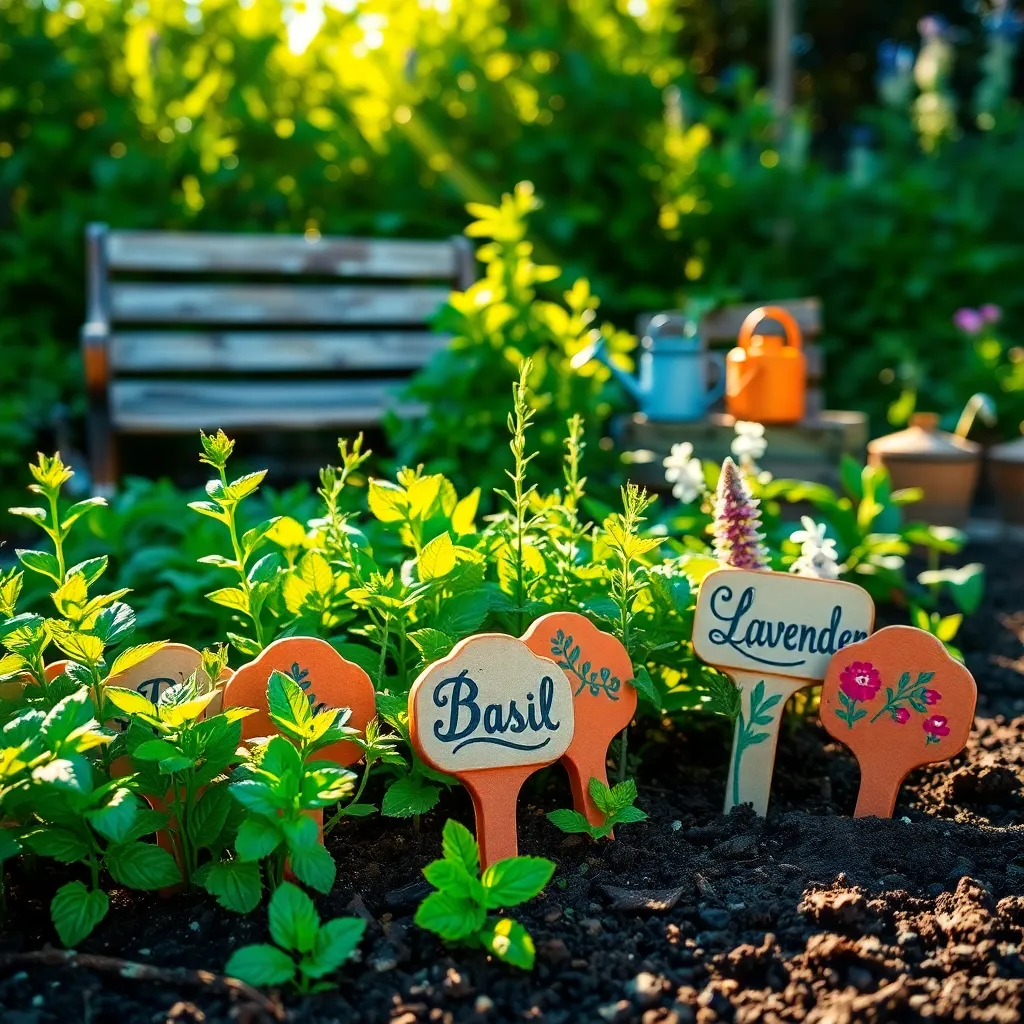
After you’ve cut your materials to the desired size, it’s time to label them with plant names. Clear labeling helps you keep track of your plants, ensuring you provide the correct care and conditions for each one. For beginners, start by using a permanent marker or a garden-specific pen that won’t fade with sun exposure. Write legibly and keep the labels simple, using common plant names to avoid confusion.
Advanced gardeners might choose to incorporate both common and botanical names on their markers. This practice not only aids in learning but also enhances your botanical knowledge and communication with fellow gardeners. Consider using a label maker for a more polished look, which is especially useful if you’re labeling a large number of plants. Durability is key when selecting your labeling method to ensure the names remain visible throughout the growing season.
For those with a knack for creativity, try painting plant names on stones or wood slices for a rustic touch. These options add a decorative element to your garden while serving a functional purpose. Ensure the paint used is waterproof to withstand weather conditions. Creativity in labeling can make your garden uniquely yours and a delight to visit.
Remember to include specific details about the plant’s needs on the label if space allows. This could include light requirements, watering frequency, or soil preferences, acting as a quick reference guide while you’re tending to your garden. For instance, you might note “full sun, water weekly” for drought-tolerant plants like lavender. Such information is invaluable for maintaining plant health and ensuring a thriving garden.
Seal for Weather Resistance
To ensure your garden markers withstand the elements, it’s crucial to seal them for weather resistance. Using a clear, outdoor-grade sealant will protect your markers from rain, sun, and temperature changes, extending their lifespan significantly.
Start by selecting a sealant that is specifically designed for outdoor use, such as a polyurethane or acrylic spray. These products provide a protective coating that is both water-resistant and UV-resistant, preventing your labels from fading or peeling.
Before applying the sealant, make sure the surface of your garden markers is clean and dry. Avoid spraying on a windy day to ensure an even coat, and follow the manufacturer’s instructions for the best results.
For added durability, consider applying multiple thin layers of sealant rather than one thick coat. This technique allows for better coverage and adhesion, helping your markers endure through various weather conditions.
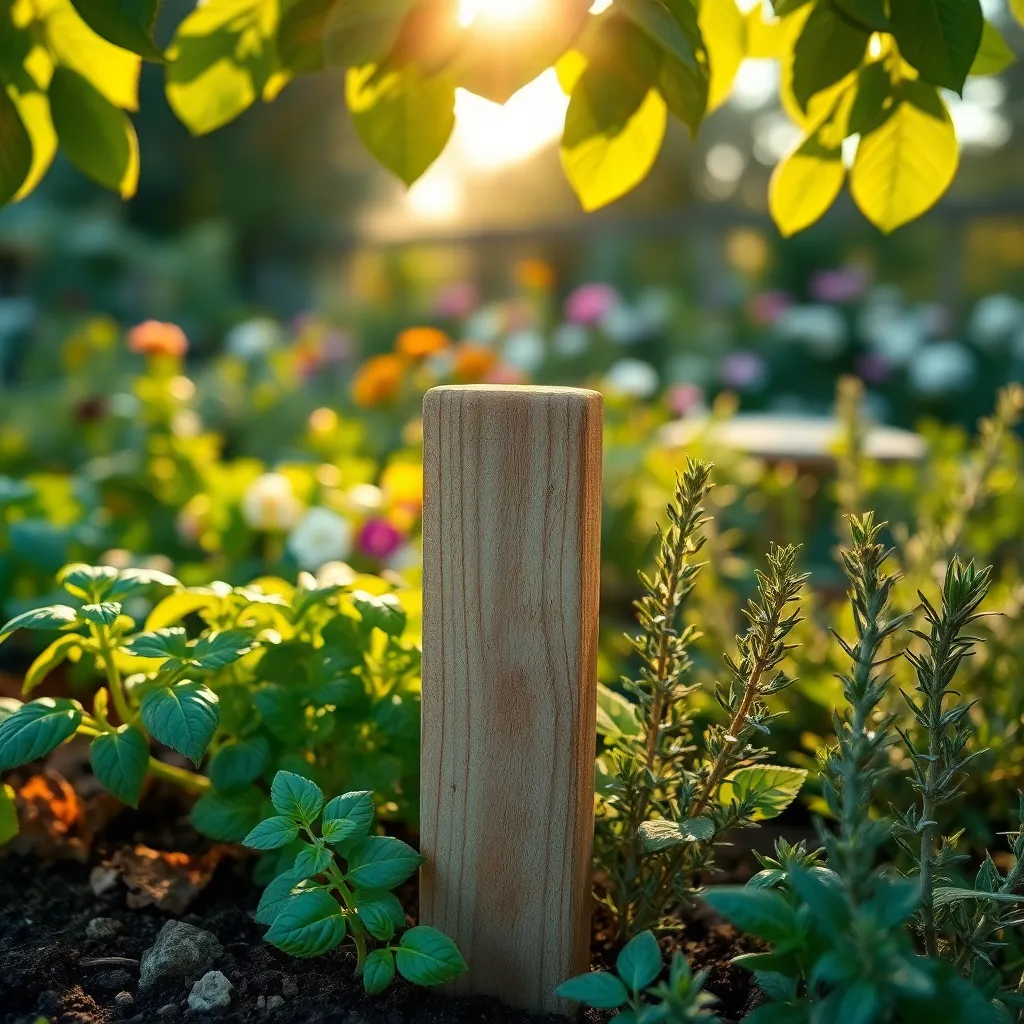
Place Markers in Garden Beds
Placing markers in your garden beds is an essential step to maintaining an organized garden. Markers help you keep track of plant names, planting dates, and specific care instructions, ensuring that each plant gets the attention it needs. For beginners, using simple materials like wooden stakes or painted rocks can be an effective and affordable choice. Ensure these markers are placed firmly in the soil to withstand weather conditions and garden activity.
Consider the visibility of your markers, especially in large or densely planted beds. Markers should be tall or brightly colored enough to stand out among foliage. Advanced gardeners might opt for weather-resistant materials such as metal or etched stone for durability and an elegant look. These materials not only last longer but also add a decorative touch to your garden beds.
Position your markers thoughtfully, placing them at the front or side of each plant group for easy access. Ensure each marker is labeled clearly with plant names and any special care notes, such as watering frequency or fertilization needs. For those with larger gardens, creating a garden map with corresponding marker numbers can help maintain a comprehensive overview of your planting arrangement. This method is particularly useful during planting season when many new varieties are introduced.
Regularly check the condition of your garden markers, especially after storms or heavy winds. Replace or repair any markers that have become illegible or damaged to prevent confusion in your garden care routine. For those interested in sustainability, consider using recycled materials for your markers, such as repurposed plastic or reclaimed wood. This not only reduces waste but also adds a unique character to your garden setup.
Conclusion: Growing Success with These Plants
In “How to Make Your Own Garden Markers,” we explored five vital relationship concepts that parallel the nurturing of a thriving garden. First, we discussed the importance of clear communication, much like labeling your plants, to ensure mutual understanding. Second, we highlighted the significance of patience, as relationships, like gardens, require time to blossom. Third, we examined the necessity of adaptability in nurturing growth under changing conditions. Fourth, we underscored the value of consistent effort, akin to tending to your garden regularly. Lastly, we emphasized the beauty of celebrating small successes, just as you would cherish each new bloom.
As an actionable next step, take a moment today to communicate one heartfelt message to your partner, planting a seed of connection. For ongoing relationship enrichment, remember to bookmark this article, ensuring these insights are easily accessible whenever you need guidance.
Looking forward, as you invest in these relationship skills, you cultivate a partnership that flourishes with understanding and resilience. Let this article be your trusty guide, encouraging you to tend to your relationship garden with love and intention. Together, you can create a lasting bond that blooms beautifully over time.