
Growing sweet potatoes is a delightful journey that combines the joy of nurturing with the reward of a bountiful harvest. Whether you’re a seasoned gardener with a thriving backyard or a beginner taking your first steps into the world of gardening, sweet potatoes offer a unique and fulfilling challenge that is well worth the effort. Their vibrant foliage and delicious tubers are not only a feast for the eyes but also for the table, providing a nutritious addition to your homegrown menu.
For those new to the gardening world, sweet potatoes are a forgiving crop that can thrive in various conditions, making them an excellent choice to start your horticultural adventure. Experienced gardeners will appreciate the opportunity to refine their skills, experimenting with different planting techniques and varieties to maximize yield. This guide will walk you through the essentials, from selecting the right slips to mastering the art of harvesting, ensuring your sweet potato patch flourishes.
In this article, you’ll discover practical tips and expert advice on soil preparation, watering, and pest management to help your sweet potatoes reach their full potential. We’ll delve into the specifics of each growth stage, providing actionable insights that cater to all skill levels. By the end, you’ll be equipped with the knowledge and confidence to cultivate a sweet potato crop that will be the envy of your neighborhood.
Select Suitable Sweet Potato Slips
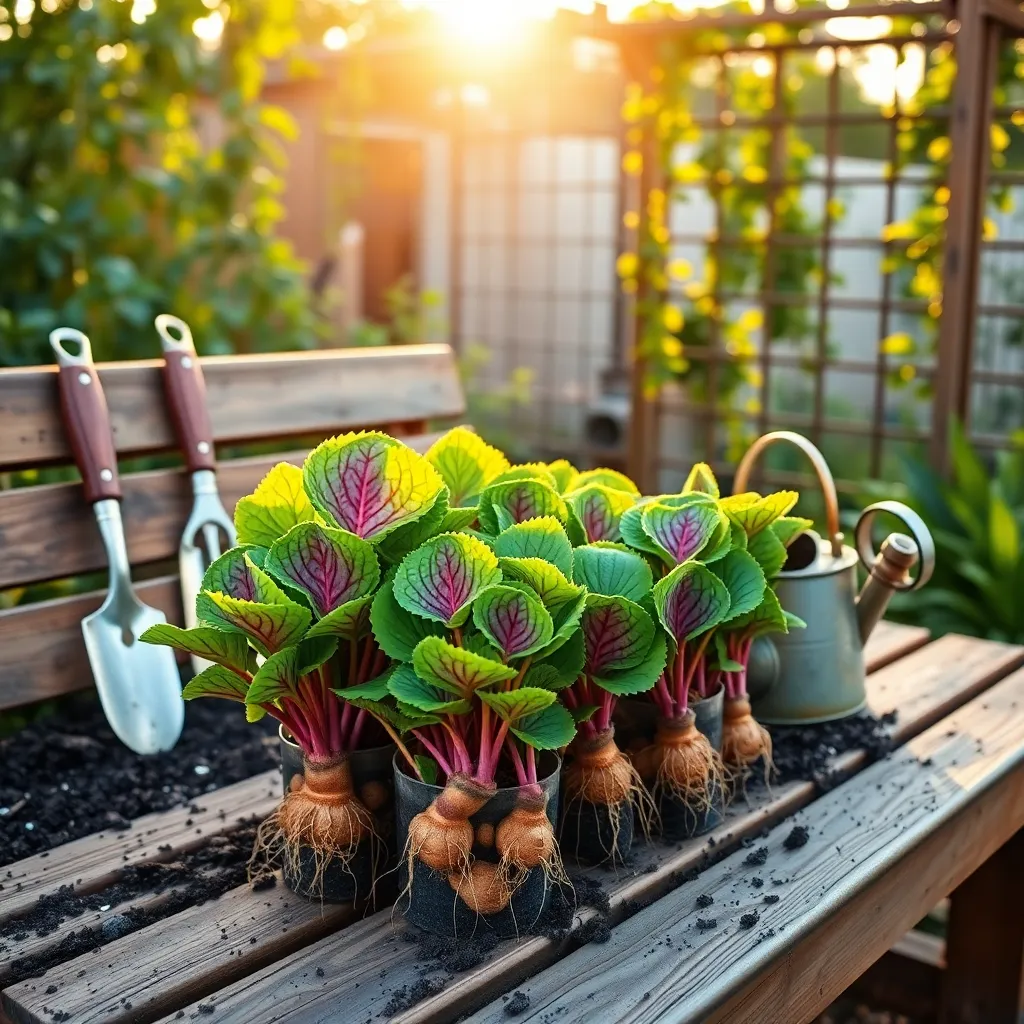
When selecting sweet potato slips, it’s important to choose varieties that are suitable for your climate. Look for slips that are healthy, with vibrant green leaves and a strong root system, as these will establish more quickly in your garden.
Consider the growing season length in your area, as sweet potatoes typically require 90 to 120 days of frost-free weather. Varieties like ‘Beauregard’ and ‘Covington’ are popular for their adaptability and high yields, making them excellent choices for beginners.
Once you’ve chosen your slips, prepare a well-draining soil enriched with organic matter to promote healthy growth. Sweet potatoes prefer sandy or loamy soil with a pH between 5.8 and 6.2, ensuring nutrients are readily available to the plants.
For those with more experience, experiment with heirloom varieties or try growing slips from your own sweet potatoes. Ensure the soil remains consistently moist but not waterlogged, as sweet potatoes are susceptible to rot if overwatered.
Prepare Well-Draining Soil Beds
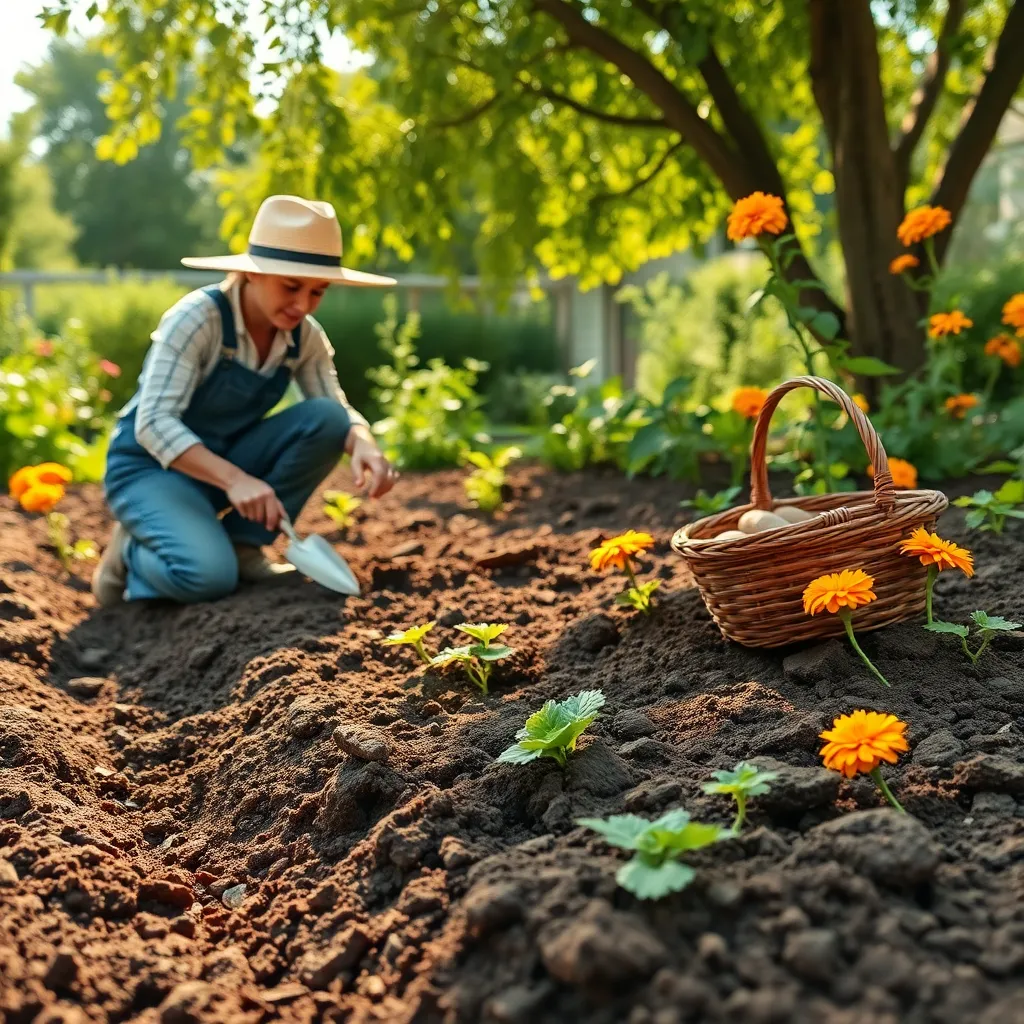
Before planting sweet potatoes, it is essential to prepare well-draining soil beds to ensure optimal growth. Sweet potatoes thrive in loose, sandy soil that allows water to flow freely, preventing root rot and other issues related to poor drainage.
Begin by selecting a location that receives full sun, as sweet potatoes need at least six hours of sunlight per day. If your soil is heavy clay or compacted, consider amending it with organic matter such as compost or well-rotted manure to improve texture and drainage.
To further enhance drainage, create raised beds if possible, which will help excess water escape more easily. Raised beds also warm up quicker in the spring, offering a head start for your sweet potatoes in cooler climates.
Test your soil’s pH, which should ideally be between 5.8 and 6.2 for sweet potatoes. If needed, adjust the pH by adding lime to increase alkalinity or sulfur to increase acidity, ensuring optimal nutrient availability for your plants.
Plant Slips in Warm Conditions
Sweet potato slips thrive when planted in warm conditions, making them ideal for late spring or early summer. It’s essential to wait until the soil temperature reaches at least 65°F (18°C) to ensure optimal growth.
Before planting, consider using a soil thermometer to monitor temperature fluctuations. This tool will help you time your planting perfectly, allowing the slips to establish roots quickly.
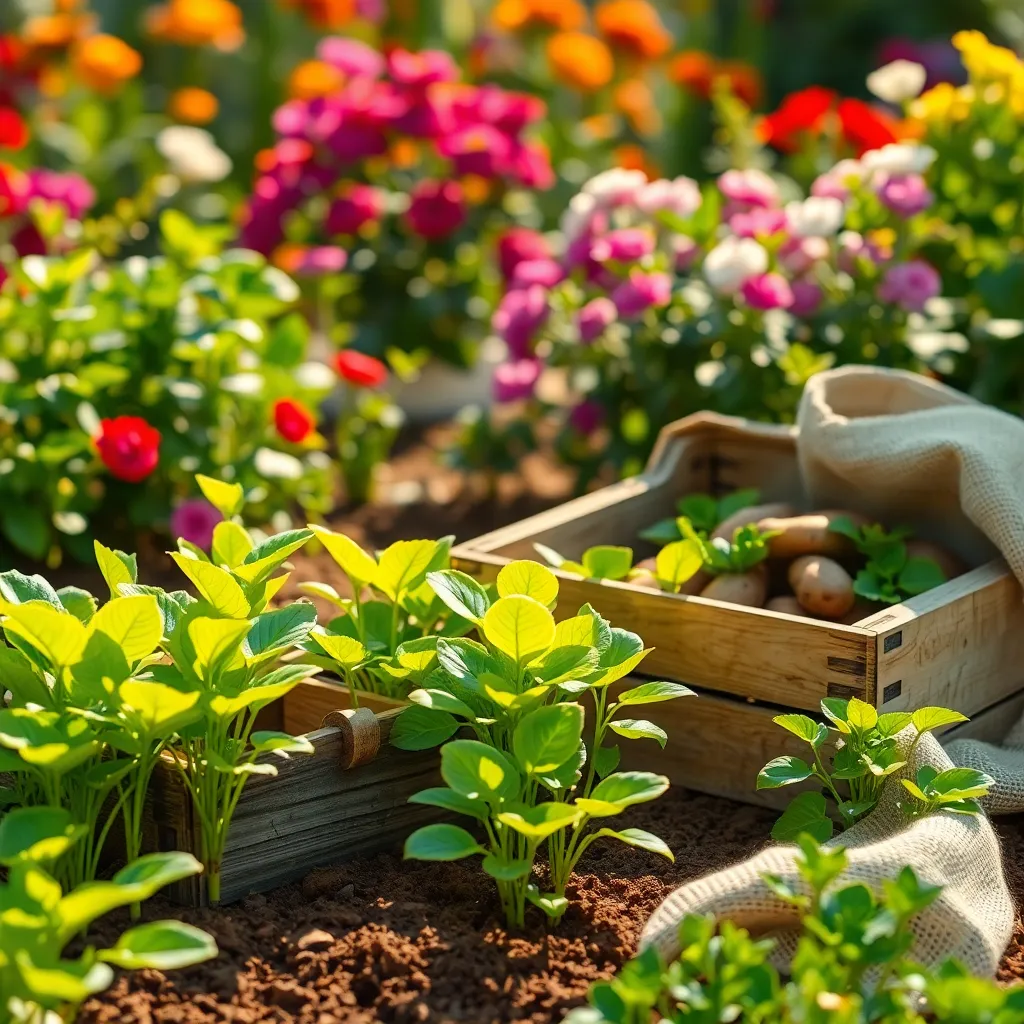
Once the soil is warm enough, plant slips about 12 inches apart in rows spaced 3–4 feet apart. This spacing allows the vines to spread and ensures each plant has adequate access to nutrients and sunlight.
Water your newly planted slips thoroughly to encourage root establishment. After the initial watering, maintain a consistent watering schedule, aiming to keep the soil moist but not waterlogged.
For gardeners in particularly hot climates, consider applying a layer of mulch to retain soil moisture and regulate temperature. Mulching also helps suppress weeds, reducing competition for vital nutrients and water.
For those with a longer growing season, an advanced tip is to stagger planting times. By doing so, you’ll extend your harvest period and enjoy fresh sweet potatoes over several weeks.
Water Regularly and Consistently

Once your sweet potato slips are planted, it’s crucial to water them regularly to ensure healthy growth. Sweet potatoes thrive best when they receive consistent moisture, especially during the first few weeks after planting.
Maintaining a steady watering schedule will help prevent the soil from drying out, which can stress the plants. Aim to keep the soil evenly moist but not waterlogged, as excessive water can lead to root rot.
Watering deeply once a week is generally sufficient, but be sure to adjust based on your local climate and soil conditions. During particularly hot and dry periods, you may need to water more frequently to maintain adequate moisture levels.
For those with sandy soil, consider adding organic matter like compost to help retain moisture. In clay-heavy soils, ensure proper drainage to avoid water accumulation around the roots.
Harvest at Maturity with Care
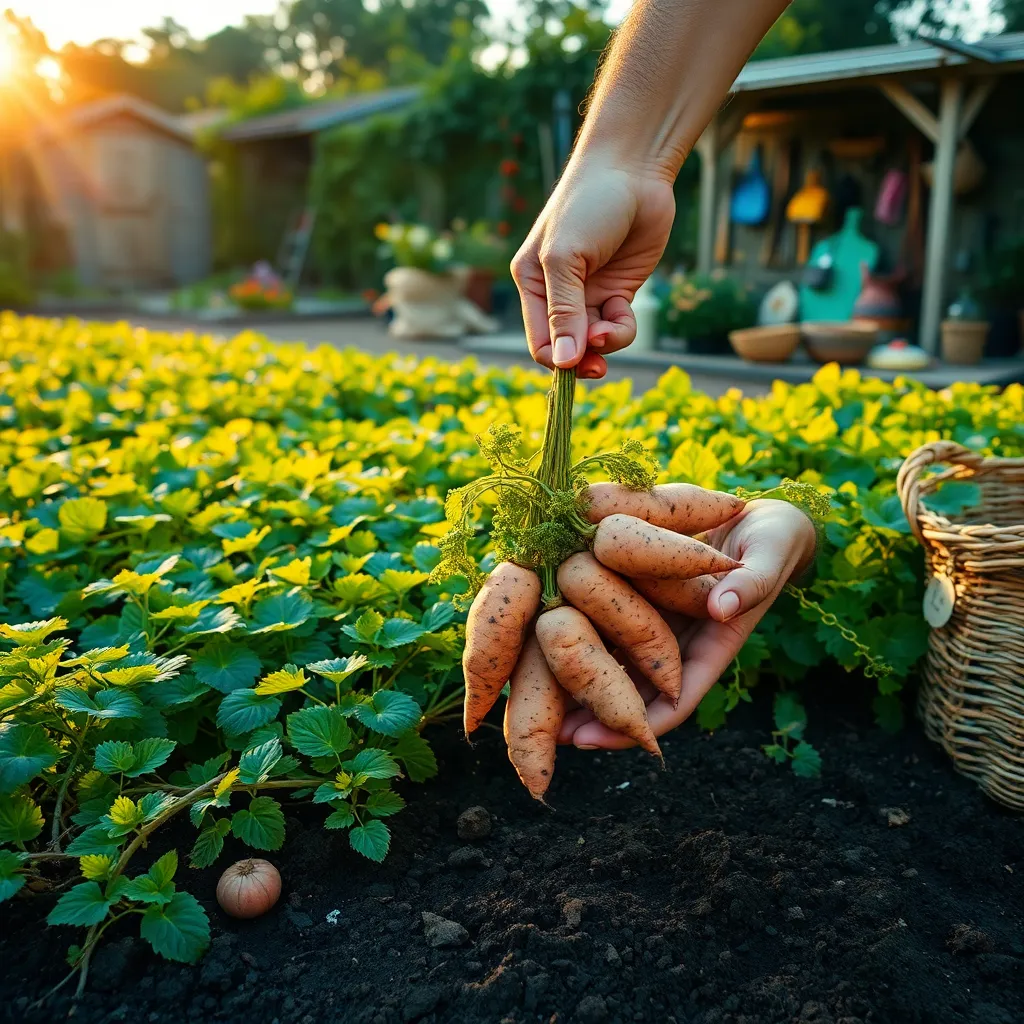
Harvesting sweet potatoes at the right time ensures you get the best flavor and texture. Typically, sweet potatoes are ready to be harvested about three to four months after planting, or when the leaves start to yellow and die back.
Begin by gently loosening the soil around the plants with a garden fork or spade, taking care not to damage the tubers. Patience is key—carefully lift the sweet potatoes out of the soil, as their skins are delicate and can easily bruise.
Once harvested, it’s important to cure the sweet potatoes to enhance their sweetness and extend their storage life. Place them in a warm (around 85°F), humid environment for about one to two weeks, then move them to a cooler area for long-term storage.
For gardeners in cooler climates, consider using black plastic mulch during the growing season to warm the soil and encourage earlier maturity. Experienced gardeners might also stagger planting times to ensure a continuous harvest through the season.
Conclusion: Growing Success with These Plants
In nurturing your relationship, much like growing sweet potatoes, the five key concepts are essential for flourishing together. First, understanding each other’s needs lays the foundation, akin to preparing fertile soil. Second, communication acts as regular watering, ensuring your bond remains hydrated with understanding and patience. Third, facing conflicts with empathy mirrors protecting your plants from pests, ensuring growth isn’t stunted. Fourth, shared goals, like sunlight, provide direction and motivation, nourishing your shared dreams. Lastly, appreciation and gratitude are the nutrients that enrich your connection, encouraging sweet, rewarding growth.
To take immediate action, set aside dedicated time this week for an open conversation with your partner, focusing on one of these concepts. This dialogue is the first step toward reinforcing your relationship foundation.
Remember, relationships, like gardens, thrive on consistent care and attention. Bookmark this article as a handy guide for nurturing your love, ensuring you have these vital tips at your fingertips when needed. With these principles in mind, your relationship is well-poised for enduring success, blossoming into a resilient partnership filled with warmth and joy. Go forth and cultivate your bond with intention and love!