
Imagine stepping out onto your balcony or into your kitchen and snipping fresh chives to sprinkle over a steaming bowl of soup or a freshly baked potato. Growing chives in pots not only brings the satisfaction of home-grown produce but also introduces a splash of green to your space, whether you’re a novice or a seasoned gardener. For those new to gardening, cultivating chives is an ideal starting point, given their hardiness and forgiving nature. Meanwhile, experienced gardeners will appreciate chives’ versatility and the challenge of optimizing their growth in pots.
Chives, with their delicate onion-like flavor and vibrant purple blossoms, are a delightful addition to any culinary repertoire. In this article, you’ll discover the best practices for choosing the right pot, soil, and location to ensure your chives thrive. We’ll explore the essential watering and feeding techniques to maintain their lushness and vigor throughout the seasons. With a few simple steps, you’ll have a thriving chive pot right at your fingertips, ready to elevate your dishes with that fresh, home-grown touch.
Select Suitable Pot Size
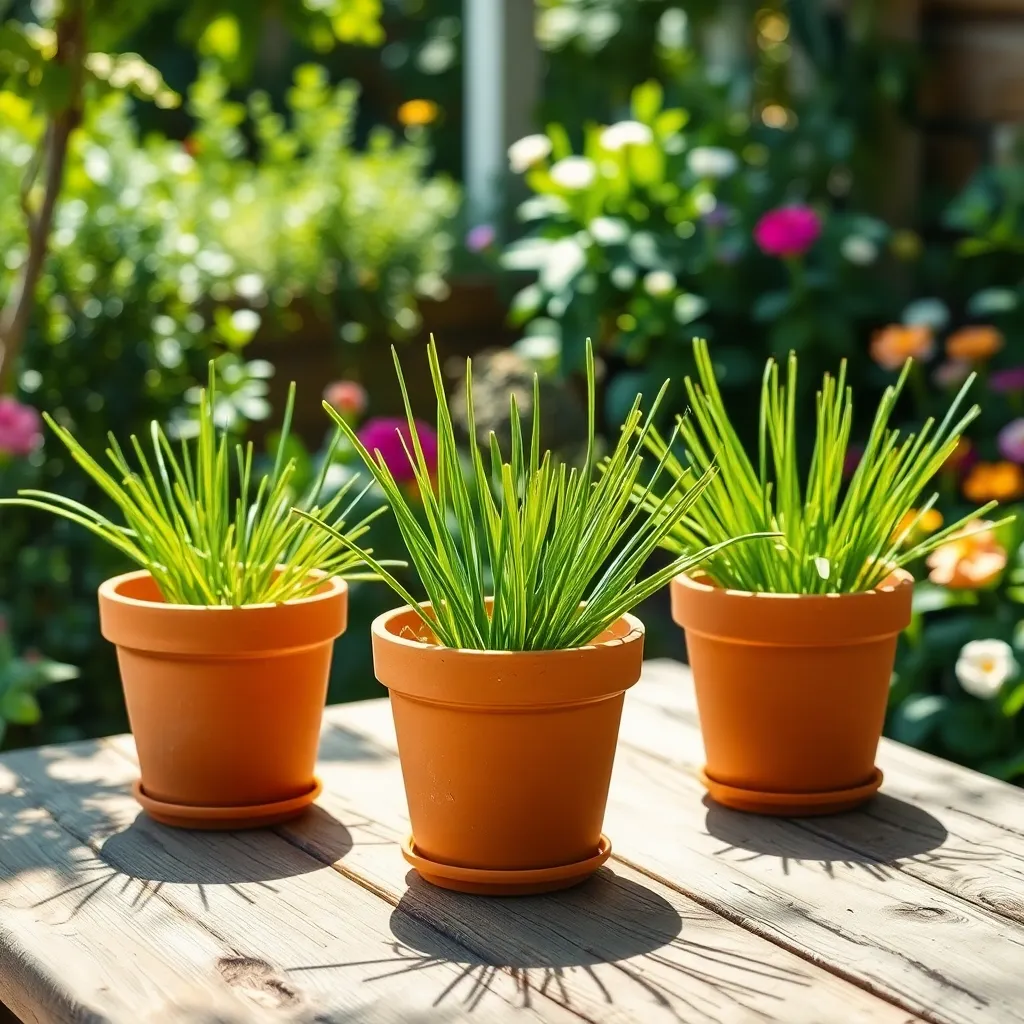
Choosing the right pot size is crucial for growing healthy chives in containers. A pot that is too small can limit root growth, while one that is too large may hold excess moisture, causing root rot.
For optimal growth, select a pot that is at least 6 to 8 inches in diameter and has adequate drainage holes. This size provides enough space for chive roots to develop without overcrowding.
Chives have shallow roots, so a pot depth of around 6 inches is sufficient. If you plan to grow multiple clumps of chives together, consider using a larger container, such as a window box or a trough-style planter.
When placing chives in a pot, ensure they have access to plenty of sunlight, ideally 6 to 8 hours per day. Position the pot on a sunny windowsill or in a bright spot on your patio for the best results.
Fill with Well-Draining Soil
After selecting the right pot for your chives, it’s essential to fill it with well-draining soil to ensure healthy growth. Chives thrive in soil that allows excess water to escape, preventing root rot and other moisture-related issues.
To achieve optimal drainage, use a potting mix that contains components like perlite or coarse sand. These materials help create air pockets, which enhance water movement and aeration around the plant roots.
For best results, consider mixing your own soil blend by combining equal parts of peat moss, perlite, and compost. This DIY mix not only provides excellent drainage but also supplies the necessary nutrients for your chives to flourish.
Water your chives regularly, but allow the top inch of soil to dry out between waterings. This approach helps maintain the right balance of moisture without over-saturating the roots.
For an advanced tip, you might add a layer of gravel at the bottom of the pot to further enhance drainage capabilities. This technique is particularly useful if you’re growing chives in a location that receives frequent rainfall.
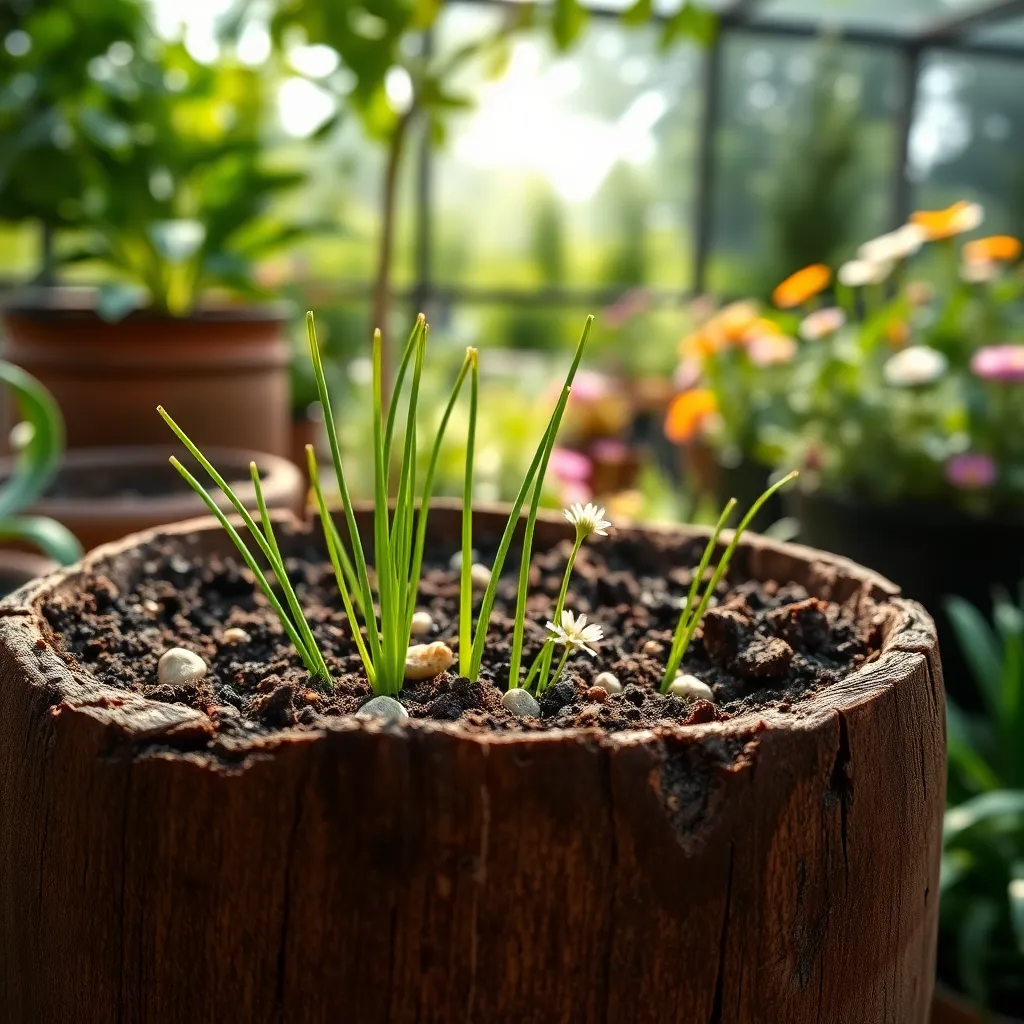
Sow Chive Seeds Evenly
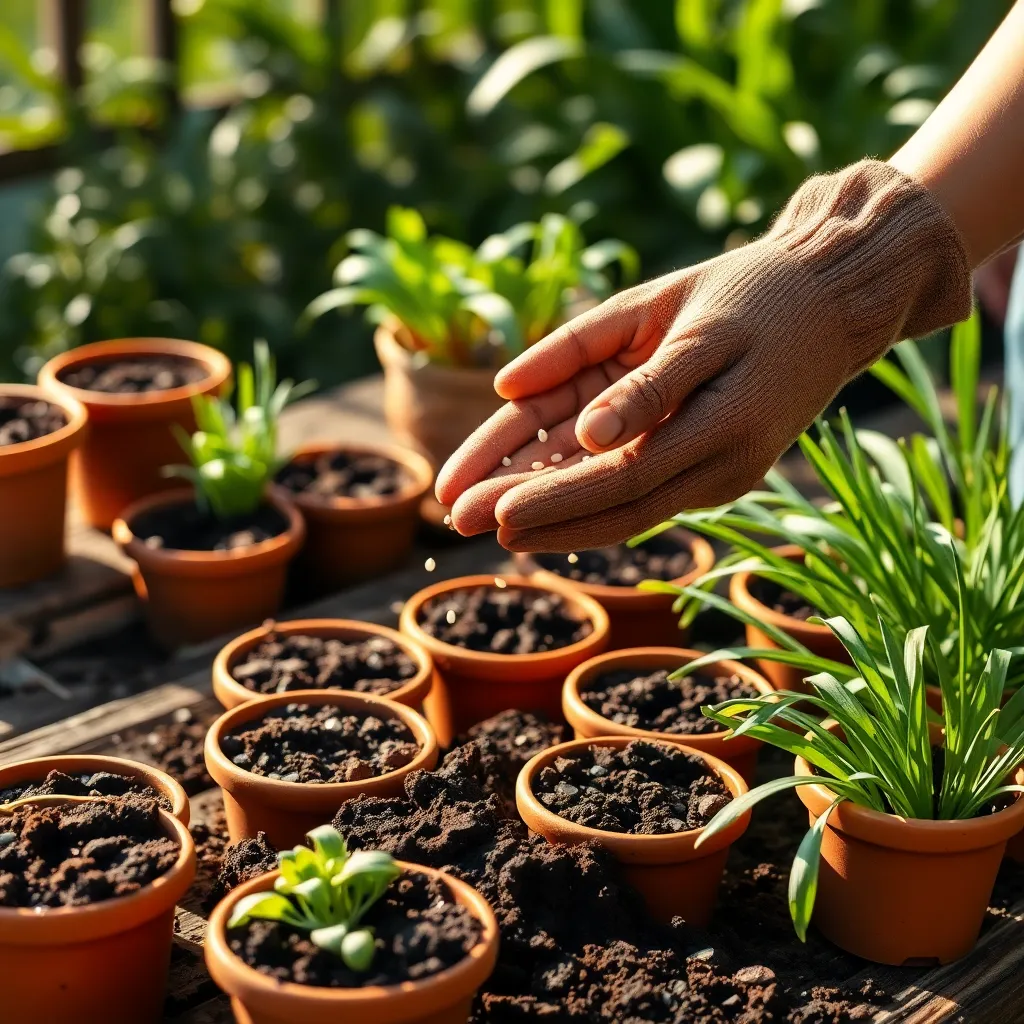
To sow chive seeds evenly, begin by sprinkling them across the surface of the potting soil. Ensure the seeds are spaced about an inch apart to give each plant enough room to grow without crowding.
Consider using a seed spreader or your fingertips to distribute the seeds uniformly. This helps prevent clumping, which can lead to uneven growth and competition for nutrients.
After sowing, gently press the seeds into the soil with your hand or a flat tool. Cover them lightly with a thin layer of soil, about 1/4 inch deep, to protect them while allowing light to reach them.
Water the soil carefully using a spray bottle or a watering can with a fine rose attachment. This method prevents the seeds from being displaced by a strong water flow, ensuring even germination.
Position in Sunlit Area
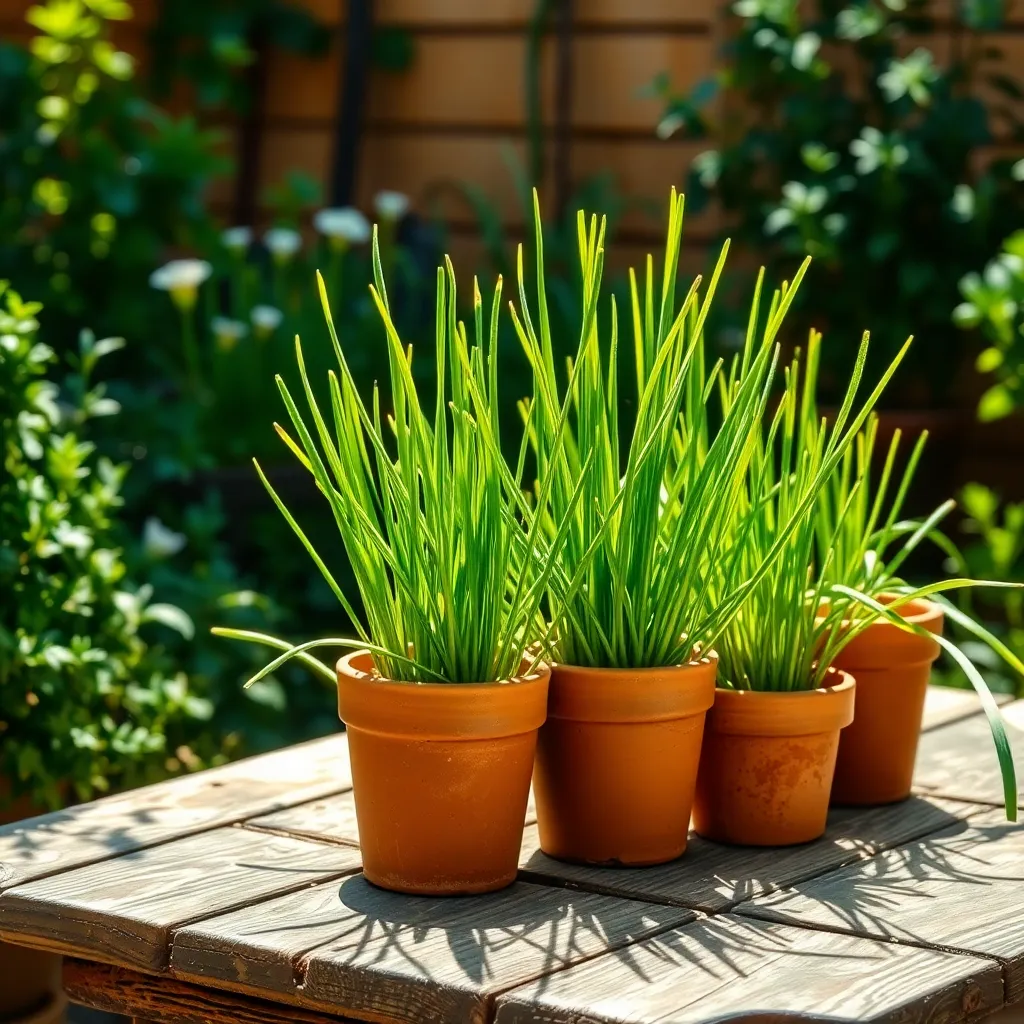
Chives thrive best when placed in a location that receives plenty of sunlight. Position your pot in a spot that gets at least 6 to 8 hours of direct sunlight each day to ensure robust growth.
For beginners, a south-facing windowsill or a sunny balcony can be perfect locations for your chive pots. If your space is limited on direct sunlight, consider using grow lights to supplement the natural light.
While chives are generally hardy, they benefit from a warm and well-lit environment. Ensure the pot is rotated regularly to prevent the plants from leaning towards the light, encouraging even growth.
Advanced gardeners might use a light meter to optimize the sunlight exposure for their chive pots. This tool can help you identify the sunniest spots in your home or garden, maximizing your plant’s productivity.
Keep in mind that too much shade can result in weak and leggy plants. By consistently monitoring your chives’ sun exposure, you can adjust their position as needed to maintain healthy, flavorful growth.
Water Consistently for Growth
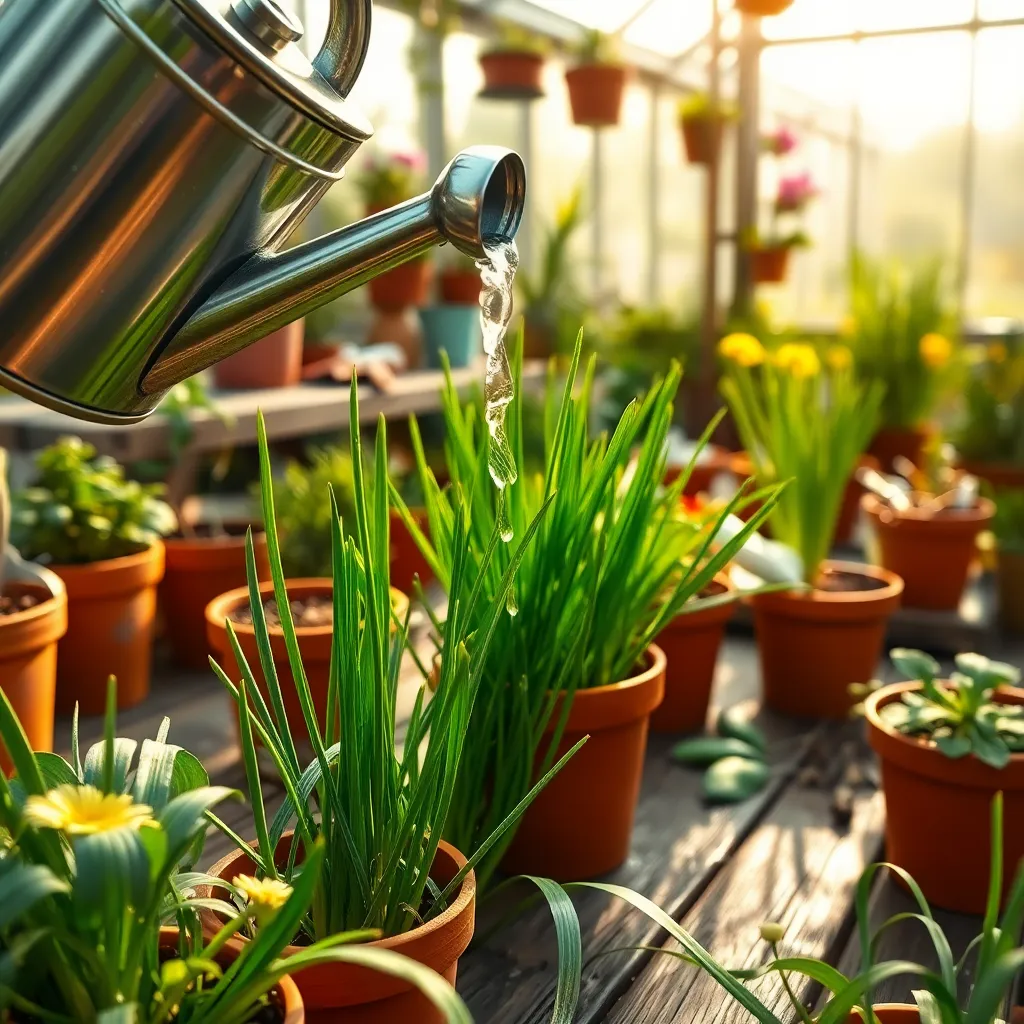
Watering consistently is crucial for healthy chive growth, especially when grown in pots. Chives prefer soil that is evenly moist but not waterlogged, so using a pot with good drainage is essential.
To check if your chives need watering, stick your finger about an inch into the soil; if it feels dry, it’s time to water. Consider using a soaker hose or drip irrigation system to maintain consistent moisture levels without overwatering.
Chives generally require watering about once a week, but this might vary depending on your climate and pot size. In warmer weather, you may need to increase the frequency to twice a week to prevent the soil from drying out.
Remember that smaller pots dry out faster than larger ones, so adjust your watering schedule accordingly. For more experienced gardeners, mulching the top layer of soil with organic matter can help retain moisture and reduce the need for frequent watering.
Conclusion: Growing Success with These Plants
In nurturing your relationship with chives, we’ve explored five essential concepts: the importance of selecting the right pot and soil to lay a strong foundation, the necessity of consistent watering and sunlight to foster growth, the role of pruning in maintaining health, understanding the signs of stress to address issues promptly, and the joy of harvesting to enjoy the fruits of your labor. Now, as you prepare to cultivate these vibrant greens, consider an immediate action step: gather your materials today and set up your pot in a sunny spot, ready to welcome your chive seeds or seedlings.
Remember, every successful relationship, whether with plants or people, thrives on attention and care. Bookmark this article to revisit these insights whenever you need guidance on your chive-growing journey. As you embark on this rewarding endeavor, know that your ability to nurture and grow extends beyond the garden—cultivating patience, attention, and love will undoubtedly enrich all your relationships. By saving and applying these strategies, you’re investing in a future where every connection, plant or person, flourishes under your care. Let’s grow together!