
Imagine transforming your kitchen scraps into a thriving garden plant—it’s not only possible, but also incredibly rewarding. Whether you’re a seasoned gardener with a flourishing vegetable plot or a curious beginner eager to get your hands dirty, growing celery from scraps offers a delightful way to engage with sustainable gardening practices right at home.
Celery, with its crisp stalks and refreshing flavor, is a staple in many kitchens, yet it’s often seen as a challenging plant to grow. However, by learning how to regrow celery from leftover stalk bases, you’ll discover that it’s not only possible but surprisingly straightforward, turning what might otherwise be waste into a productive garden companion.
Throughout this article, we will guide you step-by-step through the process, from the initial preparation to nurturing your new plant to maturity. You will learn practical tips and insights that make this endeavor both successful and enjoyable, ensuring that your celery-growing experience is as fruitful as the harvest itself.
Save and Trim Celery Base
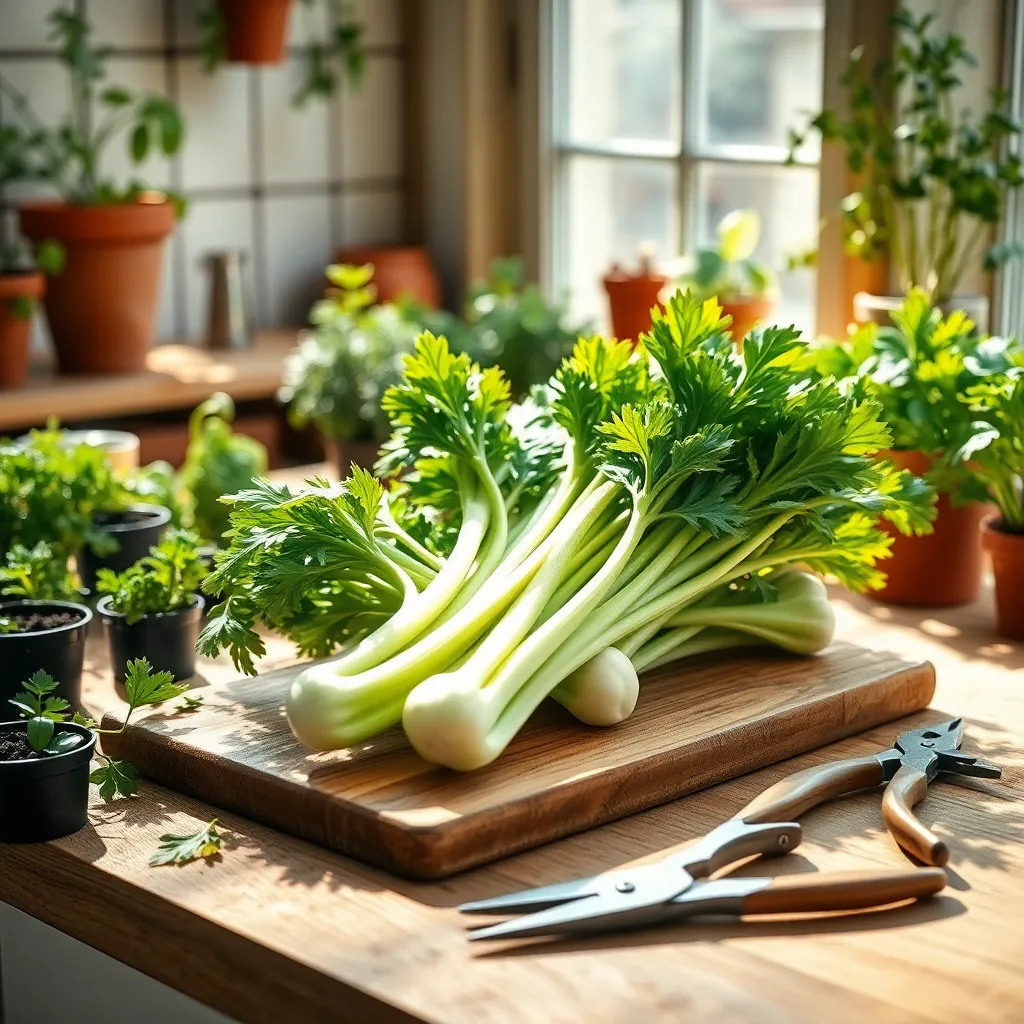
To begin growing celery from scraps, save the base of a store-bought celery stalk. Cut the celery about two inches above the root end and ensure it remains intact for the best results.
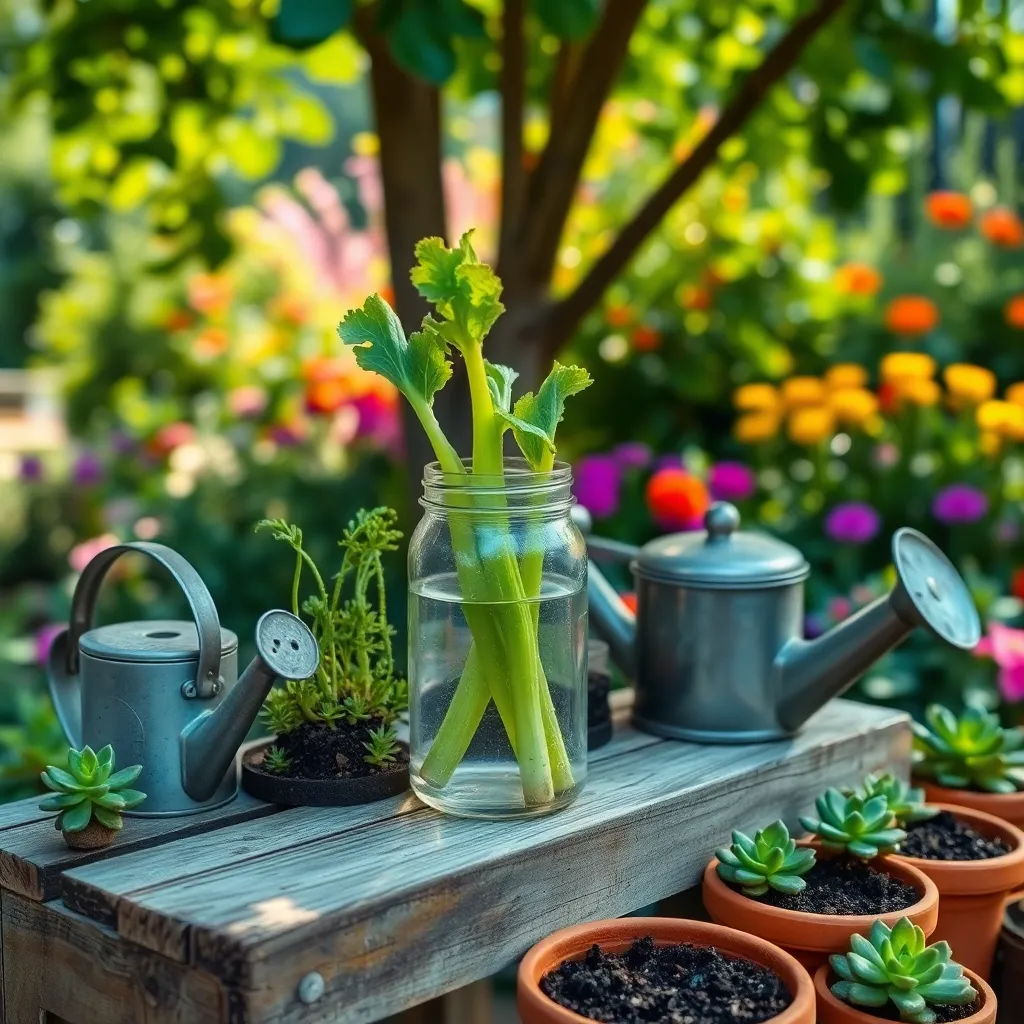
The next step is to prepare a suitable container for the celery base. Use a shallow dish or bowl and fill it with enough water to submerge the bottom of the celery base, but avoid covering the top.
Place the dish in a sunny spot, like a windowsill, where it can receive plenty of natural light. Change the water every two to three days to prevent mold growth and ensure the base stays hydrated.
After about a week, you should see new leaves sprouting from the center and tiny roots forming at the bottom. At this stage, the celery base is ready to be planted in soil for further growth.
Choose a pot with good drainage and fill it with high-quality potting soil to provide the necessary nutrients. Bury the celery base in the soil, ensuring that the new leaves are above the surface, and water it thoroughly.
For ongoing care, keep the soil consistently moist but not waterlogged, and provide at least six hours of sunlight daily. Fertilize the plant every four weeks with a balanced liquid fertilizer to promote healthy growth.
With the right care, your celery plant will thrive and can be harvested in a few months. Harvest stalks individually as needed, which encourages the plant to continue producing fresh growth.
Place Base in Water Dish
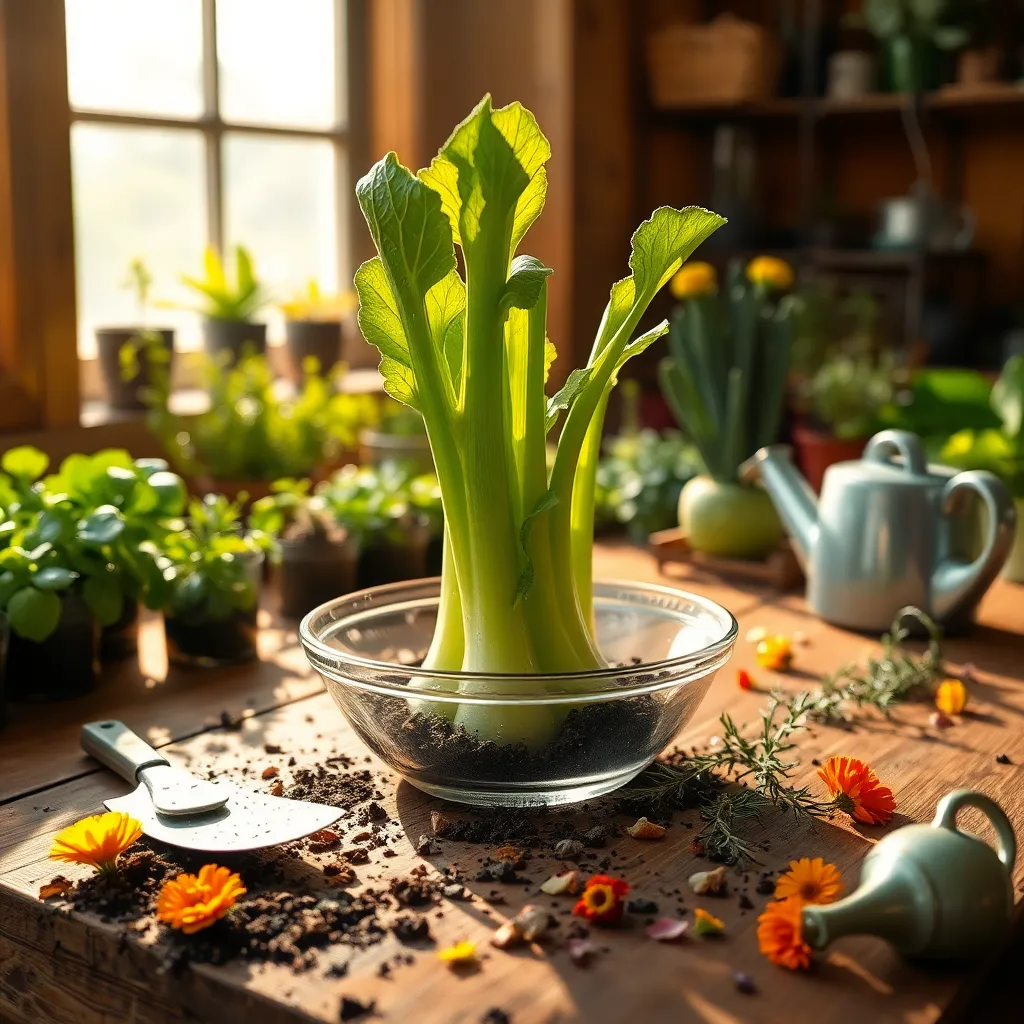
After trimming your celery base, it’s time to place it in water to encourage new growth. Find a shallow dish or bowl that can comfortably hold the celery base without tipping.
Ensure the base sits upright and fill the dish with enough water to cover just the bottom edge of the celery. This is crucial because submerging too much of the base can lead to rotting.
Position the dish on a sunny windowsill where it can receive indirect sunlight for most of the day. This location will provide the right amount of light to stimulate growth without overheating the plant.
Change the water every two to three days to keep it fresh and prevent any bacterial growth. Consistent water changes will also supply the base with a renewed source of nutrients.
Beginner Tip: If you notice the water level dropping quickly, simply top it up to maintain the required level. For those seeking advanced growth, try using filtered water to minimize chlorine and other chemicals.
Within a week, you should see new green shoots emerging from the center of the base. This is a sign that your celery is on the right track to regrowth.
Once the shoots are a few inches tall, you can consider transplanting the celery into soil. This allows for continued growth and access to more nutrients, leading to a healthier plant.
Transfer to Pot with Soil
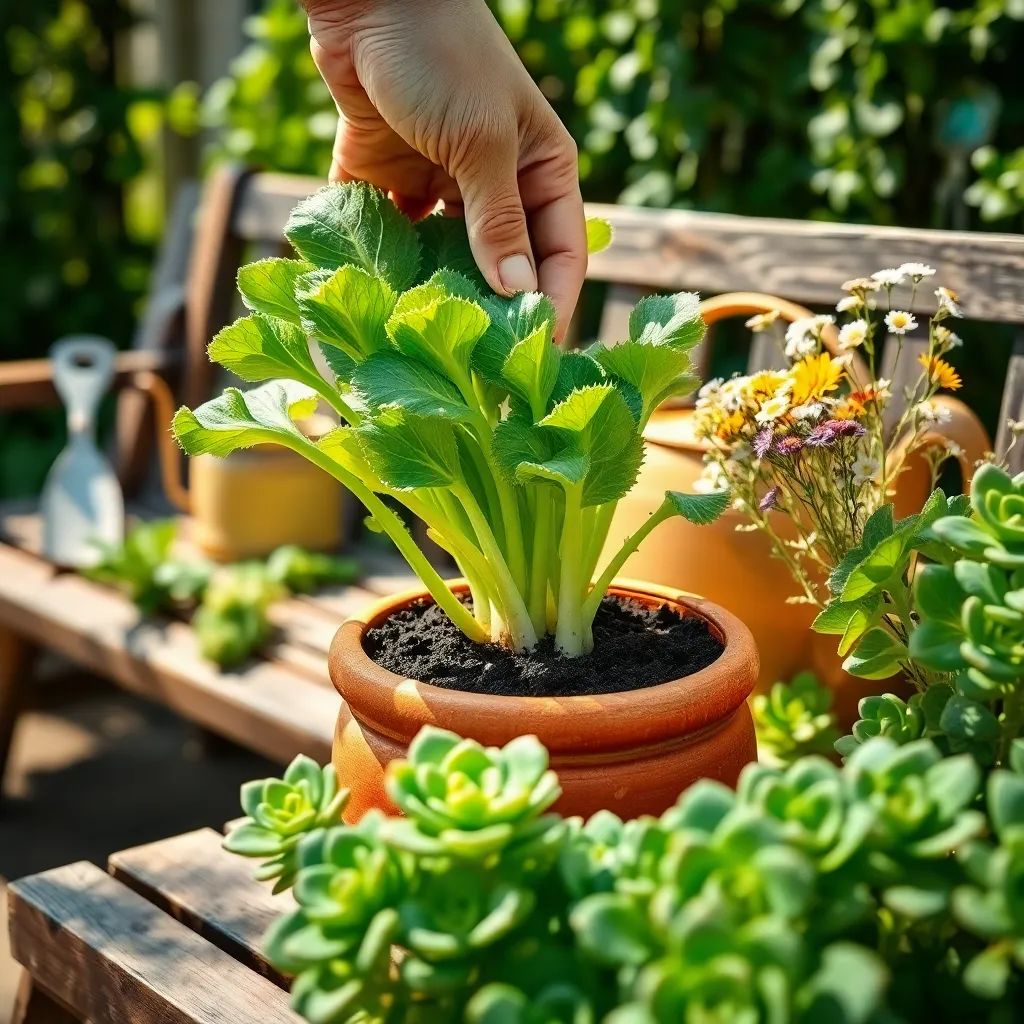
Once your celery base has developed roots and new growth, it’s time to transfer it into a pot with soil. Choose a pot that is at least 8 inches deep to allow enough room for root development and stability.
Use a well-draining potting mix that retains moisture but is not waterlogged; a blend that includes peat moss, perlite, or vermiculite works well. Before planting, ensure that the pot has drainage holes to prevent excess water from accumulating and causing root rot.
Gently remove the celery base from the water dish, being careful not to damage the new roots. Plant the celery in the pot so that the base is just covered with soil, leaving the new shoots exposed to light.
Water the newly potted celery thoroughly, keeping the soil consistently moist but not soggy. Place the pot in a location that receives plenty of indirect sunlight, as celery prefers cooler temperatures and moderate light.
- Check the soil moisture daily, especially in warmer climates, to ensure it doesn’t dry out.
- Consider using a balanced liquid fertilizer once a month to provide essential nutrients for optimal growth.
- For advanced care, rotate the pot weekly to ensure even growth and prevent the plant from leaning towards the light source.
Provide Ample Sunlight Exposure
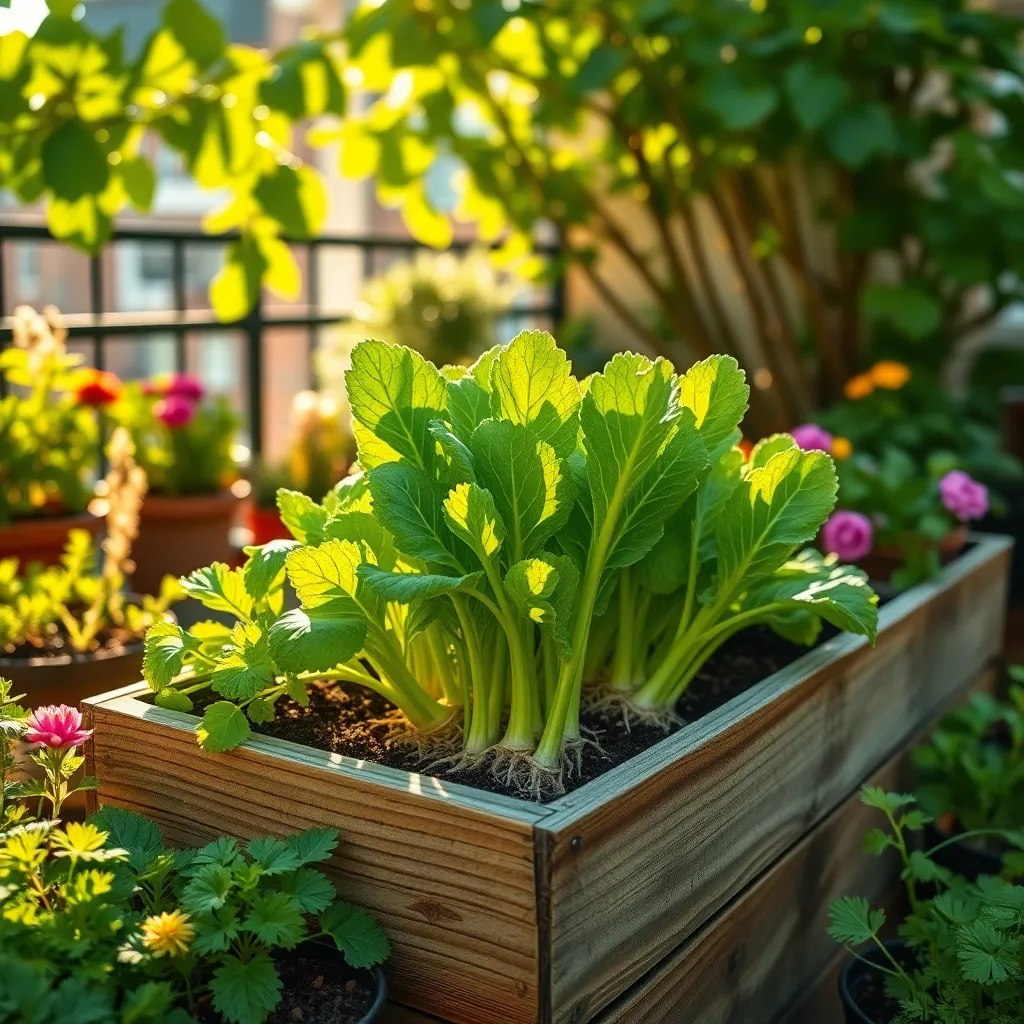
To ensure your celery grows successfully, it’s crucial to provide ample sunlight exposure. Celery thrives best when it receives at least 6 hours of direct sunlight each day, so place your pot in a bright, sunny spot.
Consider using a south-facing window if you’re growing celery indoors. This position will maximize the amount of light your celery receives, helping it develop strong and healthy stalks.
If your home lacks sufficient natural light, supplement with grow lights. Position the lights 6-12 inches above the plants and keep them on for about 12-14 hours daily to mimic natural sunlight.
For those in particularly hot climates, it may be beneficial to provide some afternoon shade. This will protect the celery from excessive heat, which can lead to wilting or bolting.
Water Regularly for Growth
Watering is crucial for celery growth, as this plant requires consistently moist soil to thrive. Ensure the soil never dries out completely, as celery is highly sensitive to drought conditions.
For optimal results, keep your celery well-hydrated by watering it deeply at least once a week. In warmer climates, you might need to increase the frequency to maintain adequate moisture levels.
Consider using a soaker hose or drip irrigation system to provide an even supply of water directly to the roots. This technique helps prevent soil surface evaporation and reduces the risk of fungal diseases.
To further enhance moisture retention, apply a layer of organic mulch around the base of the celery. Mulching not only retains moisture but also helps control weeds and maintain a consistent soil temperature.
Conclusion: Growing Success with These Plants
In the journey of nurturing relationships, the article ‘How to Grow Celery from Scraps’ sheds light on five essential concepts: communication, patience, nurturing, adaptability, and growth. Just as celery flourishes from scraps with the right care, relationships thrive when partners communicate openly, exercise patience, nurture each other’s needs, adapt to changing circumstances, and embrace personal and mutual growth.
As an actionable next step, take a moment today to express appreciation to your partner or loved one. A simple gesture or word can plant the seeds for deeper connection and understanding.
Remember to save or bookmark this article as a handy guide for when you need a refresher on cultivating healthy relationships. By keeping these insights at your fingertips, you empower yourself to continuously nurture and enrich your interactions.
Looking ahead, know that every small effort you invest in your relationships can lead to a flourishing future. Embrace the process with an open heart and watch as your connections deepen and grow, much like the celery from scraps. Your relationship success story is just beginning!