
In the world of vibrant perennials, Black-Eyed Susans stand tall as emblematic beacons of sunshine. These cheerful blooms, with their striking yellow petals and dark centers, not only brighten gardens but also invite a flurry of pollinators, enriching the local ecosystem. For both the novice gardener dipping their toes into the soil for the first time and the seasoned horticulturist seeking to enhance their floral repertoire, cultivating Black-Eyed Susans is both a rewarding and accessible endeavor. Their resilience and adaptability make them a perfect candidate for any garden, offering a touch of nature’s brilliance with minimal fuss.
Understanding how to welcome these golden beauties into your garden is a journey filled with learning and satisfaction. In this article, you’ll discover the key steps to successfully nurture Black-Eyed Susans, from selecting the right spot in your garden to ensuring they thrive season after season. We’ll delve into the essentials of soil preparation, watering techniques, and maintenance tips that keep these flowers blooming beautifully. Whether you’re looking to fill a sunny corner or create a lively border, you’ll find practical advice tailored to make your gardening experience as rewarding as the blooms themselves.
Select a Sunny Location

Finding the right location is crucial when growing black-eyed Susans, as these plants thrive in full sun. Aim for at least six to eight hours of direct sunlight a day to ensure vigorous growth and abundant blooms.
Choose a spot with well-drained soil, as black-eyed Susans do not tolerate soggy conditions. To improve drainage, consider mixing in organic matter like compost or peat moss before planting.
It’s beneficial to test the soil pH, aiming for a range between 6.0 and 7.0, which is ideal for these plants. If the pH is too low, you can add lime to raise it, or if it’s too high, sulfur can help lower it.
For gardeners in warmer climates, providing some afternoon shade can prevent the plants from wilting during peak heat. However, in cooler regions, maximizing sun exposure will help promote a longer blooming period.
Prepare Well-Draining Soil
To ensure your Black-Eyed Susans thrive, it’s essential to prepare well-draining soil. Begin by checking your soil’s texture; a mixture that feels gritty and crumbles easily in your hand is usually a good sign of drainage.
If your soil leans towards clay, amend it with organic matter like compost or well-rotted manure to enhance drainage. Adding sand can also help, but take care to mix it thoroughly to avoid creating a cement-like texture.
Avoid planting in areas where water tends to pool after rain, as Black-Eyed Susans prefer not to have “wet feet.” For gardeners dealing with heavy soils, consider creating raised beds to improve drainage and root aeration.
More advanced gardeners may test soil pH, aiming for a slightly acidic to neutral range between 6.0 and 7.0. Incorporating a layer of mulch can help maintain soil moisture without waterlogging, benefitting both soil health and plant growth.
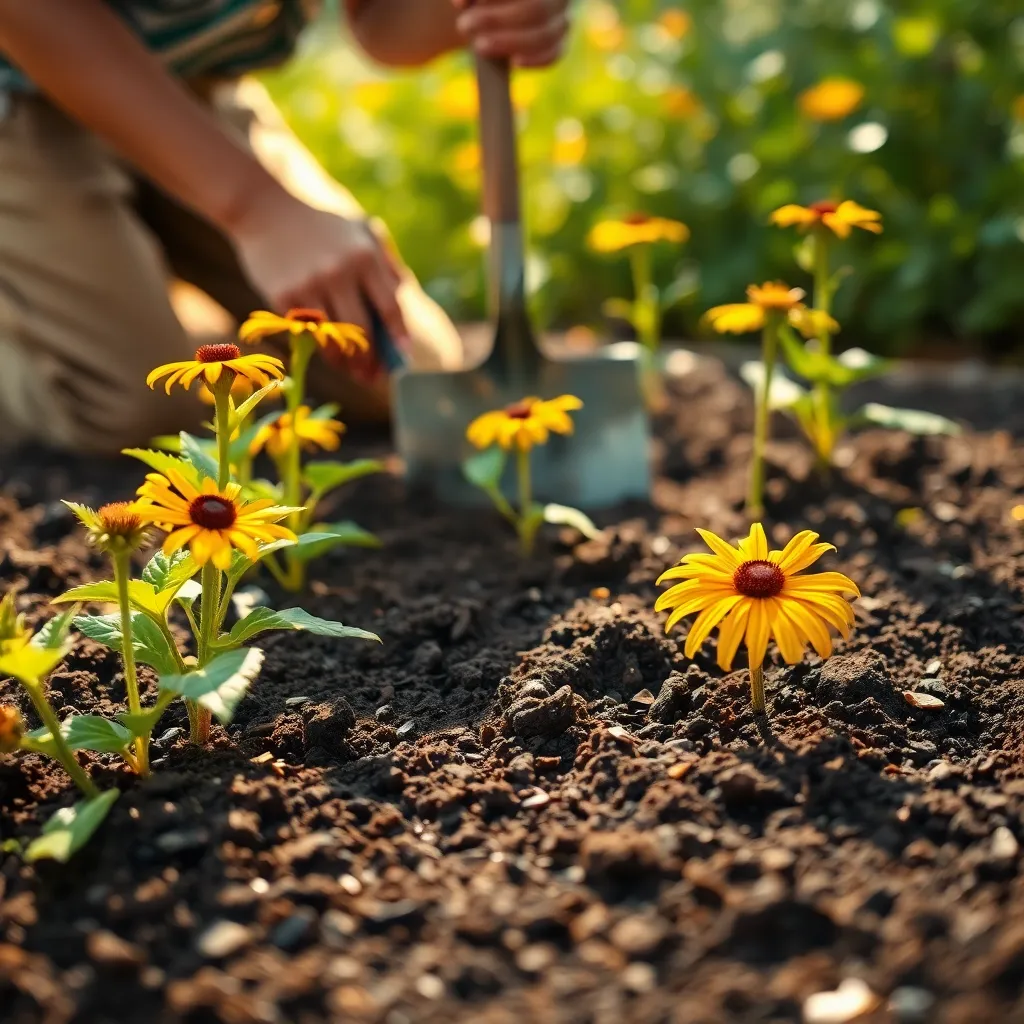
Sow Seeds in Spring

Spring is the ideal time to sow seeds for Black-Eyed Susans, as the warming soil provides the perfect conditions for germination. Start by selecting a location that receives full sun, ensuring these sun-loving plants can thrive throughout the growing season.
Before planting, make sure the soil is well-prepared, building upon the well-draining foundation you’ve already established. Loosen the top few inches of soil with a garden fork, and remove any weeds or debris that could compete with the seedlings.
When planting seeds, scatter them thinly over the prepared area, aiming for a spacing of about one seed every 12 inches if you’re planting directly in the ground. Lightly cover the seeds with a thin layer of soil or fine mulch to protect them while they germinate, usually in 7 to 14 days.
Water the seeds gently but thoroughly after planting, ensuring the soil remains consistently moist but not waterlogged. As a practical tip, use a fine spray nozzle on your hose or a watering can with a rose attachment to avoid washing the seeds away.
For those looking to get a head start, consider starting seeds indoors about six to eight weeks before the last expected frost. Use seed trays filled with a high-quality seed-starting mix, and provide ample light to encourage strong, healthy seedlings.
Water Consistently and Moderately
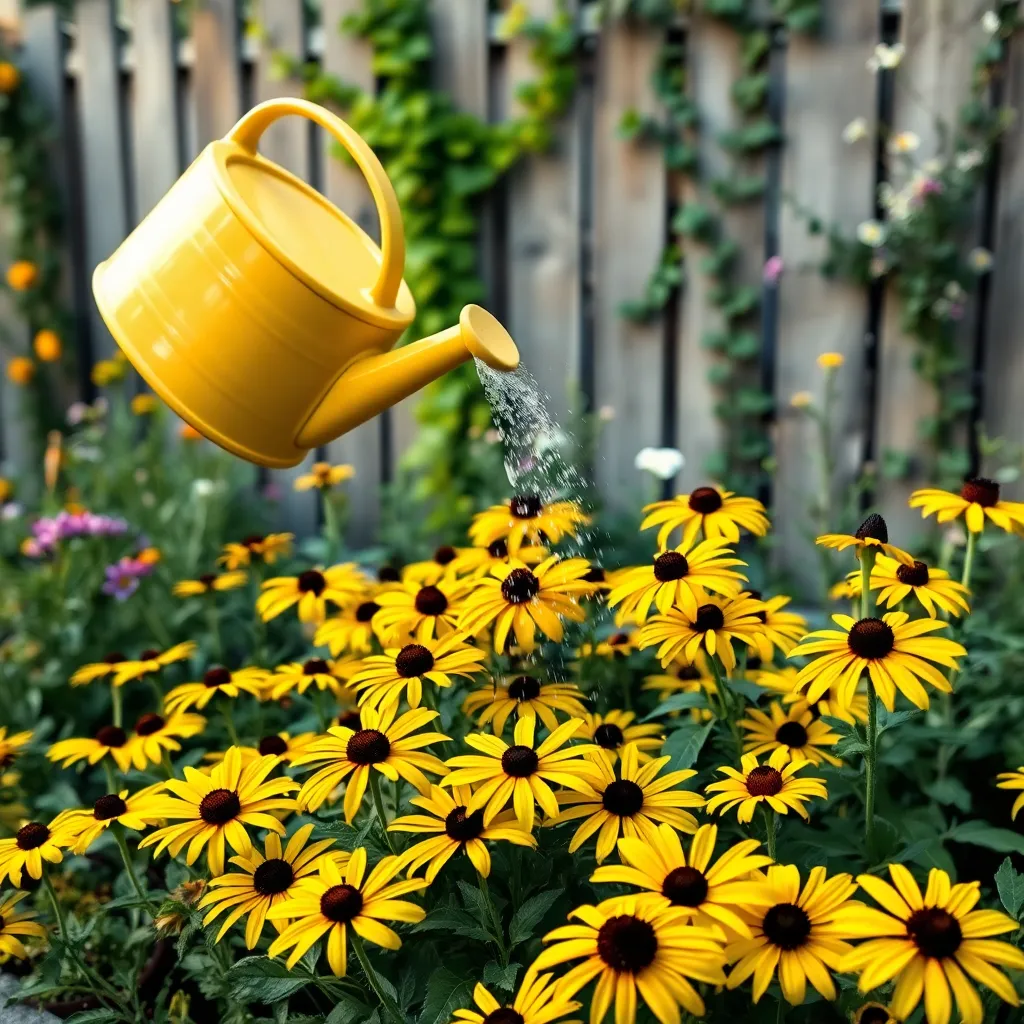
Watering is an essential part of growing healthy black-eyed Susans, and doing it consistently can make a significant difference. It’s crucial to provide them with a balanced amount of moisture, avoiding both drought and waterlogging, which can stress the plants.
Begin by watering your black-eyed Susans deeply once a week, especially during dry spells. This encourages the roots to grow deeper into the soil, making them more resilient and better able to access nutrients.
Choose well-draining soil to prevent water from pooling around the roots, which can lead to root rot. Adding organic matter like compost can improve soil structure and enhance its moisture retention capabilities without becoming overly saturated.
For those gardening in regions with high rainfall, consider planting black-eyed Susans in raised beds to improve drainage. Additionally, using a layer of mulch around the base of your plants can help retain soil moisture and reduce the frequency of watering, while also suppressing weeds.
Deadhead to Encourage Blooms
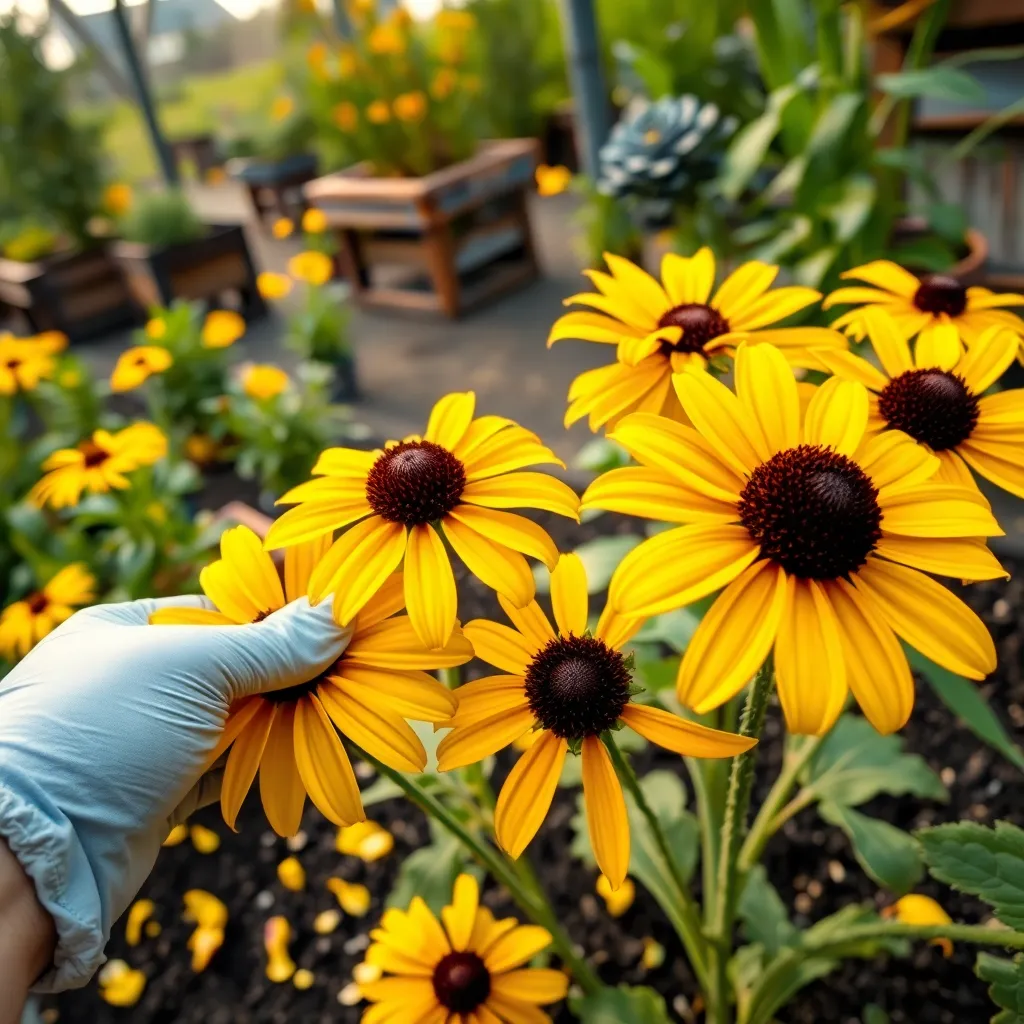
Deadheading is a simple yet effective way to encourage your Black-Eyed Susans to produce more blooms throughout the growing season. By regularly removing spent flowers, you can redirect the plant’s energy from seed production back into flowering.
To deadhead properly, use sharp, clean scissors or pruning shears to cut the stem back to just above the first set of healthy leaves. This not only encourages new blooms but also keeps your plant looking tidy and well-maintained.
For beginners, it’s essential to check your plants at least once a week and remove any faded flowers promptly. As you gain experience, you might notice that different plants have slightly varied blooming cycles, allowing you to plan your deadheading schedule more effectively.
Advanced gardeners can experiment with leaving a few spent blooms in late summer to encourage self-seeding for the next season. This technique can be particularly useful if you’re aiming to naturalize Black-Eyed Susans in a larger garden space or meadow.
Conclusion: Growing Success with These Plants
In nurturing both black-eyed Susans and relationships, the keys lie in understanding, patience, and dedication. First, just as these vibrant flowers thrive in sunlight, relationships grow with clear communication and openness. Second, like choosing the right soil, selecting supportive environments fortifies connections. Third, just as consistent watering sustains blooms, regular emotional check-ins nurture bonds. Fourth, pruning away dead leaves parallels letting go of past grievances to foster growth. Lastly, ensuring proper spacing mirrors respecting individual boundaries, crucial for flourishing partnerships.
As your actionable next step, initiate a heartfelt conversation with your partner today, focusing on one area where your relationship can bloom brighter. By bookmarking this article, you’ll have a handy guide to revisit these nurturing principles, ensuring your relationship continues to thrive.
Remember, just like a garden, relationships require ongoing care and attention to truly blossom. With commitment and the right guidance, your relationship can grow and flourish beyond your expectations. Save this article as your go-to resource, and embrace the journey of relationship success with confidence and hope.