
Imagine stepping into your backyard after a rainstorm and finding a lush, vibrant oasis that not only beautifies your space but also helps the environment. A rain garden, a simple yet remarkable concept, offers a sustainable way to manage stormwater runoff while nurturing native plants and creating habitats for local wildlife. Whether you’re a budding gardener or someone with a seasoned green thumb, creating a rain garden can transform your outdoor space and make a positive ecological impact.
For those just beginning their gardening journey, a rain garden can serve as a rewarding project that combines creativity with ecological stewardship. Experienced gardeners will appreciate the opportunity to experiment with plant selection and design, tailoring their rain gardens to suit their unique landscapes and local climates. Throughout this article, you’ll discover practical steps to design, build, and maintain a rain garden, gain insights into choosing the right plants, and learn how to position your rain garden for maximum effectiveness.
Creating a rain garden is more than just a gardening activity; it’s an invitation to engage with nature in a meaningful way. You’ll learn how to assess your site’s drainage, select native plants that thrive in wet conditions, and bring your vision to life with thoughtful design. By the end, you’ll be equipped with the knowledge and confidence to create a beautiful, functional rain garden that will benefit both your garden and the broader ecosystem.
Select the Ideal Location
When selecting the ideal location for your rain garden, consider areas that naturally collect water during rainfall. These are often low points in your yard where water drains after a storm, making them perfect for capturing runoff.
It’s important to choose a spot that is at least 10 feet away from your home’s foundation to prevent water from seeping into the basement. Additionally, avoid placing your rain garden over a septic system, as excess water could interfere with its function.
The soil in your chosen location should be well-draining to ensure that water doesn’t pool for too long, which can harm plant roots. Conduct a simple percolation test by digging a hole about 12 inches deep, filling it with water, and observing how quickly it drains; ideally, the water should drain within 24 hours.
For beginners, a sunny spot is typically best, as most rain garden plants thrive in full to partial sunlight. Advanced gardeners might experiment with shadier areas by selecting moisture-loving plants like ferns and sedges that can handle less light.
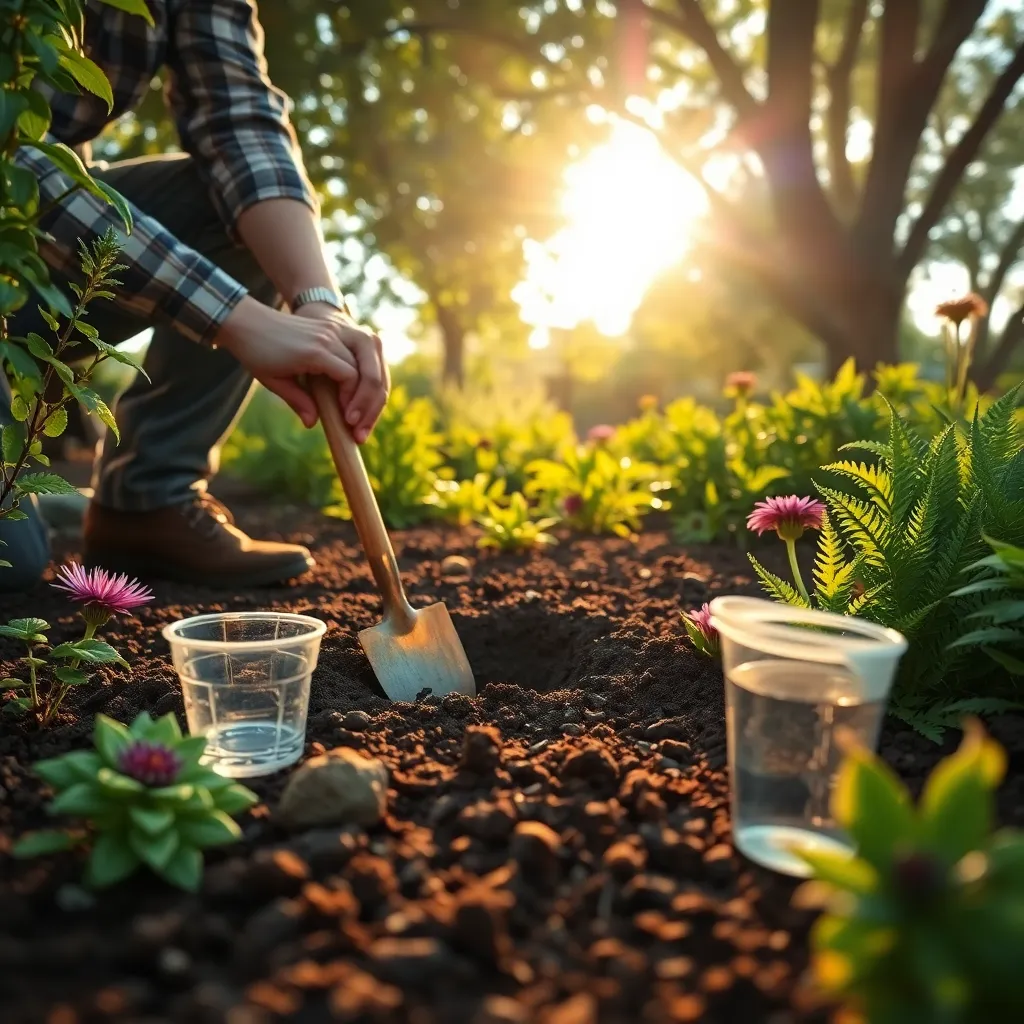
Once you’ve identified the perfect spot, mark out the boundaries of your rain garden using a garden hose or string. This will help you visualize the space and make adjustments before you start digging, ensuring a well-designed garden layout.
Assess Soil Drainage Capacity
Assessing soil drainage capacity is a crucial step in creating a successful rain garden. To begin, dig a hole about 12 inches deep and fill it with water, allowing it to drain completely.
Once the water has drained, refill the hole and time how long it takes for the water to disappear. Ideally, the water should drain away within 24 hours, indicating well-draining soil suitable for a rain garden.
If the water drains too slowly, consider amending the soil with organic matter such as compost or sand. Amending the soil can improve drainage and create a more hospitable environment for your plants.
For gardeners dealing with heavy clay soil, additional steps may be necessary. Installing a drainage pipe or choosing plants that tolerate wet conditions can help manage excess water effectively.
Meanwhile, soils that drain too quickly might need an added layer of topsoil or organic mulch to retain moisture. This can prevent your plants from drying out too quickly, ensuring a thriving rain garden.
Design the Garden Layout
Once you have assessed your soil’s drainage capacity, it’s time to design the layout of your rain garden. Begin by selecting a location that naturally collects rainwater, such as a low-lying area in your yard, ensuring it’s at least 10 feet away from your home to prevent water damage.
Consider the size and shape of your rain garden based on the amount of runoff you expect to collect. A common recommendation is to make the garden about one-third the size of the area from which water will be collected, which helps effectively manage excess water.
Next, decide on the plant placement within the garden, taking into account their water needs and tolerance. Plants that thrive in wetter conditions should be placed in the center where water collects most, while those preferring drier conditions can be positioned at the edges.
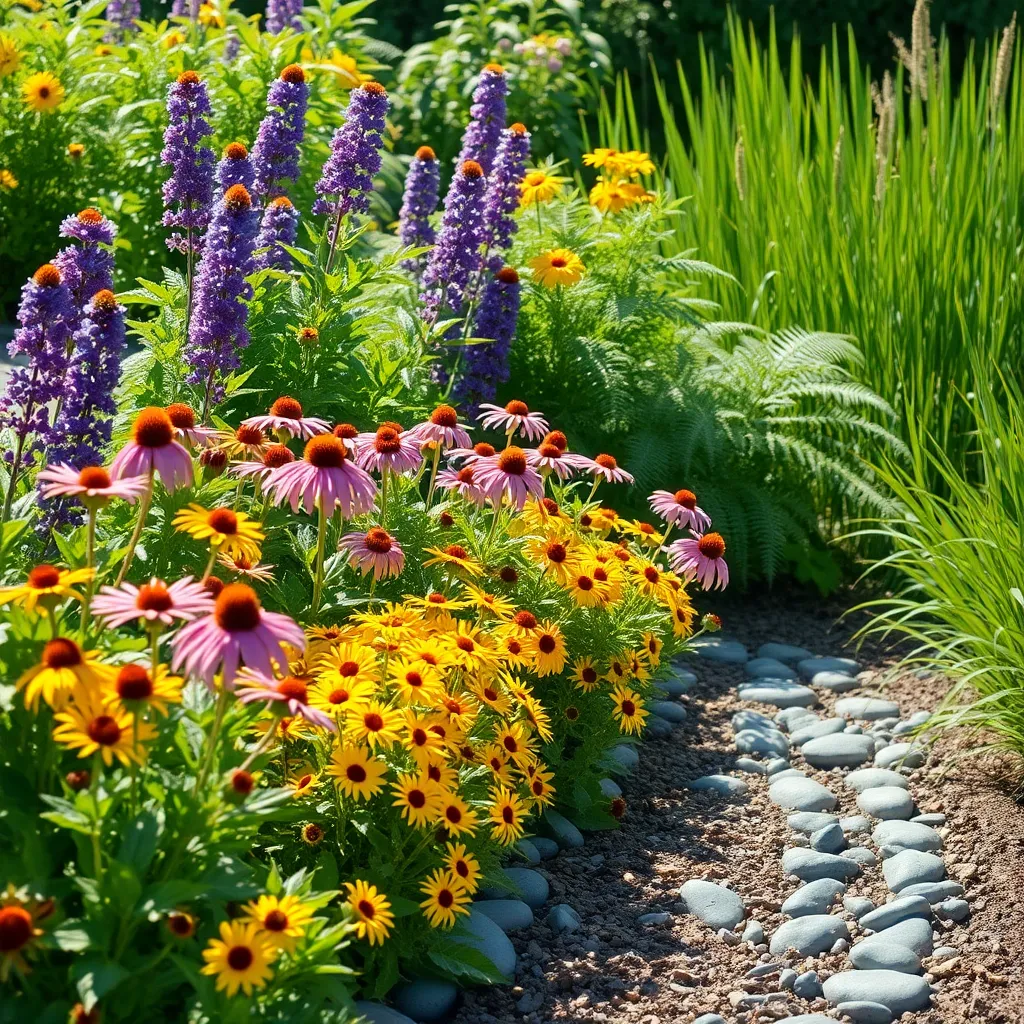
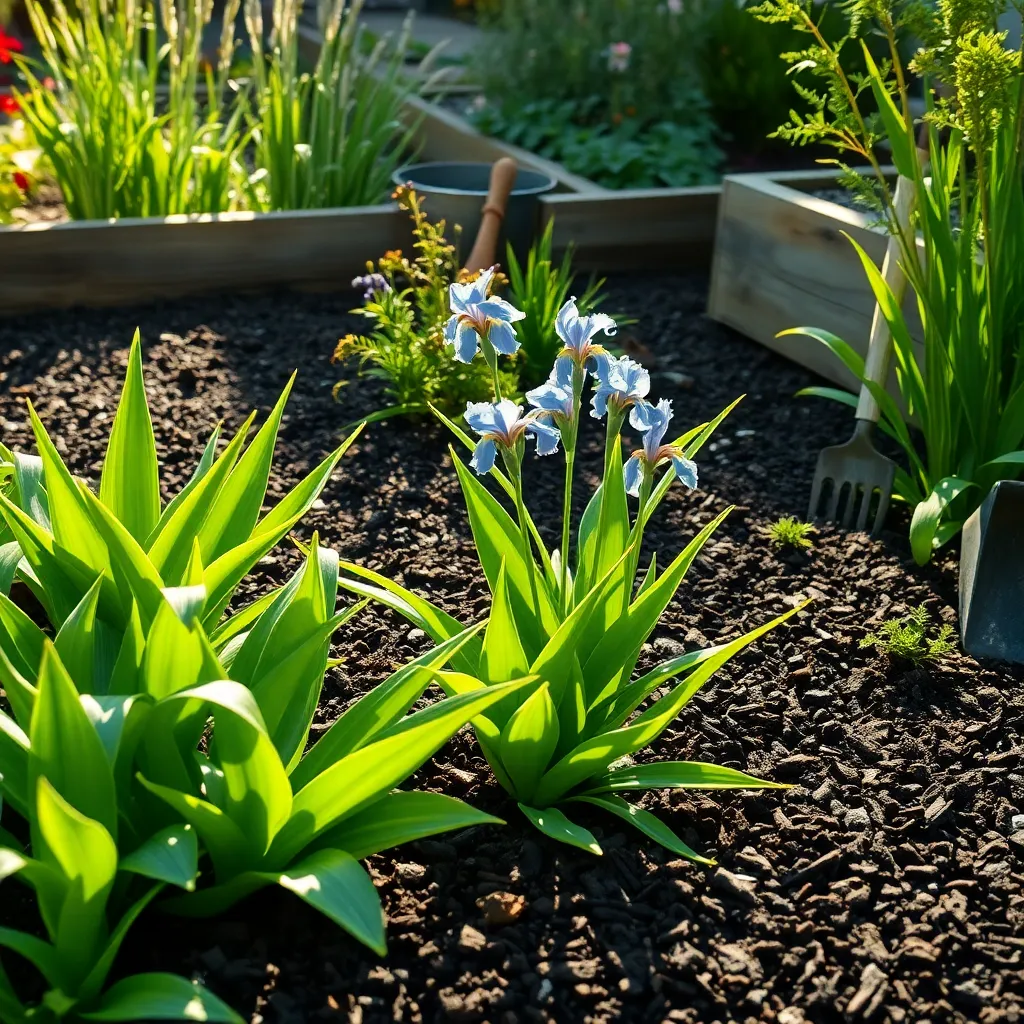
Use a variety of plants to create a visually appealing and ecologically balanced rain garden. Include a mix of native perennials, shrubs, and grasses, as they are often more resilient and require less maintenance.
Incorporate mulch to help retain moisture and suppress weeds, applying a 2-3 inch layer around your plants. This layer not only aids in water conservation but also contributes to the organic matter as it breaks down, enriching the soil over time.
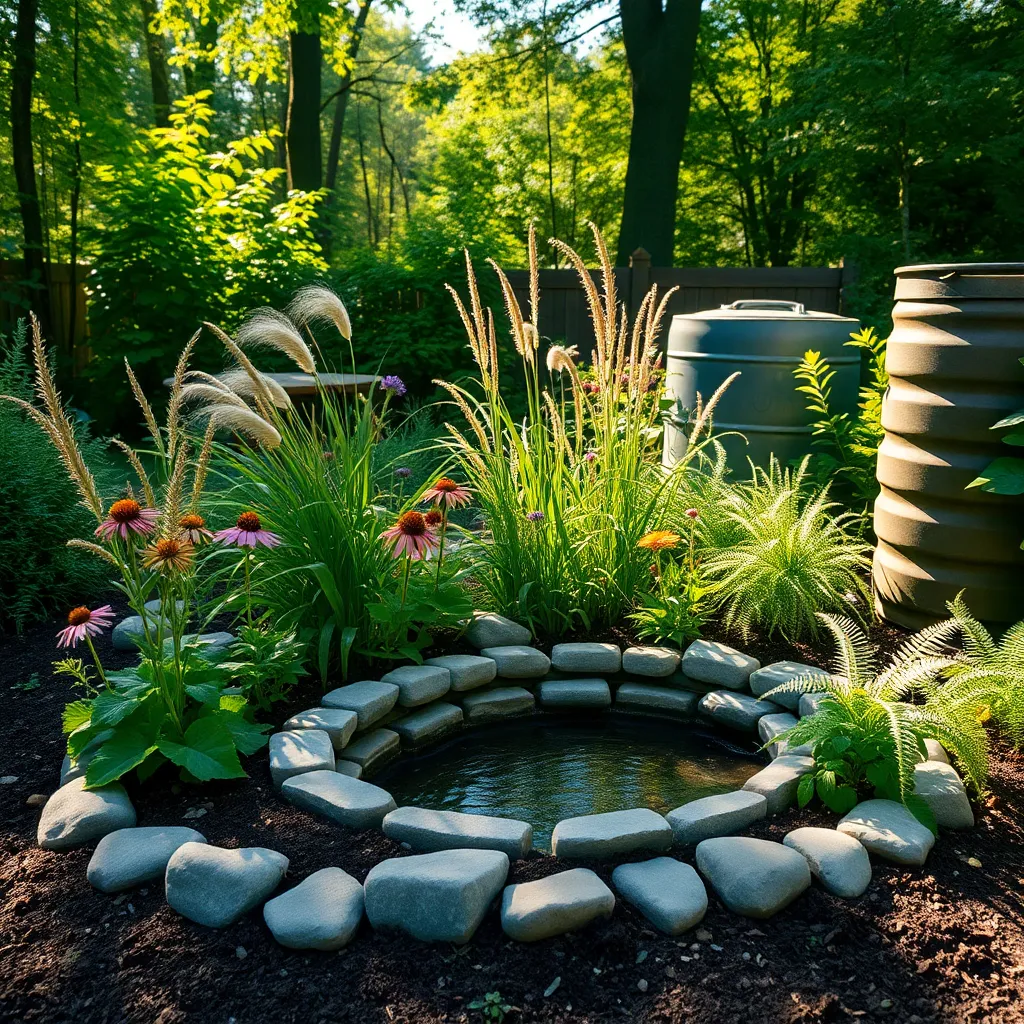
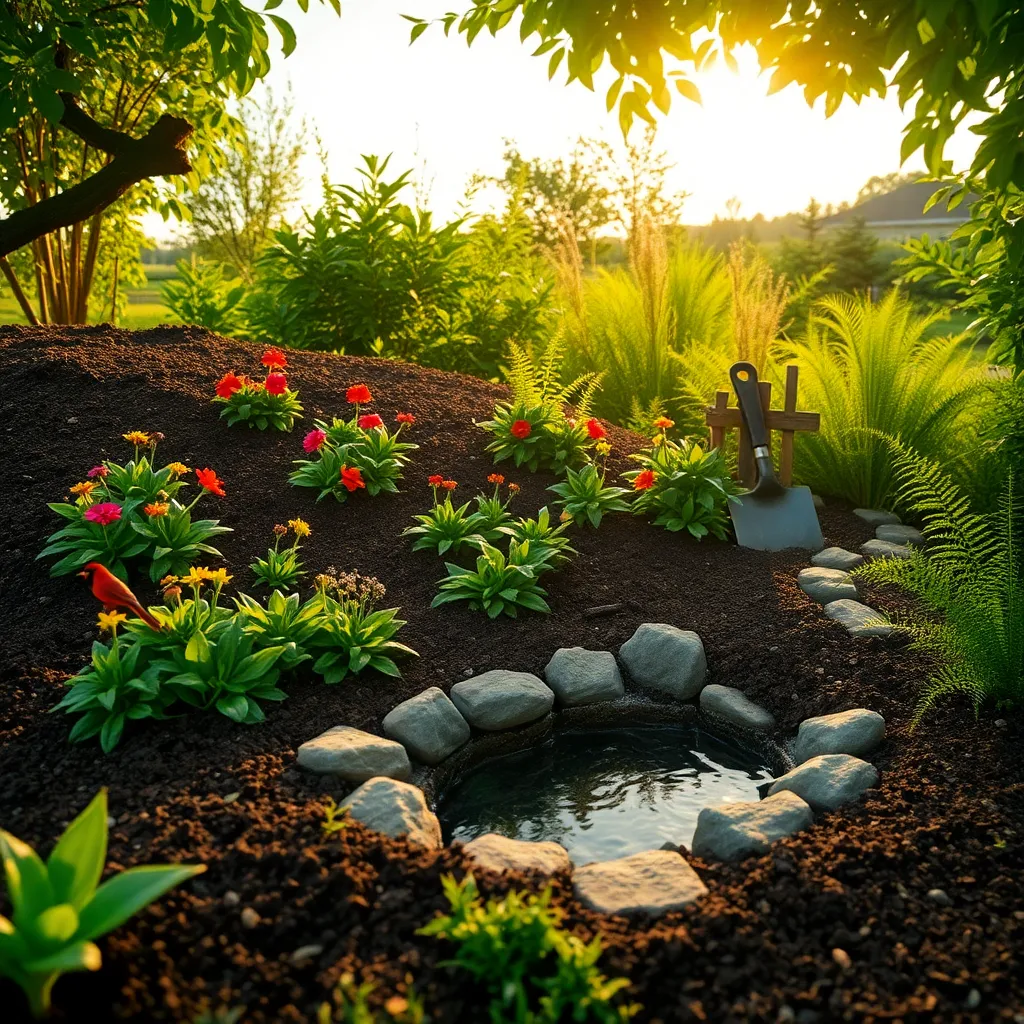
Finally, consider adding decorative stones or a small path to enhance both the functionality and aesthetics of your rain garden. These elements can guide water flow effectively while providing an attractive focal point in your landscape.
Choose Native Plant Species
One of the most effective ways to ensure your rain garden thrives is to choose native plant species. Native plants are adapted to the local climate and soil conditions, making them naturally more resilient and easier to care for.
By selecting native plants, you’ll find that they require less water and fewer fertilizers, since they are already accustomed to the natural rainfall patterns and nutrient levels. This not only reduces maintenance but also supports local wildlife, including pollinators essential for a healthy ecosystem.
Consider the specific conditions of your rain garden when choosing plants. Native grasses and perennials, such as switchgrass or Joe-Pye weed, are excellent choices due to their deep root systems, which help absorb excess water and prevent erosion.
For beginners, start with a mix of easy-to-grow native species that have varying bloom times to maintain visual interest throughout the seasons. More advanced gardeners can experiment with incorporating drought-tolerant natives in higher areas of the garden and moisture-loving ones in lower spots.
To ensure success, plant your rain garden in the fall or early spring, allowing plants to establish before the growing season. Regularly check for proper drainage and adjust your plant choices if certain species struggle, as rain gardens can have varying microclimates that affect plant health.
Install Mulch and Borders
Installing mulch in your rain garden is a crucial step that offers numerous benefits. It helps retain soil moisture, suppresses weeds, and adds organic matter to the soil as it breaks down over time. Choose organic mulches like shredded hardwood, straw, or bark, which will decompose gradually and enrich your soil. Apply a layer of mulch about two to three inches thick, ensuring it does not smother the plant stems.
In addition to mulch, borders play a significant role in maintaining the structure and function of your rain garden. They help keep the mulch contained and prevent soil erosion during heavy rains. Consider using natural stones, recycled bricks, or wooden edges to create a defined border that complements your garden’s aesthetic. Make sure the borders are installed slightly above the surrounding soil to effectively manage water flow.
For beginners, starting with simple materials like wood or stone can make installation easy and inexpensive. Advanced gardeners might explore more intricate designs with interlocking pavers or custom-cut stone for a polished look. When setting up borders, ensure they are firmly anchored to withstand the pressure of water flow and soil movement. Regularly check and maintain the borders to prevent them from moving or breaking down over time.
To optimize the health of your rain garden, combine mulching with periodic watering during dry spells. Even though rain gardens are designed to absorb stormwater, providing supplemental water during extended dry periods will support plant health and growth. Monitor the mulch layer and replenish it as needed, typically every year, to maintain its effectiveness. With careful attention to mulching and borders, your rain garden will thrive and continue to manage water efficiently.
Conclusion: Growing Success with These Plants
In ‘How to Create a Rain Garden,’ we explored five key relationship concepts: understanding your partner’s unique communication style, the importance of nurturing shared spaces, balancing individual growth with partnership goals, fostering emotional resilience, and the art of celebrating small victories together. These elements are crucial in cultivating a thriving relationship, much like tending to a rain garden that absorbs, nourishes, and flourishes over time.
As a tangible next step, consider having an open conversation with your partner about which of these concepts resonates most with your relationship and how you can collectively nurture these aspects in your daily lives. This simple act of dialogue can set the foundation for deeper connection and understanding.
Remember to bookmark this article as a valuable resource to revisit and reflect on. Allow it to serve as a guidepost on your journey to a more fulfilling partnership. As you continue to embrace and implement these strategies, envision a future where your relationship not only withstands life’s storms but blooms beautifully through them. With every step you take towards nurturing your relationship, you are investing in a future of shared joy and resilience.