
Imagine stepping into your garden and being greeted by a flourishing array of plants nestled within a beautifully crafted raised garden bed—all achieved without breaking the bank. Whether you’re just starting your gardening journey or have years of experience under your belt, building a raised garden bed on a budget is an accessible project that can transform your outdoor space into a lush, productive haven.
For both novice and seasoned gardeners, understanding the benefits of raised garden beds is essential. Not only do they offer improved drainage and soil quality, but they also make gardening more ergonomic, reducing the need for constant bending and kneeling. In this guide, you’ll discover practical strategies to construct a cost-effective raised bed, from selecting the right materials to optimizing your layout for a thriving garden.
By the time you finish reading, you’ll be equipped with the knowledge and confidence to create your very own raised garden bed. We’ll explore affordable material options, share step-by-step instructions, and offer tips on how to make the most of your garden space. Get ready to dig into this project with enthusiasm, knowing that a verdant oasis is within reach, regardless of your budget.
Select Affordable Materials
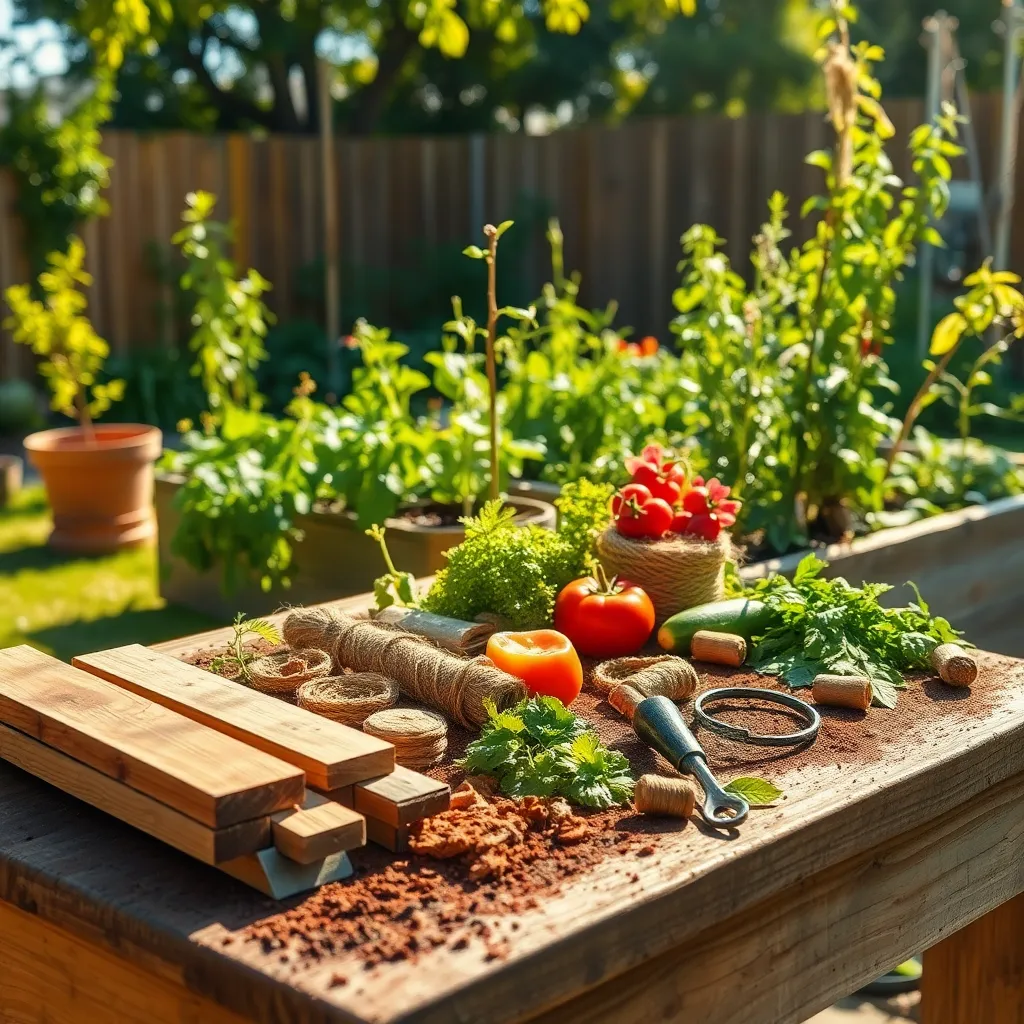
When building a raised garden bed on a budget, consider using reclaimed wood or pallets that are often available for free or at a low cost. These materials are not only affordable but also environmentally friendly, offering a sustainable option for your garden.
Another economical option is to use concrete blocks or bricks, which can often be found at salvage yards or through community giveaways. They provide excellent durability and can help in maintaining consistent soil temperatures for your plants.
If you’re looking for a lighter alternative, consider using corrugated metal sheets which can be purchased at a fraction of the cost of new materials. These sheets are lightweight, easy to install, and give your garden a modern aesthetic while providing excellent drainage.
For soil, use a mix of topsoil, compost, and peat moss to create a nutrient-rich environment for plants. This combination ensures good drainage and aeration, critical for healthy plant growth, and can often be sourced from local gardening centers at reduced prices or through community composting programs.
Measure and Mark Space
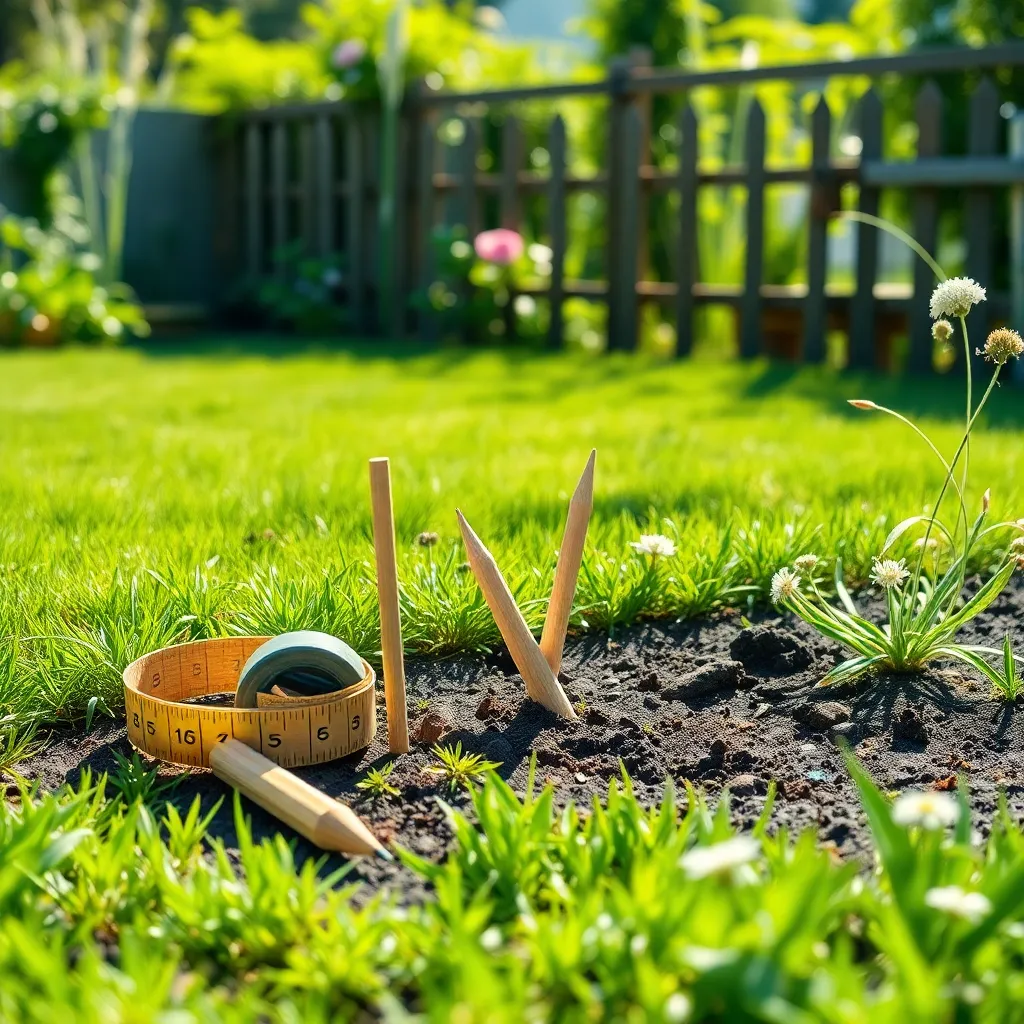
Before you start building your raised garden bed, it’s crucial to measure and mark your space accurately. Begin by selecting a level spot in your garden that receives at least 6 to 8 hours of sunlight daily, as most vegetables thrive in these conditions.
Using a tape measure, determine the dimensions of your raised bed, typically 4 feet wide for easy access from both sides. Ensure the length suits your available space, but keep it manageable—around 8 to 12 feet is ideal for most gardeners.
Mark the corners of your planned bed using stakes or wooden pegs, then connect them with string to outline the perimeter. This visual guide helps you stay true to your measurements and ensures your bed is perfectly rectangular or square.
For those wanting a more precise layout, consider using a carpenter’s square or a level to check the angles and evenness of the ground. This step is especially important if you’re installing multiple beds or working on a slope, as it ensures uniformity and stability.
Once your space is marked, take a moment to clear the area of any weeds or debris, which will help prevent future growth inside your bed. Consider adding a layer of cardboard or landscape fabric to further suppress weeds, promoting a healthier growing environment for your plants.
Assemble the Wooden Frame
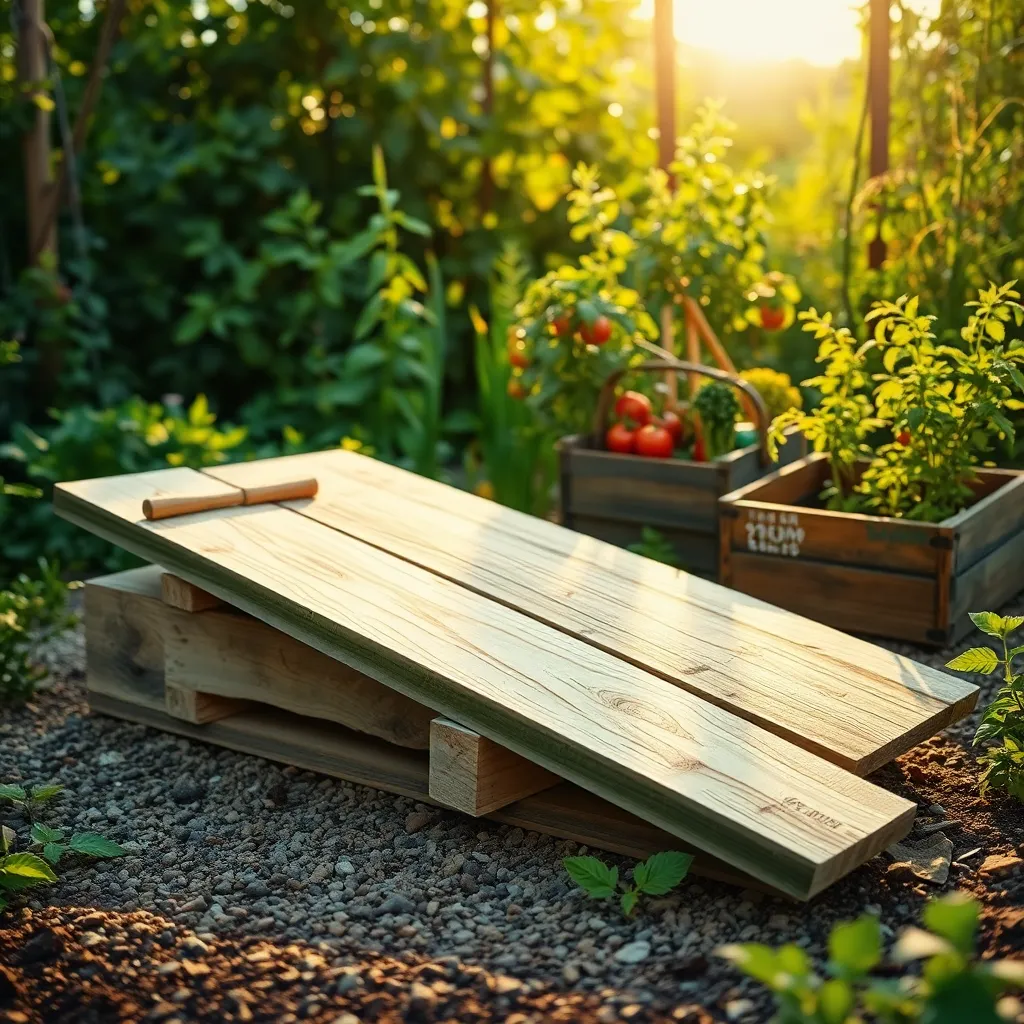
Once you have measured and marked your space, it’s time to assemble the wooden frame for your raised garden bed. Use untreated, rot-resistant wood like cedar or redwood for a cost-effective and durable option. These types of wood are naturally resistant to decay, ensuring your frame will last for many seasons.
Begin by cutting your wood to the desired lengths, typically 4 feet by 8 feet for a standard-size bed. It’s helpful to use a saw with a guide to ensure straight cuts, which will make assembly easier and the frame sturdier. For smaller gardens, you can adjust the dimensions to fit your space.
Next, lay out the wood pieces on the ground in the shape of your garden bed. Secure the corners using galvanized screws or nails, which resist rust and will hold the structure together more effectively. If you have a drill, pre-drill the holes to prevent the wood from splitting.
Consider reinforcing the corners with corner brackets for extra stability, especially if you plan to grow heavy produce like tomatoes or squash. This step is particularly useful for beginners who want a solid structure without much hassle. For experienced gardeners, adding a middle support beam can also prevent bowing in longer beds.
Add Cost-Effective Soil Mix
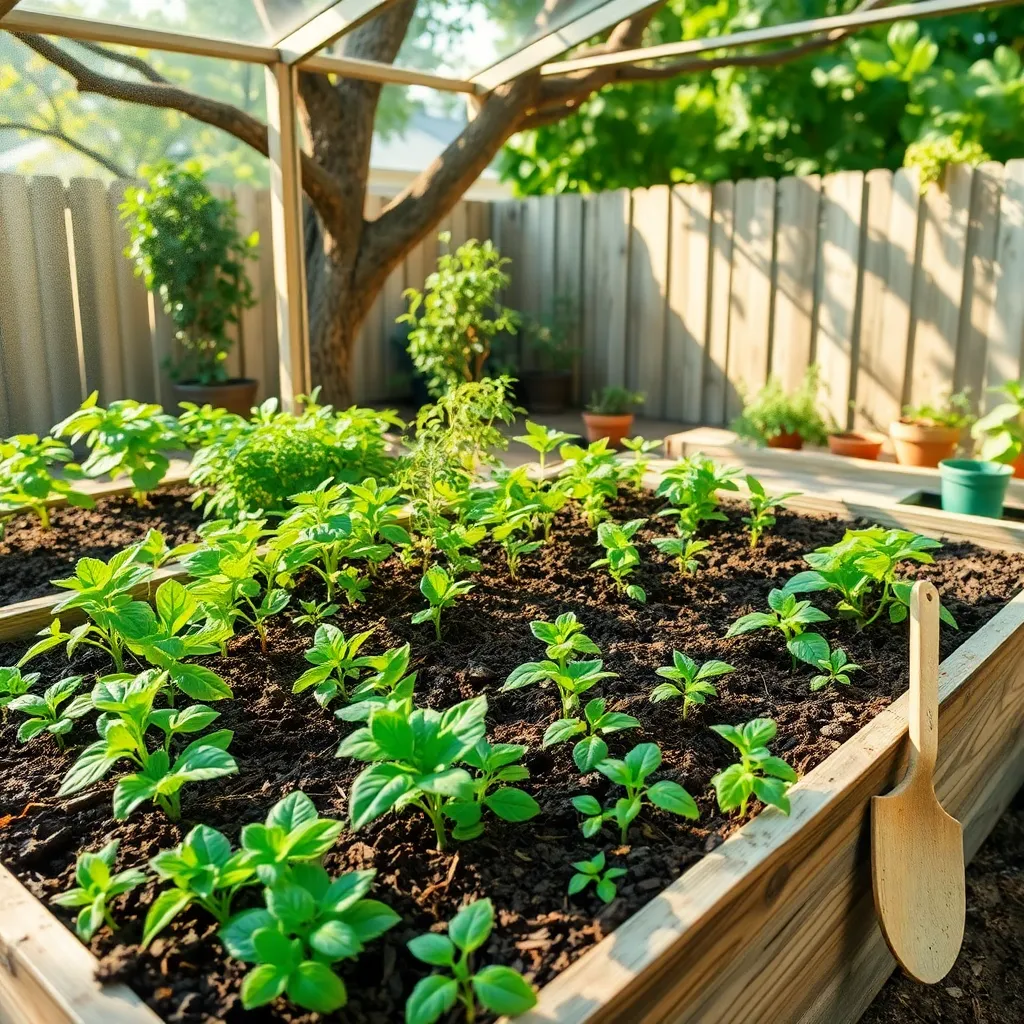
After assembling your raised garden bed frame, it’s time to focus on filling it with a cost-effective soil mix. A good soil mix is crucial for healthy plant growth and can be created using affordable materials while ensuring the right balance of nutrients and drainage.
Begin by sourcing bulk materials like topsoil, which can often be purchased at a lower cost when buying in larger quantities. Combine this with equal parts of compost and coarse sand to create a balanced mix that promotes both nutrient availability and proper water drainage.
It’s important to use compost, as it enriches the soil with essential nutrients and beneficial microorganisms. If you’re on a budget, consider making your own compost using kitchen scraps and yard waste, which can be an ongoing source of organic matter for your garden.
For those looking to enhance their soil mix further, consider adding a small amount of perlite or vermiculite. These materials can improve soil aeration and moisture retention, offering advanced benefits for those willing to invest slightly more into their garden’s health.
Once your soil mix is ready, fill your raised bed to a depth of at least 12 inches to accommodate root growth for most plants. This depth is generally sufficient for vegetables, herbs, and flowers, but if you’re planning to grow root crops like carrots, a deeper bed may be necessary.
Water your new soil thoroughly after filling the bed to help settle it and eliminate any large air pockets. Regular watering is key, especially during the initial stages, to ensure that your plants establish strong root systems in their new environment.
Install Efficient Watering System

Ensuring your raised garden bed has an efficient watering system is crucial for plant health and water conservation. Start by assessing your garden’s water needs, considering factors like plant types and local climate.
For beginners, a simple soaker hose can be a cost-effective solution, providing a steady supply of water directly to the plant roots. Lay the hose on the soil surface, ensuring even coverage, and connect it to a timer for automatic watering schedules.
Drip irrigation is an excellent choice for more advanced gardeners looking to optimize water use. This system delivers precise amounts of water to each plant, reducing waste and promoting healthier growth.
Consider using a rain barrel to collect rainwater, which is not only environmentally friendly but also beneficial for plants due to its natural composition. Connect the barrel to your irrigation system to maximize efficiency and reduce water bills.
Once your system is in place, monitor your plants to ensure they’re getting adequate moisture without overwatering. Adjust the frequency and duration of watering based on seasonal changes and specific plant needs.
Conclusion: Growing Success with These Plants
In building a raised garden bed on a budget, we uncovered five key relationship principles that nurture growth in any partnership. First, communication is akin to choosing the right location—essential for setting the foundation. Second, budgeting parallels resource allocation—important for balance and sustainability. Third, teamwork in building mirrors collaboration, where each partner’s strengths create a sturdy frame. Fourth, adaptability is like soil selection—vital for cultivating resilience. Finally, patience in gardening mirrors nurturing growth, allowing time for beauty to flourish.
To put these insights into action, consider having a candid conversation with your partner today about a shared goal, much like planning your dream garden. This small step can sow the seeds of deeper connection and shared purpose.
As you embark on this journey of relationship cultivation, remember to save this article as your go-to guide for nurturing love on a budget. Bookmark it now to ensure these valuable tips are always within reach. With dedication and mutual effort, your relationship can blossom into a thriving, lifelong partnership filled with joy and fulfillment. Let this be the beginning of your garden of love, where every little effort contributes to a bountiful harvest.