
In the world of gardening, the trellis stands as a silent sentinel, guiding plants to reach for the skies and adding a layer of elegance to any garden space. Whether you are a newcomer to the joys of gardening or a seasoned green thumb looking to enhance your outdoor sanctuary, building a garden trellis is a rewarding project that combines functionality with artistry.
For beginners, a trellis is an invitation to explore the vertical plane of your garden, offering support to climbing plants like beans, peas, and flowering vines. Experienced gardeners will appreciate the opportunity to customize their growing space, crafting a structure that not only supports but showcases their botanical treasures.
In this article, you’ll learn how to select the right materials, choose the perfect location, and construct a trellis that suits your garden’s unique needs. From selecting the ideal design to understanding the best attachment techniques, we’ll guide you every step of the way, ensuring your garden not only thrives but also captivates with its newfound dimension.
Select Ideal Trellis Location
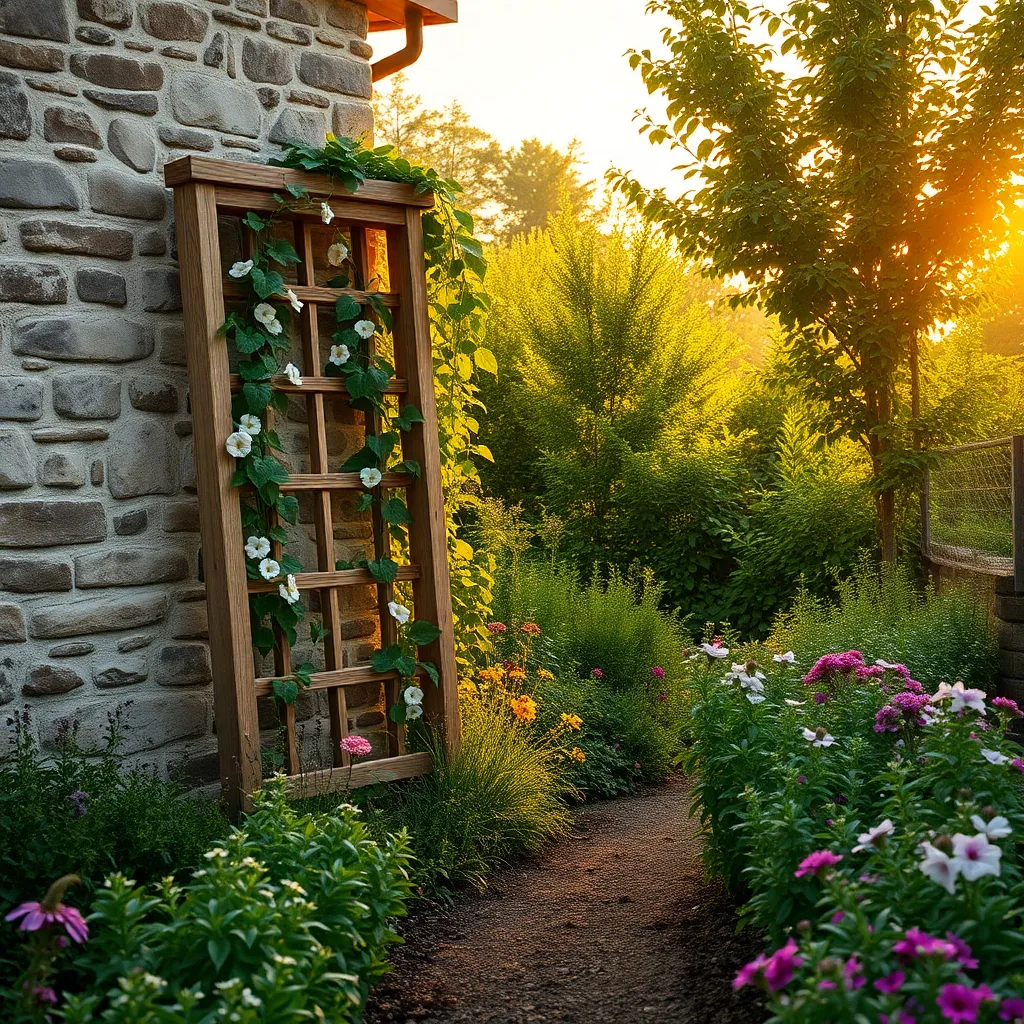
Choosing the right location for your trellis is critical to the success of your climbing plants. Ensure your trellis is placed in an area that receives the appropriate amount of sunlight for the specific plants you are growing, as most climbers thrive in full sun or partial shade.
Consider the soil quality where you plan to position your trellis, as healthy soil will support vigorous plant growth. Amending the soil with compost or well-rotted manure can improve nutrient content and drainage, which is especially important for plants like roses and clematis.
Accessibility is another important factor when selecting a trellis location. Place the trellis where you can easily reach it for regular maintenance, such as pruning and training the plants to grow along the structure.
For those in windy areas, securing your trellis in a sheltered spot can prevent damage and improve plant stability. Windbreaks, like hedges or walls, can offer protection and reduce the risk of plants being uprooted or damaged.
Gather Necessary Materials
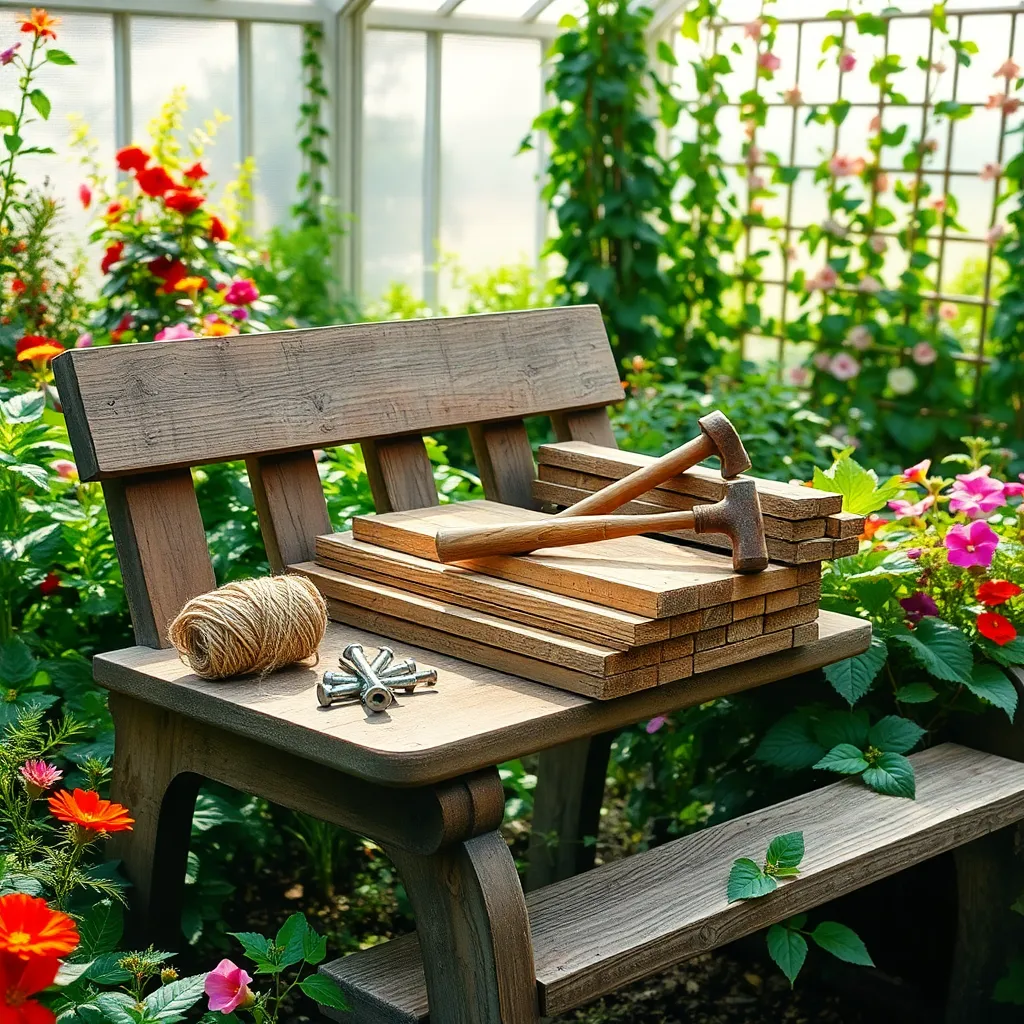
Before building your garden trellis, the first step is to gather all necessary materials. This ensures you don’t interrupt your project midway, keeping the process smooth and efficient. You’ll need materials such as sturdy wood or metal for the frame, depending on the durability you desire. Pressure-treated wood and galvanized metal are excellent choices as they resist rot and rust, lasting through several growing seasons.
Consider the type of plants you plan to grow when selecting your materials. For instance, heavier plants like cucumbers or squash require a more robust structure compared to lighter climbers like peas. In addition to the frame, you’ll need fastening supplies such as screws or nails and a drill to assemble the trellis. Having a tape measure, a level, and a saw on hand will also be beneficial to ensure precise cuts and a stable build.
Using a weather-resistant finish, such as exterior paint or a sealant, can extend the life of wooden trellises. This is particularly important if your trellis will be exposed to the elements year-round. If you plan to grow plants that need extra support, like tomatoes, include some garden twine or netting. These can be easily attached to your trellis to offer additional support as the plants grow.
For those wanting a more advanced setup, consider incorporating an irrigation system near your trellis. This can help ensure your climbing plants receive consistent moisture, which is crucial during the hotter months. Always keep in mind the specific watering needs of the plants you’ll be growing; some may require more frequent watering, while others prefer drier conditions. Having all these materials ready before you start will make building your garden trellis a rewarding and successful endeavor.
Cut and Assemble Frame
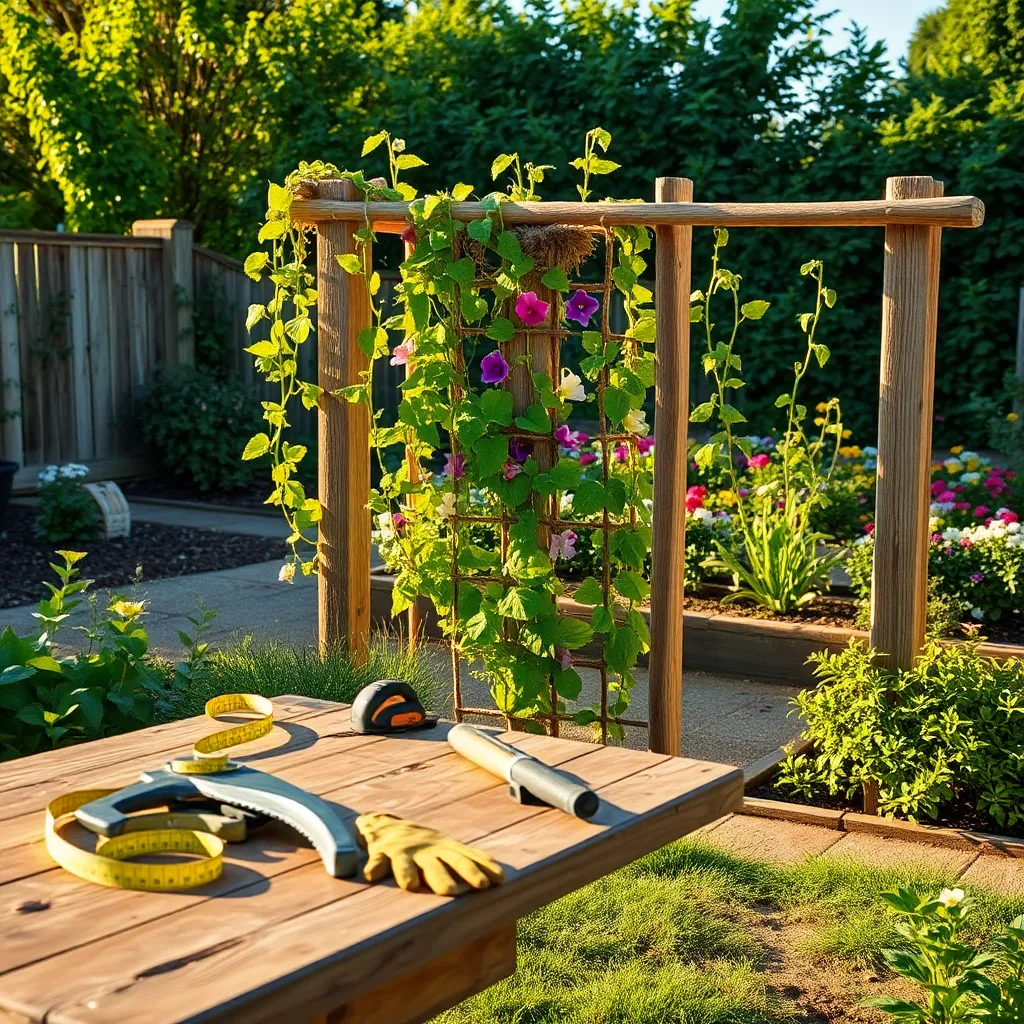
Once you’ve gathered all necessary materials, it’s time to cut and assemble the frame for your garden trellis. Begin by measuring and marking the wood according to your desired trellis dimensions, ensuring straight lines for precise cuts.
Using a saw, carefully cut the wood along the marked lines. If you’re a beginner, consider using a hand saw for better control, while more experienced gardeners might opt for a power saw for efficiency.
Safety is paramount, so wear protective gear such as goggles and gloves while cutting. Once all pieces are cut, lay them out on a flat surface to verify their dimensions and make any necessary adjustments.
Next, assemble the frame by joining the cut pieces. Use wood screws and a drill to secure the joints firmly, ensuring the frame is stable and can support climbing plants as they grow.
It’s beneficial to pre-drill holes to prevent the wood from splitting, especially if you’re using harder types of wood. For a sturdier frame, add cross braces at the corners or use metal brackets for additional support.
Finally, consider the placement of the trellis relative to the plants you want to support. Position it where your plants will receive ample sunlight and where the soil has good drainage, enhancing the growth of climbers like peas or cucumbers.
Secure Trellis in Place
Once your trellis frame is assembled, the next step is to securely anchor it in place. This ensures stability, especially in windy conditions, and provides a reliable support system for climbing plants like beans, peas, or roses.
Start by selecting a location with the right exposure for your plants, ideally a spot with plenty of sunlight. Drive wooden or metal stakes into the ground at least 18 inches deep to provide a solid base for the trellis.
Attach the trellis frame to the stakes using durable materials like galvanized screws or weather-resistant zip ties. This will keep the frame steady and prevent it from wobbling under the weight of mature plants.
For additional stability, consider using guy wires anchored to nearby structures or the ground. These can help distribute the load and ensure that your trellis remains upright even during adverse weather.
Check the alignment and sturdiness of the trellis by gently shaking it; it should not sway or shift significantly. Adjust the stakes or tighten the fastenings if needed to achieve the desired firmness.
Remember to regularly inspect the trellis throughout the growing season for any signs of wear or loosening. Prompt maintenance will enhance the longevity of the structure and support healthy plant growth.
Attach Supporting Wires or Netting
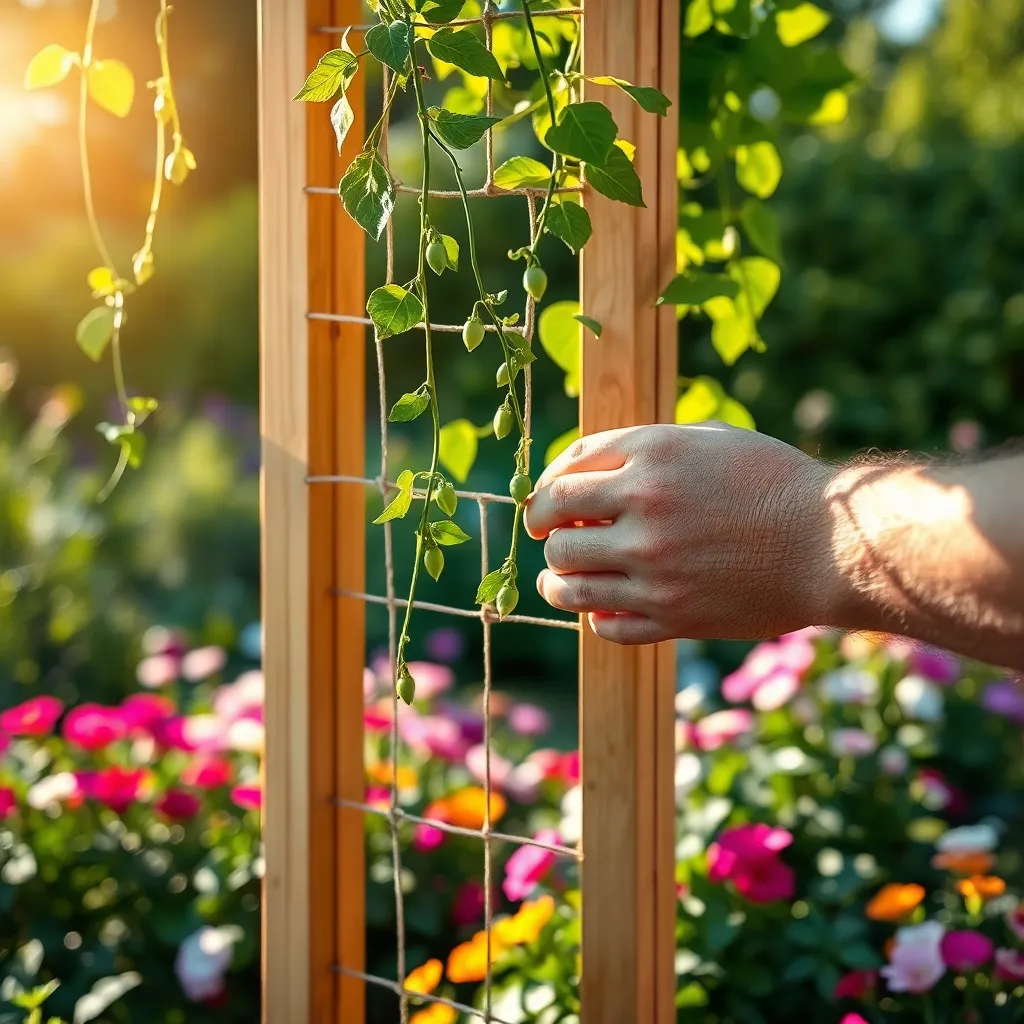
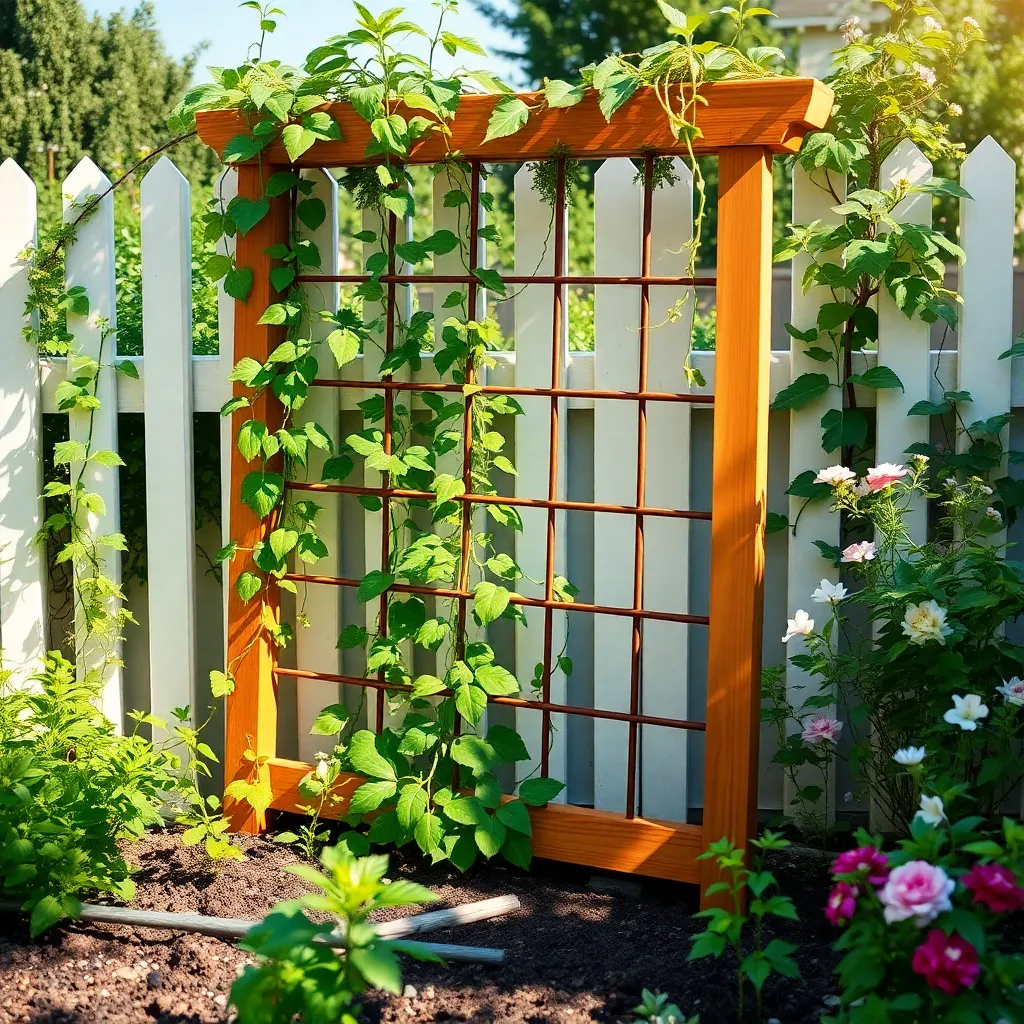
Once your trellis is securely in place, it’s time to attach supporting wires or netting to provide additional structure for your plants. For beginners, using a simple garden netting can be an excellent choice, as it is easy to handle and install.
Start by unrolling your netting or wires alongside the trellis, ensuring they are taut and evenly spaced. Secure the top of the netting or wire to the trellis frame using strong garden ties or clips, which can be found at most garden supply stores.
As you work your way down, keep the tension consistent to prevent sagging, which can hinder plant growth. Advanced gardeners might prefer using galvanized wire for a more durable and long-lasting support system, especially for heavier plants like tomatoes or cucumbers.
For those growing vines like peas or beans, aim to have your support system in place before planting to encourage upward growth from the start. Regularly check the tension and stability of your supports as plants grow, adjusting as needed to prevent damage or collapse.
Remember, the goal is to create a sturdy framework that guides plants to grow vertically, maximizing space and improving air circulation. With this setup, not only will your plants thrive, but you’ll also make harvesting a breeze and enhance the aesthetic appeal of your garden.
Conclusion: Growing Success with These Plants
As we conclude our exploration of building a garden trellis, remember how these five key relationship concepts—communication, trust, collaboration, patience, and nurturing—are foundational not only in gardening but also in fostering thriving relationships. Just as a trellis supports a growing plant, these principles provide the structure and strength for your personal connections to flourish.
Start today by choosing one of these concepts to focus on with your partner, friend, or family member. Perhaps initiate a heartfelt conversation, engage in a joint project, or simply spend quality time together. These small, intentional actions can profoundly enhance your bond.
Remember, nurturing relationships, like gardening, requires ongoing attention and care. Bookmark this article to revisit these concepts whenever you need a reminder or a new idea to strengthen your connections. As you continue to cultivate these essential relationship skills, envision the blossoming success and fulfillment they can bring to your life.
With every step you take, you are creating a resilient and beautiful relational garden. Embrace this journey, knowing that your efforts today will lead to a harvest of joy and companionship in the future.