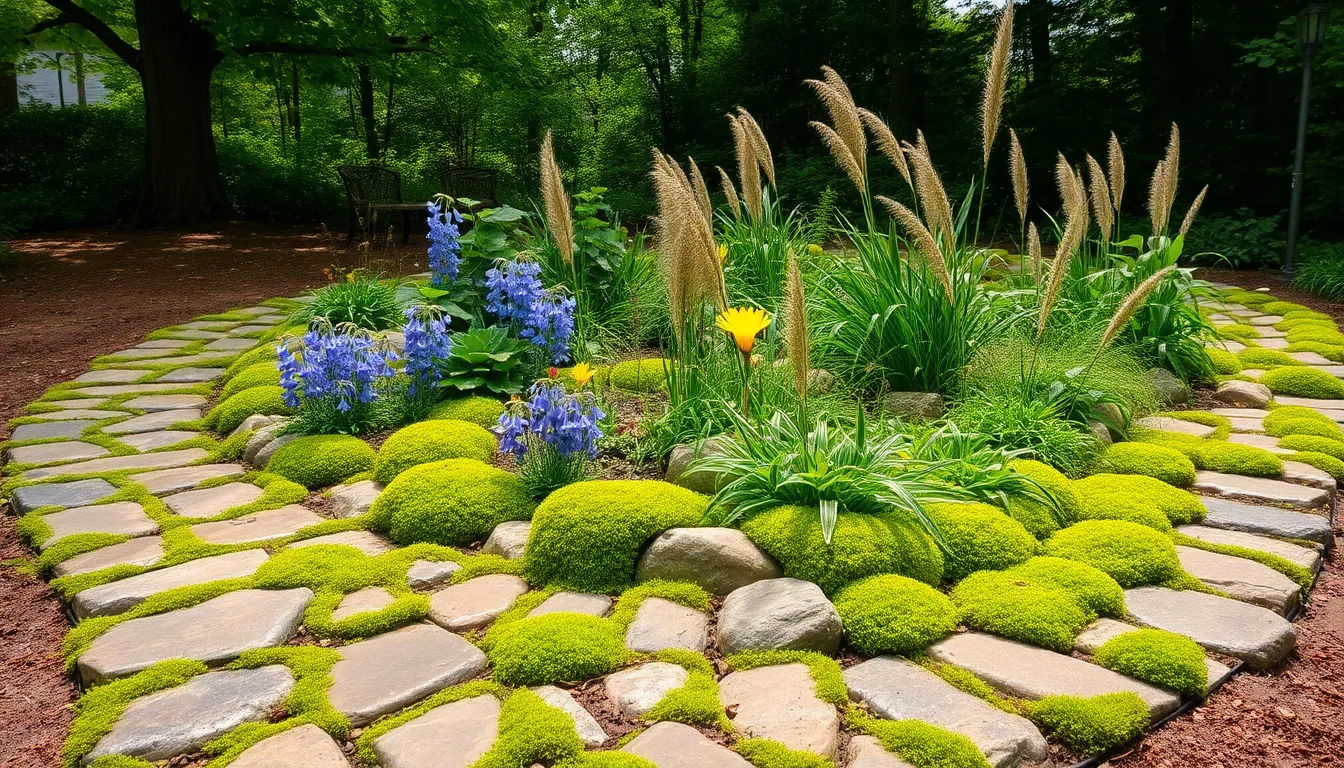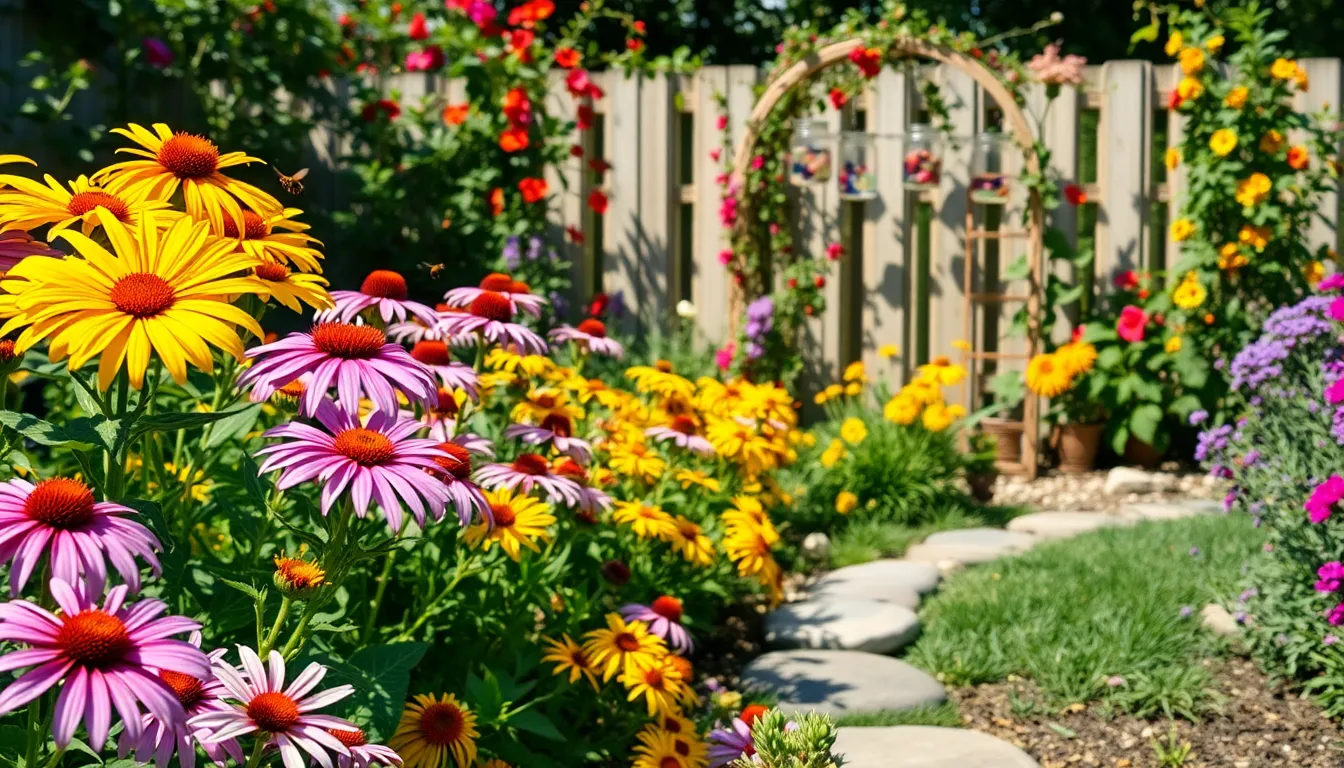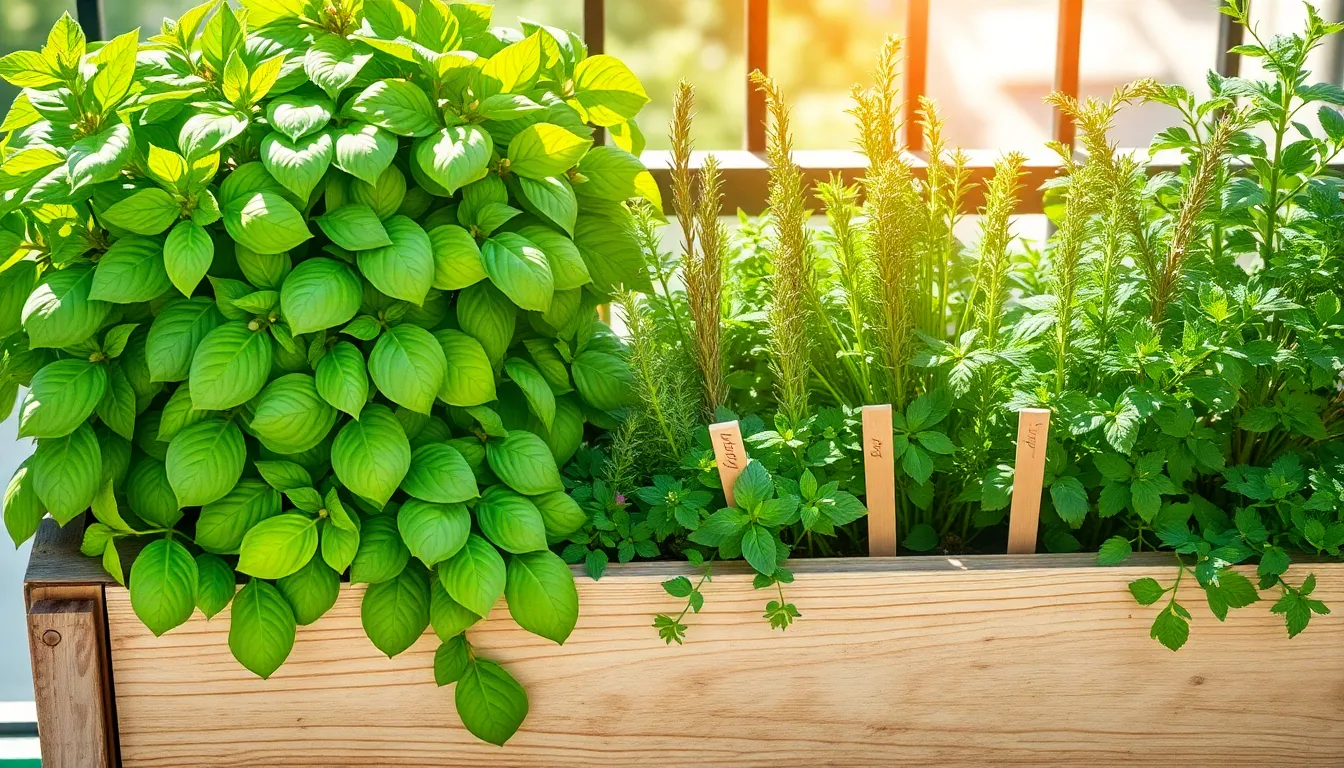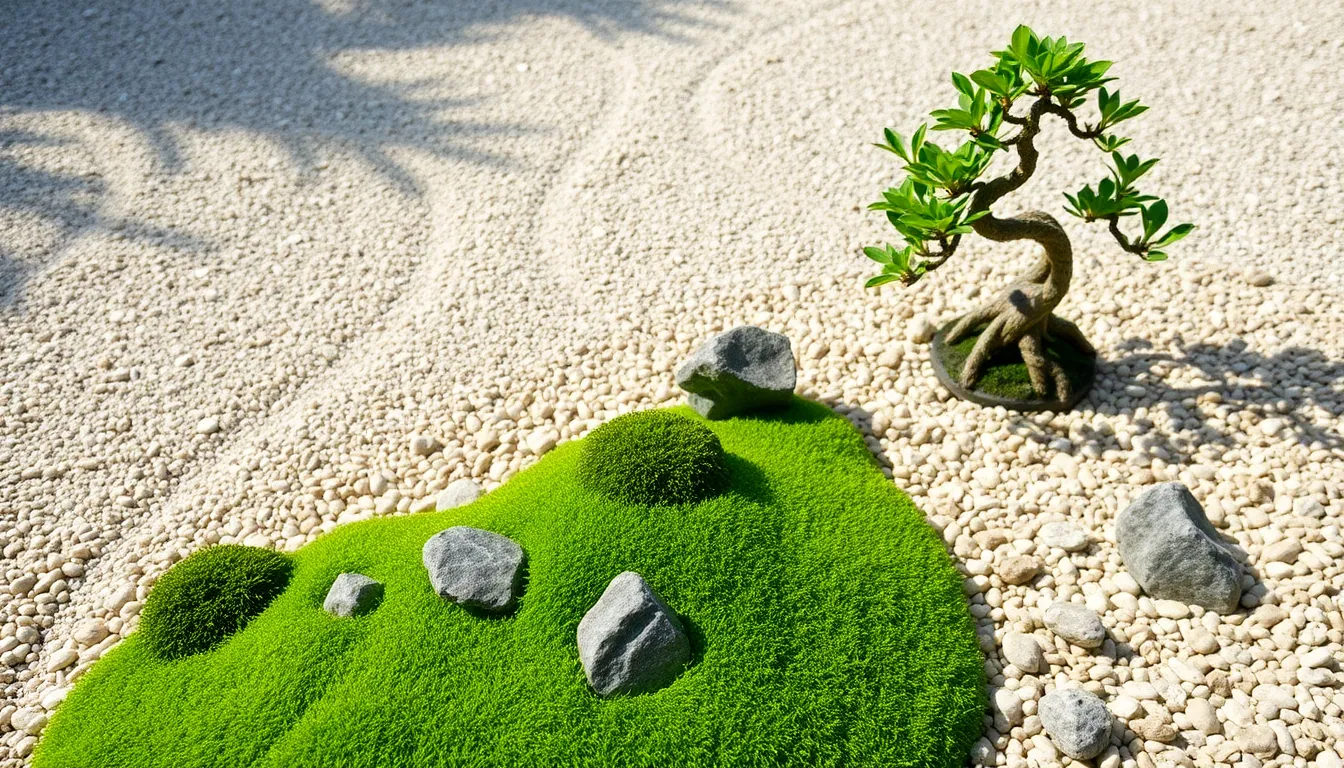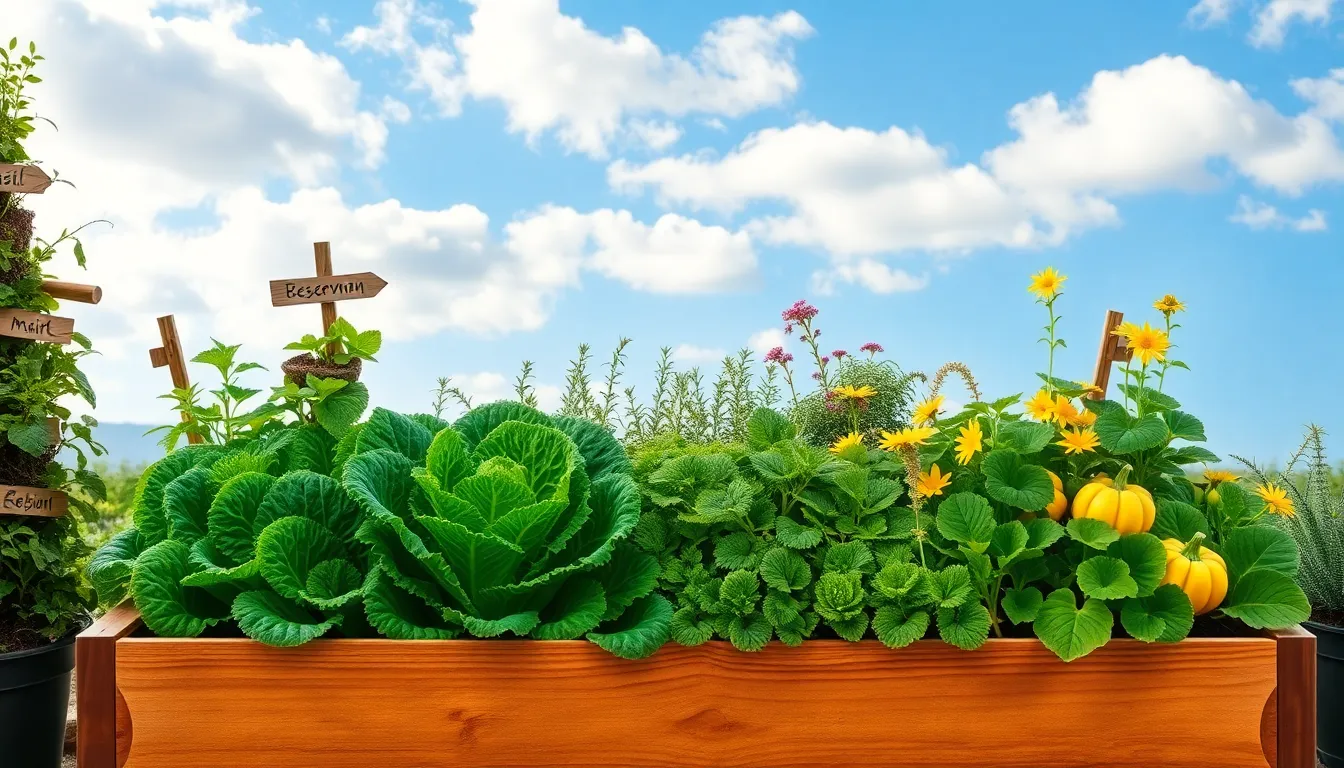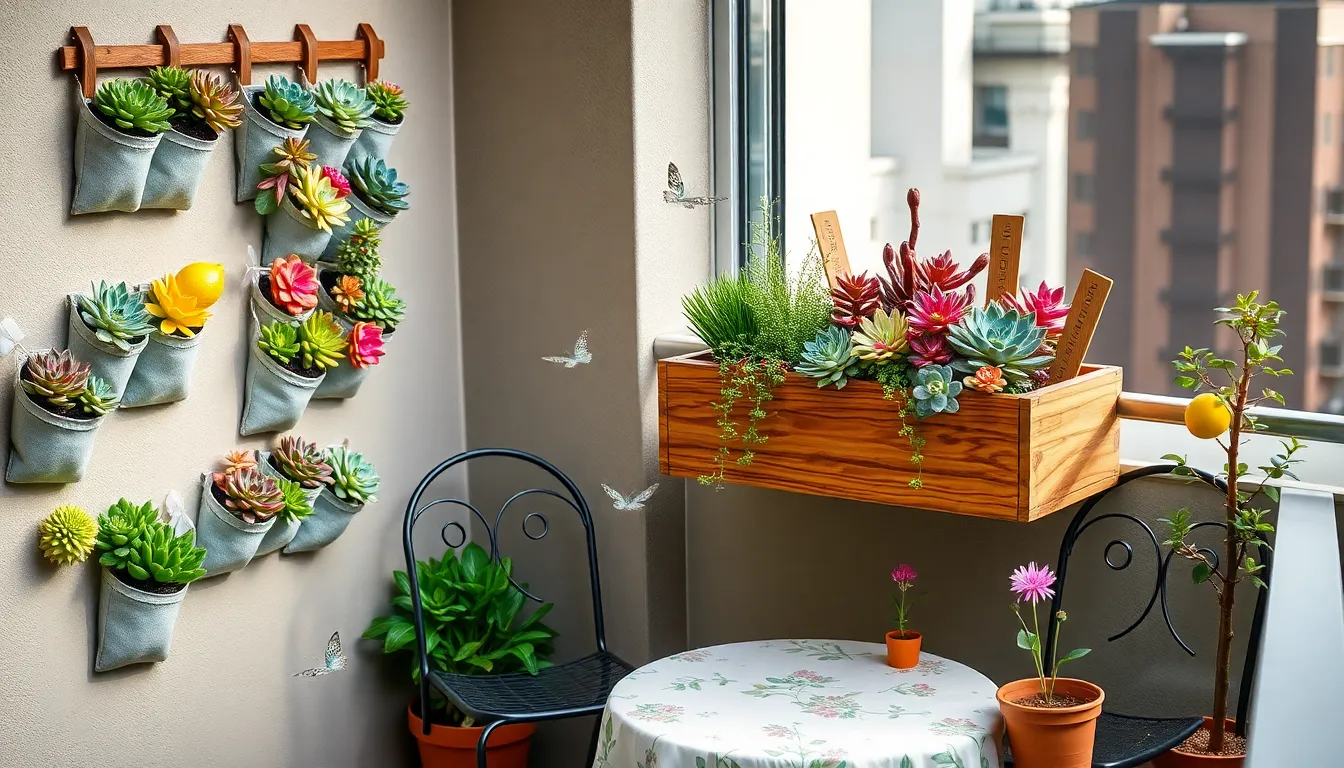
How to Create a Garden for Small Spaces
For those with a passion for greenery but limited by space, creating a garden might seem like a daunting task, yet it is a rewarding endeavor that blossoms with creativity. Whether you’re nurturing your first potted plant or expanding your urban oasis, the beauty of gardening transcends the boundaries of square footage, offering a world … Read more