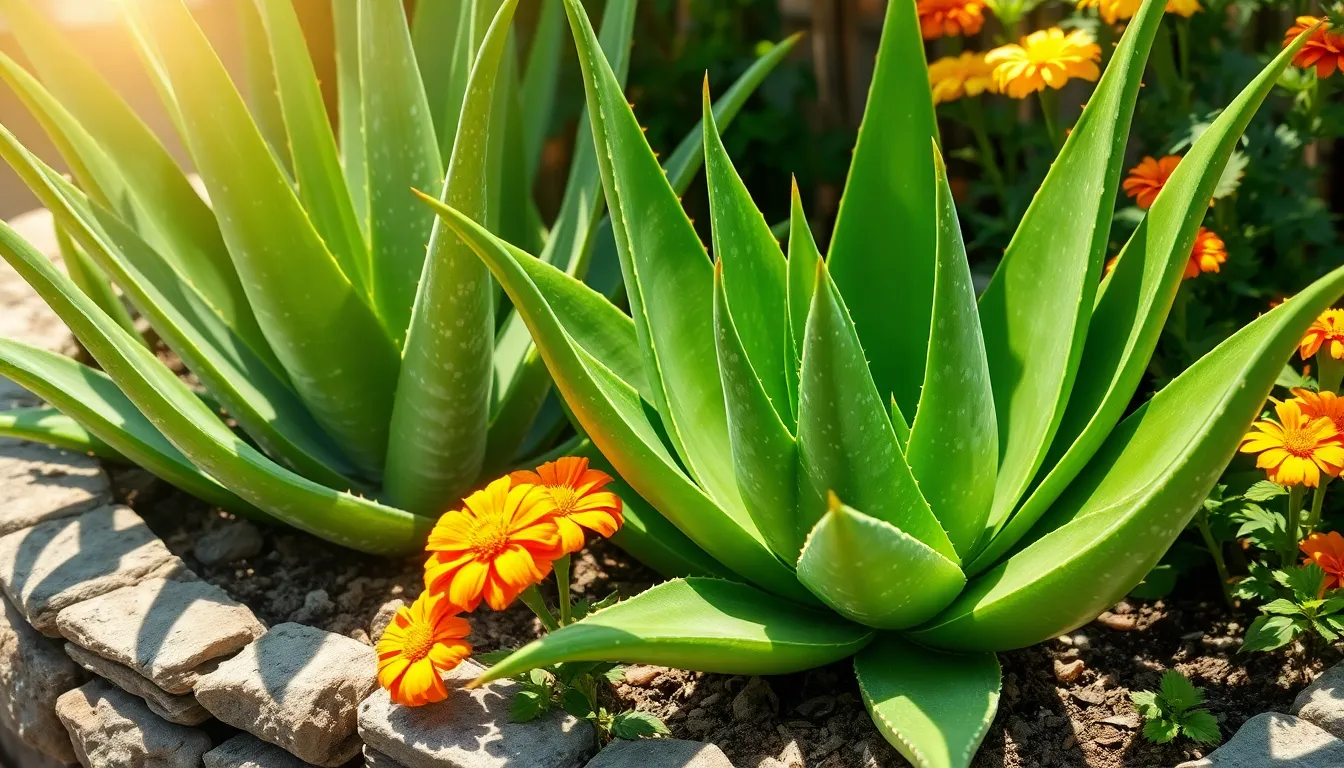
How to Grow Aloe Vera in Garden
Imagine stepping into your garden and being greeted by the sight of lush, spiky aloe vera plants thriving under the sun. This versatile succulent is not only a delightful visual addition to your outdoor space, but it also serves as a living pharmacy, offering soothing relief for burns and a host of other benefits. Whether … Read more