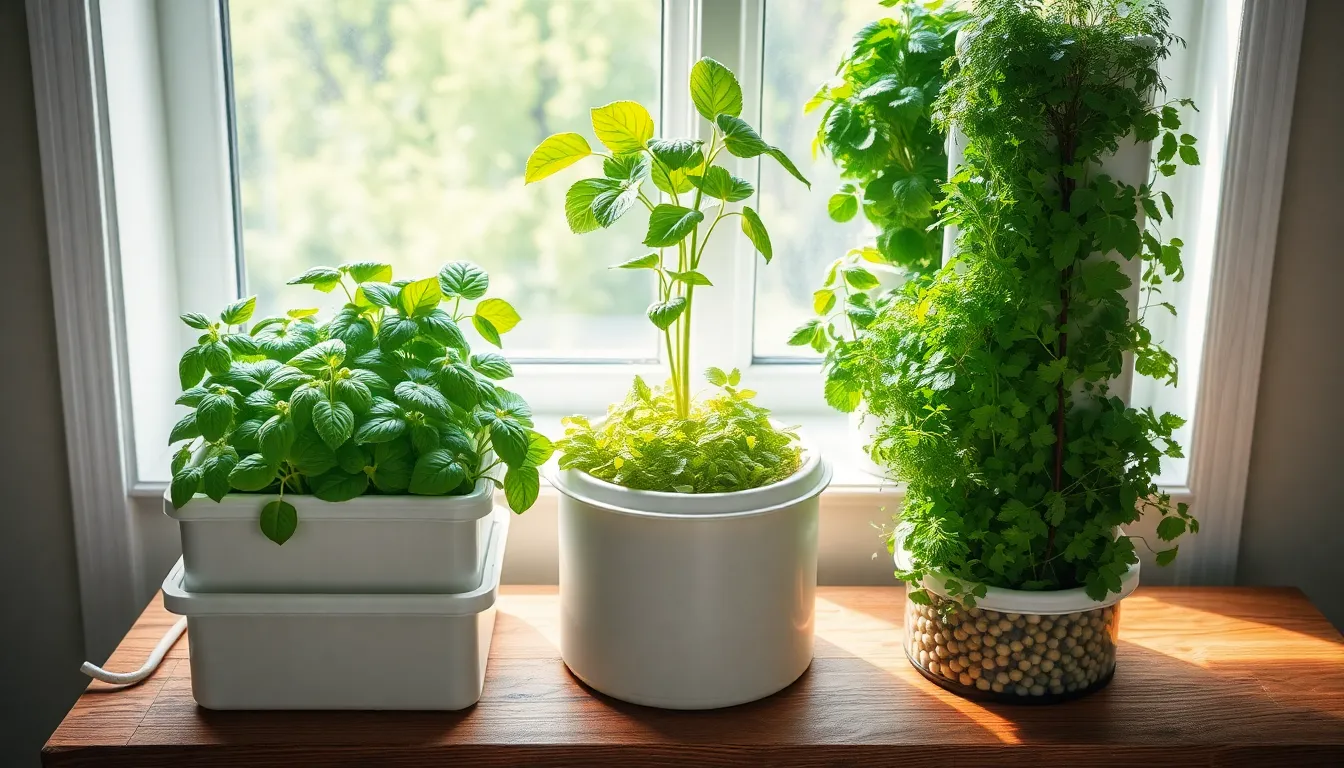
How to Build a Hydroponic Garden
Imagine a world where you can grow fresh, vibrant vegetables and herbs right in your own home, regardless of the season or soil quality. Hydroponic gardening opens up this world of possibilities, offering a soil-less system that uses water and nutrient solutions to cultivate plants efficiently and effectively. Whether you’re a seasoned gardener looking to … Read more