Easy Plant Care Tips for Beginners
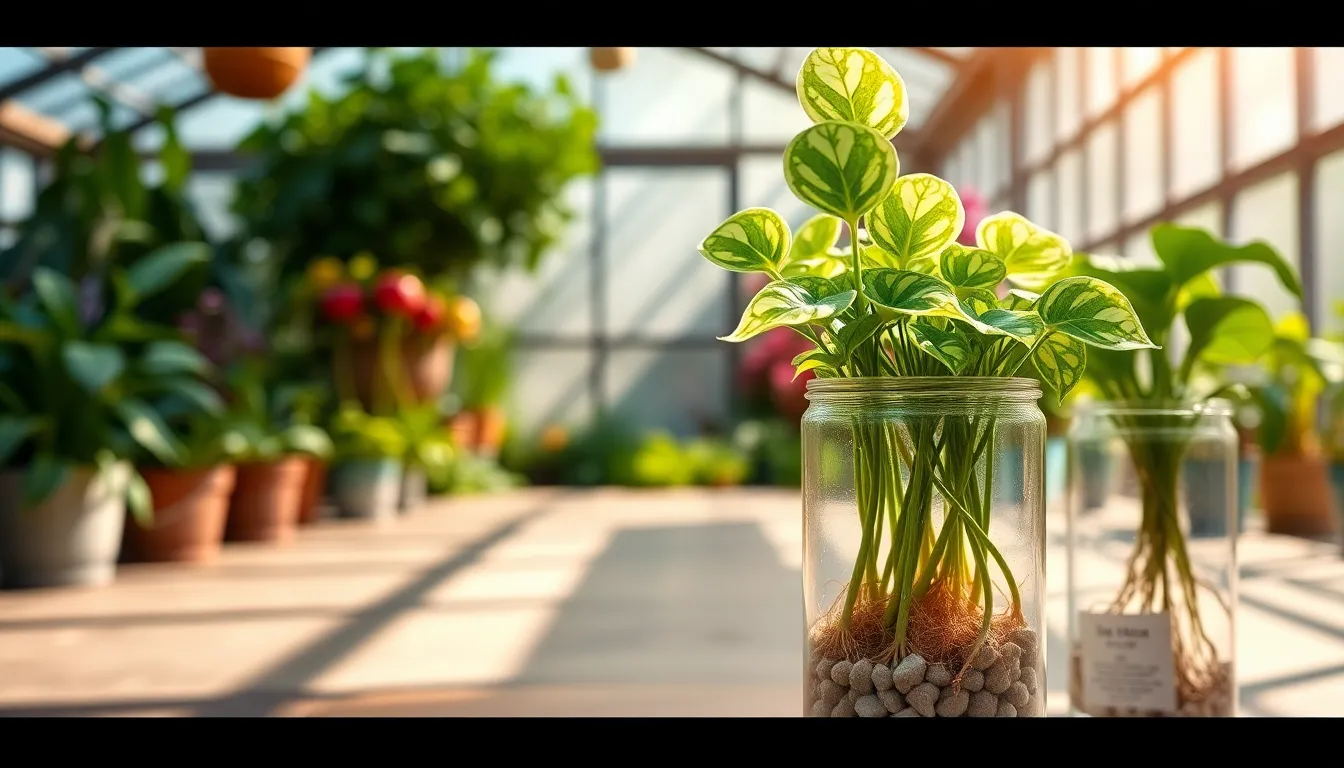
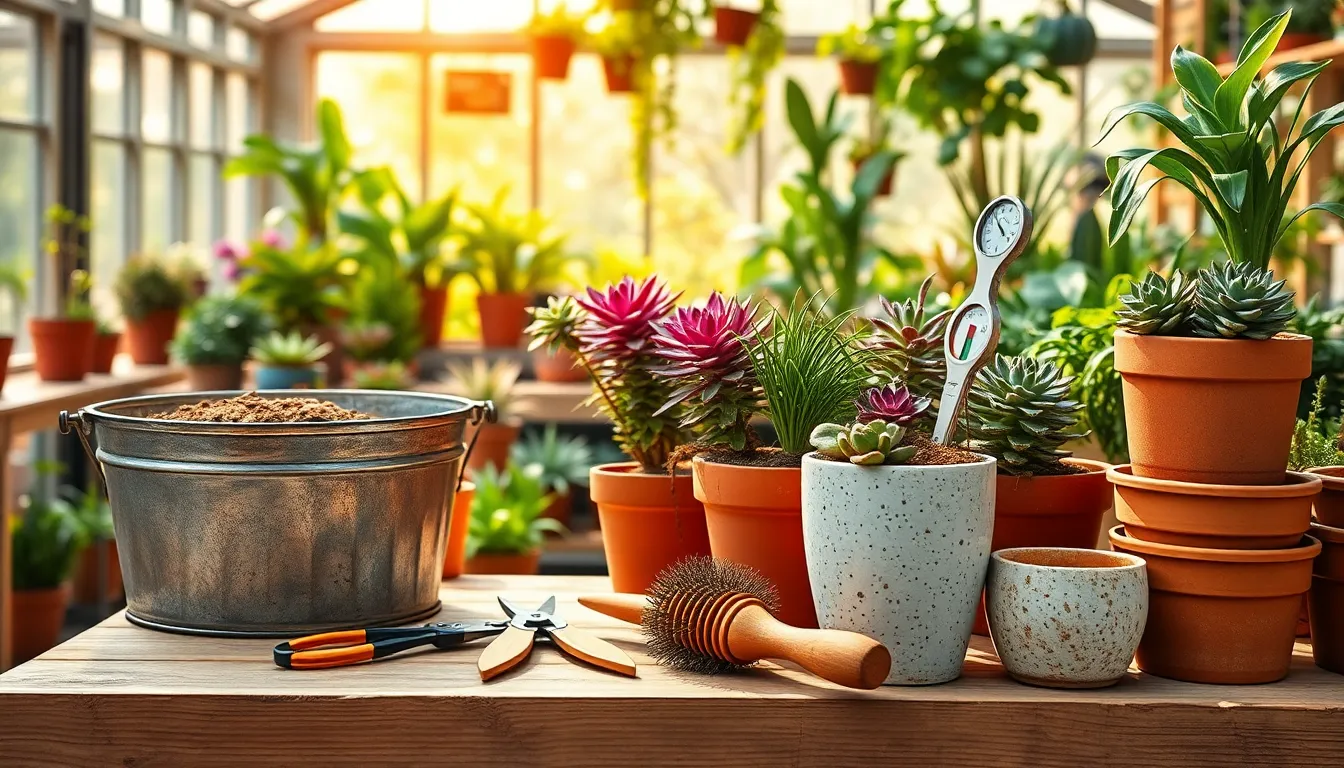
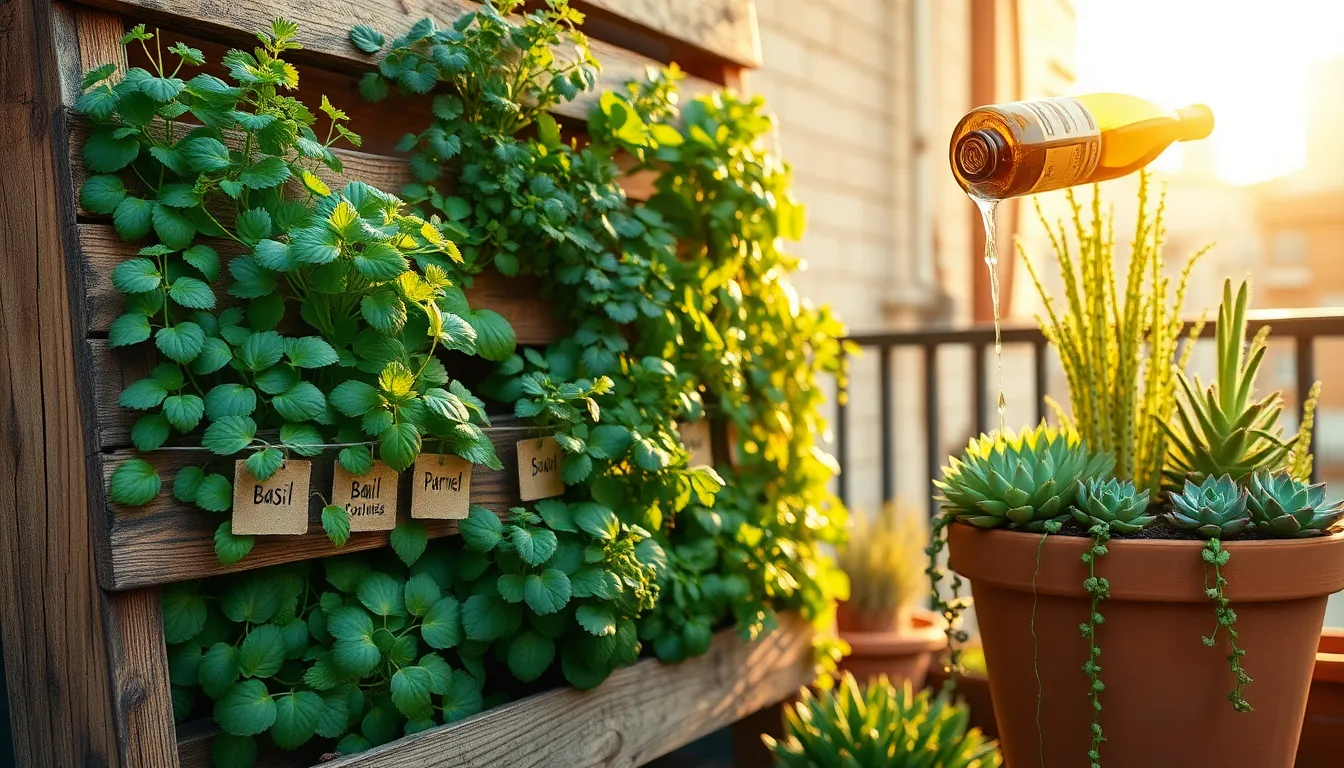
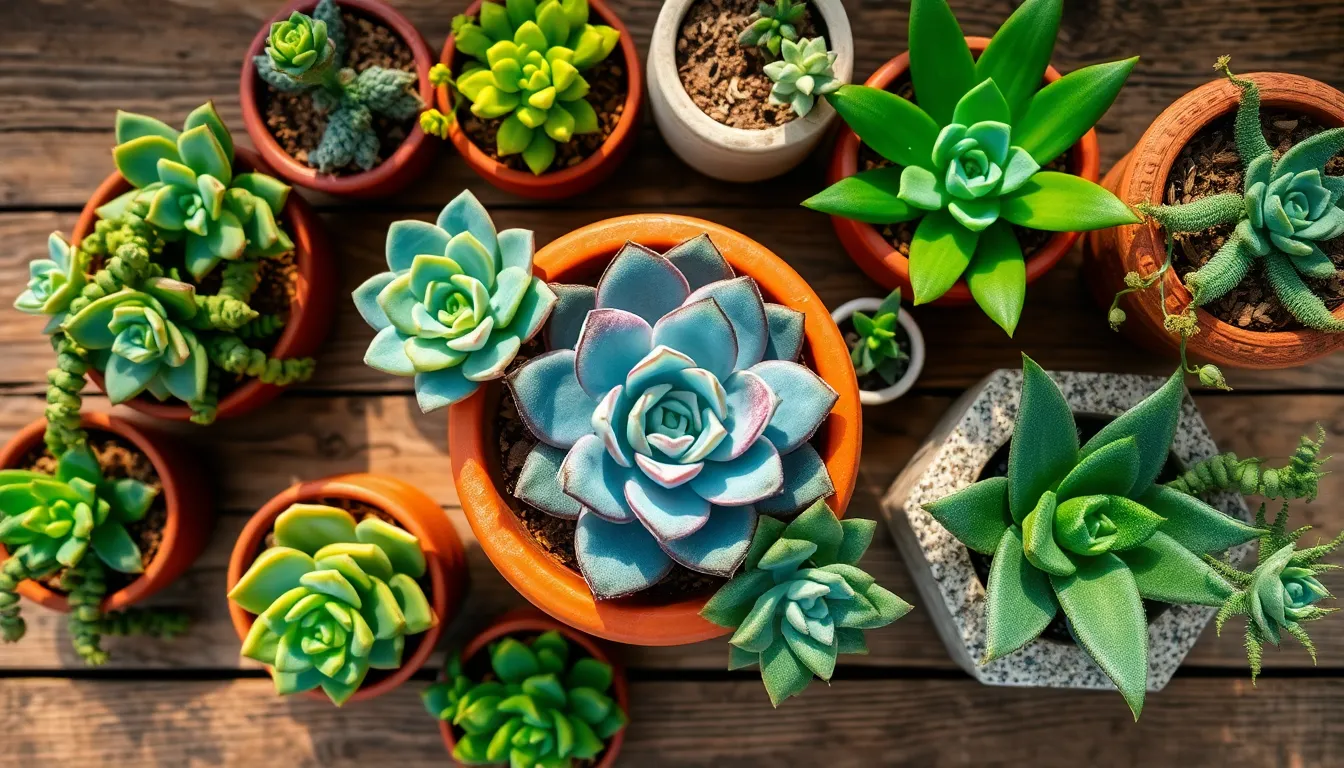
Welcome to “Easy Plant Care Tips for Beginners,” where the world of indoor gardening unfolds with simplicity and joy. Whether you’re just starting your green journey or you’re a seasoned gardener looking to refresh your indoor oasis, this guide is your trusty companion in nurturing vibrant, thriving plants right in the comfort of your home. … Read more