For those with a passion for greenery but limited by space, creating a garden might seem like a daunting task, yet it is a rewarding endeavor that blossoms with creativity. Whether you’re nurturing your first potted plant or expanding your urban oasis, the beauty of gardening transcends the boundaries of square footage, offering a world of possibilities in even the smallest of spaces.
In this guide, we’ll explore innovative techniques and clever strategies to transform tight corners and balconies into lush retreats, where every inch is thoughtfully utilized. You’ll discover how to select the right plants, make the most of vertical spaces, and design a garden that reflects your personality and style, without the need for sprawling lawns.
The importance of small-space gardening extends beyond aesthetic appeal; it invites nature into our lives, providing a sanctuary of tranquility and a boost to our well-being. By the end of this article, you’ll be equipped with practical tips and creative ideas to cultivate a thriving garden, regardless of the size of your space, proving that a green thumb can flourish anywhere.
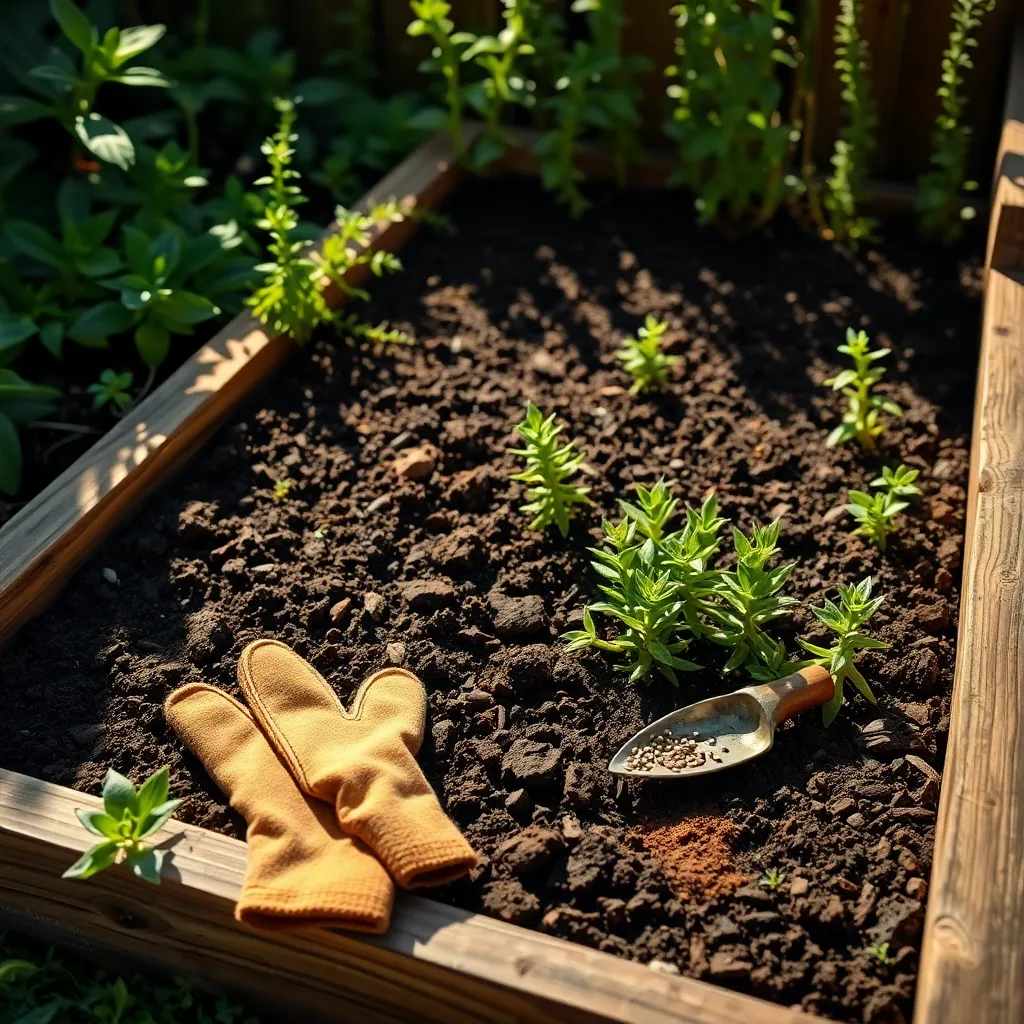
Assess Your Available Space
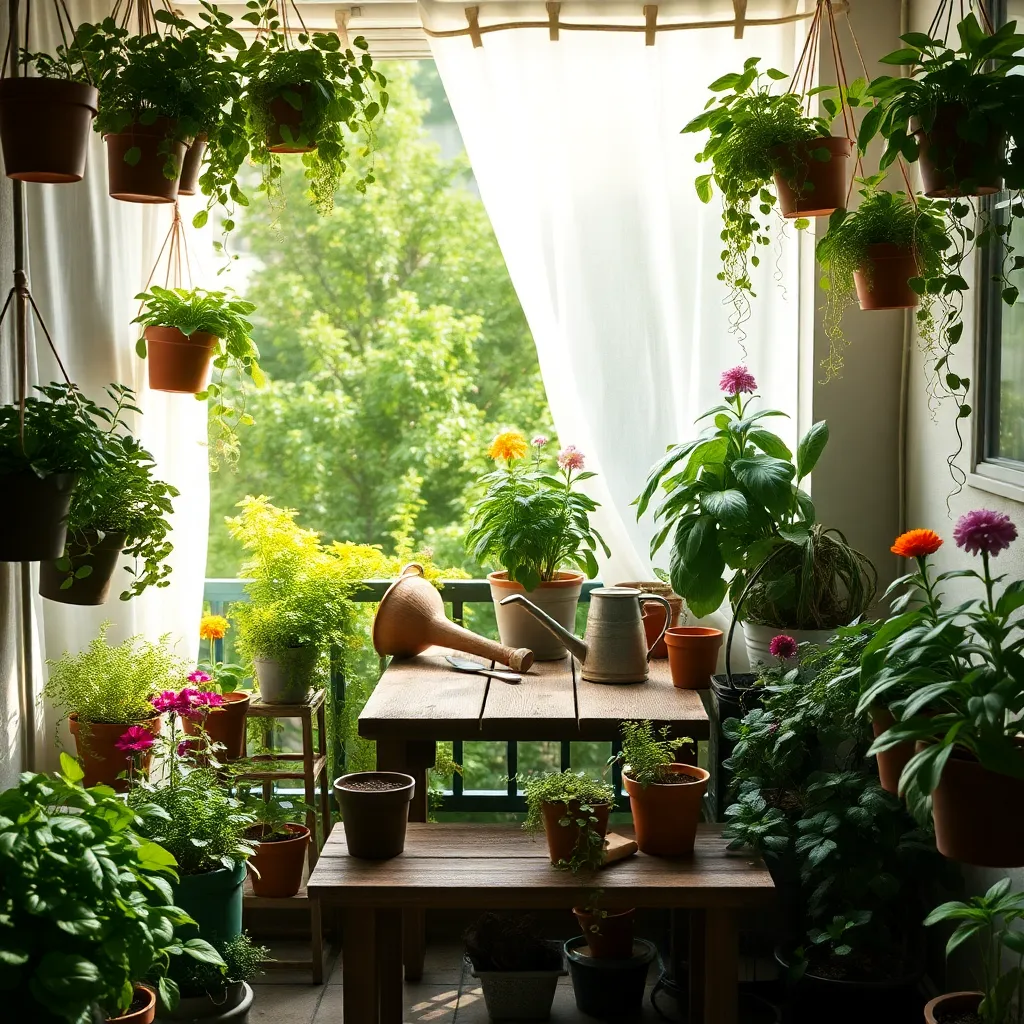
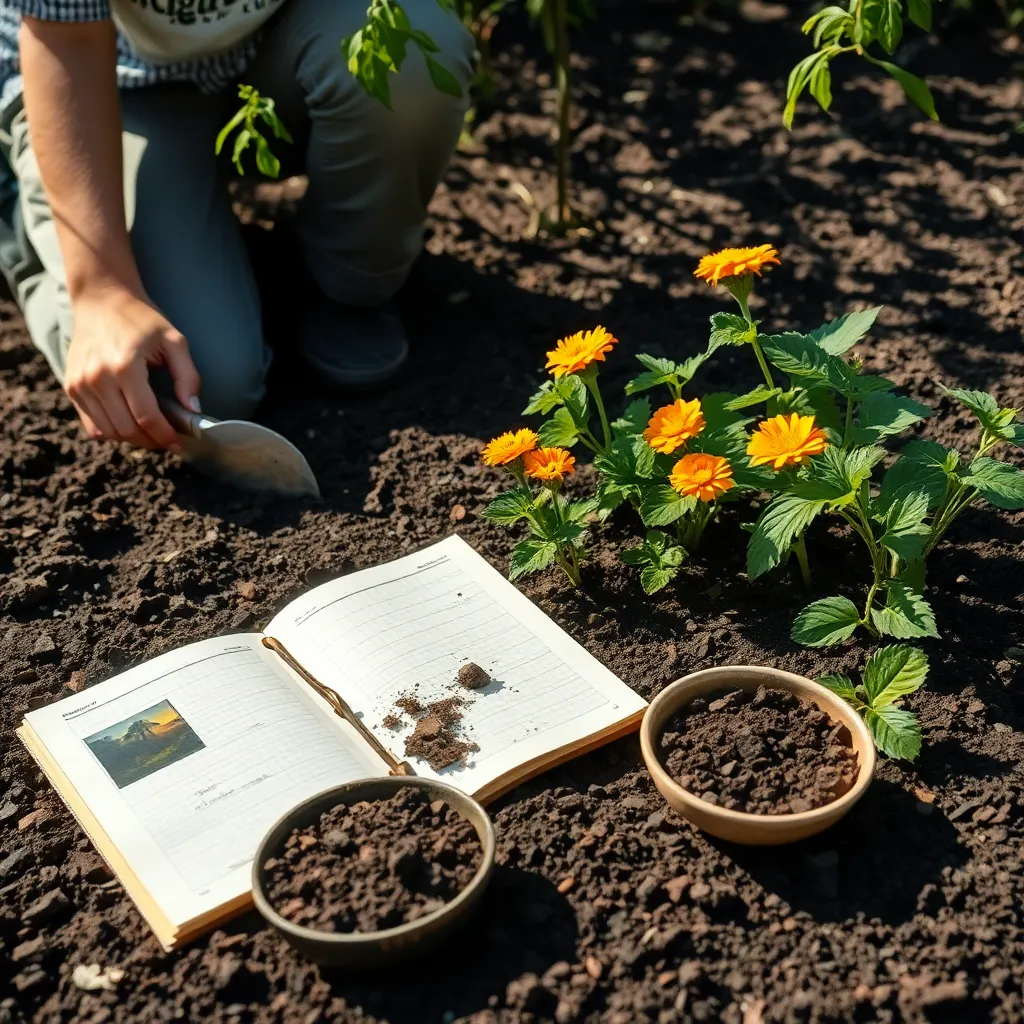
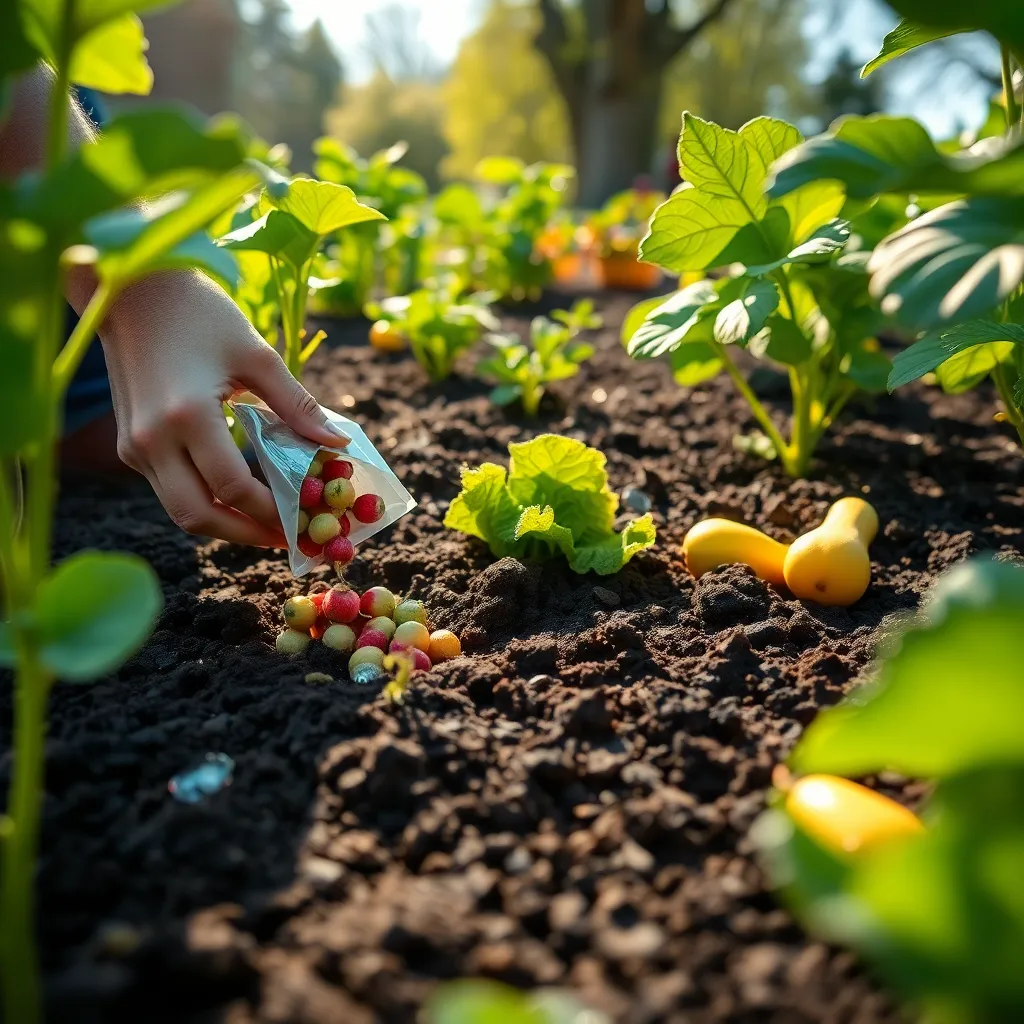
Begin by measuring your available garden space, whether it’s a balcony, patio, or a small patch of yard. Knowing the exact dimensions will help you plan efficiently and ensure that you maximize the space for your plants.
Consider the amount of sunlight your space receives daily, as this will dictate the choice of plants. Most vegetables and flowering plants require at least six hours of direct sunlight, but there are shade-tolerant options for less sunny areas.
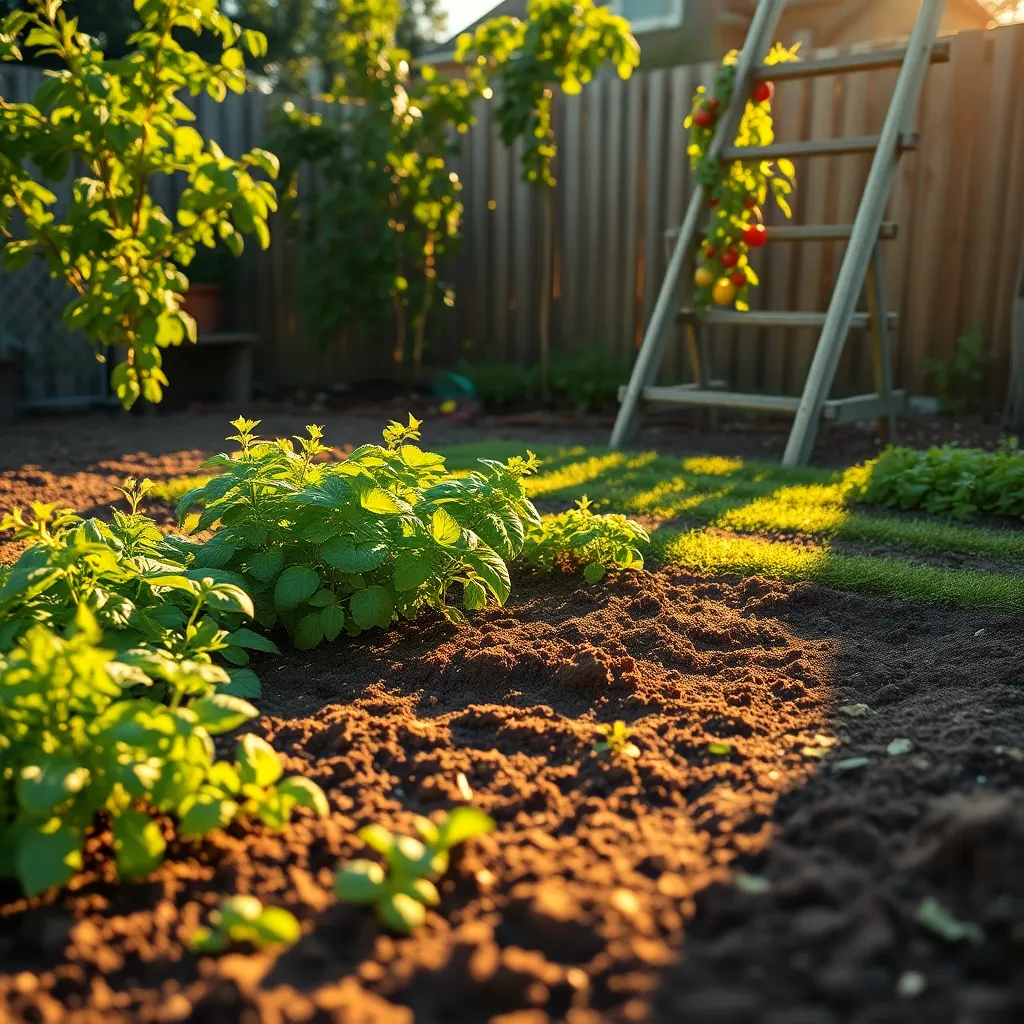
Think vertically to expand your gardening potential, using walls or trellises to grow climbing plants like peas or beans. This technique not only saves space but also adds visual interest to your garden.
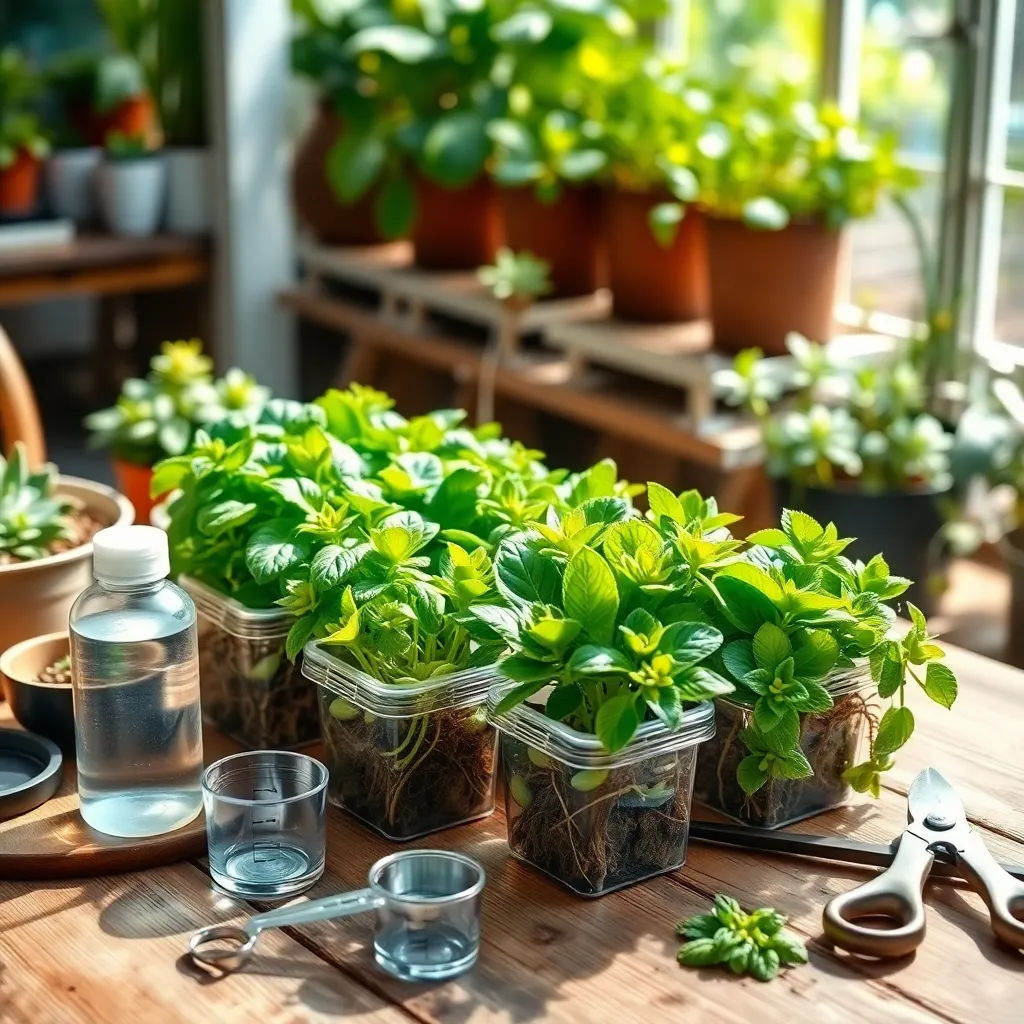
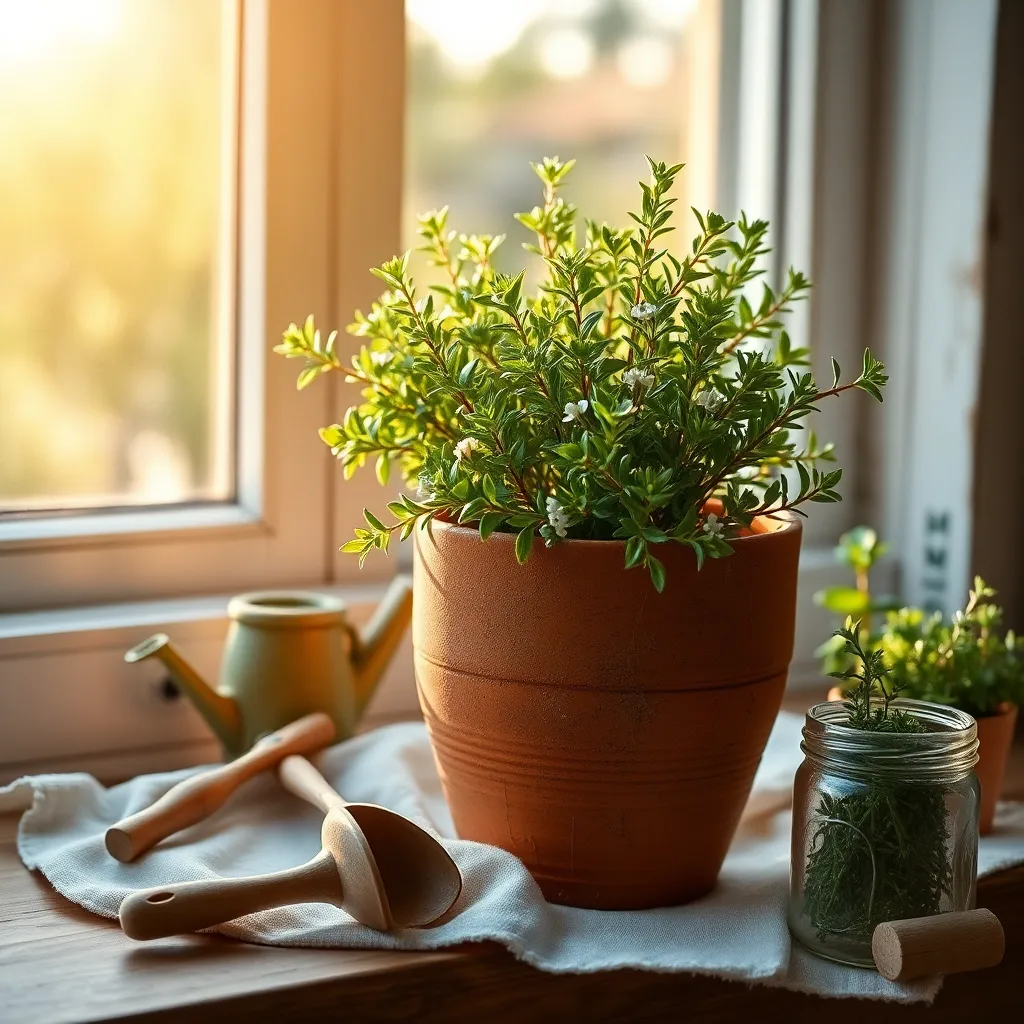
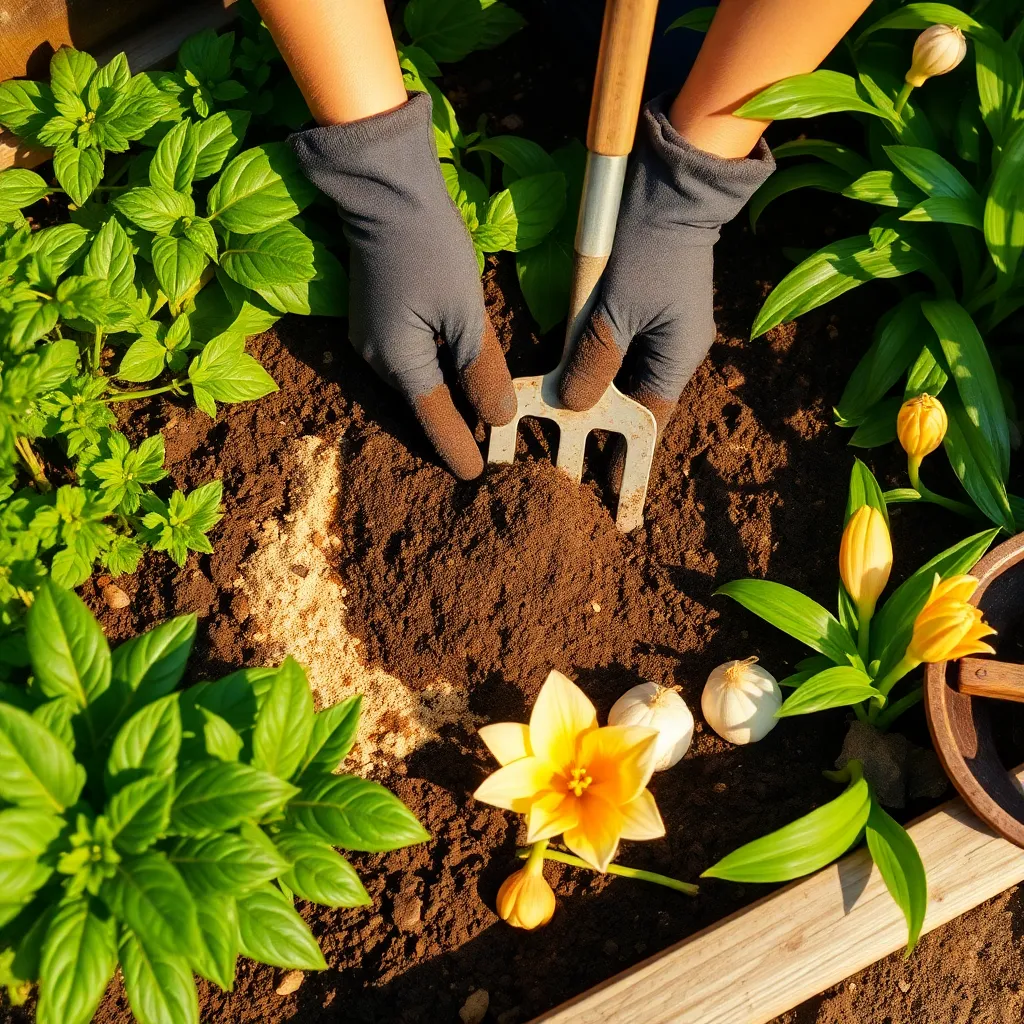
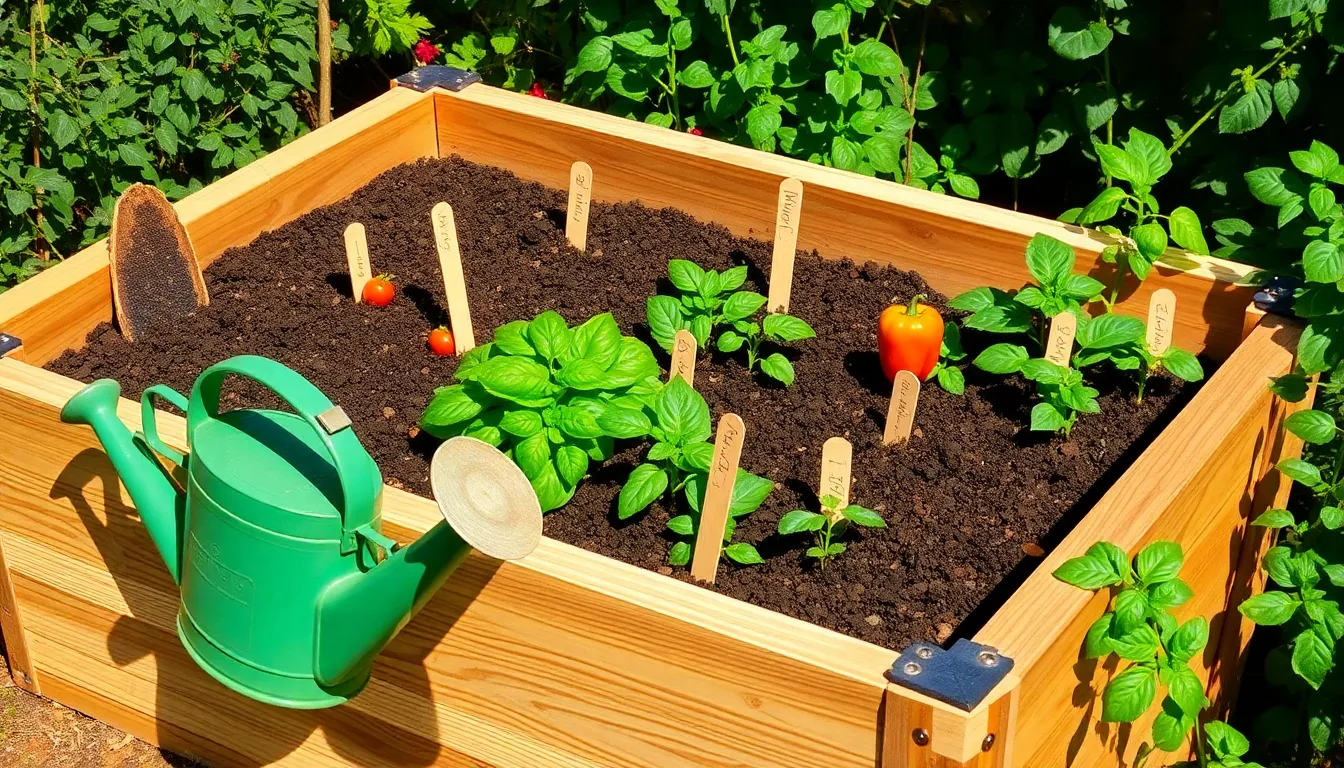
Container gardening is ideal for small spaces, allowing you to move plants as needed to catch sunlight or shelter from harsh weather. Choose containers with good drainage and use a quality potting mix to support healthy root systems.
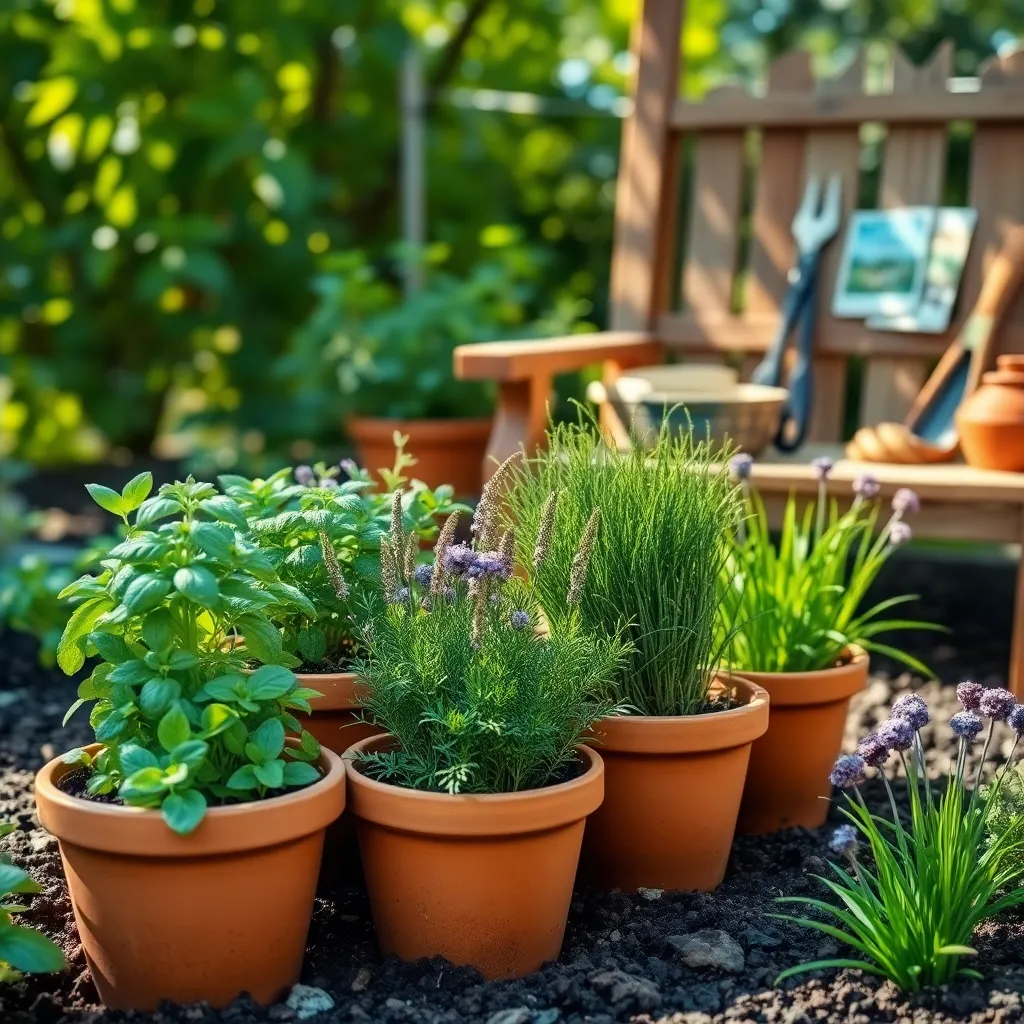
Select Compact Plant Varieties

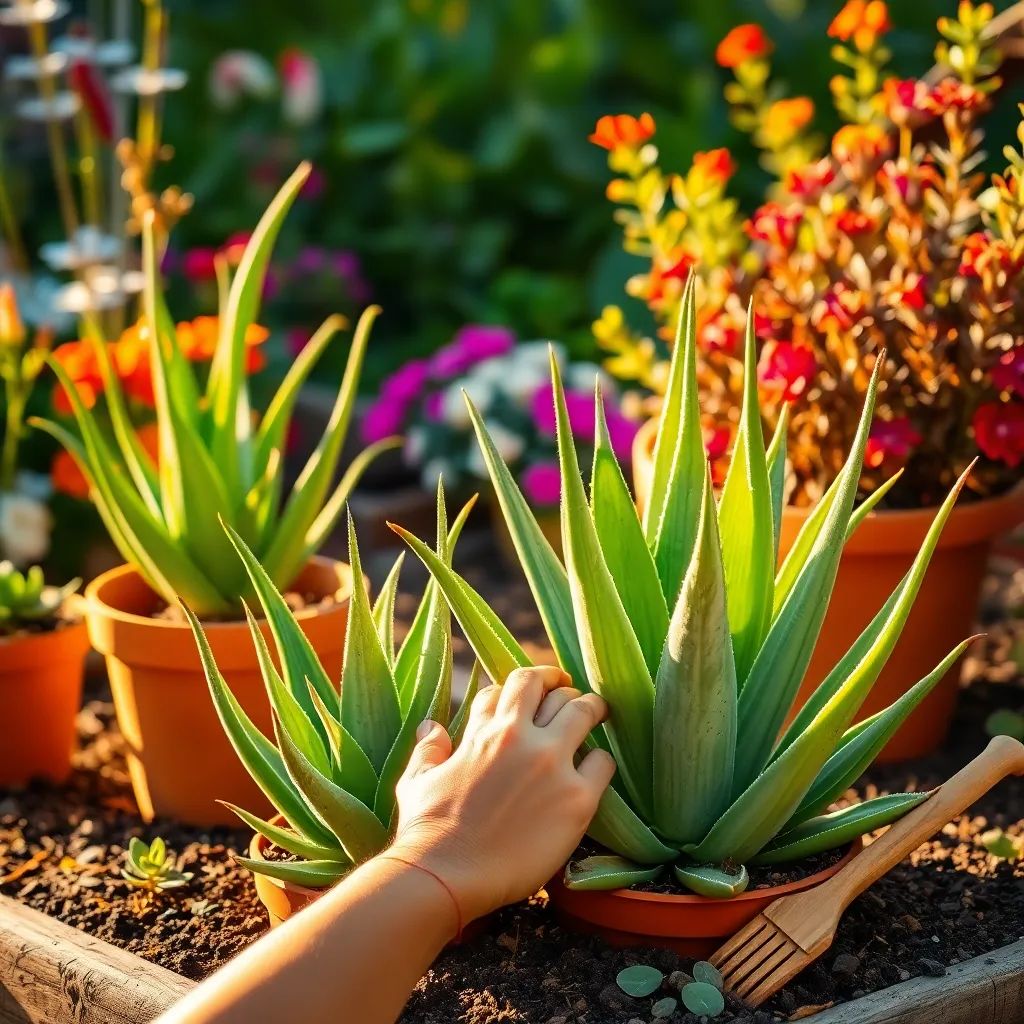
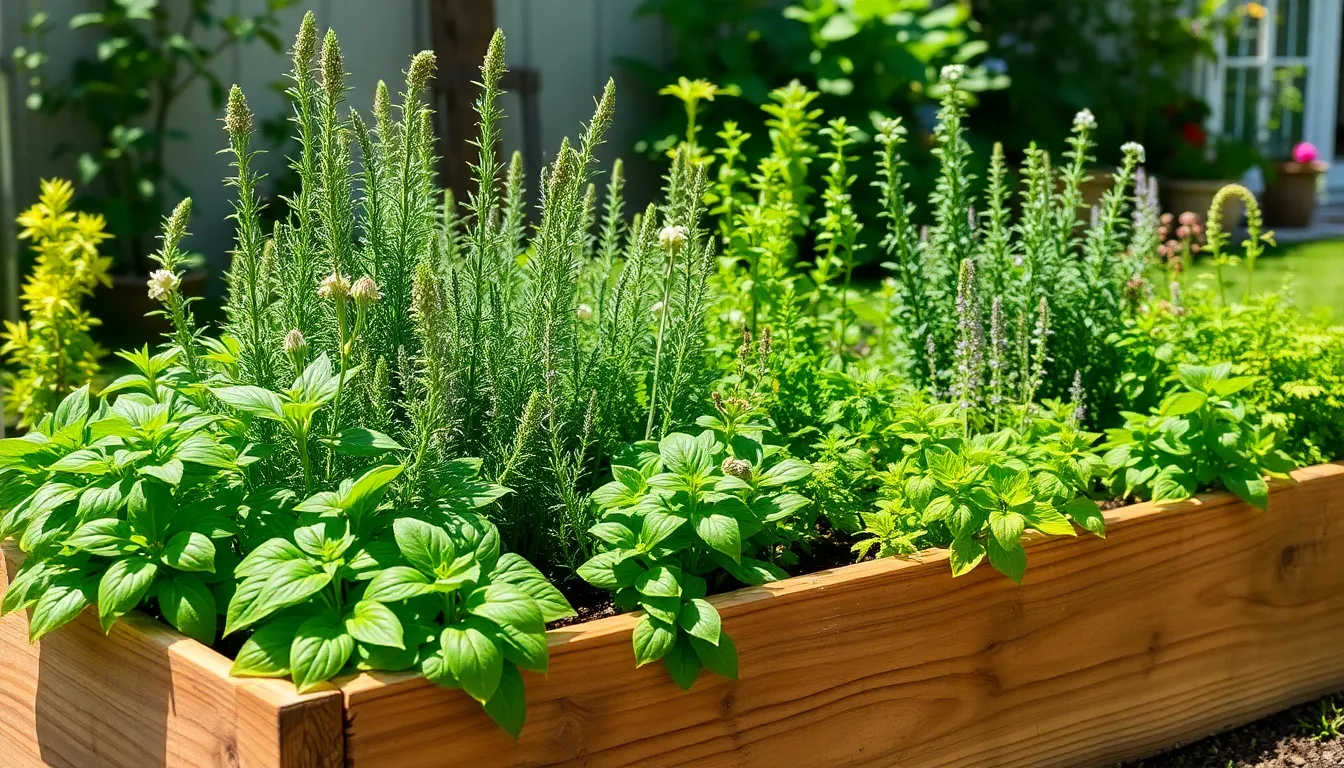
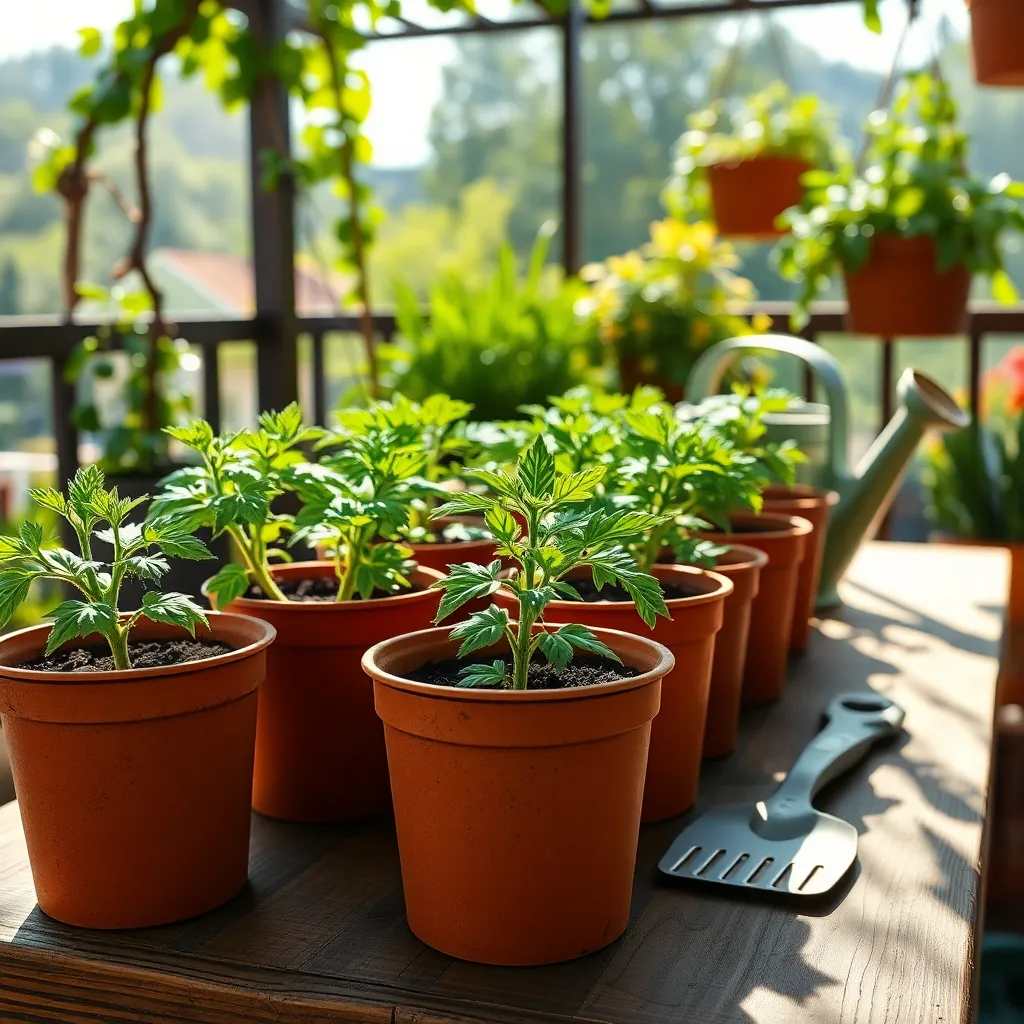
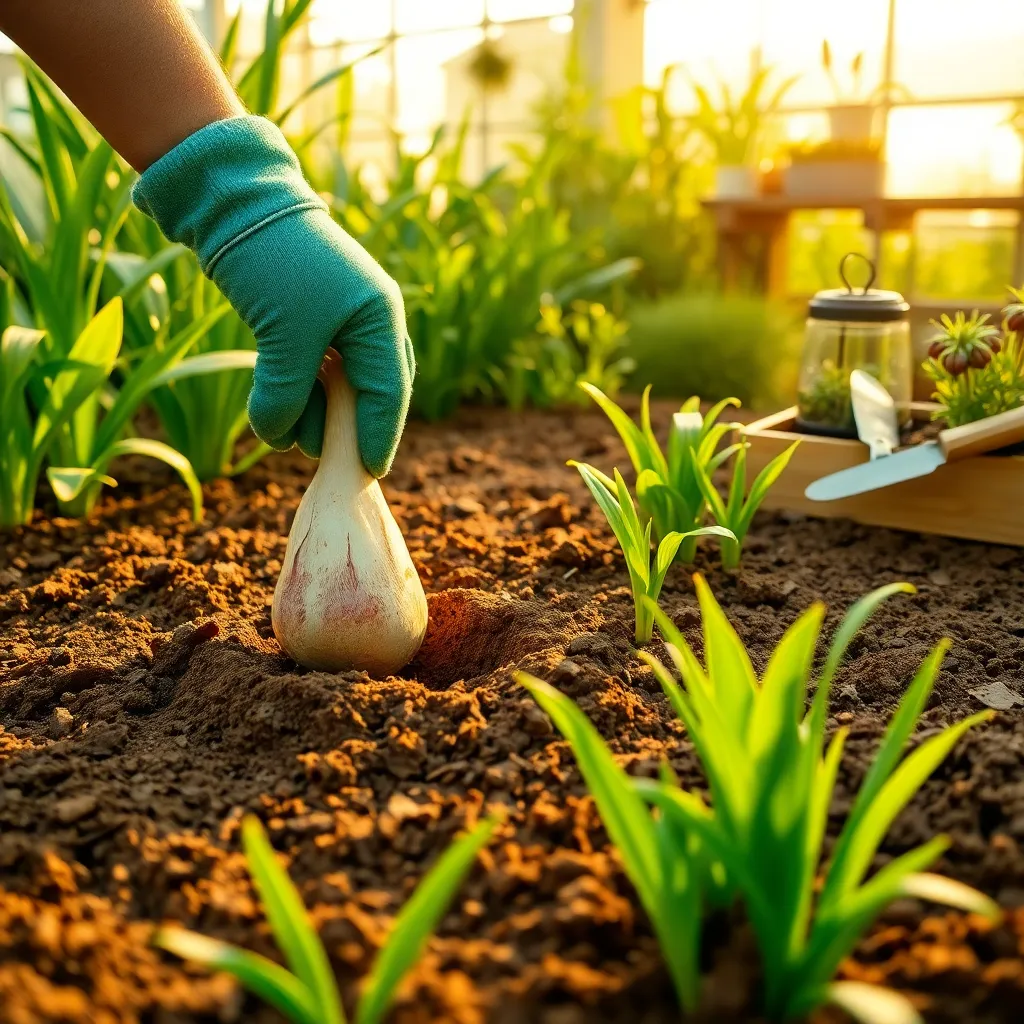
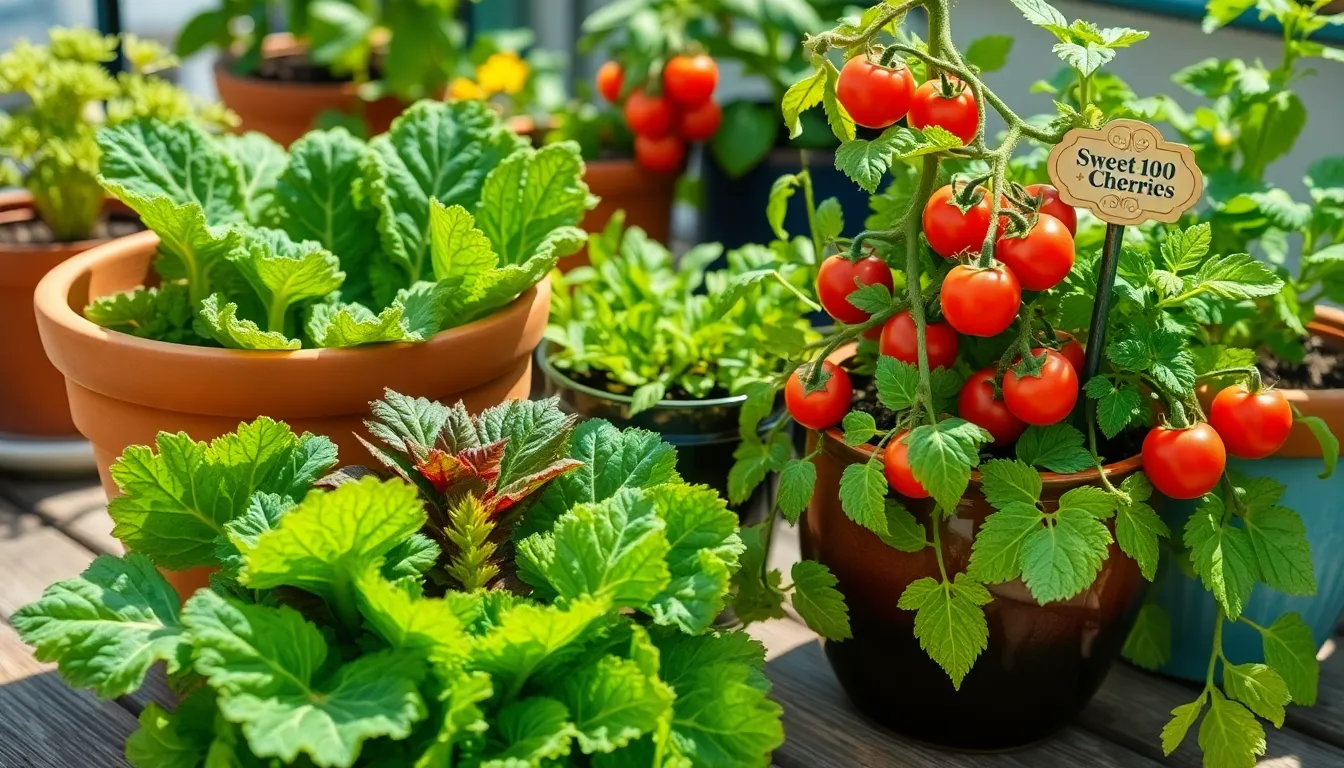
Once you have assessed your space, it’s time to select compact plant varieties that thrive in confined areas. These plants are specially bred to remain smaller, making them ideal for urban gardens or limited spaces.
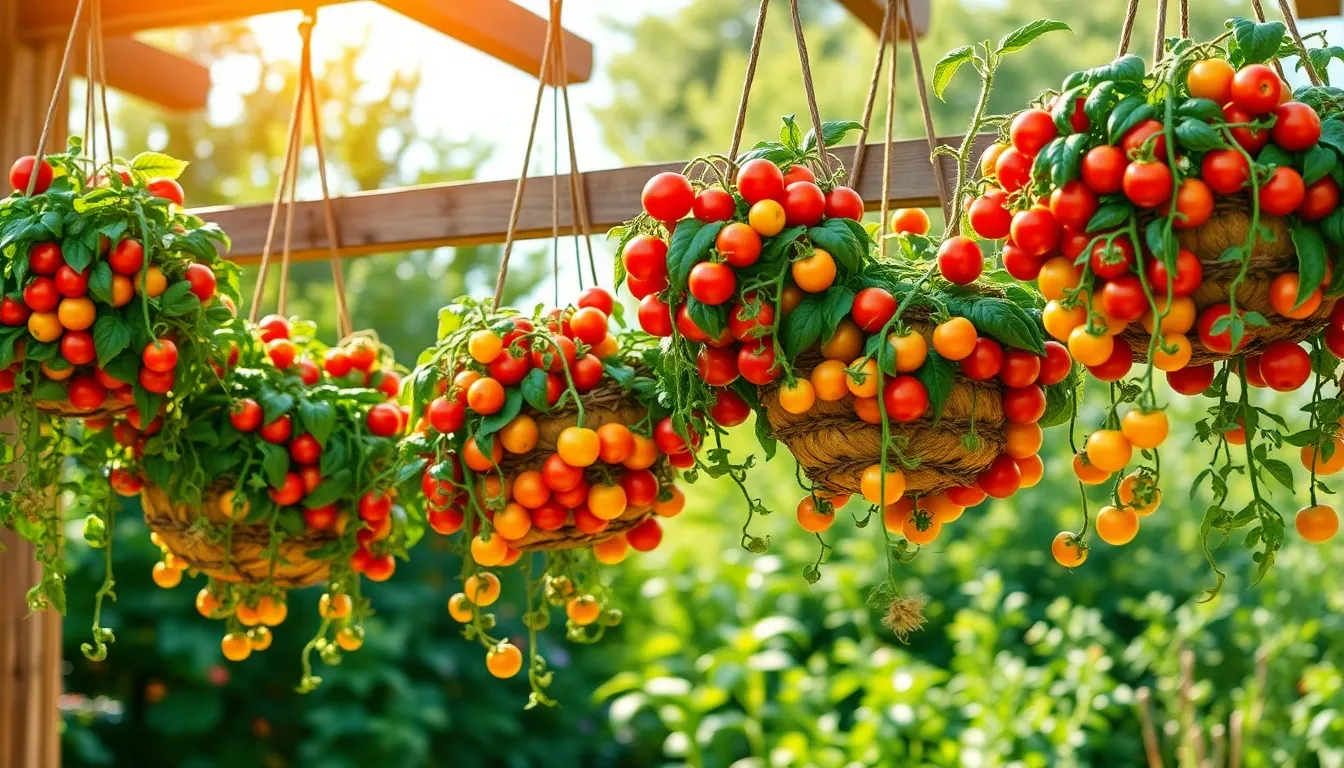
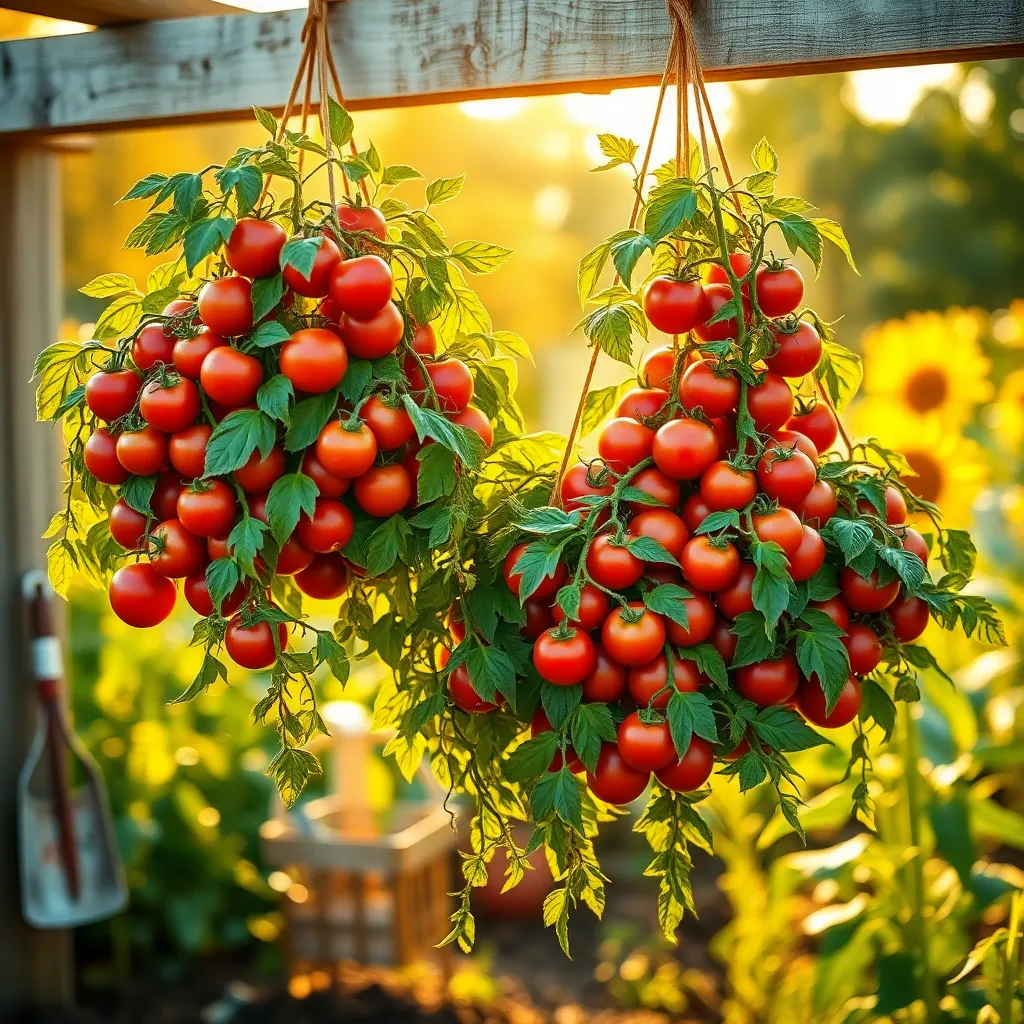
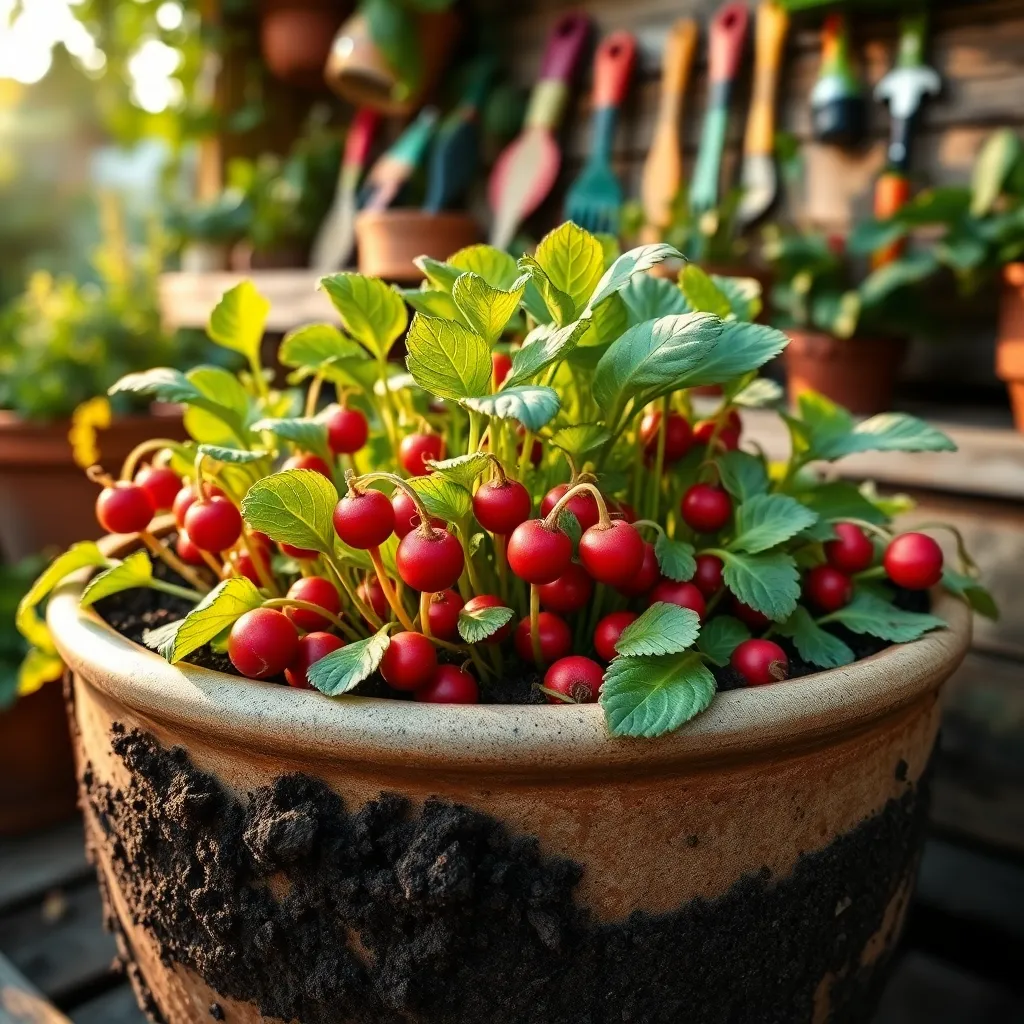
Consider dwarf varieties of your favorite plants as they offer the same beauty in a more manageable size. For instance, dwarf tomatoes such as ‘Tiny Tim’ require less space and are perfect for container gardening.
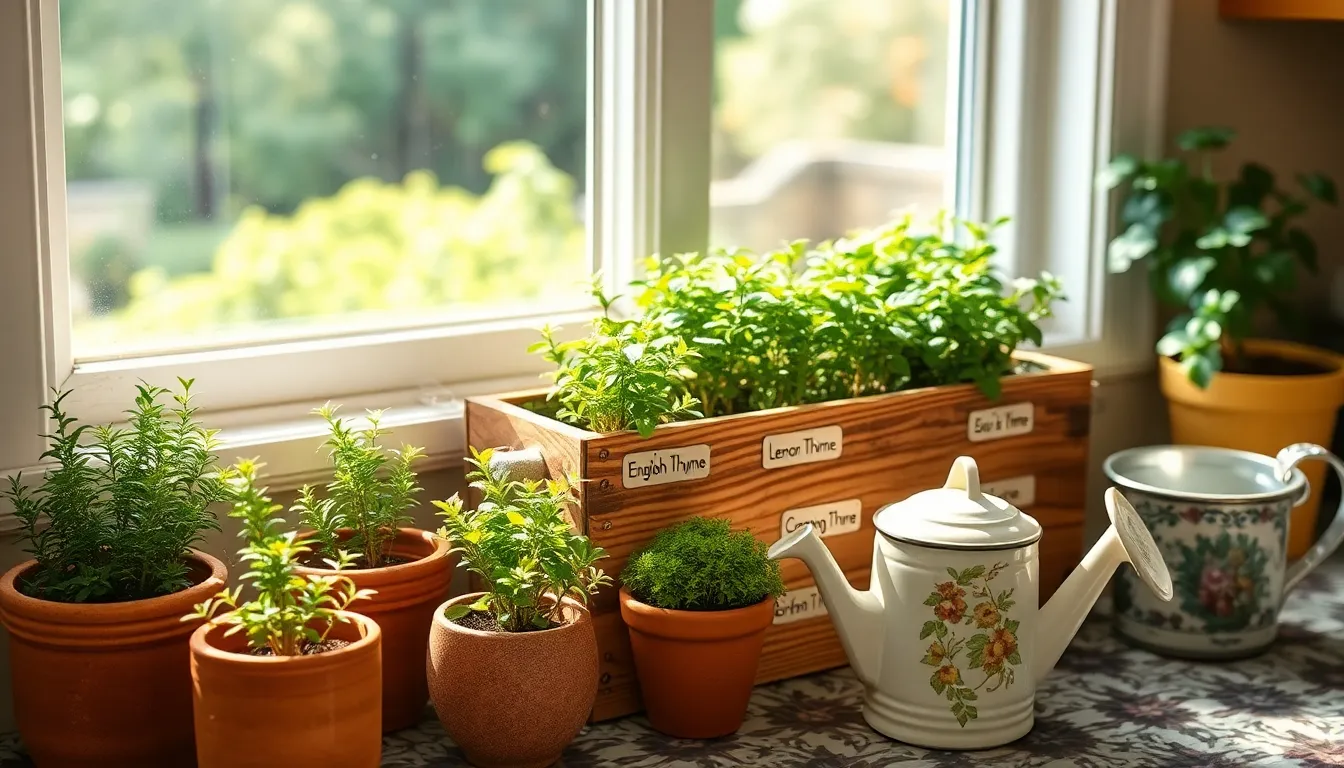
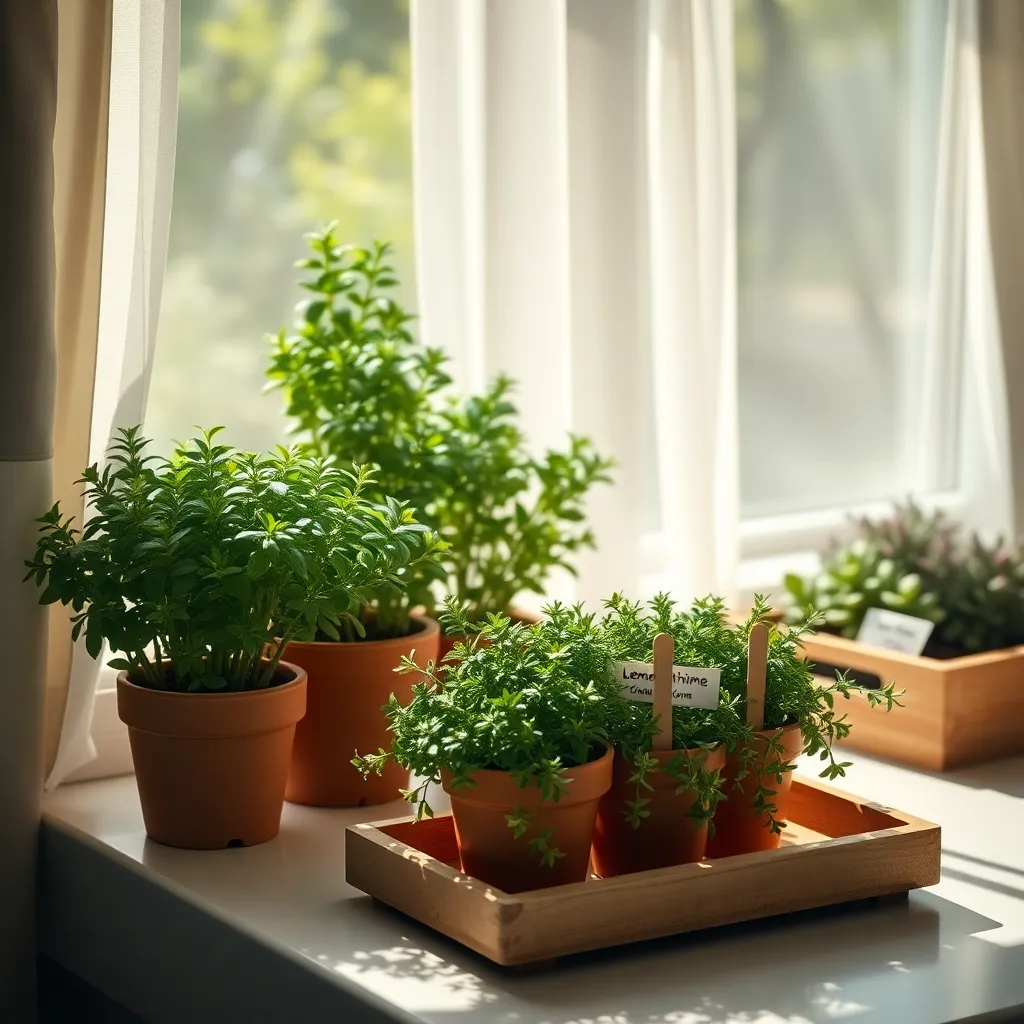
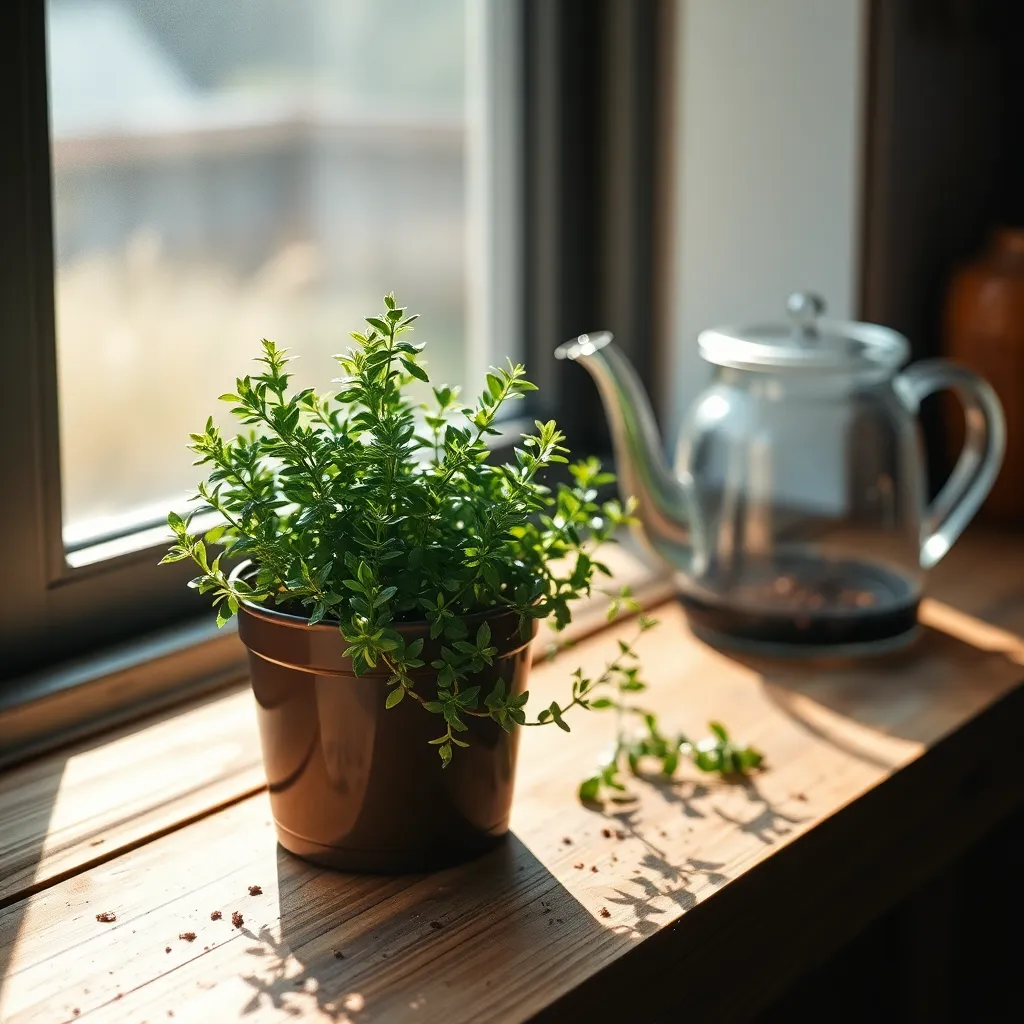
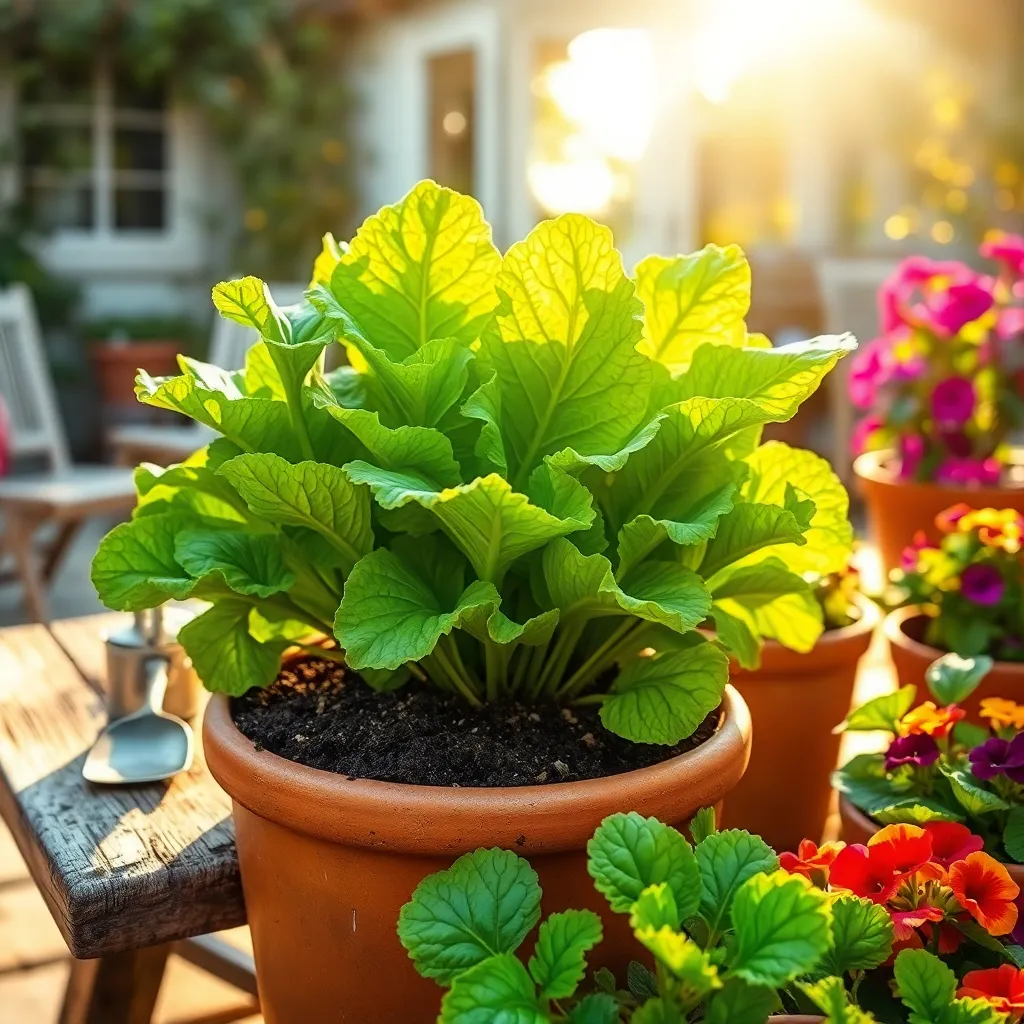
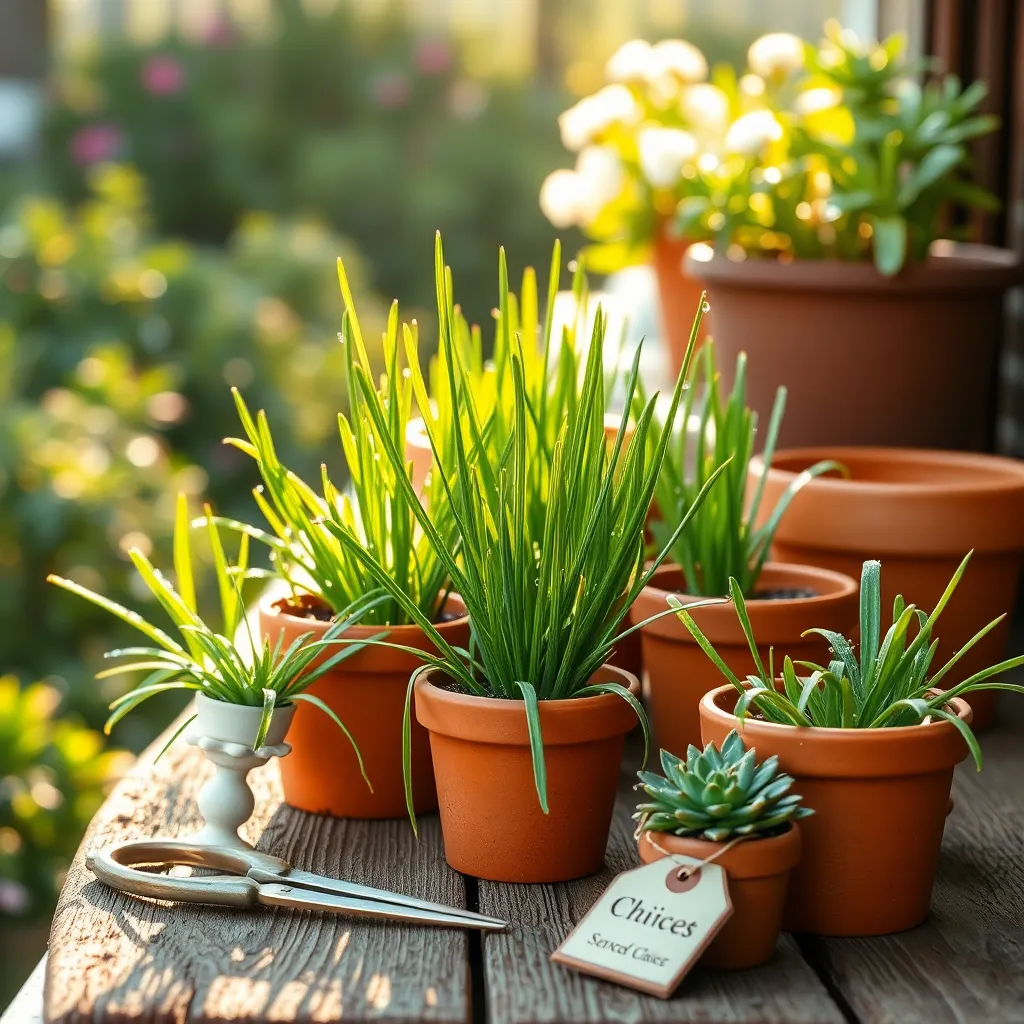
Herbs like basil and parsley are excellent choices for small spaces, as they can be grown in pots on a windowsill or balcony. Ensure they receive at least six hours of sunlight daily, and keep the soil consistently moist but not waterlogged.
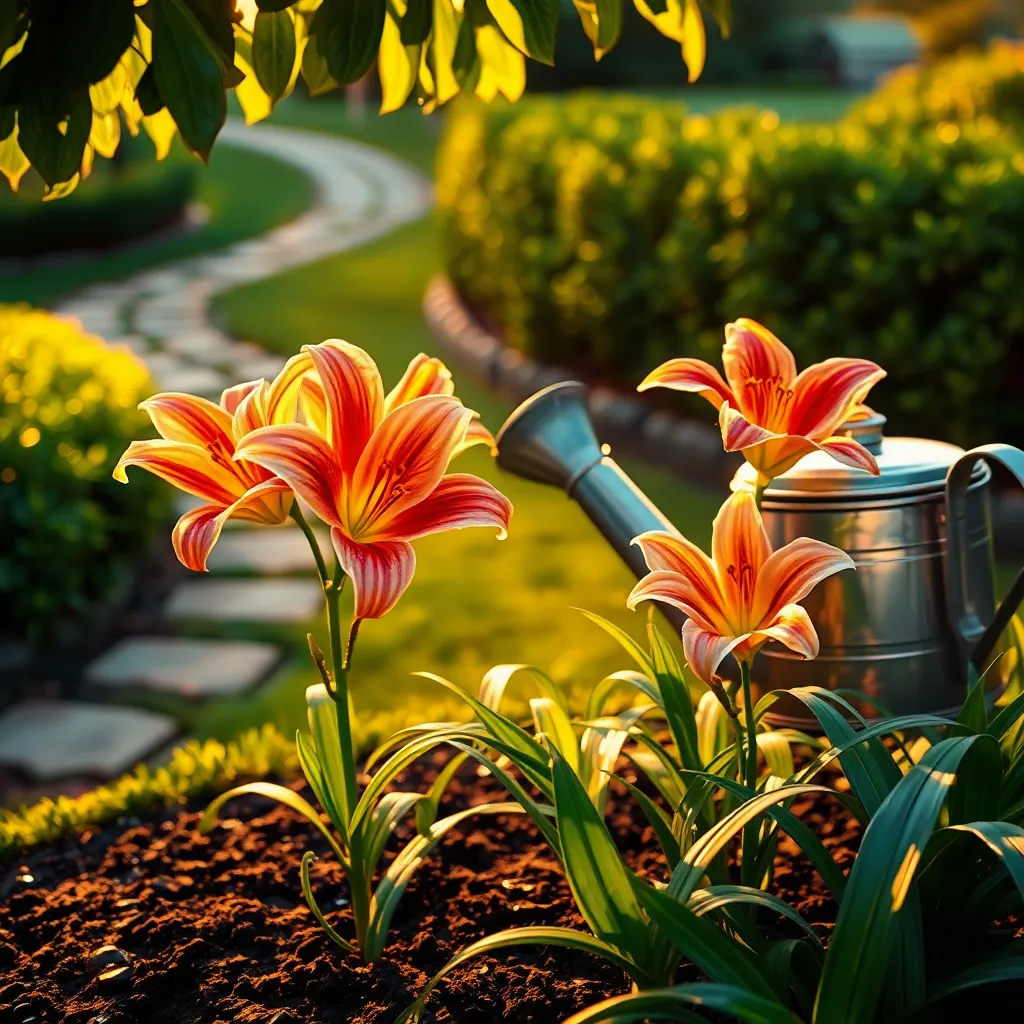
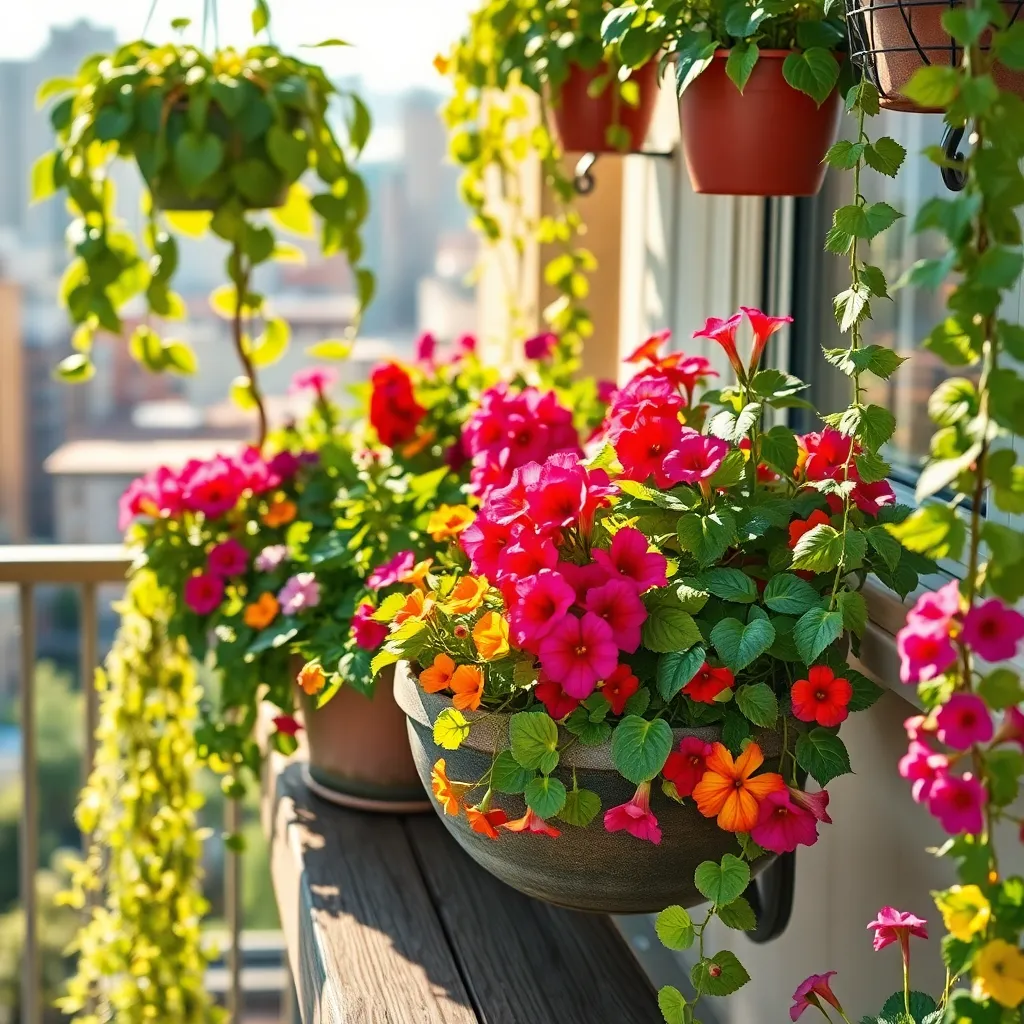
When choosing compact flowering plants, look for those that provide continuous blooms throughout the growing season. Petunias and marigolds are vibrant choices that require regular deadheading to promote new blooms and extend their flowering period.
Advanced gardeners might explore bonsai trees, which offer a unique and artistic challenge in small spaces. These require specific soil mixes, typically a well-draining bonsai soil, and careful attention to watering and pruning techniques.
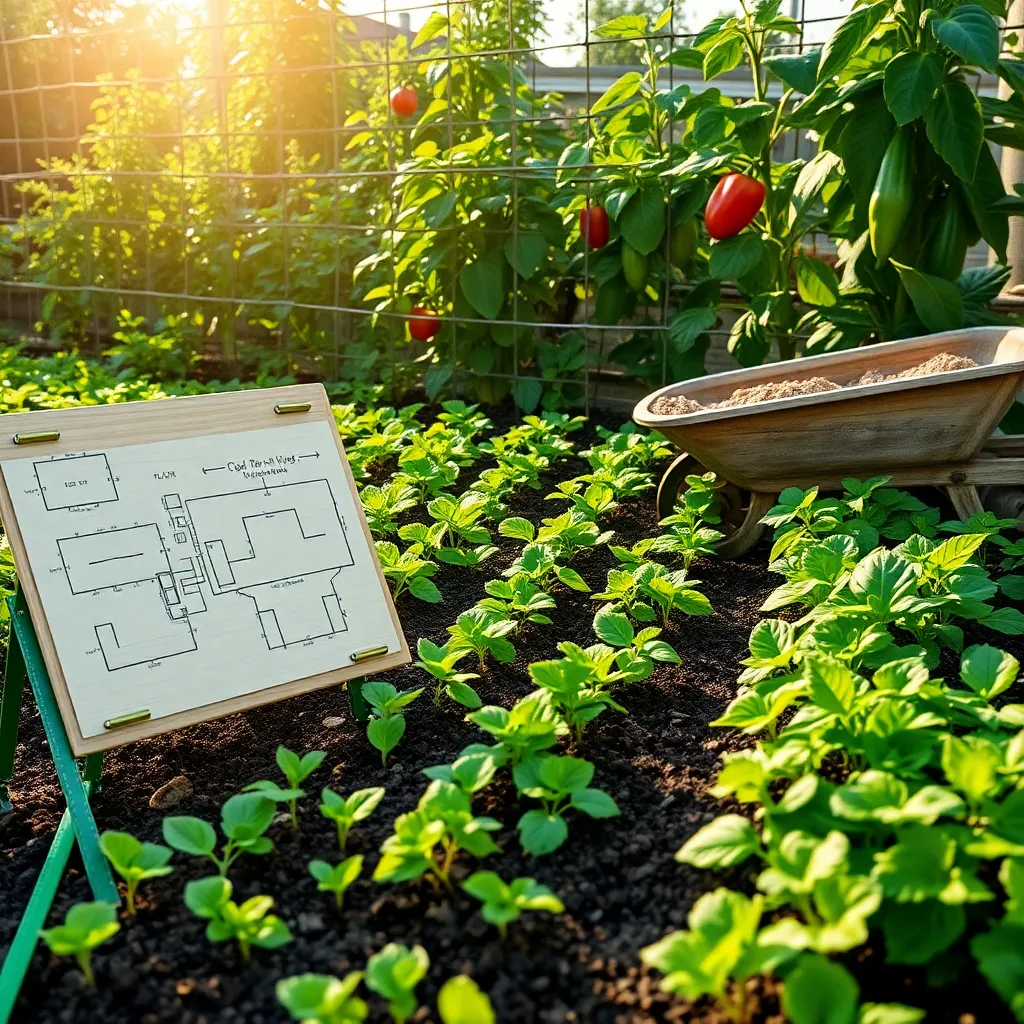
Design a Vertical Garden Plan

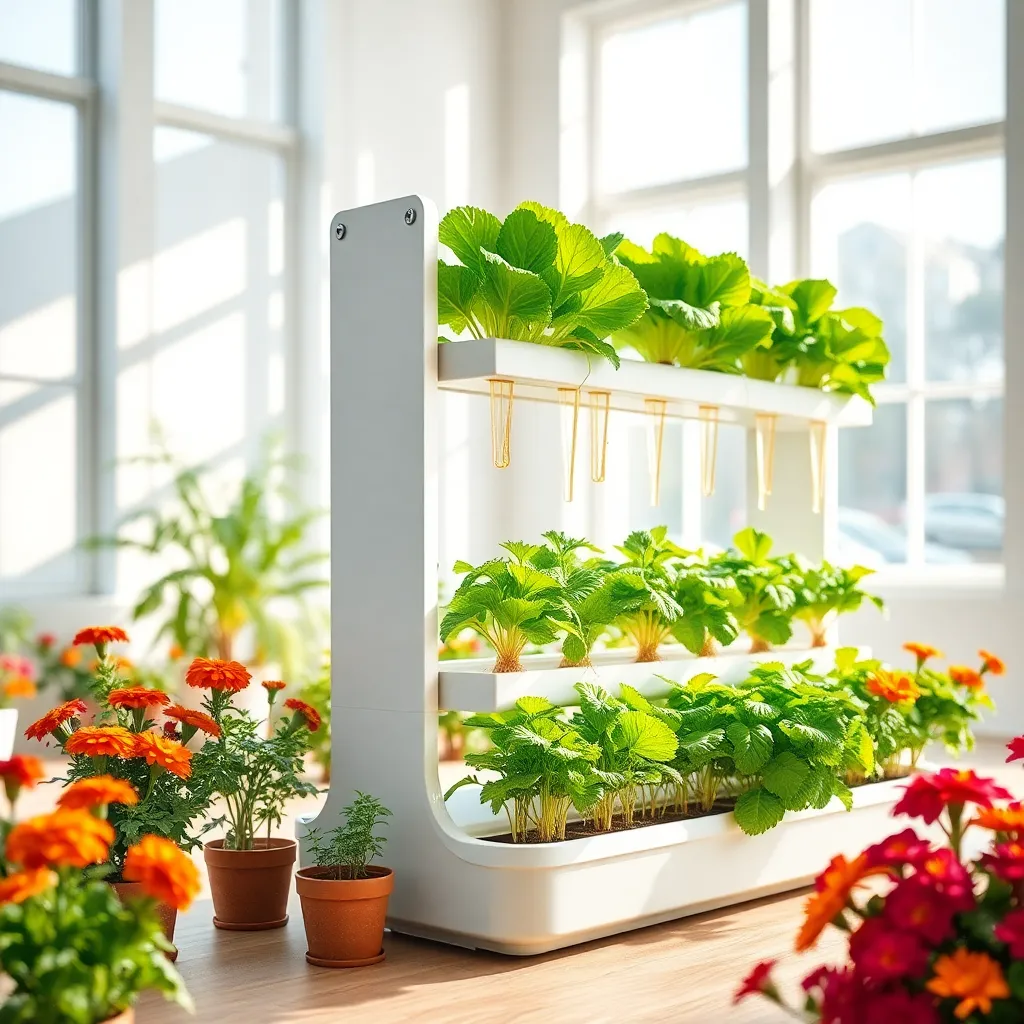
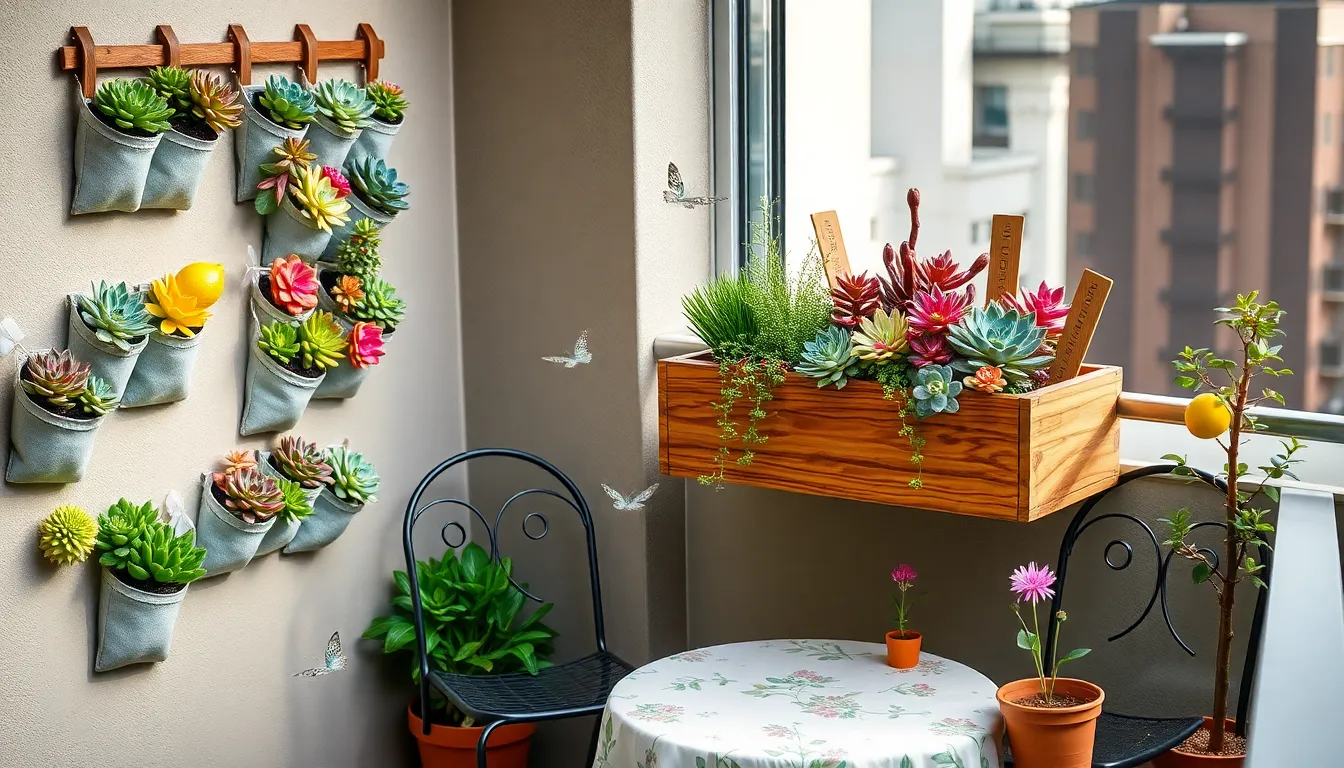
To maximize your small space, consider designing a vertical garden plan that utilizes wall space efficiently. Vertical gardens not only save space but can also create a stunning visual impact in any small garden area.
Start by selecting a location that receives adequate sunlight, as most plants thrive with at least six hours of sun per day. If your space is shady, choose plants such as ferns or hostas, which do well in lower light conditions.
Choose a sturdy structure to support your vertical garden, like a trellis, a wall-mounted pocket system, or even a DIY pallet. Ensure that the structure is securely mounted and can bear the weight of soil and plants.
Consider the type of plants you want to grow, keeping in mind that climbing plants like ivy or jasmine can cover large areas quickly. For more variety, use smaller plants like herbs or succulents that can fit into wall pockets or small containers.
When planting, use a high-quality, lightweight potting mix that retains moisture but also allows for proper drainage. Water your vertical garden regularly, but be careful not to overwater, as excess moisture can lead to root rot.
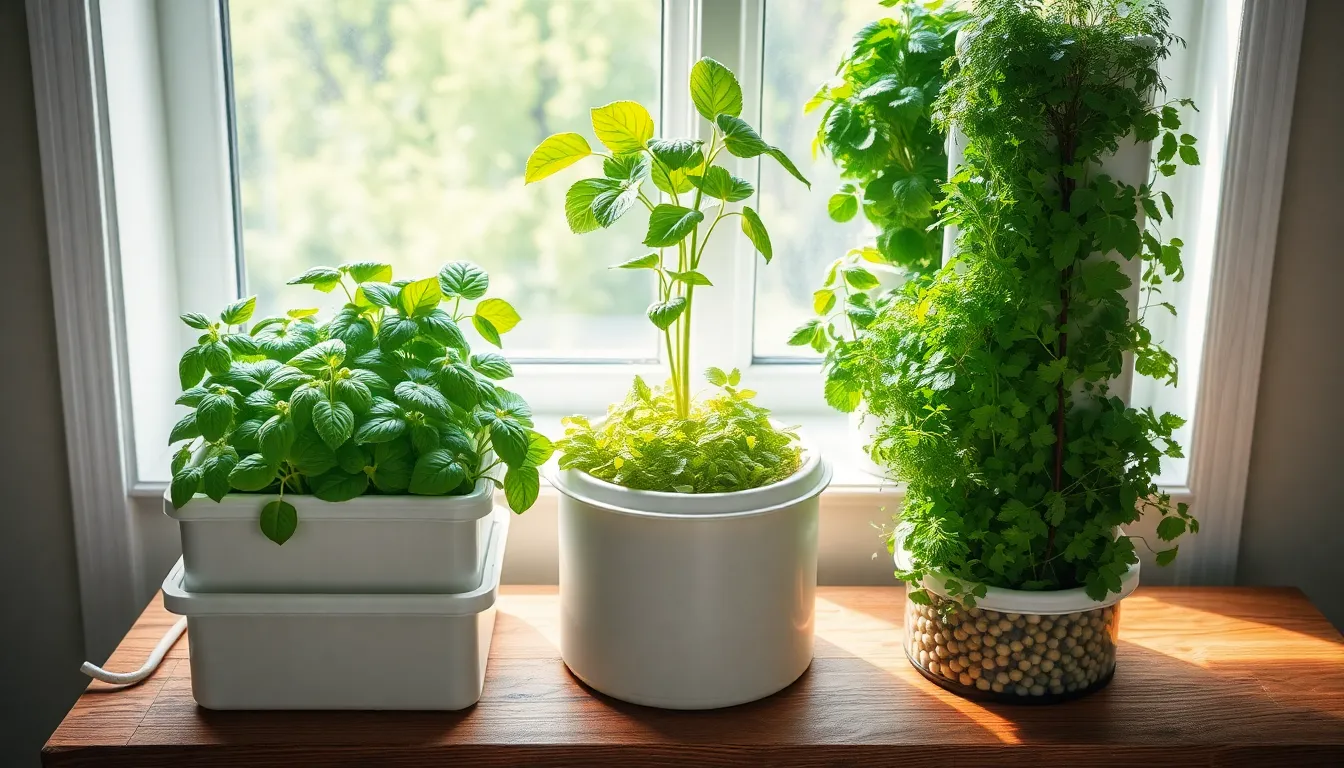
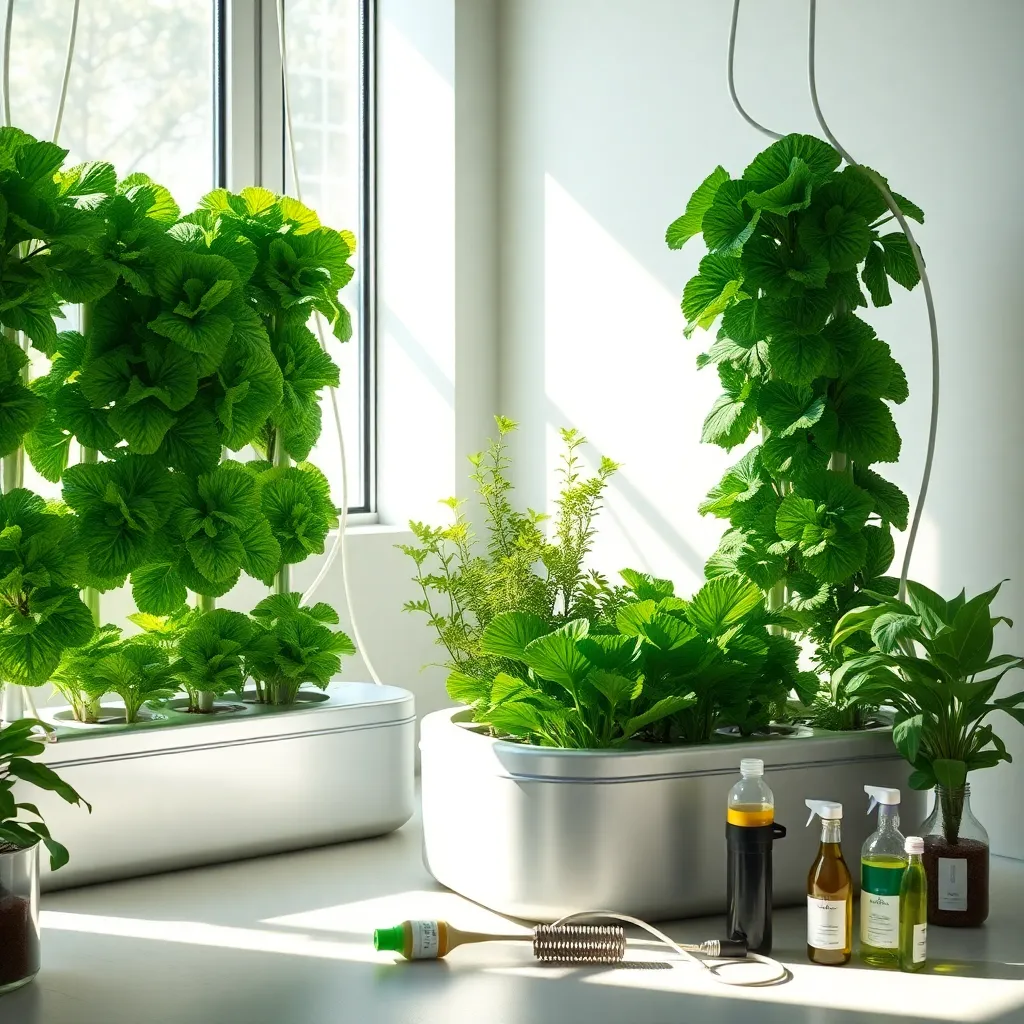
For those seeking a challenge, experiment with hydroponic systems that can be integrated into vertical setups for efficient, soil-less planting. These systems can be more complex but offer the advantage of faster growth and less soil maintenance.
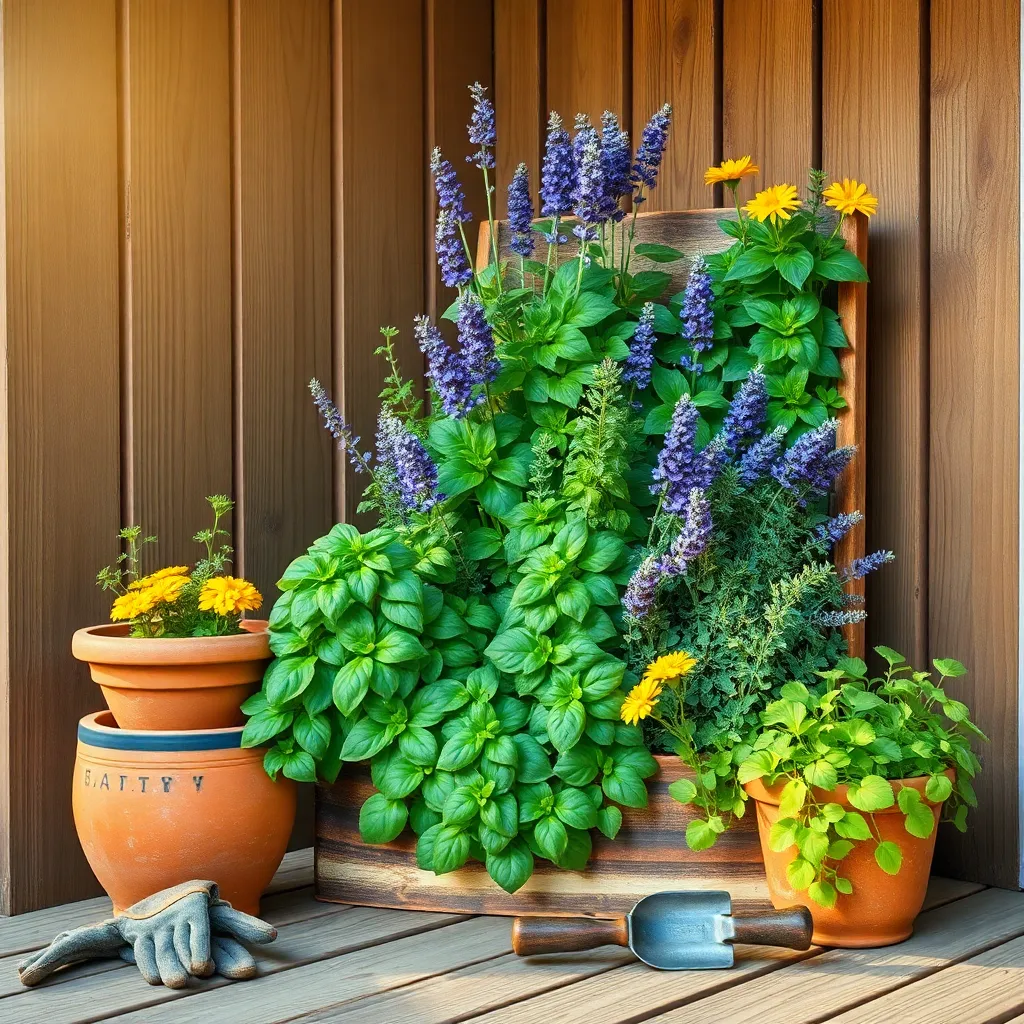
Utilize Containers and Planters
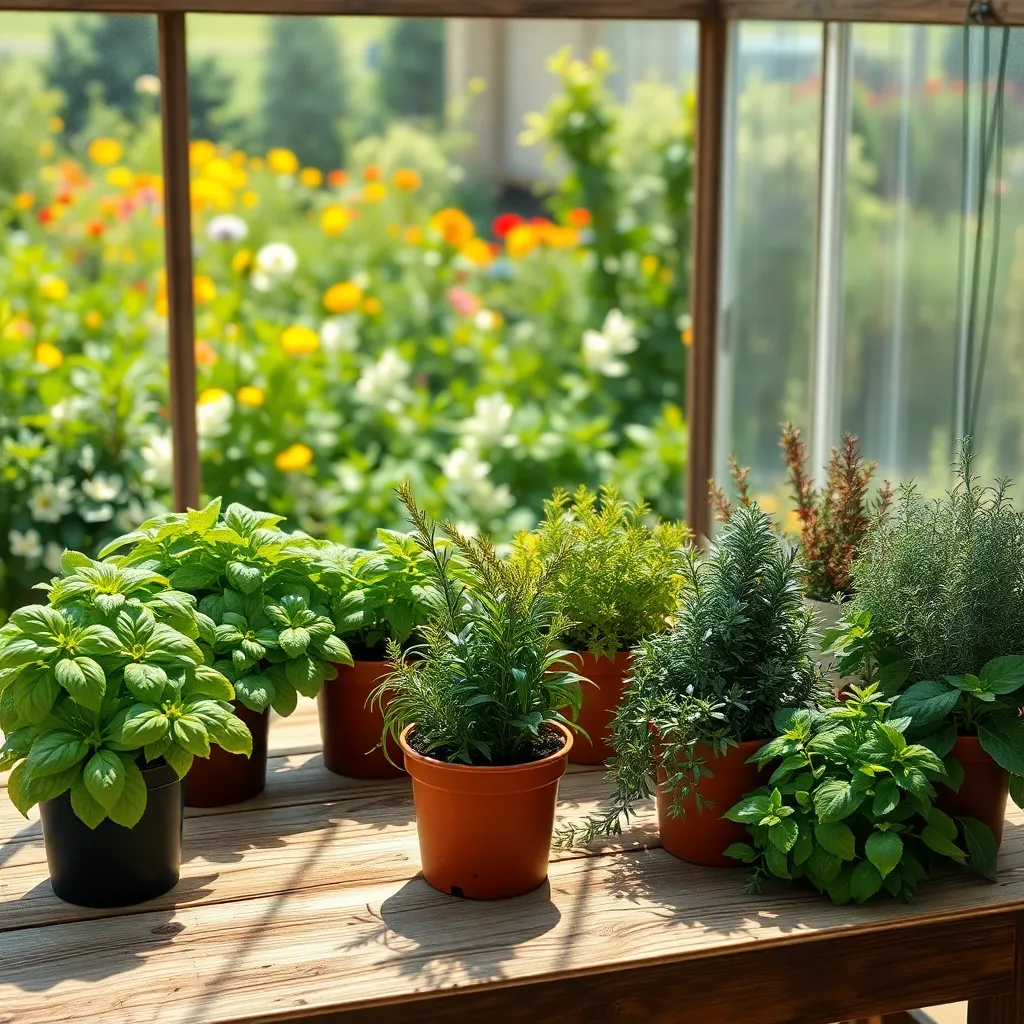
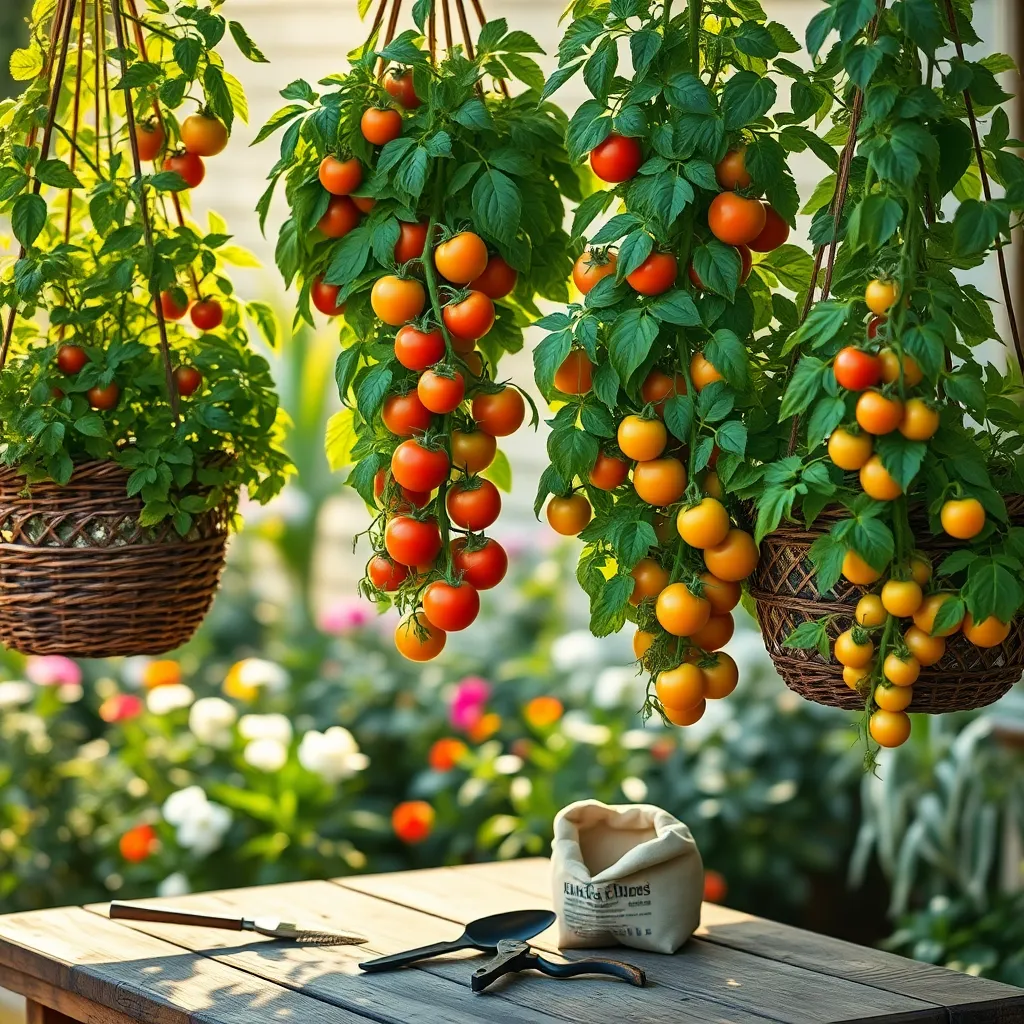
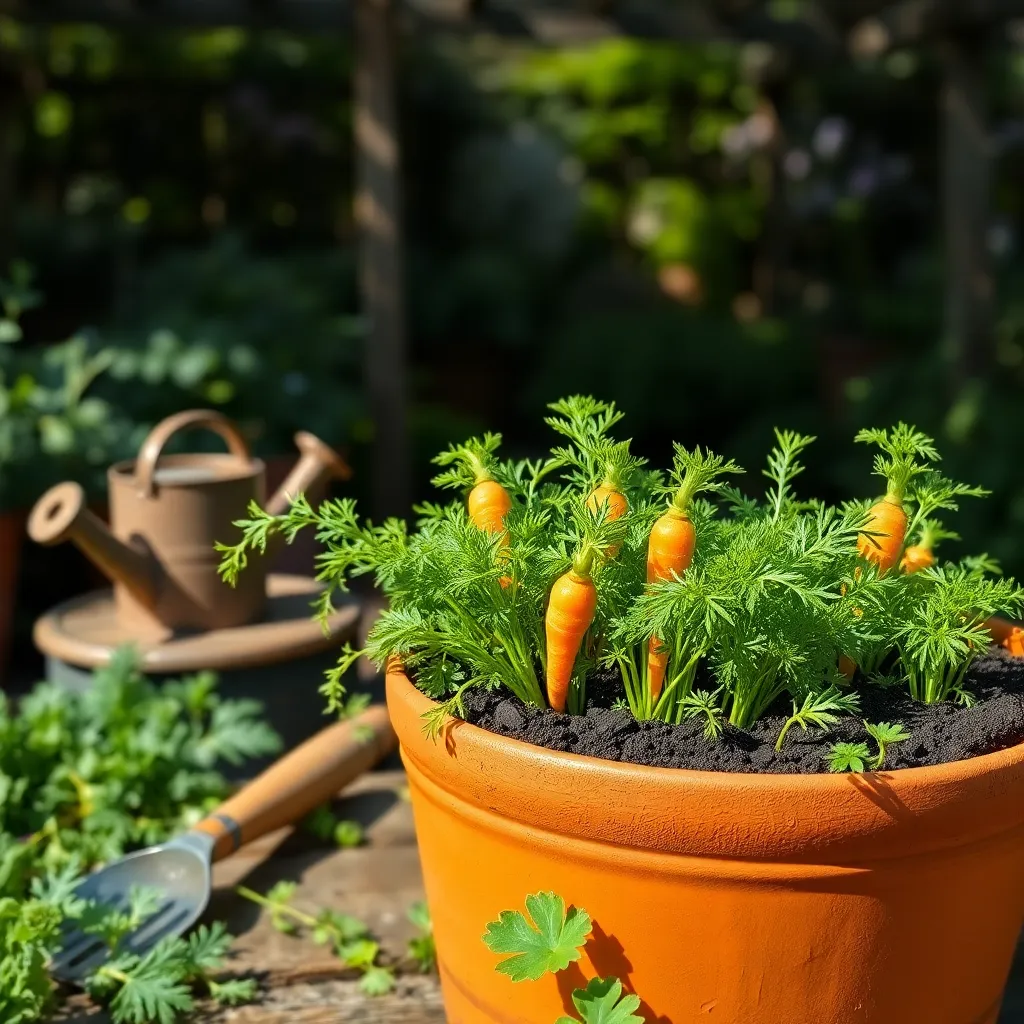
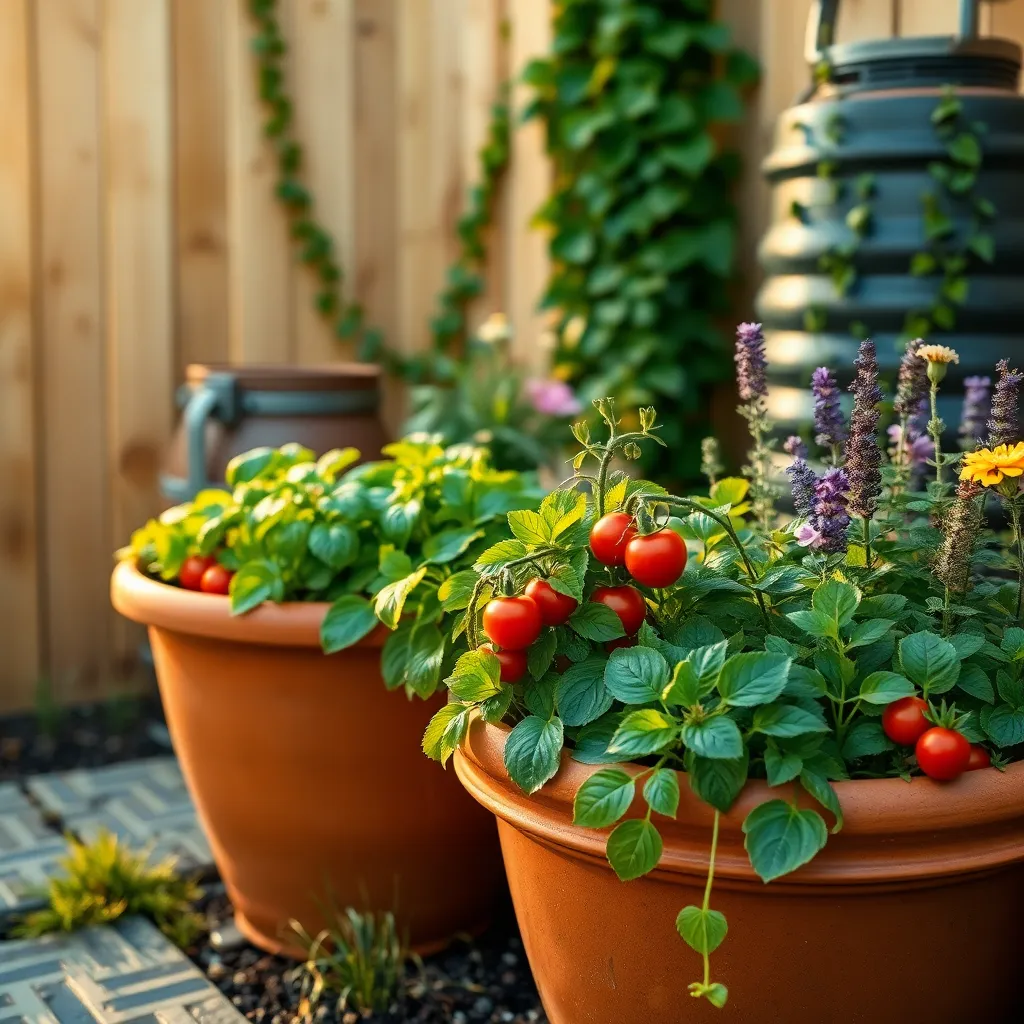
Using containers and planters is a fantastic way to maximize limited space in small gardens. They offer versatility, allowing you to move plants to find the best growing conditions and to change the garden’s aesthetics effortlessly.
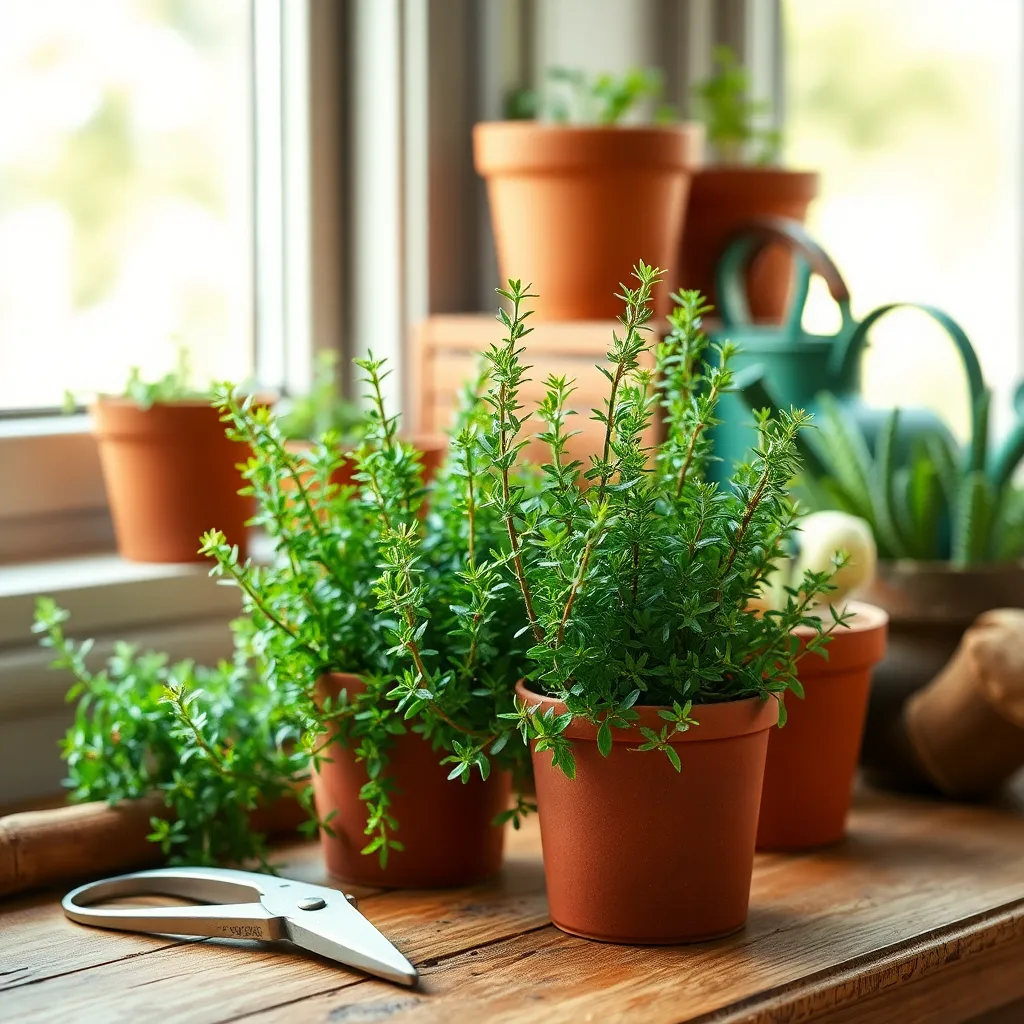
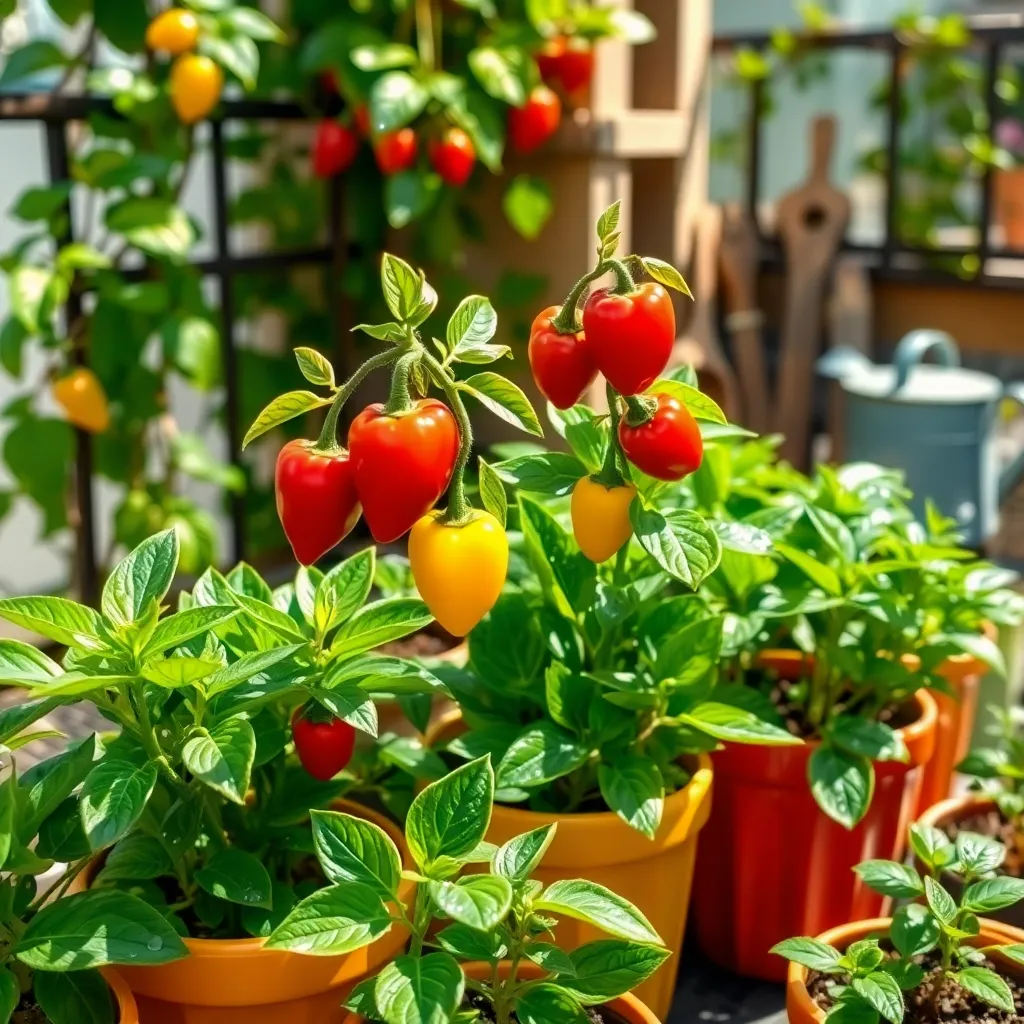
Choose containers that suit your plants’ needs in terms of size and material. Large pots are ideal for vegetables like tomatoes and peppers, while smaller pots work well for herbs such as basil and mint.
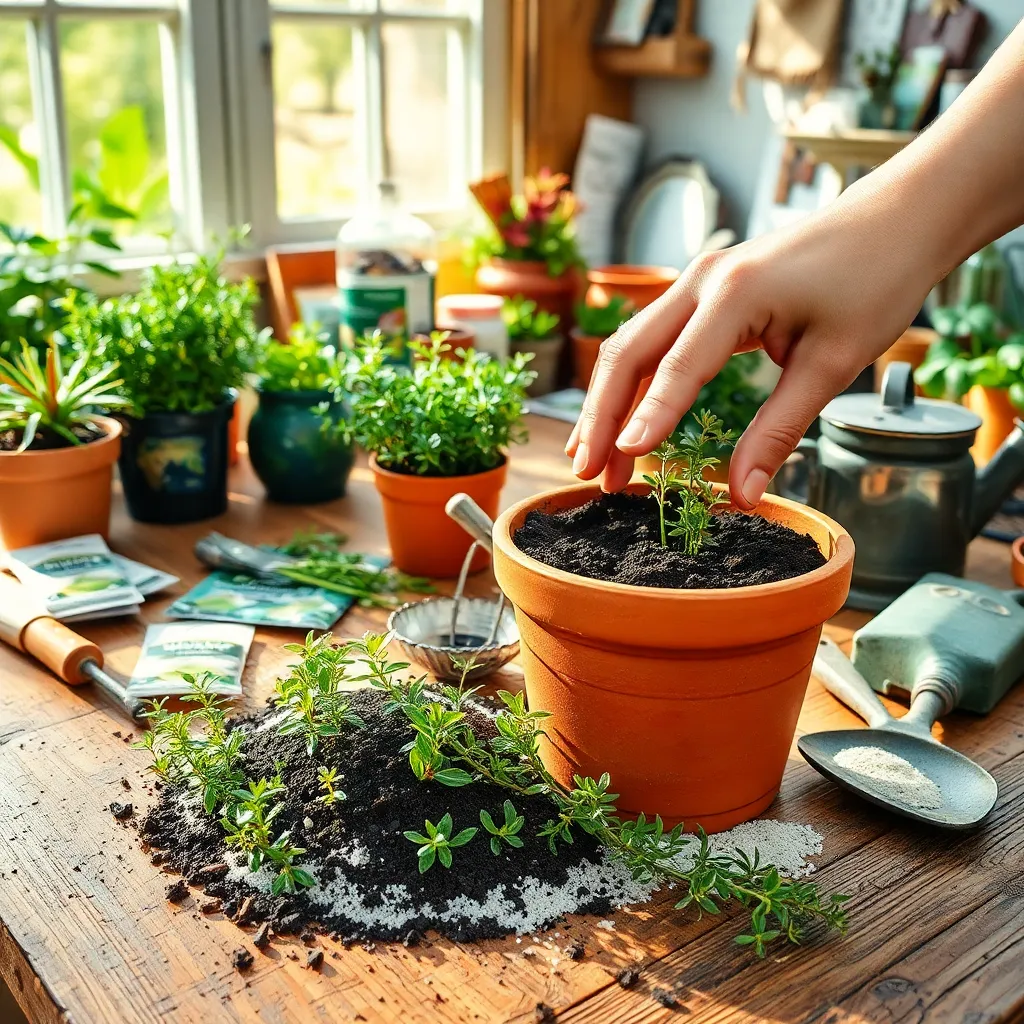
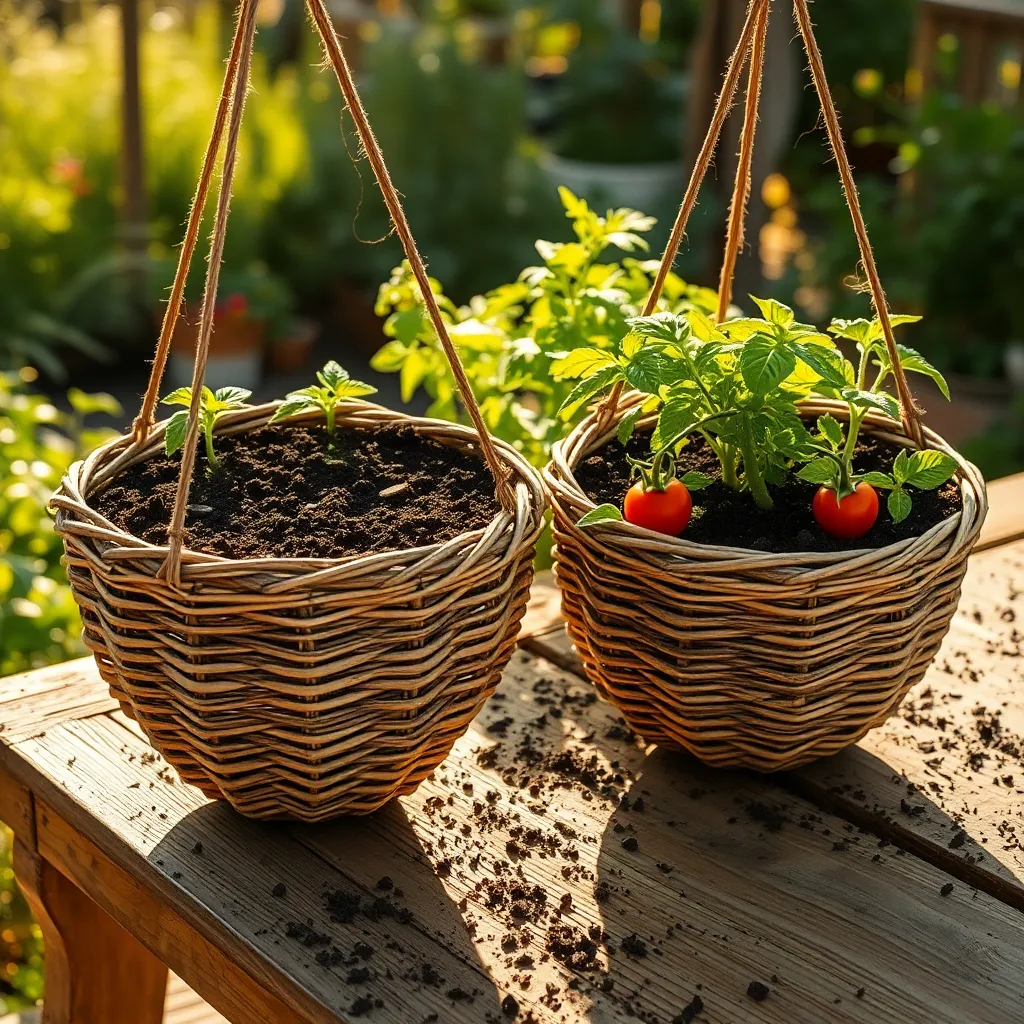
Ensure your containers have proper drainage to prevent waterlogging, which can lead to root rot. Adding a layer of gravel or broken pottery at the bottom of the pot can enhance drainage and keep your plants healthy.
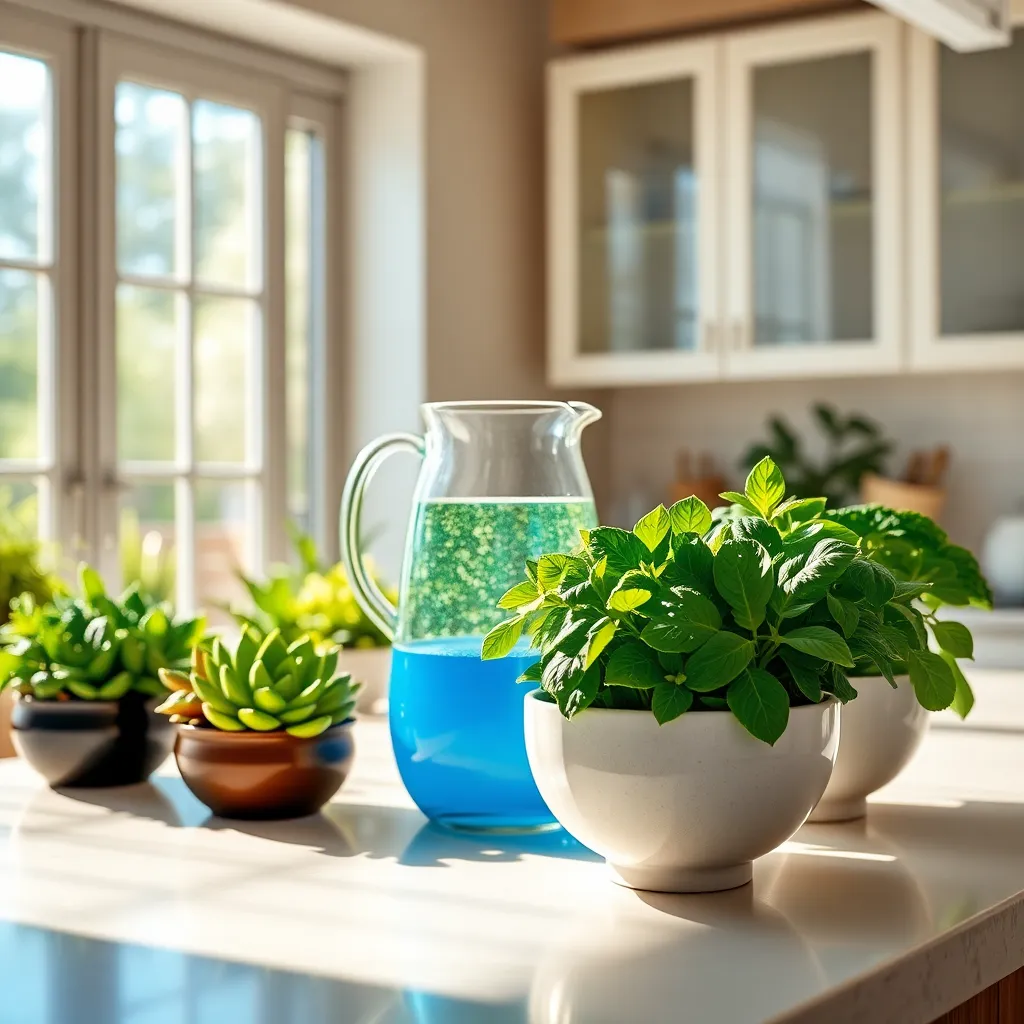
For container gardening success, use a high-quality potting mix that retains moisture yet drains well. A mix containing peat moss, perlite, and compost will provide the nutrients and aeration necessary for your plants to thrive.
Watering is crucial, as containers dry out faster than garden beds. Check moisture levels daily by sticking your finger into the soil; if the top inch is dry, it’s time to water.
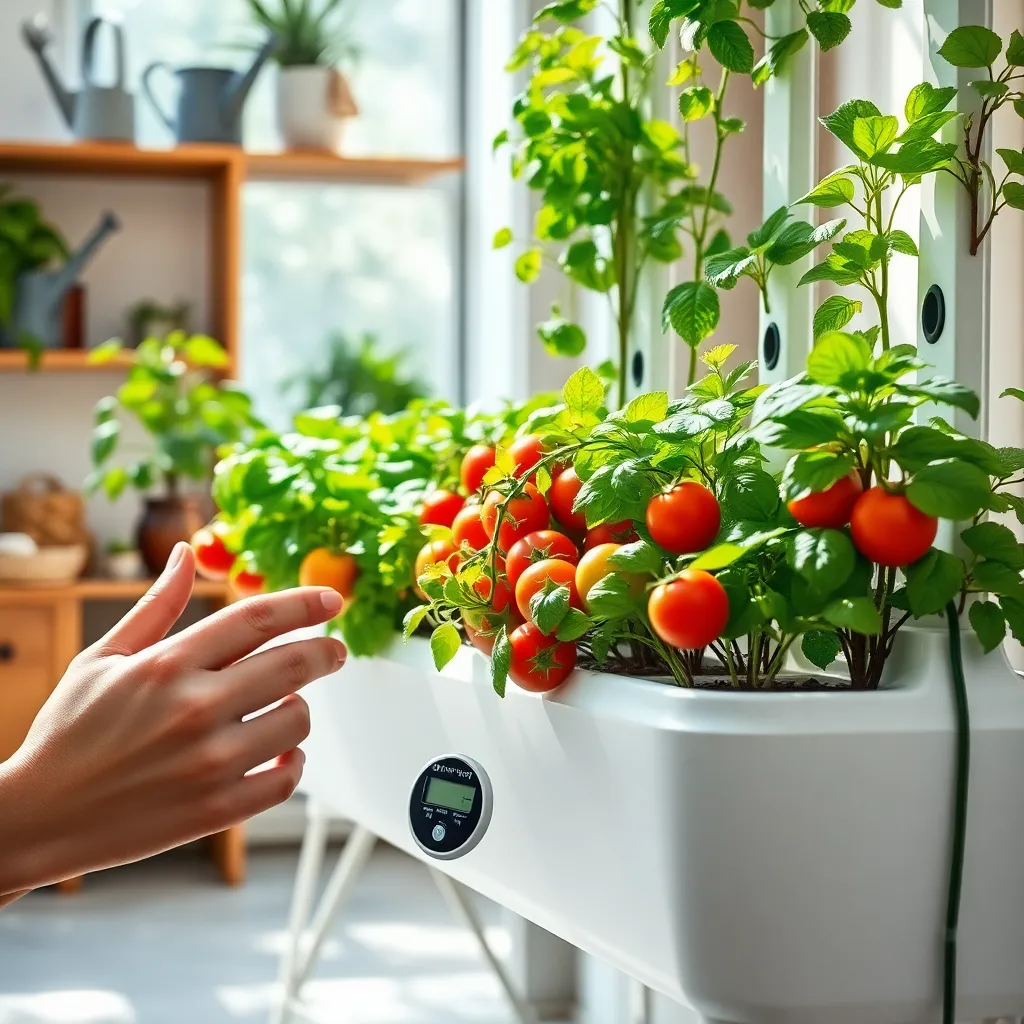
Advanced gardeners can experiment with self-watering containers, which reduce maintenance and ensure consistent moisture levels. These systems are particularly beneficial for busy individuals or during hot weather when plants demand more water.
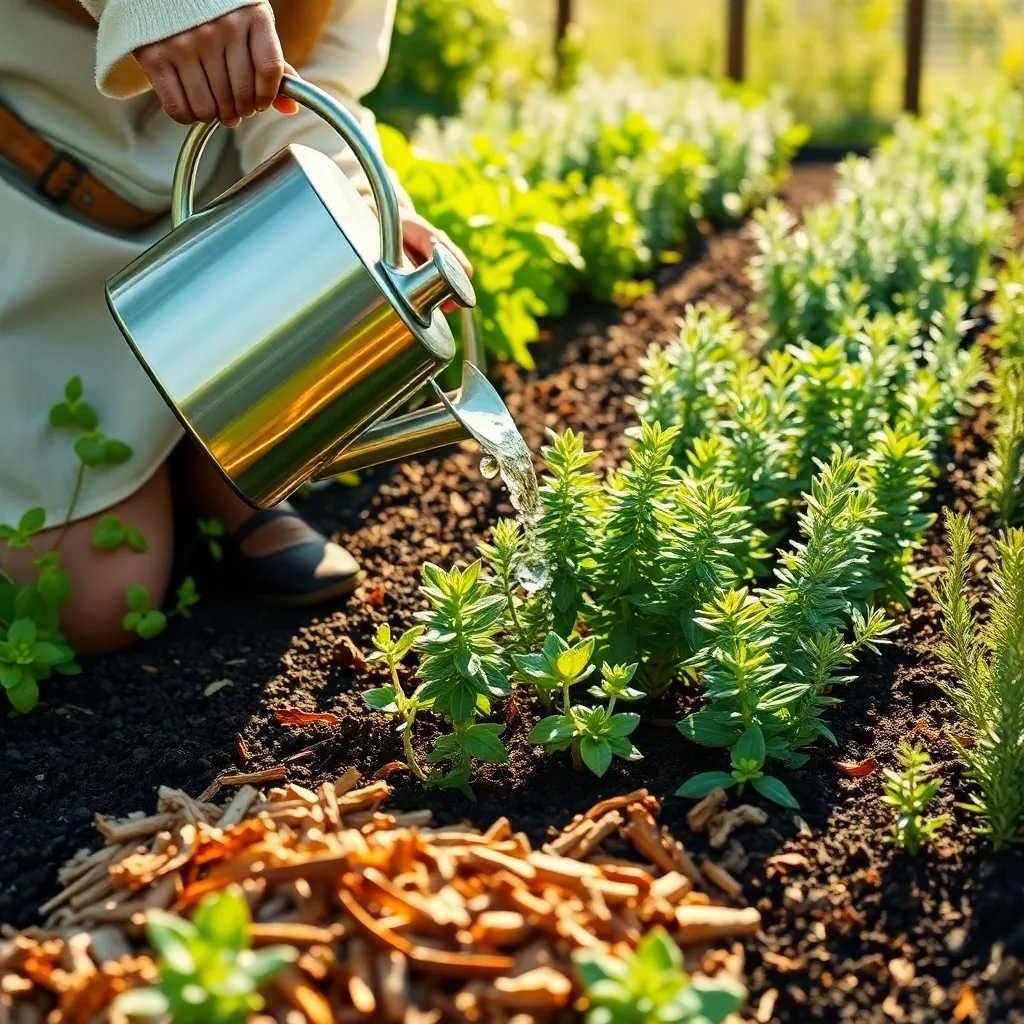
Implement Efficient Watering Systems
Implementing an efficient watering system is crucial for maximizing the potential of your small garden space. Drip irrigation systems are highly recommended as they deliver water directly to the plant roots, minimizing evaporation and water waste.
You can easily install a simple drip irrigation setup using a hose, emitters, and connectors, which are available at most garden centers. For those with a tighter budget, consider using a soaker hose, which allows water to seep through its porous material, ensuring even distribution.
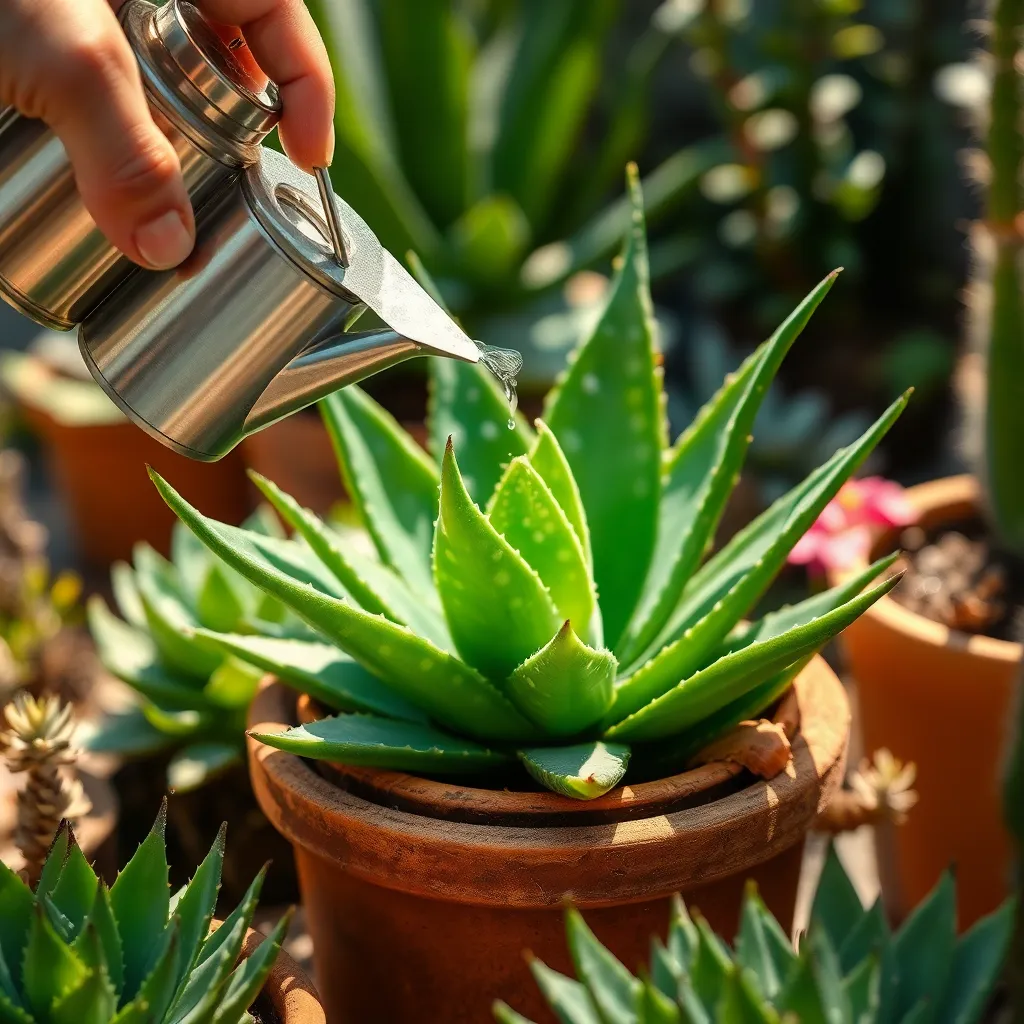
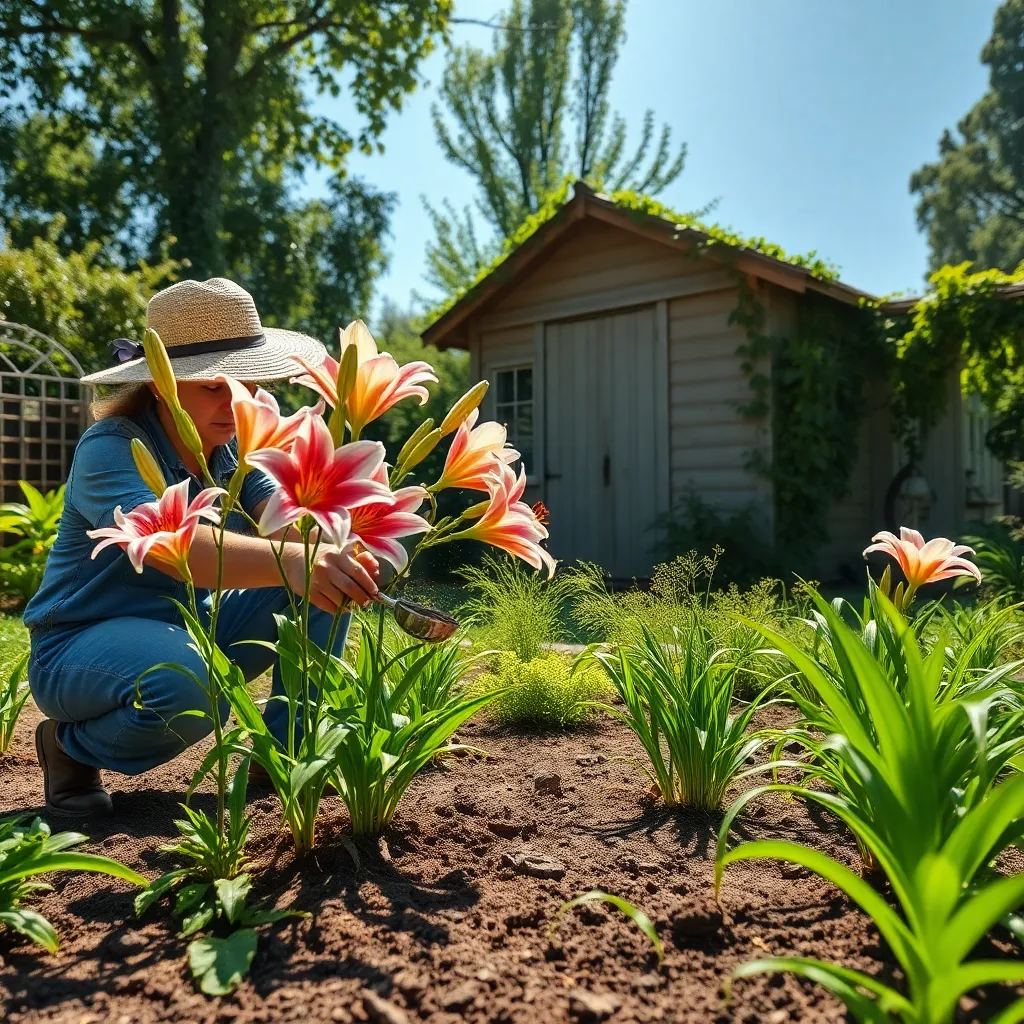
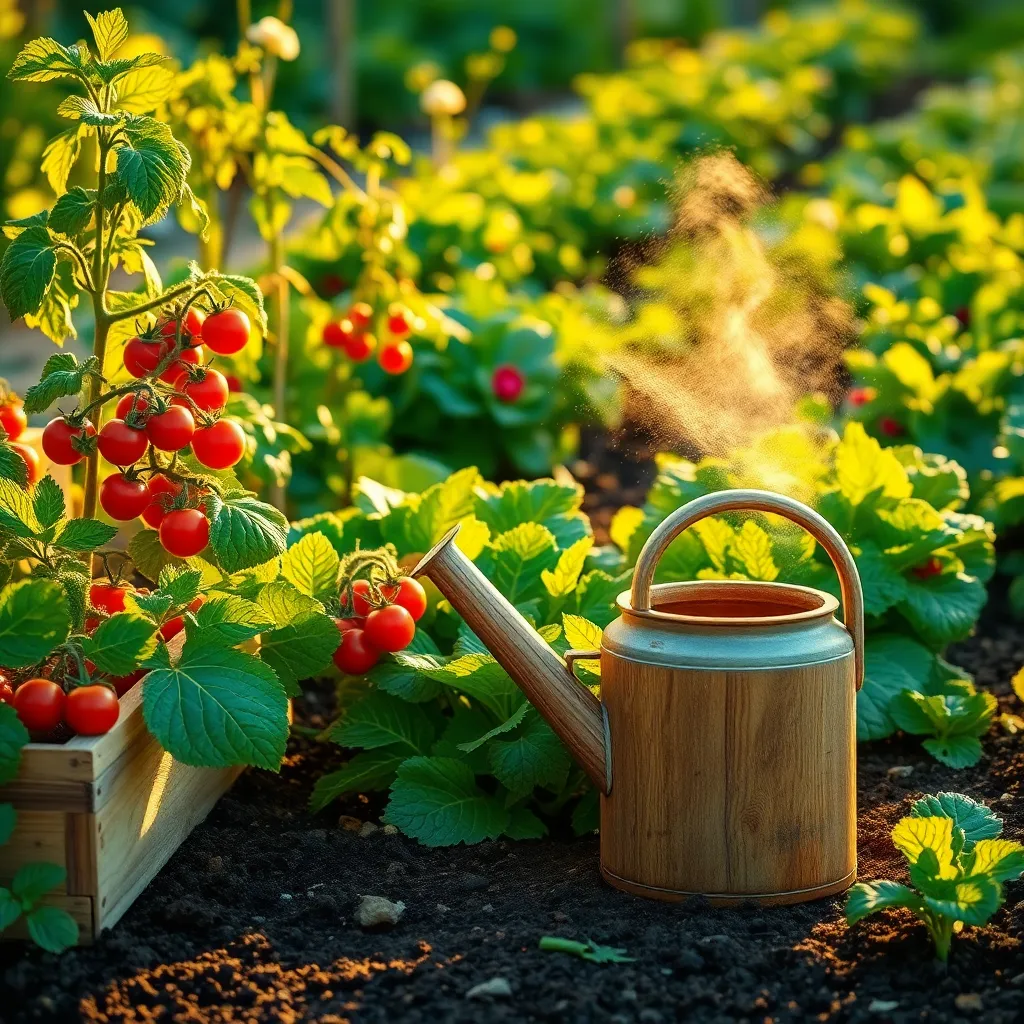
For gardeners who prefer a more hands-on approach, watering cans can be just as effective if used wisely. Choose a can with a narrow spout to direct water precisely at the base of the plants, which prevents soil splash and reduces the risk of disease.
Monitoring soil moisture is essential to avoid overwatering, which is a common mistake in small gardens. Insert a finger into the soil about an inch deep; if it feels dry, it’s time to water. Consider using a moisture meter for a more reliable reading, especially in container gardens where soil can dry out quickly.
Conclusion: Growing Success with These Plants
In creating a garden for small spaces, we’ve uncovered five key relationship concepts: nurturing your relationship with patience, cultivating a shared vision, adapting to constraints, fostering growth through creativity, and cherishing each phase of development. Each of these principles not only enhances your garden but also enriches the emotional soil of your relationships, allowing them to flourish even in confined spaces.
As an immediate step, consider sitting down with your partner today to discuss what “seeds” you both wish to plant—be it in your garden or in your relationship. This simple act of collaboration can spark connection and align your shared goals.
Remember, every relationship requires care and attention to thrive, much like a garden. So, don’t forget to save this article as a helpful guide to return to whenever you need encouragement or inspiration.
Looking forward, know that by applying these principles, you are setting the stage for not just a beautiful garden, but a thriving relationship filled with growth, resilience, and joy. Embrace this journey with optimism and watch as your love, like your garden, blooms beyond measure.